Previously, this wasn't possible.
But in 2020, Discord introduced two new features: Slash Commands and Interactions Endpoints.
Here's a very straightforward guide to getting you started.
If you don't have one already, go to Discord's Developer Portal and create a new app.
Use this URL after repleacing {APP_ID} with your own and use it to invite the bot into your server.
https://discord.com/oauth2/authorize?client_id={APP_ID}&scope=applications.commands
Now, you need to register a new slash command to test the bot.
Discord can't automatticly figure out what commands you app has, so you need to tell it each command available.
There is no UI for that, it's currently only possible via a HTTP endpoint.
import requests

APP_ID = "APP_ID"
SERVER_ID = "SERVER_ID"
BOT_TOKEN = "BOT_TOKEN"

# global commands are cached and only update every hour
# url = f'https://discord.com/api/v10/applications/{APP_ID}/commands'

# while server commands update instantly
# they're much better for testing
url = f'https://discord.com/api/v10/applications/{APP_ID}/guilds/{SERVER_ID}/commands'

json = [
  {
    'name': 'bleb',
    'description': 'Test command.',
    'options': []
  }
]

response = requests.put(url, headers={
  'Authorization': f'Bot {BOT_TOKEN}'
}, json=json)

print(response.json())
Note This is a script you keep to yourself and run locally every time you want to create a new command or update your existing ones.
APP_IDis visible through General Information in your app dev portal.BOT_TOKENis in Bot- To get your
SERVER_ID, go to your discord client and enable Developer Mode in the Advanced Settings, then go to the server and right-click on the sever's name in the top-left. And now should see a new entry in the context menu called Copy Server ID.
If you are using server commands (You should for testing commands and for private bots). before running the script, make sure that the bot was alreay added to your server.
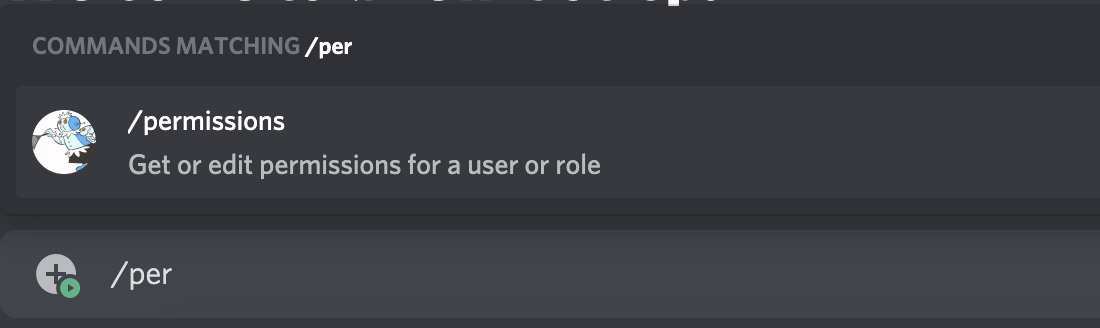
You should now be able to go the the server type / in the chat and see the command you' created, if not then something is wrong, scroll up amd try again until you can.
Commands can accept string and number inputs, But to learn more about setting up commands, check the offical docs or search for a more specific guide. https://discord.com/developers/docs/interactions/application-commands#application-command-object
Go to your console and Create Function.
I'm using Python for this guide, but you can use whatever you like if you know how to do the same things the following script does in your language.
Now Add trigger and select API Gateway (The settings won't matter you can go with the defaults).
Look for the API endpoint. It should look like this https://a7ar46xyz.execute-api.eu-west-3.amazonaws.com/default/my-function
Copied it, go back to General Information in your discord dev portal. Find Interactions Endpoint URL and paste the endpoint there. Click Save... and you will get an error.
There are steps necessary for discord to accept the endpoint.
- Your endpoint must be prepared to ACK a
PINGmessage - Your endpoint must be set up to properly handle signature headers
You should be familier with deploying Lambda functions. if not go read Deploy Python Lambda functions with .zip file archives. Specifically Deployment package with dependencies
You need a security library for the handle signature headers part.
Following the guild. Run pip install --target ./package pynacl
And finally, here the acutual lambda function.
import json

from nacl.signing import VerifyKey
from nacl.exceptions import BadSignatureError

PUBLIC_KEY = 'YOUR_APP_PUBLIC_KEY_HERE'

def lambda_handler(event, context):
  try:
    body = json.loads(event['body'])

    signature = event['headers']['x-signature-ed25519']
    timestamp = event['headers']['x-signature-timestamp']

    # validate the interaction

    verify_key = VerifyKey(bytes.fromhex(PUBLIC_KEY))

    message = timestamp + json.dumps(body, separators=(',', ':'))

    try:
      verify_key.verify(message.encode(), signature=bytes.fromhex(signature))
    except BadSignatureError:
      return {
        'statusCode': 401,
        'body': json.dumps('invalid request signature')
      }

    # handle the interaction

    t = body['type']

    if t == 1:
      return {
        'statusCode': 200,
        'body': json.dumps({
          'type': 1
        })
      }
    elif t == 2:
      return command_handler(body)
    else:
      return {
        'statusCode': 400,
        'body': json.dumps('unhandled request type')
      }
  except:
    raise

def command_handler(body):
  command = body['data']['name']

  if command == 'bleb':
    return {
      'statusCode': 200,
      'body': json.dumps({
        'type': 4,
        'data': {
          'content': 'Hello, World.',
        }
      })
    }
  else:
    return {
      'statusCode': 400,
      'body': json.dumps('unhandled command')
    }
This handles discord security requirements for you. But if you wan't to understand it more:
- Discord's Security And Authorization
- Gerald McAlister's Building a Serverless Discord Bot
Replace YOUR_APP_PUBLIC_KEY_HERE with your app public key also visible through General Information
Then deploy the script to Lambda (don't forget about packing the security library)
Go back to the dev portal and try to save the endpoint again, This time it should save without any errors.
- If it saves correctly, go to your discord server and type
/blebin chat. It should work and respond withHello, World.. - If not then something is wrong, check the steps again until you get it working.
To add more command to the lambda function edit command_handler(body).
You must respond to any request within 3 seconds (There’s no way to increase this time).