Dynamic templates
In an effort make developing templates easier, we have recently been working on a new feature called dynamic updates. Dynamic updates will allow you the ability to take any git repository or file share and create a project or item template from its contents. In this article, I will be showing you how to use a git repository that you have made to create a project template.
Prerequisites
- Visual Studio 2013 Community Edition or higher
- Visual Studio 2013 SDK
- SideWaffle Template Pack (Dynamic Templates Build)
Creating Your Template
-
Let's Get Started
First, install SideWaffle if you haven't already.
-
Create your git repository.
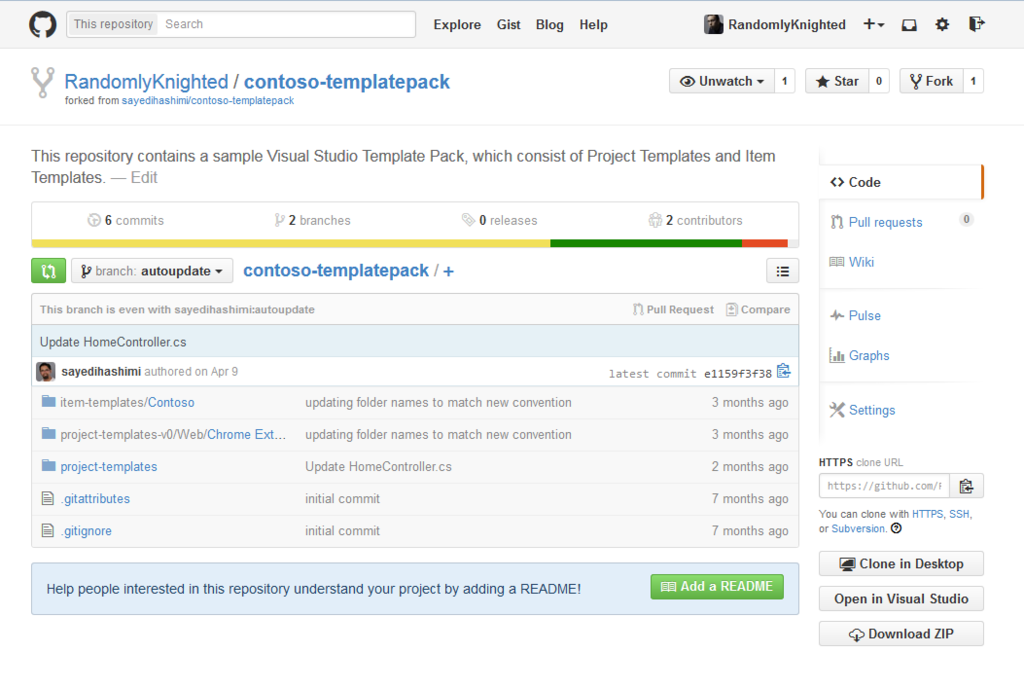
Now that we have SideWaffle installed in Visual Studio, we’re ready to create our repository. I prefer GitHub as my revision control solution so I’ll first create the repository on GitHub, then I’ll clone and pull it down locally.
-
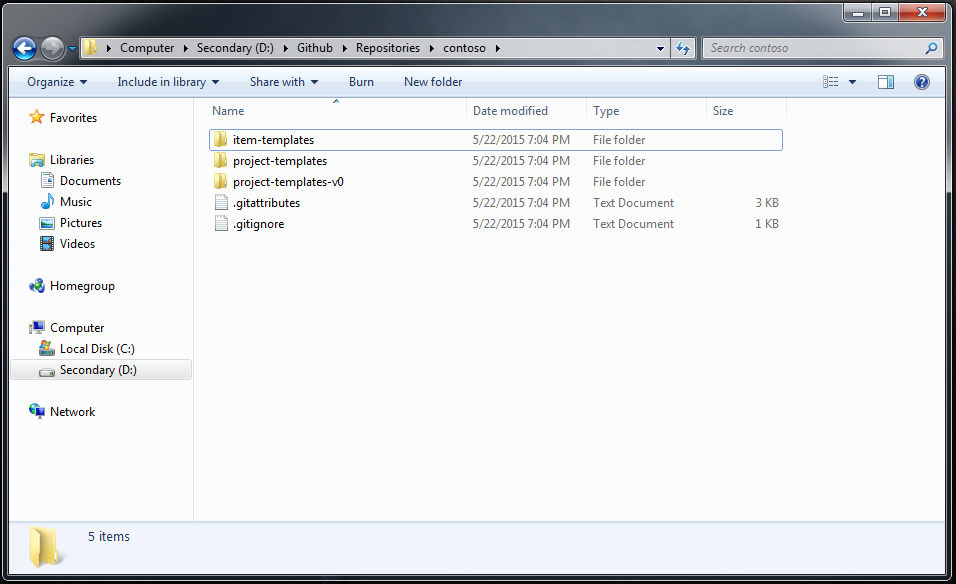
Set up your folder structure
SideWaffle uses the folder structure of your repository to create the templates. As you can see in my image below, we have to add the item-templates and project-templates folders the root directory of your repo. We are going to ignore the project-templates-v0 folder that I have as it is used to allow legacy templates to continue to work with newer versions of SideWaffle.
-
Add your content to the repo
Let’s get started working with our project. I’m going to add a new project template to my repository. Since I’m creating a project template, I’m going to select the project-templates folder we created in Step 3 for the location where my project will be created. Before continuing further, as a general guideline I like to run my project (Ctrl + F5) to ensure it works correctly. Next, let’s push everything (project and our folder structure) to our version control software.
Note: The folder structure we made in Step 3 must be added to our source control in addition to our project. If our project is not in the folder structure when SideWaffle tries to create our template then the template may not be created.
-
Add the SideWaffle Project Template Files
Right click your source project and select
Add New Item->Extensibility->SideWaffle\SideWaffle Project Template Filesas shown in the image below. You should always add the item to the root directory of your project in order for SideWaffle to create the files in the correct location. When you added the SideWaffle Project Template Files item template, you actually added two files to your project, these include:-
_preprocess.xml– This file tells Visual Studio where you template should show up in the “New Project” dialog. It uses replacements in order to override the default path within the dialog. For more information regarding replacements, please refer to the wiki article on the subject. -
_Definitions\_project.vstemplate.xml– This file contains metadata about your project. You will need to update the values for the Name, Description, and DefaultName elements in this file.
-
-
Add your repo as a SideWaffle template source
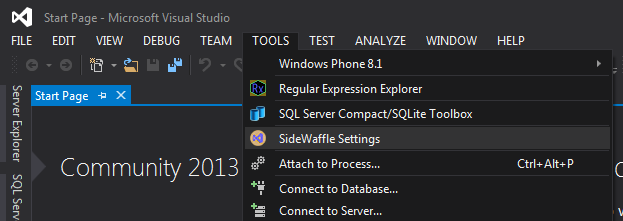
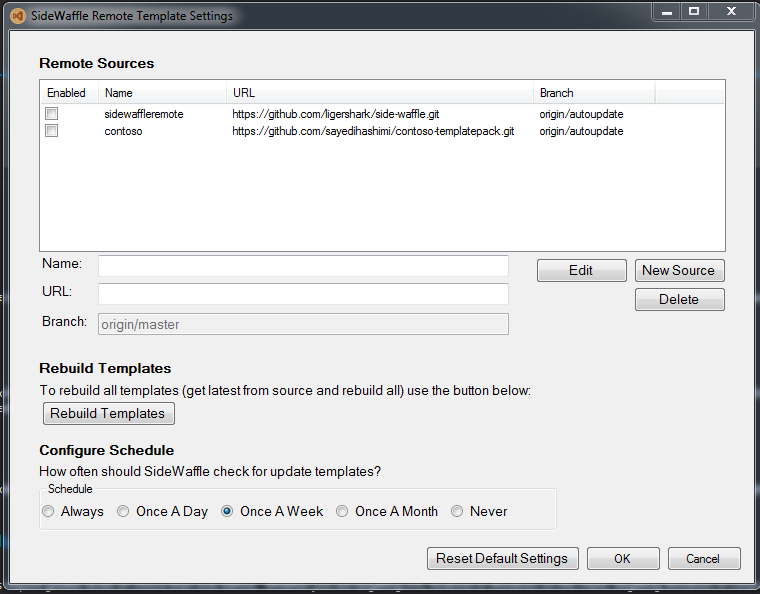
In the dynamic templates build of SideWaffle, we added a settings dialog in order to control your new templates. You can open this dialog by going to
Tools -> SideWaffle Settings.In the dialog, you will see a several settings. The first is a list of sources where you’re storing your templates. By default, SideWaffle is shipped with two sources one of which is the repo I’m working with in this article. I’m going to check the box beside my template and then I’m going to hit the Rebuilt Templates button. If you’re following this article but using your own repo then you can hit the New Source button to add another source to the list.
Last, while we’ve got this dialog open I’m going to select the “Once A Day” option under Configure Schedule. Choose whichever setting you believe will work the best for you and your development process.
Let’s go ahead and click the OK button to save our changes. When this button is clicked, SideWaffle goes out, fetches each checked repo, and downloads them to your computer. It then takes these files and creates new templates from them.
-
Test and share your new template
In order for your newly added templates to show up you will have to restart Visual Studio. Congratulations, you just created your first dynamic template.
Notes from the development team
We would like to thank you for using SideWaffle and for taking the time to test the dynamic updates feature. If you have any trouble following the instructions found in this article, have feedback regarding the dynamic templates creation process, or are unsure about something in your project please create an issue and we will be happy to assist you.