Tutorial
Pothos Flow tutorial table of contents
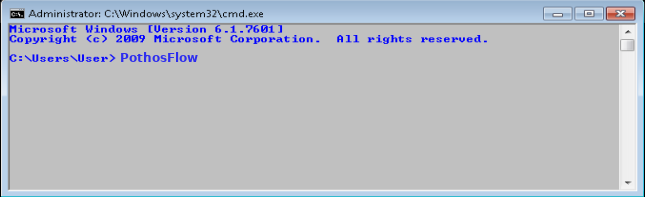
PothosFlow should be in your executable search path. Open up a terminal and type PothosFlow and hit enter:
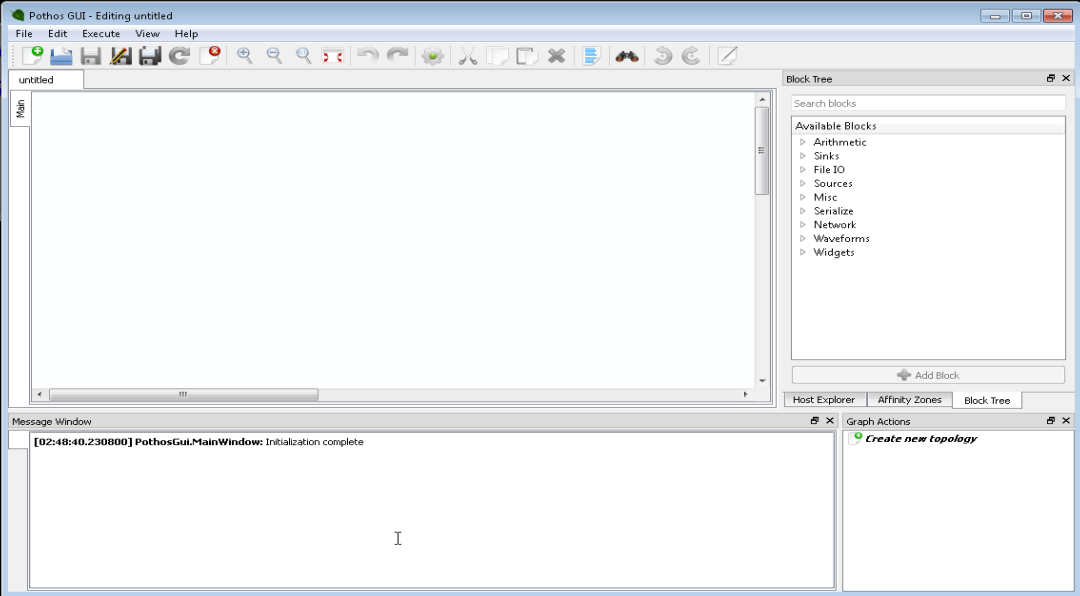
The following window should appear:
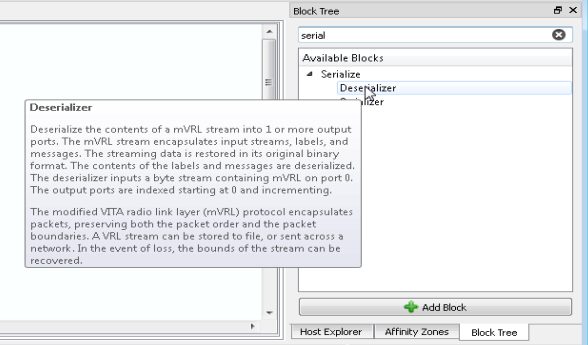
The block tree panel is a dockable widget that allows the user to browse through the available processing blocks. From the block tree panel, the user can view a selected block's documentation, and choose to insert the selected block into the graph editor. The block tree panel is a dock widget, and can be moved and re-positioned within the main window. If the block tree panel is not visible, make sure that "Block Tree" is checked under the view menu.
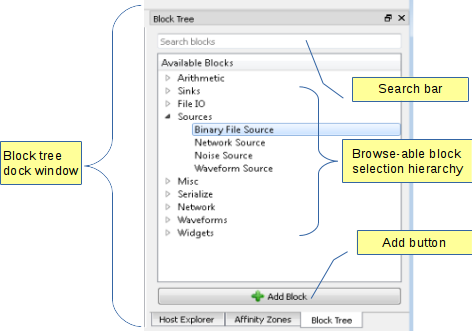
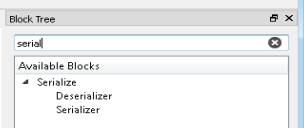
To search the block tree for a given block, enter keywords into the search bar at the top of the block tree. In addition, hit the Ctrl+F key sequence at any time to make the block tree visible, and give focus to the search bar.
Mouse-over a block to view its associated documentation.
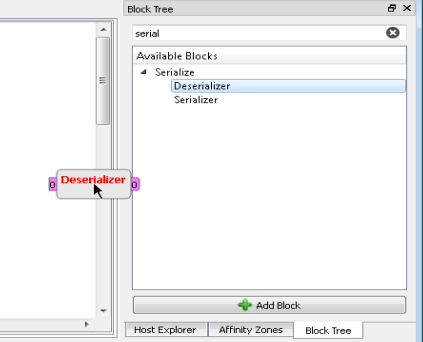
Use the mouse to drag and drop blocks from the block tree into the graph editor. In addition, a block can be added to the editor by double clicking the selection or by clicking the "Add Block" button.
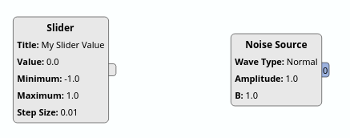
To modify the parameters of a block, double click on the block or select the block and choose Edit -> Object Properties from the menu. The properties panel dialog will appear. Use this panel to change various parameters, and click "Commit" button when done editing.

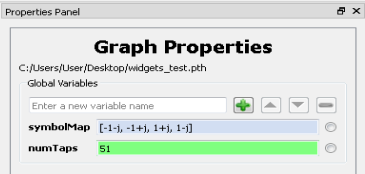
Create graph-wide global variables to reduce duplication of block parameters. To modify the global variables of a graph, double click the background or select the block and choose Edit -> Graph Properties from the menu. The properties panel dialog will appear. Use this panel to create and modify global variables, and click "Commit" button when done editing.
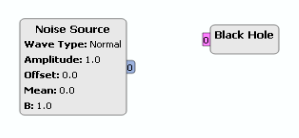
Connections describe a flow of data from a data provider (an output) to a data consumer (an input). A block has two types of data providers: output ports and a signal emitter. A block has two types of data consumers: input ports and a slot acceptor.
To create a streaming connection, click on a output streaming port, and drag the mouse to an input streaming port. Acceptable connections points will highlight green. Release the mouse over the desired area and a connection will be created from the output port to the input port.
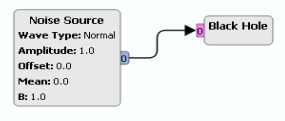
To create a signals and slots connection, click on a block's signal emitter, and drag the mouse to the main body of the block. If the block has available slots, then the body of the block should highlight green. Release the mouse over the block and a connection will be created from the signal to the slot.
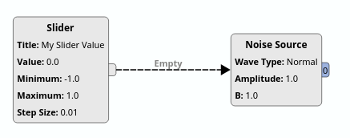
Next, the connection must be configured by selecting from a list of available signals and available slots. The new signals and slots connection will have the text "Empty" on it. Double click on the connection to open its configuration panel.
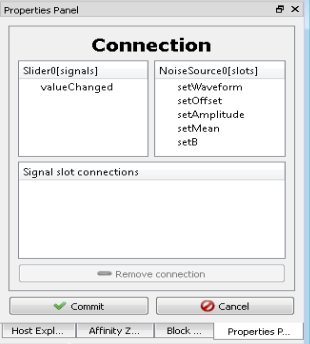
The configuration panel allows users to connect individual signals and slots by name. Click on an available slot to select it, and then click on an available signal. A new connection between the selected signal and slot will appear in the list.
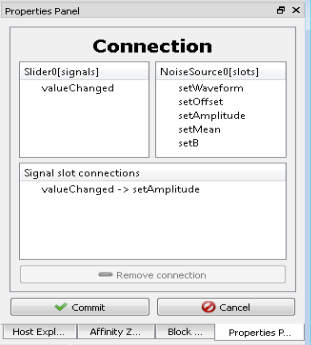
Click the "Commit" button to apply the changes.

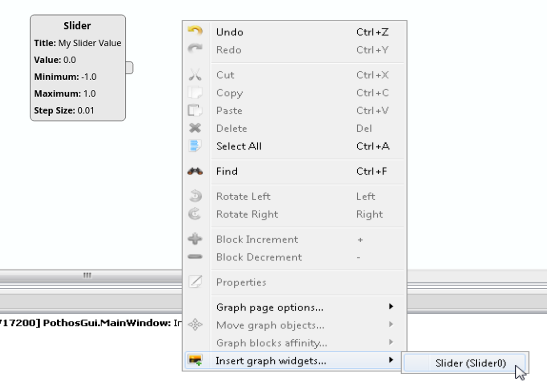
Some blocks have an associated widget which can be inserted into the graph editor.
Right click on the graph editor, or use the edit menu. The menu will have submenu called "Insert graph widgets...". This submenu contains a list of available graphical widgets which can be inserted into the editor. Select one of the available widgets from the list, and a new widget will appear in the editor.
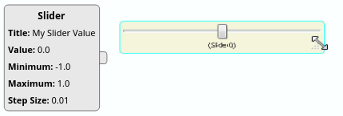
Graphical widgets can be moved around the editor and resized. Simply mouse over the widget and a size-grip will appear. The size grip can be used to move and resize the widget.
Topology designs can be split across multiple pages to better organize the design or when a design cannot fit within a single page. In addition, graphical widgets can be moved to a display-only page to create a top-level visualization and control interface.
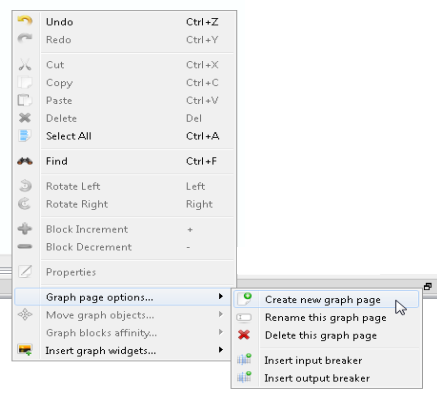
To create a new graph page, select the Edit menu or right click on the editor to open a context menu. Choose the "Graph page options..." submenu and click on "Create a new graph page":
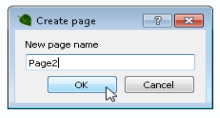
A dialog will appear asking the user to create a name for the new page. Enter a unique name for the new page:
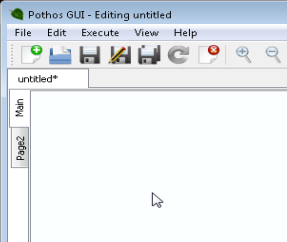
The new page will appear a new tab on the left side of the graph editor. Click on the tab to switch between graph editor pages:
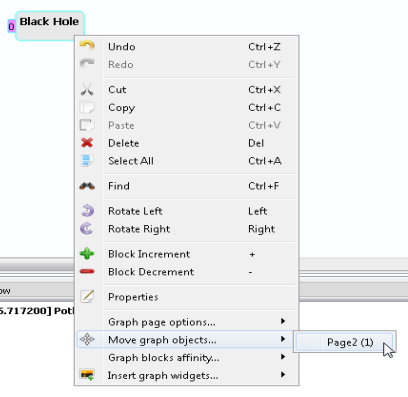
To move graph objects to another page, first select one or more graph objects. Then select the Edit menu or right click on the editor to open a context menu. Choose the "Move graph objects..." submenu and select one of the available pages:
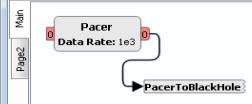
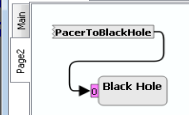
Breakers allow connections to traverse across graph pages. Input breakers connect with output ports and signal emitters. Output breakers connect with input ports and slot acceptors. Each breaker has an associated node name. All breakers with the same node name are considered tied-together.
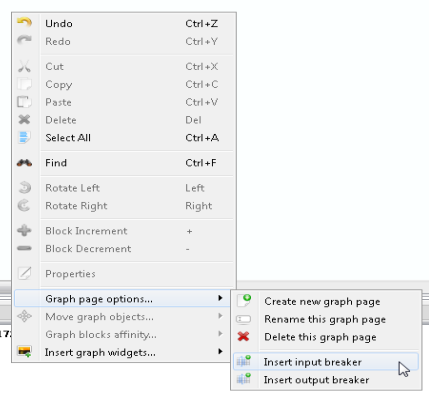
To create a new breaker, select the Edit menu or right click on the editor to open a context menu. Choose the "Graph page options..." submenu and click on "Insert input/output breaker":
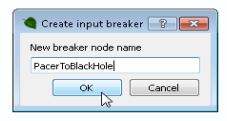
A dialog will appear asking the user to create a node name for the new breaker:
Breakers follow the same basic rules for creating connections. Click on the data provider, then click on the data acceptor. A new connection will be created.
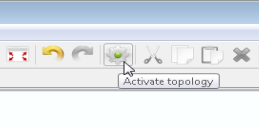
Click the activate button in the toolbar or choose "Activate topology" from the "Execute menu". The design will begin to run and flow data across the connections. To deactivate the topology, simply click the button again.
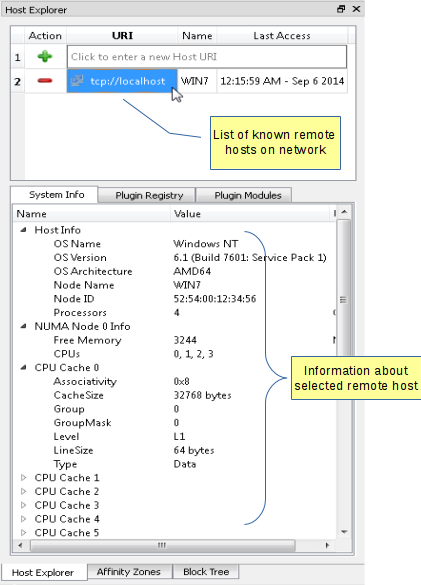
The host explorer panel is a dockable widget that allows the user to browse through the available remote hosts. From the host explorer panel, the user can add and remove available hosts, and view information about each host. The host explorer panel is a dock widget, and can be moved and re-positioned within the main window. If the host explorer panel is not visible, make sure that "Host Explorer" is checked under the view menu. By default, an entry for "localhost" will always be available.
Attention: Learn more about remote hosts and the Pothos proxy server on the Remote control guide.
The affinity zones panel is a dockable widget that allows the user to configure a "domain of execution". This domain includes which host, CPU affinity, number of threads, and more. The affinity zones panel is a dock widget, and can be moved and re-positioned within the main window. If the affinity zones panel is not visible, make sure that "Affinity Zones" is checked under the view menu. By default, an entry for a "default" zone will always be available.
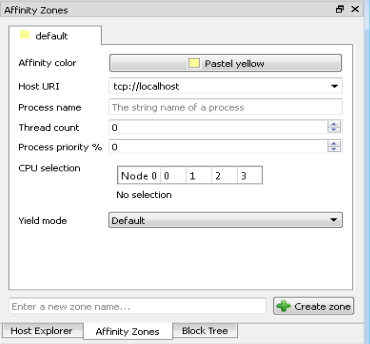
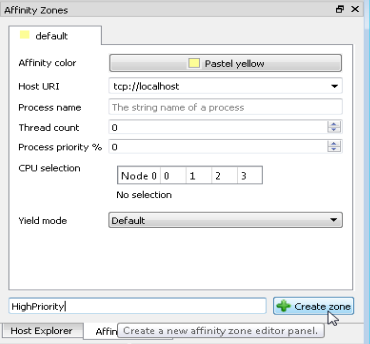
To create a new affinity zone, open the the affinity zones panel. At the bottom of the panel, enter a unique name into the text entry and click "Create Zone".
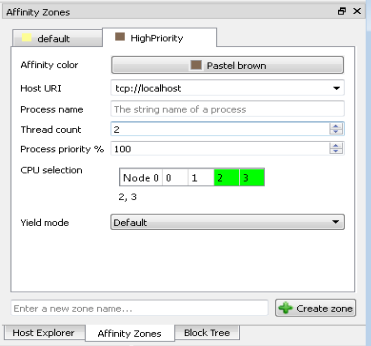
A new tab will appear for the affinity zone that you just created. Modify the properties in the panel as desired. Affinity zone changes are host-wide and will be saved to a global configuration file.
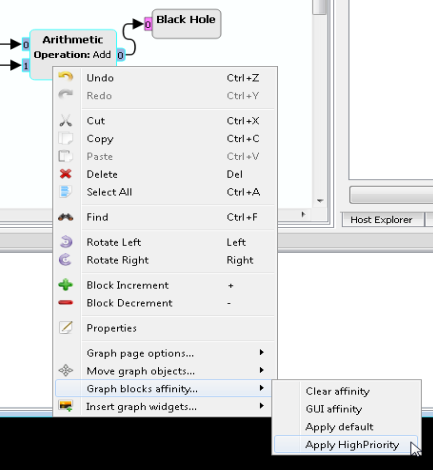
To apply an affinity zone, first select one or more graph blocks. Then, select the Edit menu or right click on the editor to open a context menu. Choose the "Graph blocks affinity..." submenu and click on an available affinity zone:
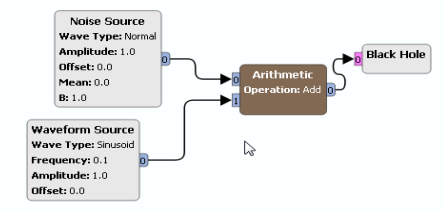
The modified blocks will take on the color chosen for the selected affinity zone:
When a block is created, its affinity zone is "clear" or not set. This is not the same as the "default" affinity zone available in the menu, which can be customized. When the affinity zone is not set, the block will execute on a dedicated localhost process with default thread pool settings.
Graphical widgets will always be assigned to the "GUI" affinity zone to guarantee that the widgets will be instantiated in the same process as the main GUI. The GUI affinity zone does not have an entry in the zone editor, but is always available in the "Graph blocks affinity..." submenu.
The user may choose to move blocks into the GUI affinity zone. The reason that blocks do not run in the GUI zone by default is that "bad" blocks that abort or segfault can crash the process, and this would cause the GUI to crash in-turn.