How to update Raspberry Pi Images for Vision
- A computer with SD card reader/writer
- A micro SD card (with SD adapter, if needed for reader)
- Network connection
- Raspberry Pi
-
The instructions outlined under "Process" (below) assume that you're using a Microsoft Windows computer.
- The same tasks can be done using a Mac/Linux/ChromeOS box, but some pieces (e.g., the software used to burn the image to an SD card, or to clone it for backup after configuration) will be different.
- See the Raspberry Pi website for some additional information.
-
Always try to use a second SD card when installing a new Raspberry Pi image.
- This allows you to keep the SD card already in use for vision on the robot as a fully-configured fallback, just in case anything goes wrong during setup.
- It's also a good idea to keep the card configured with the old software as a backup for at least a little while (e.g., until after the new image has been fully tested and proven to be working as needed).
- Get SD card with adapter and plug into computer, the opening on the computer should look something like this
- Then go to https://github.com/wpilibsuite/WPILibPi/releases and scroll down until the downloads are shown they will be under the Assets drop down menu(see image) the download you want to click will be something like this: WPILibPi_image-v2021.3.1.zip the numbers will be different due to the latest release available.
- Save the download release into the file explorer where it can be accessed for later.
- Launch the "Etcher" app.
- If this is not installed on the machine, go to https://sourceforge.net/projects/etcher.mirror/, download the installer, then install the application on the machine.
- After launching "Etcher", a grey tab will open and you need to click the button flash from file
- Select the file that you have downloaded earlier and then select the SD card in the menu that appears.
- Once SD card is flashed you have updated it, but its setting have been reset to default (e.g., wrong team number, camera customization and vision processing app are lost, etc.). It is recommended that you plug the SD card back into the Raspberry Pi in order to change its setting to its correct ones.


- Plug the SD card into the Raspberry Pi on the robot, and then turn the robot on.
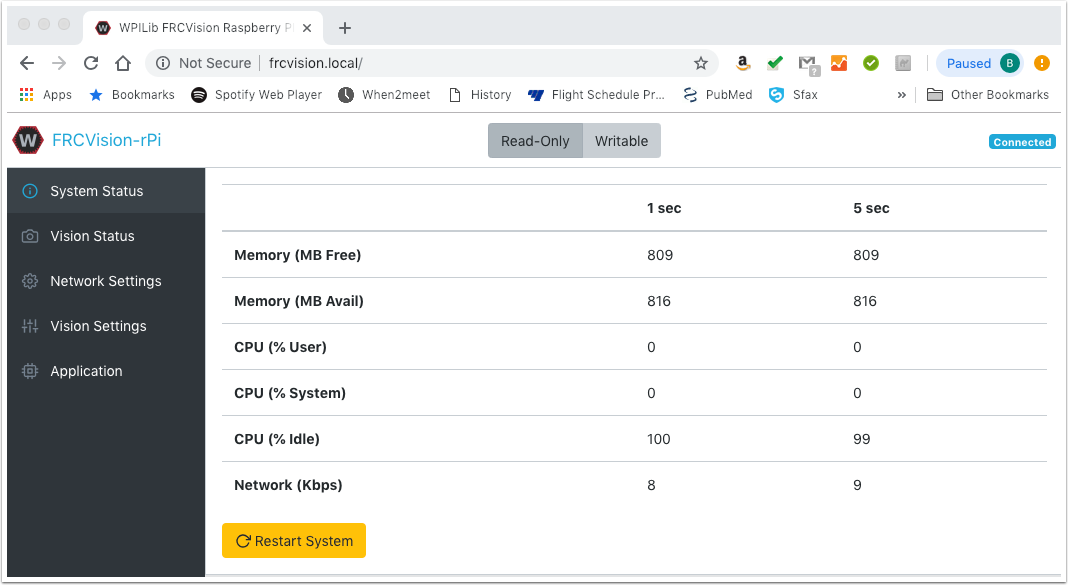
- Connect to it through the Robot's radio (the same way as you would connect to any wifi network).
- Open a browser and type http://wpilibpi.local/ into the browser search bar.
- It is recommended to stay in the "Read Only" mode for as much as possible. When switching one of the settings first switch into the Write mode, save the changes, and then switch back to "Read only" mode.
- The following settings need to be altered (you will need to toggle tabs on the left hand side of the screen in order to get to the settings):
- Change the team number to your current team number (e.g., "2656").
- Change the Camera Resolution to the according resolution and frames (check with coaches).
- If an app should be installed on the RasPi for vision process (e.g., as was done for "Infinite Recharge At Home"), upload it to the RasPi.
- TODO: Add steps for how to confirm the settings added above, especially camera.
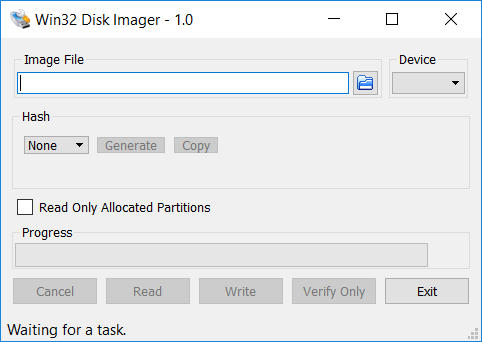
- After updating the configuration, create a back up image on your laptop by first removing the SD card from the RasPi, putting it into the adapter, and plugging it back into the computer.
- Open Windows Disk 32 Imager.
- If the computer doesn't have the application, it can be installed from https://sourceforge.net/projects/win32diskimager/.
- If the computer doesn't have the application, it can be installed from https://sourceforge.net/projects/win32diskimager/.
- Create a place for the imaging file to be placed and then read the SD card. Once the SD card is read, there is now an image backup on the computer.
- Note: To re-image other SD cards, you can use the backup image (rather than the "default" version downloaded from GitHub) and follow steps 4 - 6 from the "Burning the new image" section (above), using the backup copy on the computer.
- The settings should not need to be changed when using the backup image, as it is already configured for the team's robot.