IntelliJ Setup
Everything shown below is the one-time process required to get the project setup
-
Clone the project
-
Fire up IntelliJ (stock community edition shown)

-
Configure the
GMavenPluspluginWe recently switched away from the
gmaven-pluginas it has not had a new release since 2013. The GMavenPlus plugin is under active development.However, IntelliJ supports the
gmaven-pluginas a default plugin.GMavenPlusmust be installed manually.-
Open the
pluginsfrom the main IntelliJ screen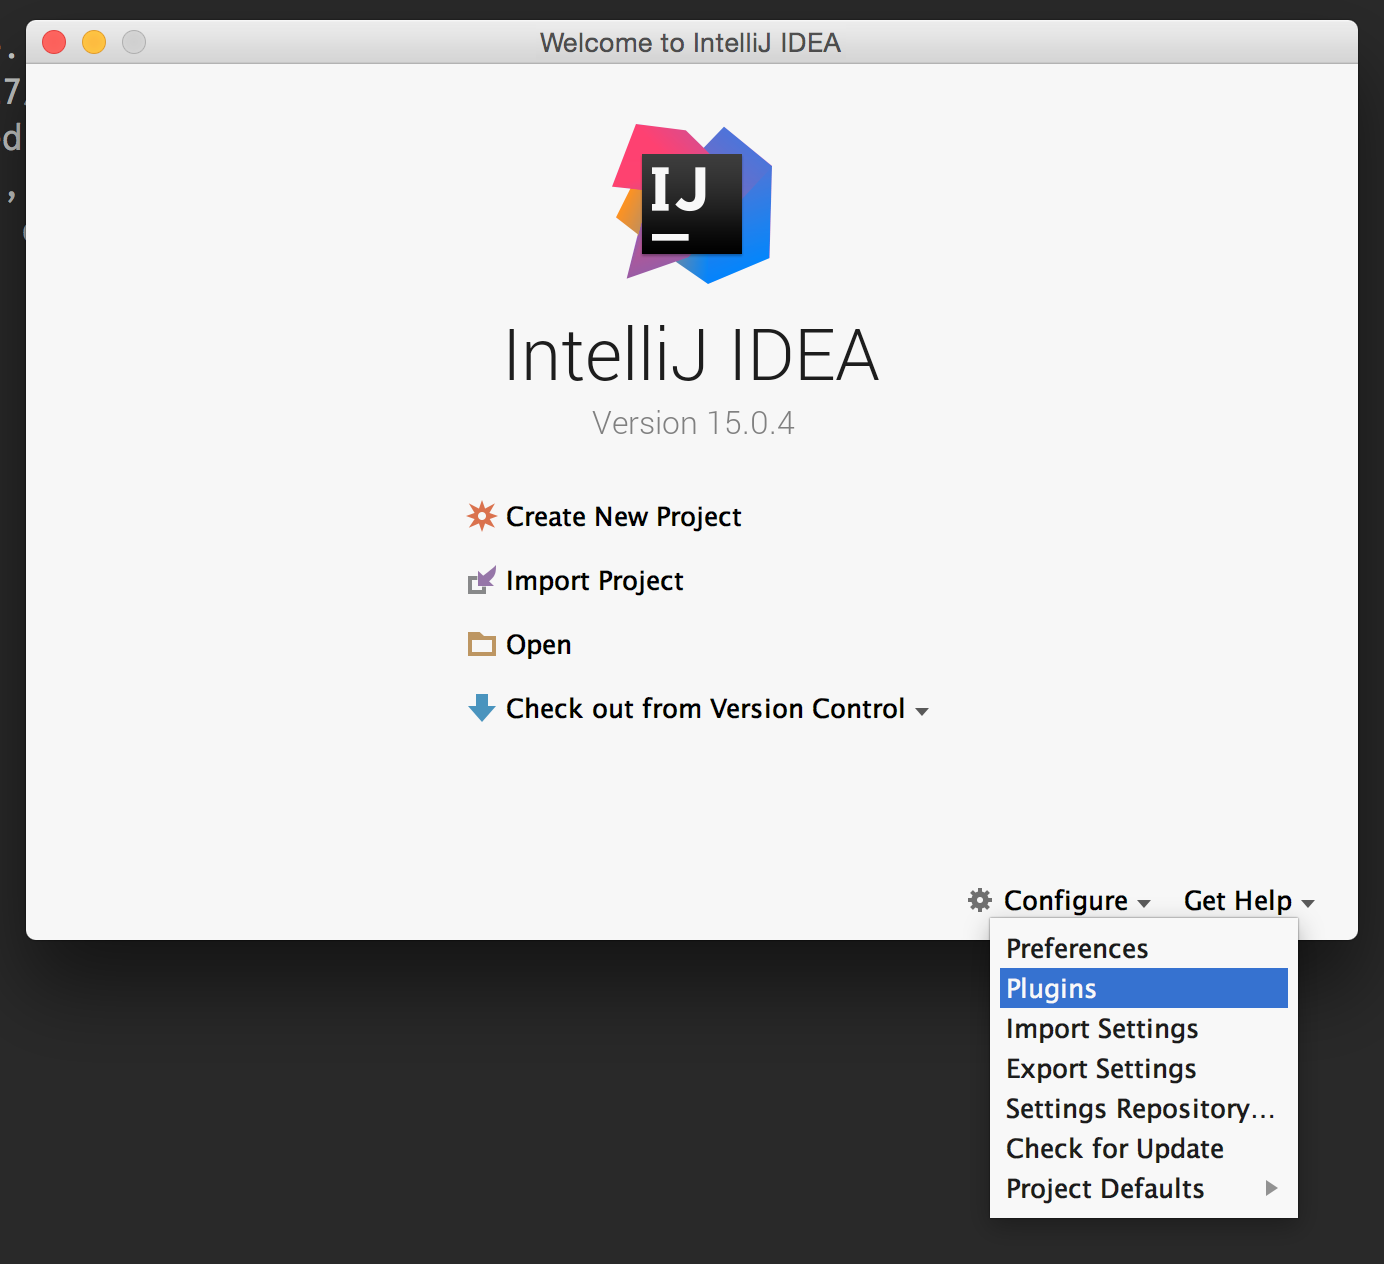
-
Click the
Browse repositories...button at the bottom of the window.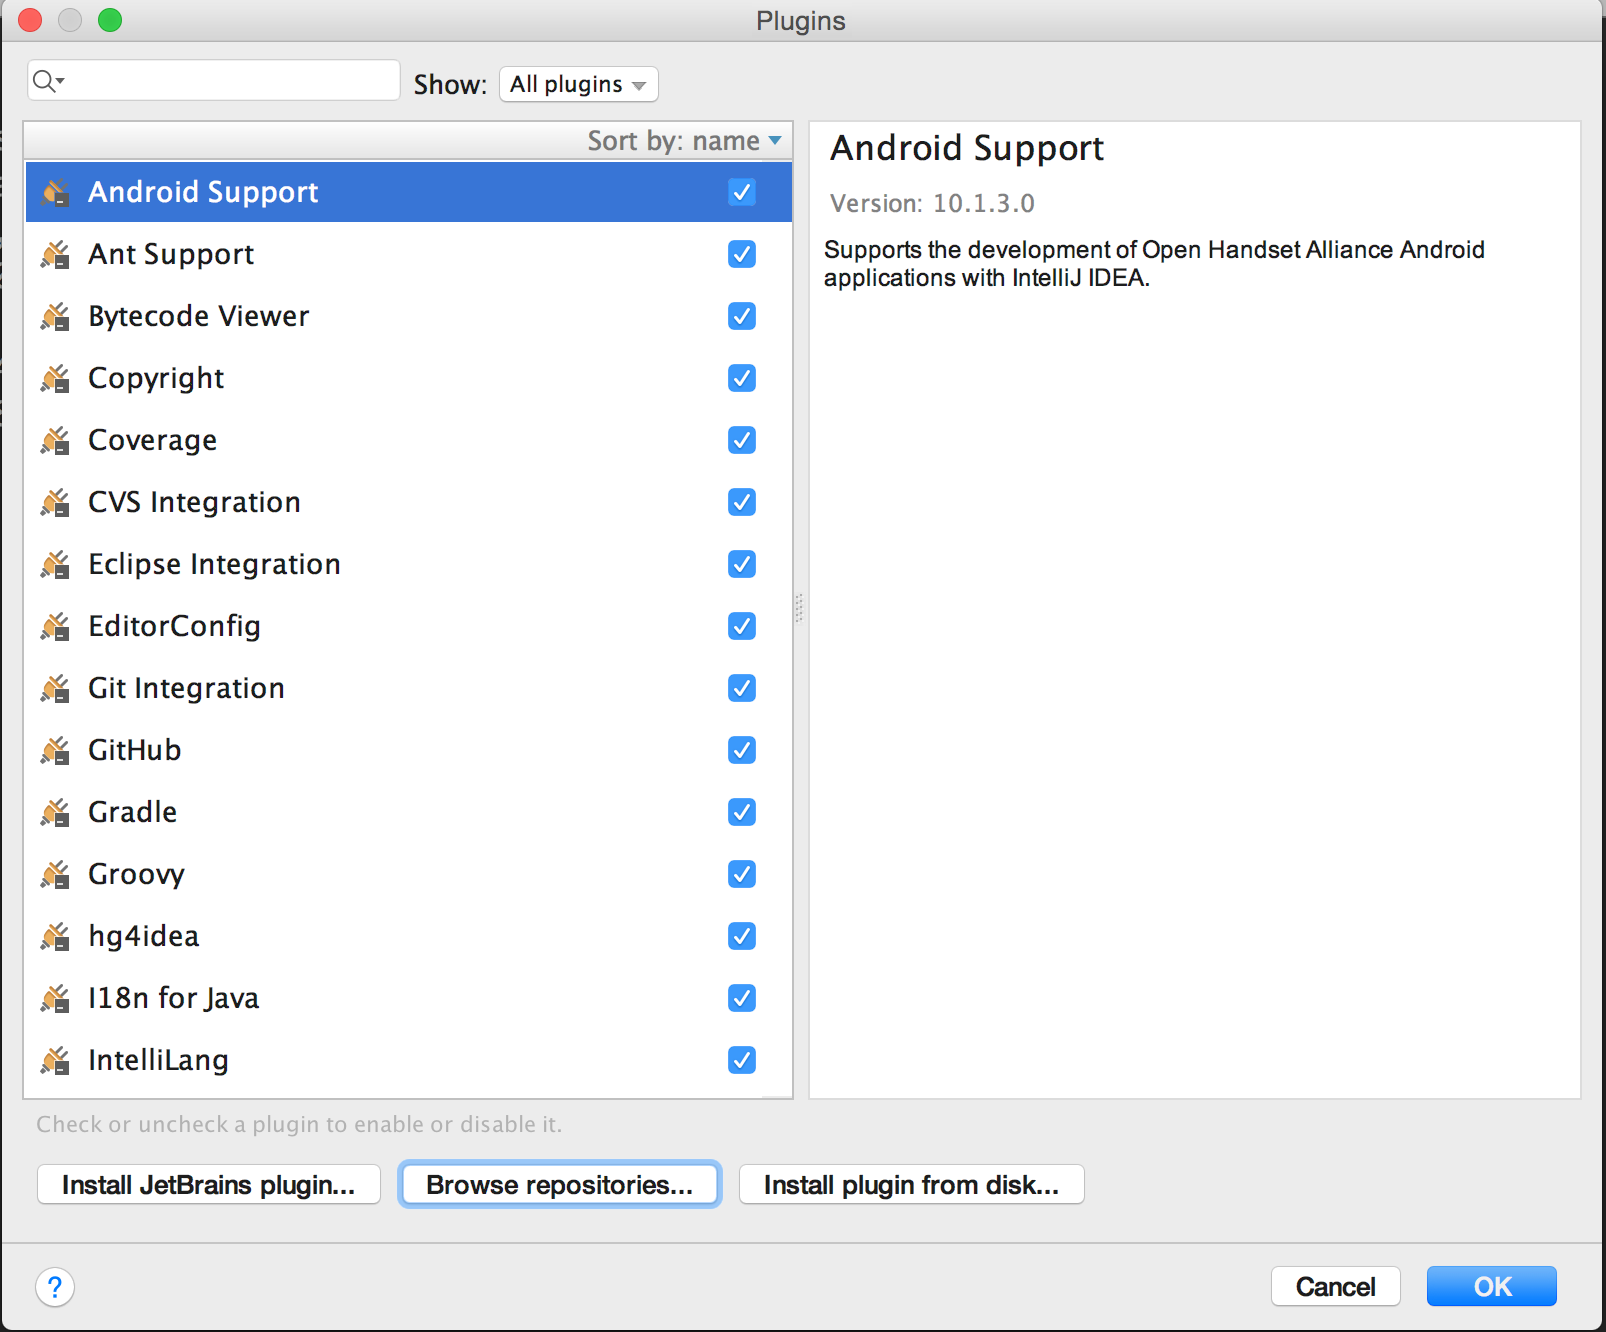
-
Type
gmavenin the search field at the top and click theInstallbutton forGMavenPlus.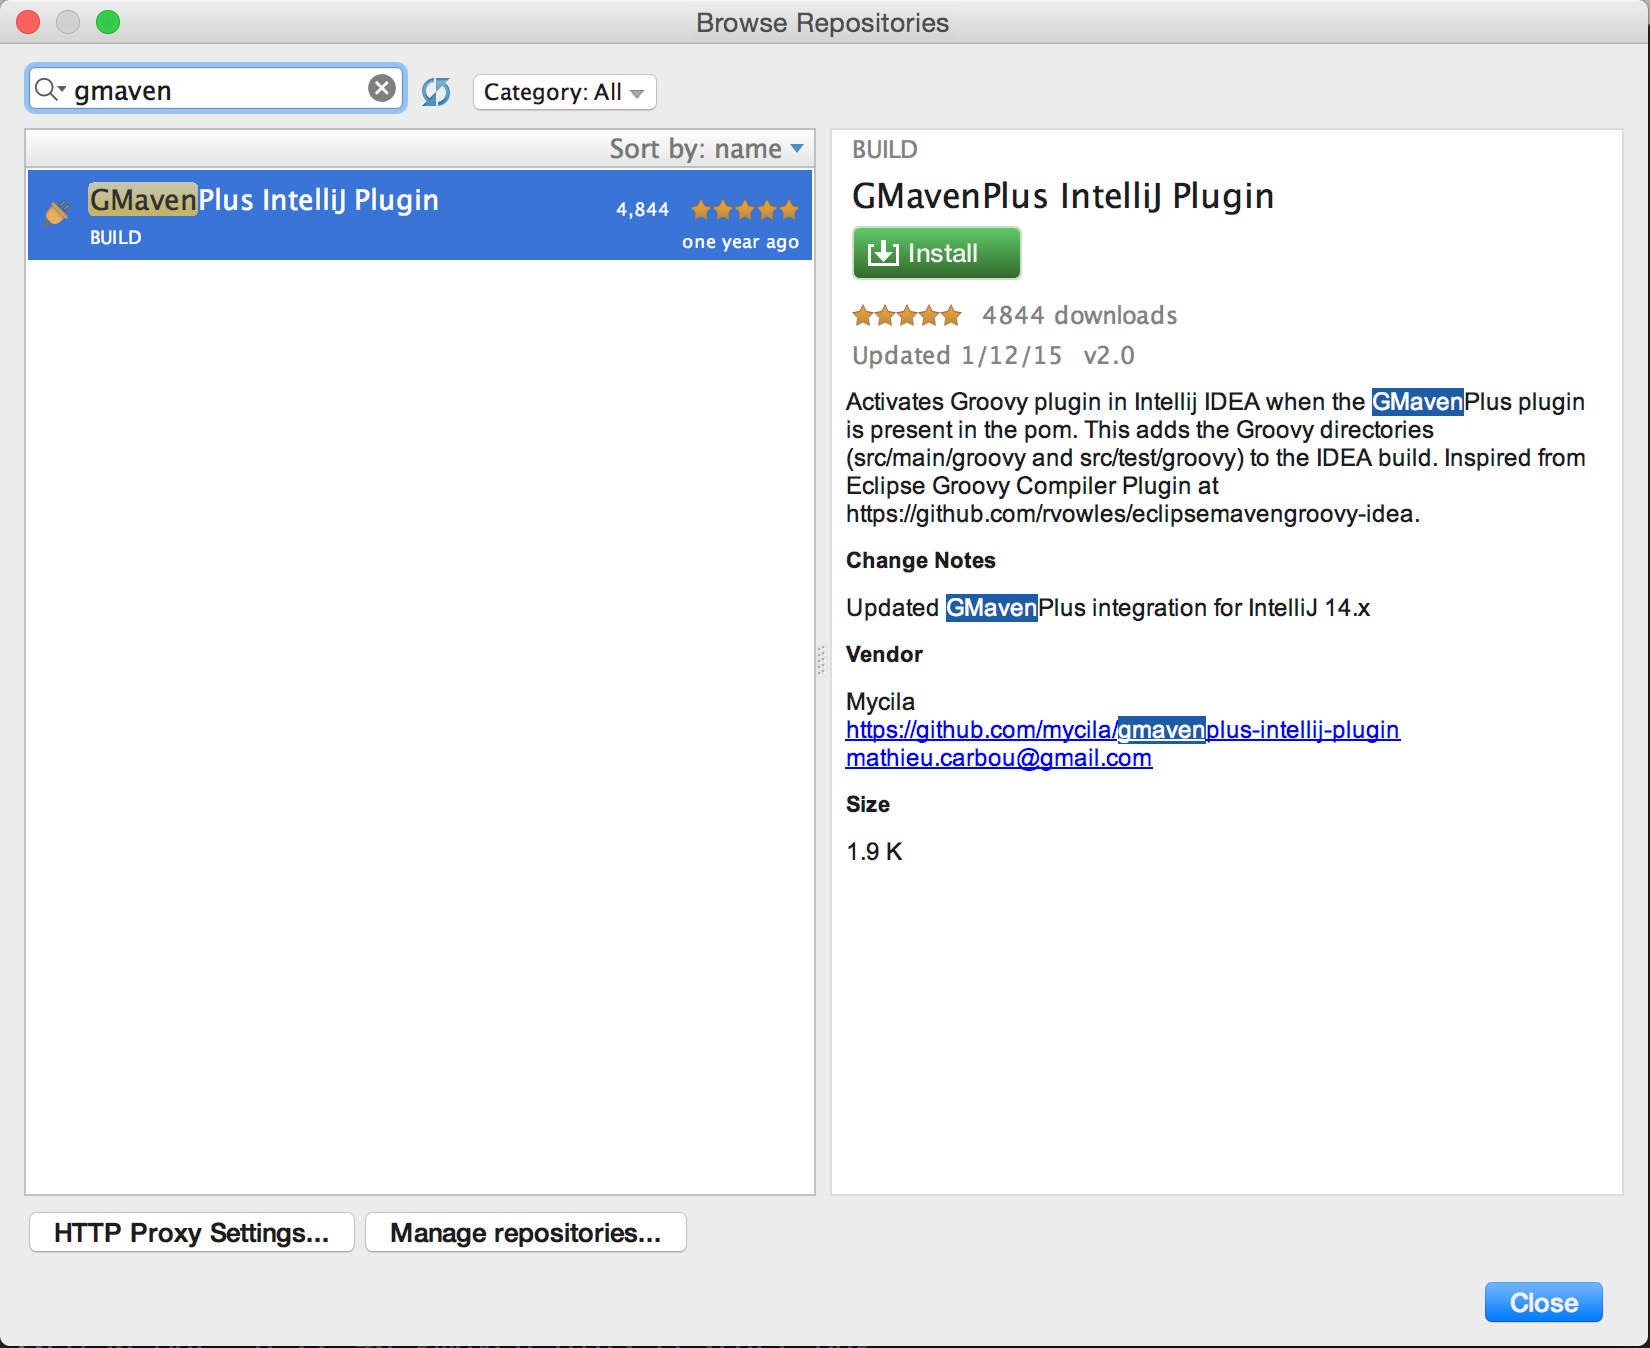
-
Click the
Restart Intellij IDEAbutton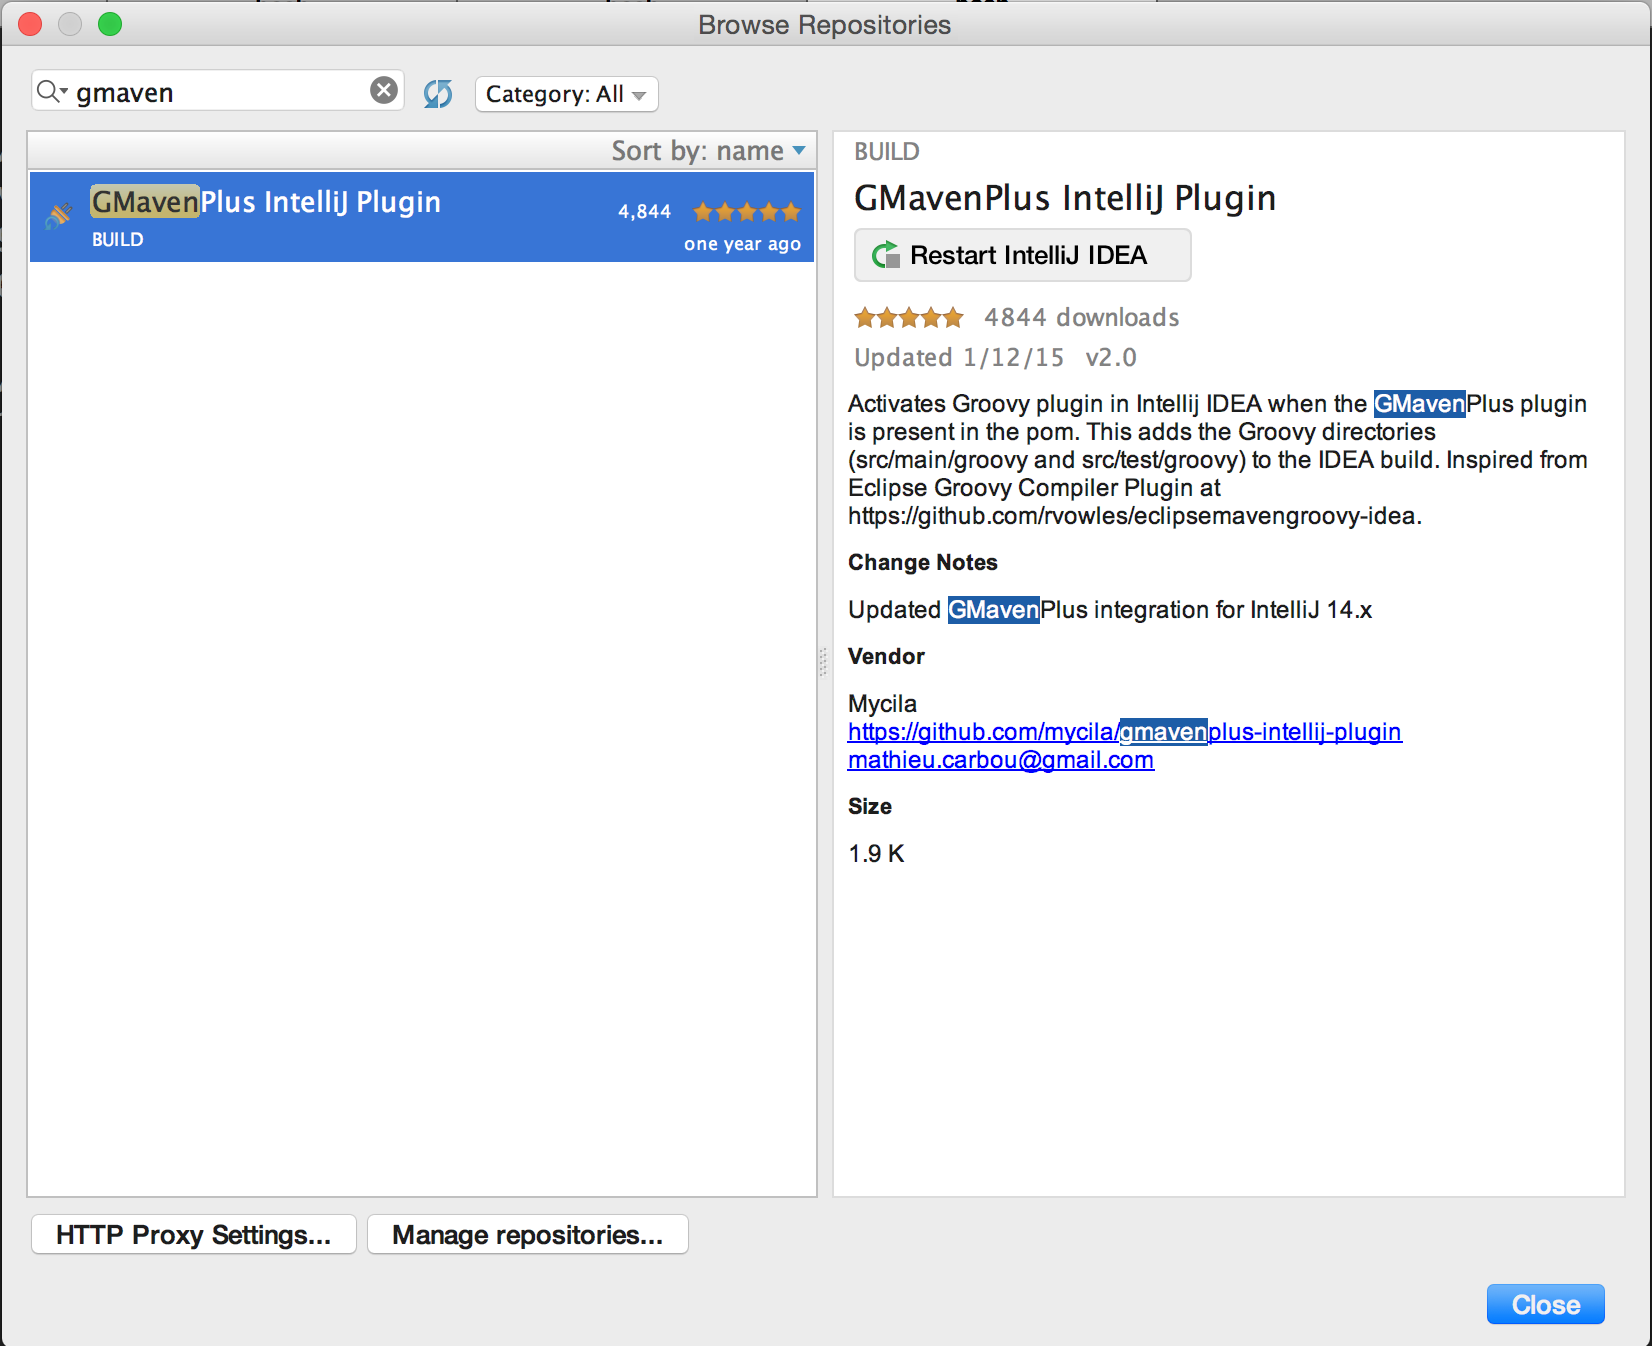
-
Click the
Restartbutton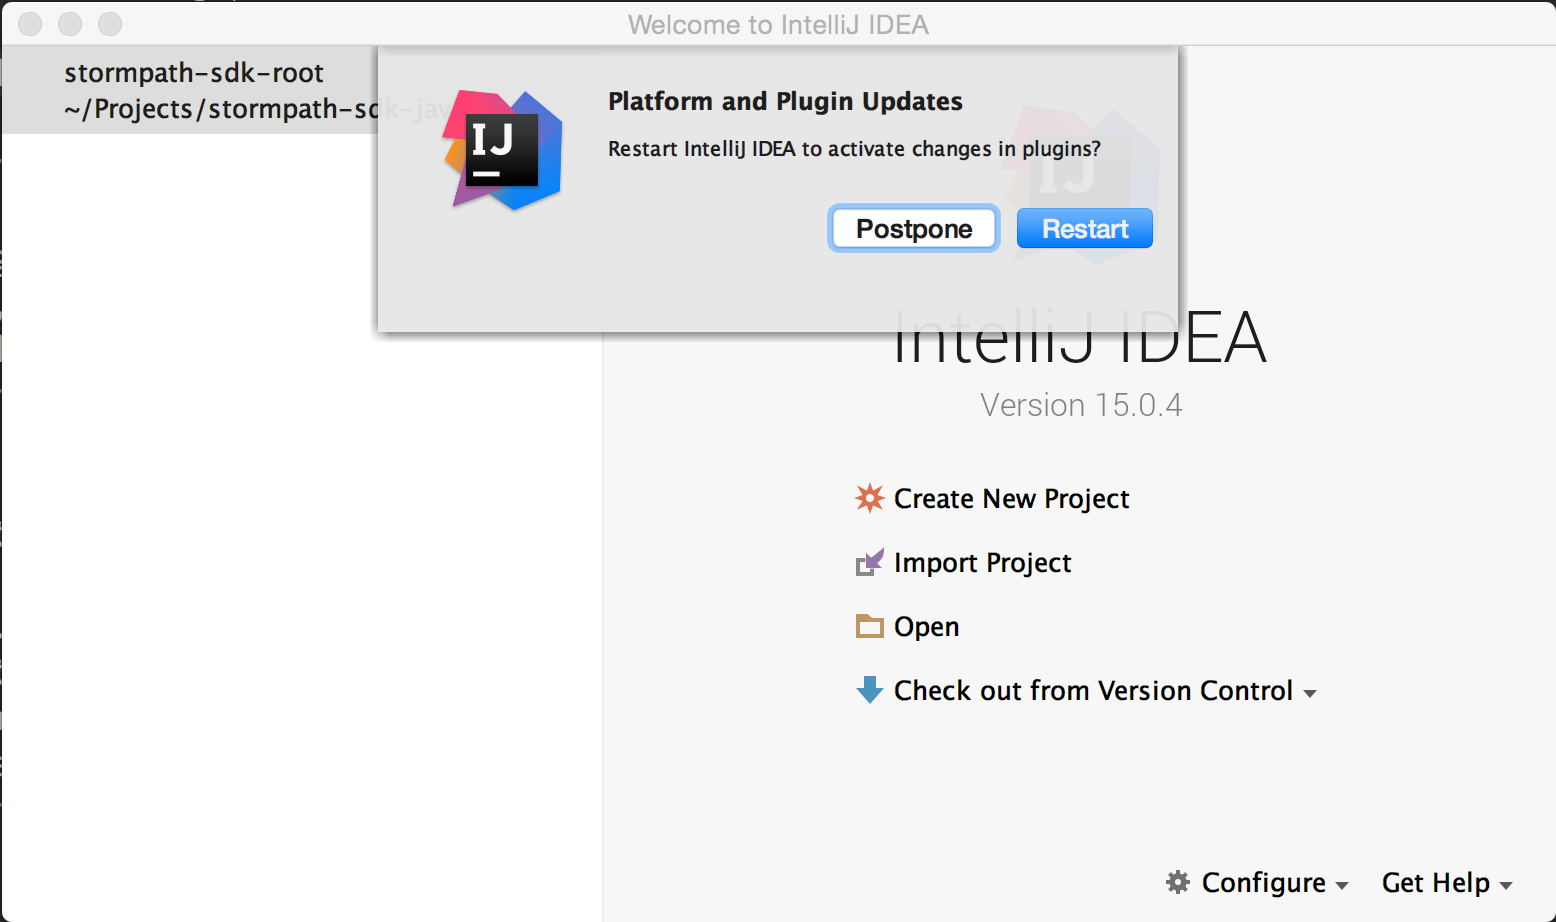
-
-
Click
Openand select thepom.xmlfile from thestormpath-sdk-javafolder. Click theOKbutton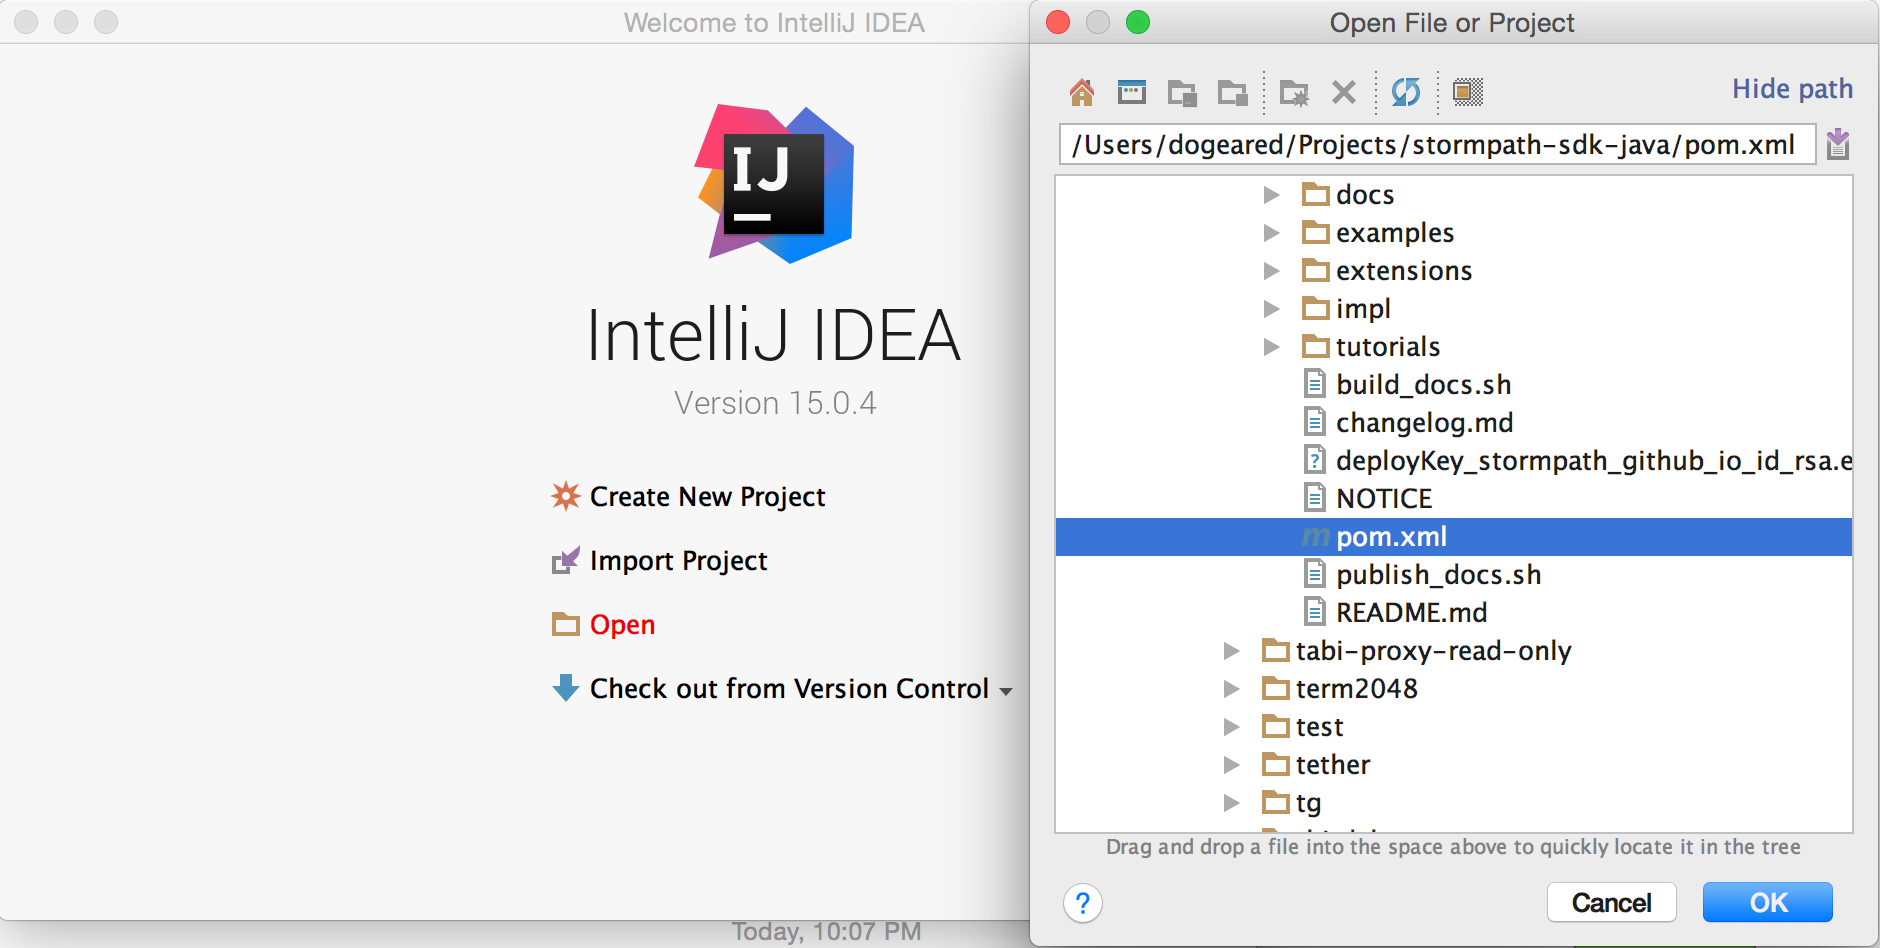
(Note: It may take up to a minute for IntelliJ to download all the dependencies and compile the project the first time)
-
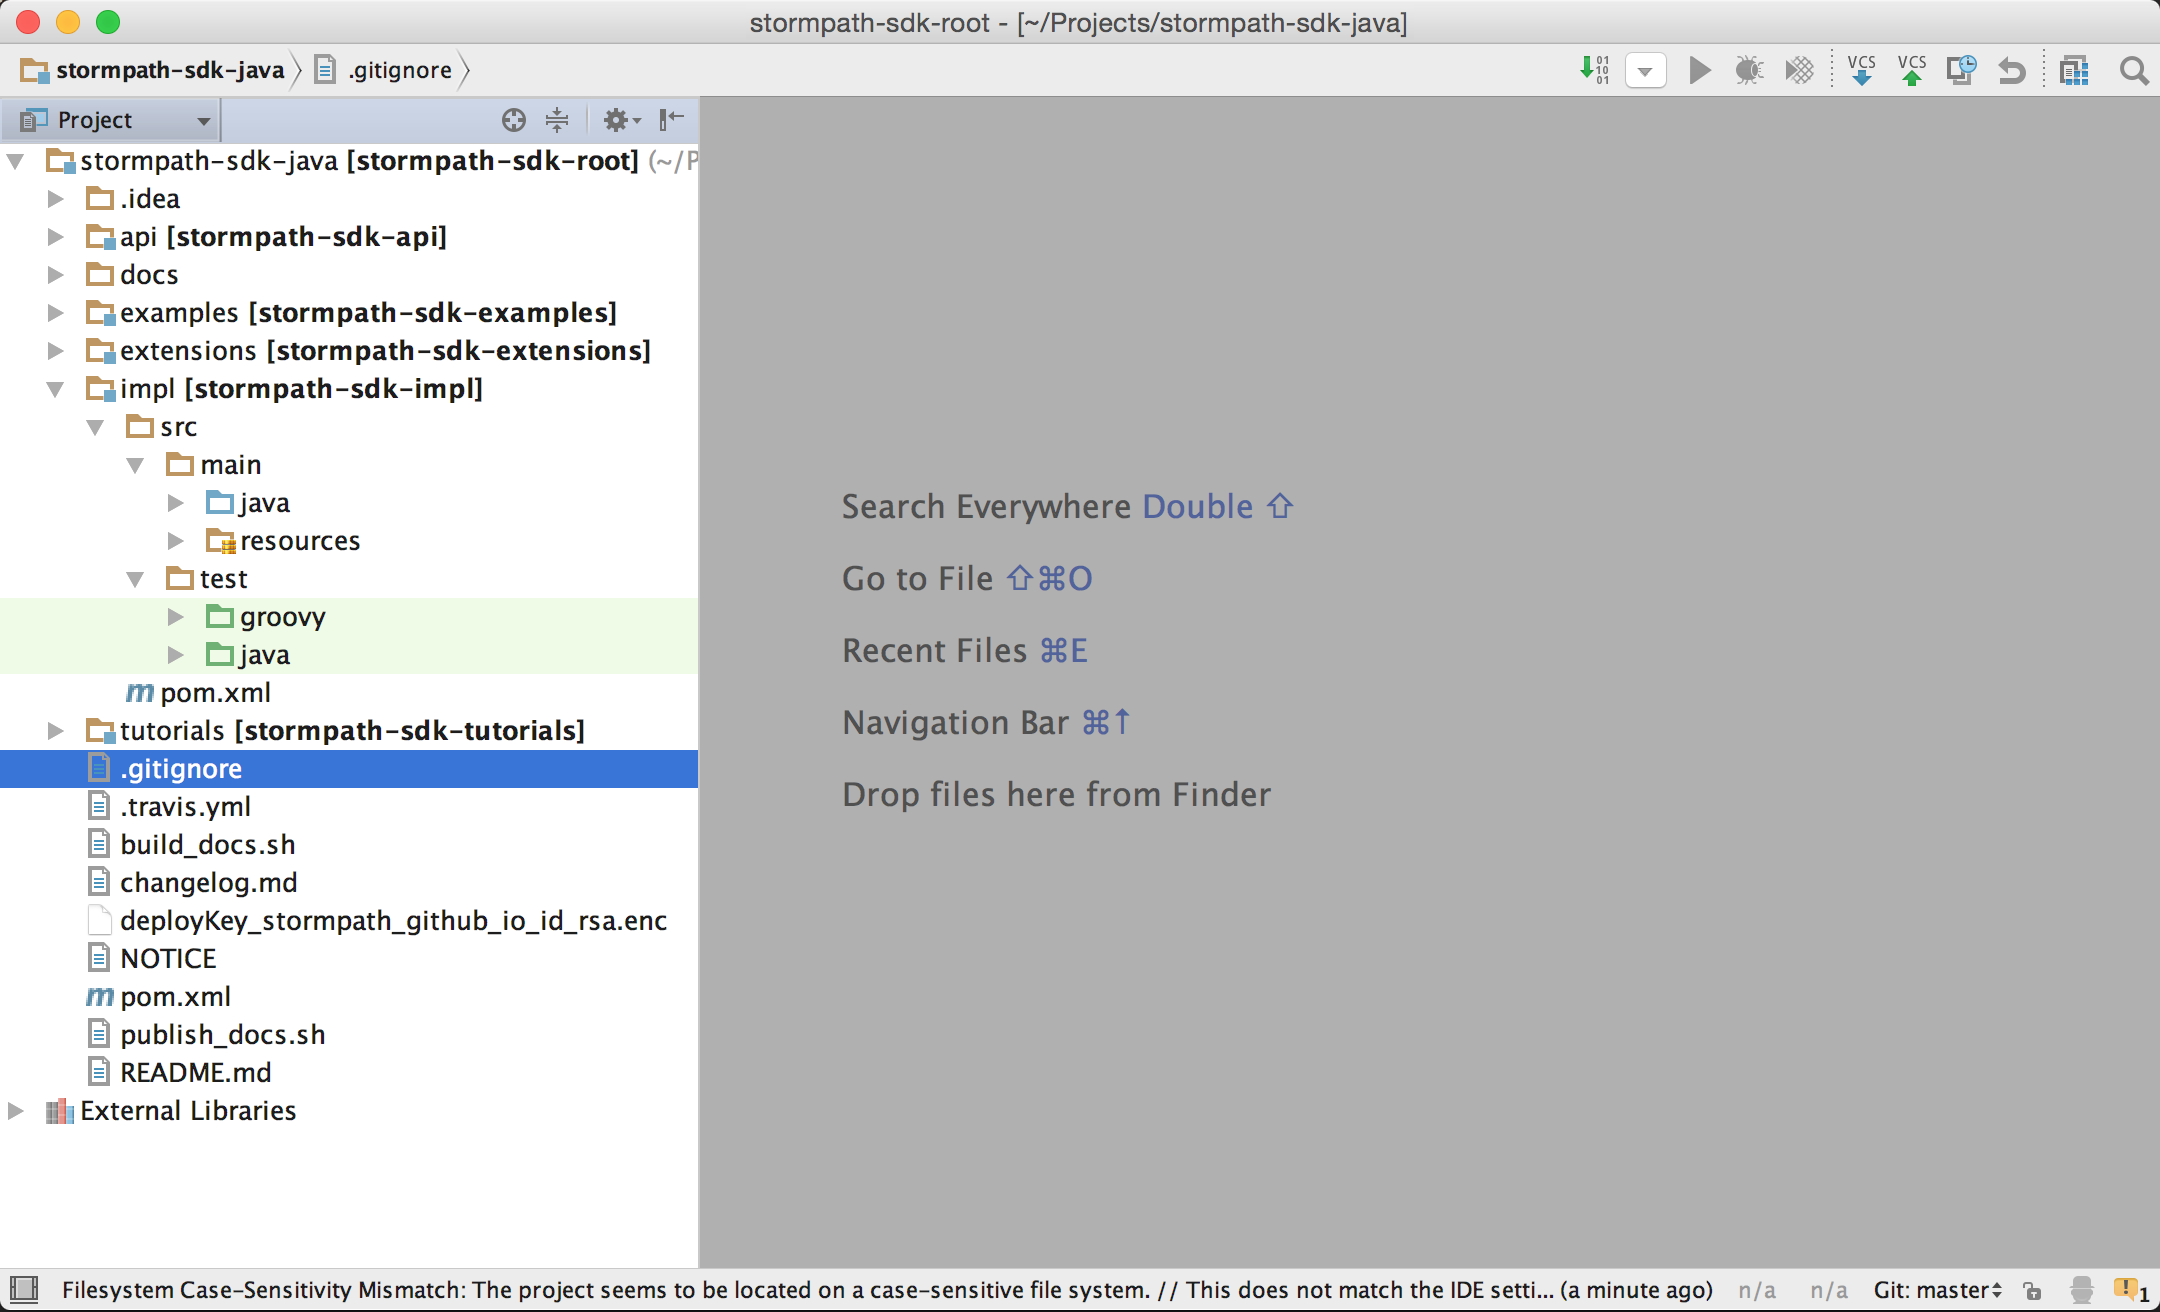
Confirm that project folders are identified properly by IntelliJ
When you expand one of the modules, say
impl- and look within the folders, you should see thesrc/main/javais colored blue. This indicates that it's source code.src/test/groovyandsrc/test/javashould be colored green, which indicates that it's test code.