-
Notifications
You must be signed in to change notification settings - Fork 11
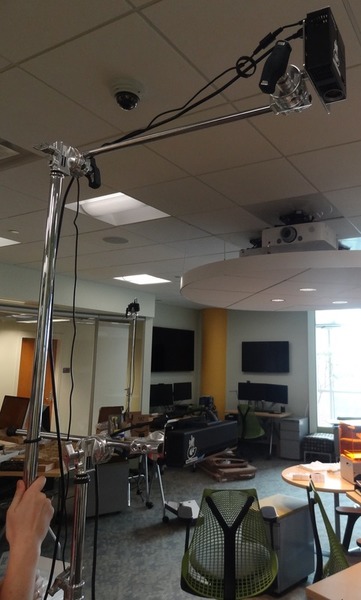
Alternative physical setups
Parts:
- Kupo 3 Way Clamp, for 1.0-1.4" (25 to 35mm) Tube
- Kupo Baby 5/8in (16mm) Stud 4.25in long for 3 & 4 Way Clamps
- Kupo Super Knuckle VESA Monitor Mount Kit
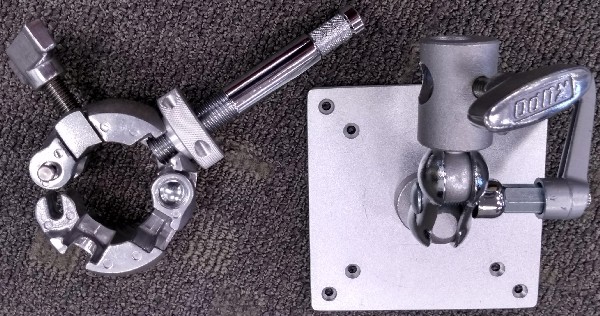
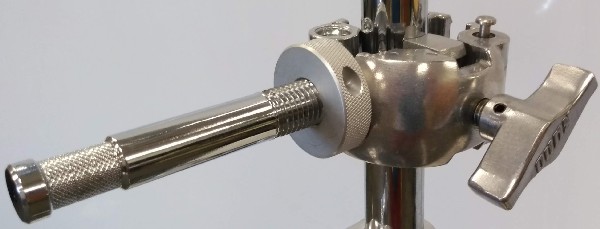
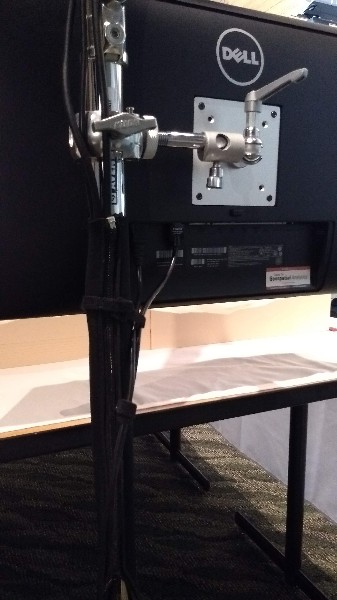
Parts:
- Avenger A2030DKIT Steel 40-Inch Detachable Base C-Stand with Grip Kit
- The 40in arm was split into 1/3 and 2/3 pieces with the longer piece not having the grip head and the 1/3 piece with fixed grip head is unused, so any 5/8in (exact) tubing would work.
- Avenger D200 2.5-Inch Grip Head
- Kupo Universal Projector Mount
- Kupo 3 Way Clamp, for 1.0-1.4" (25 to 35mm) Tube
- Kupo Baby 5/8in (16mm) Stud 4.25in long for 3 & 4 Way Clamps
- Optoma EH460ST Data Projector ($1000)
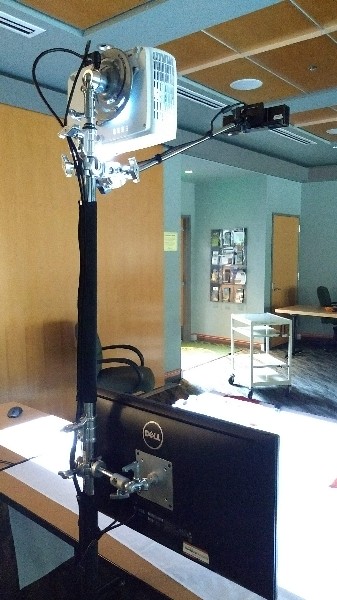
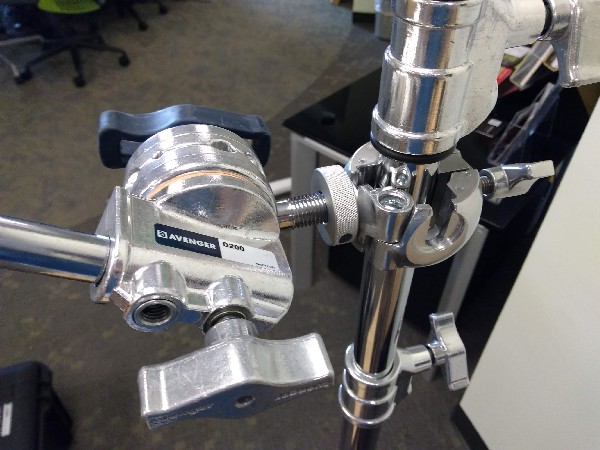
This guide assumes you have these parts:
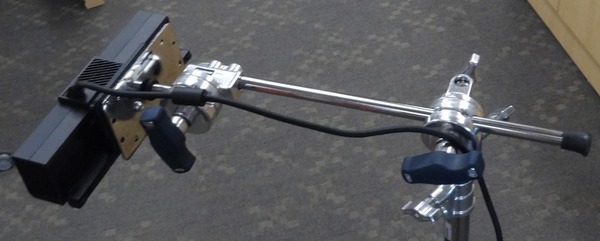
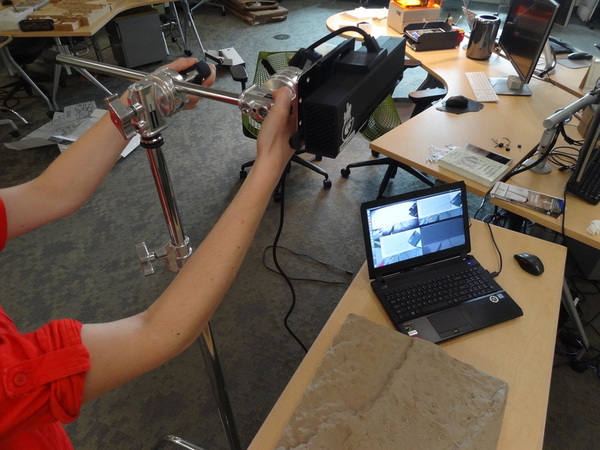
- 2x stand with base
- 40in version, 20in version if the stands will be on the table rather than next to it
- 2x grip head
- 2x arm with grip head
- 20in version should be enough for 40in version of the stand
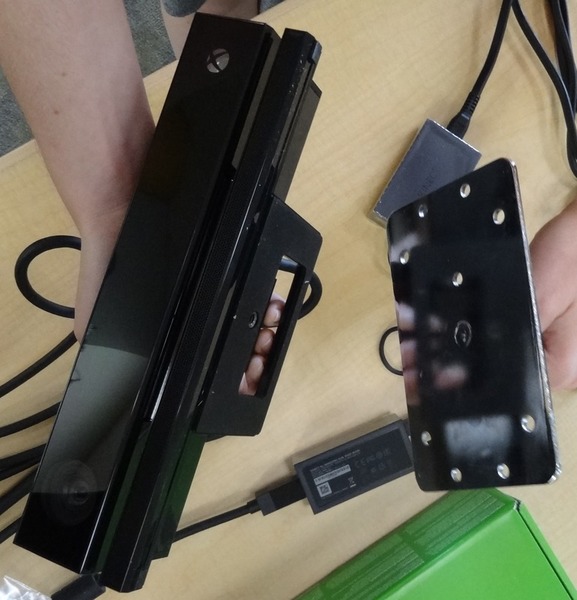
- 2x baby wall plate with baby pin
- 1x projector
- 1x sensor
- 2x screws (and possibly washers)
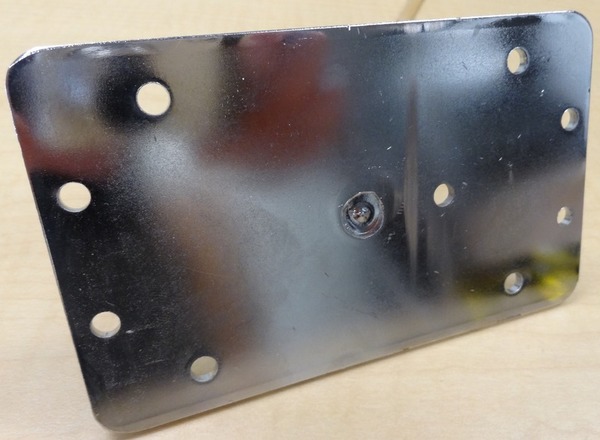
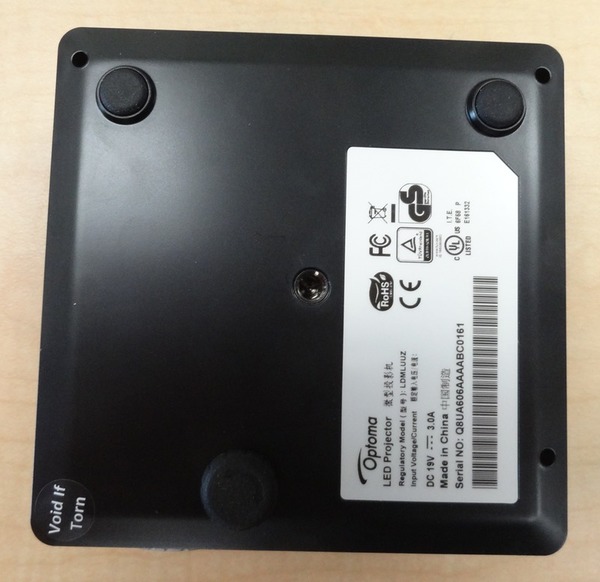
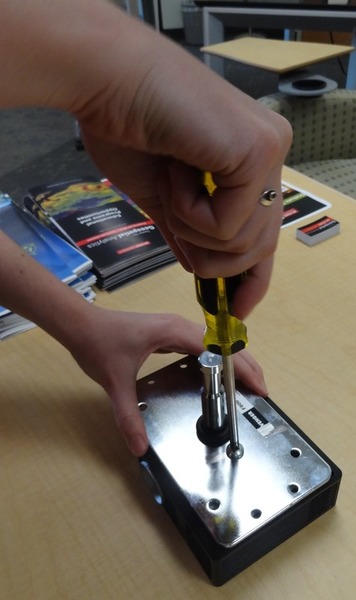
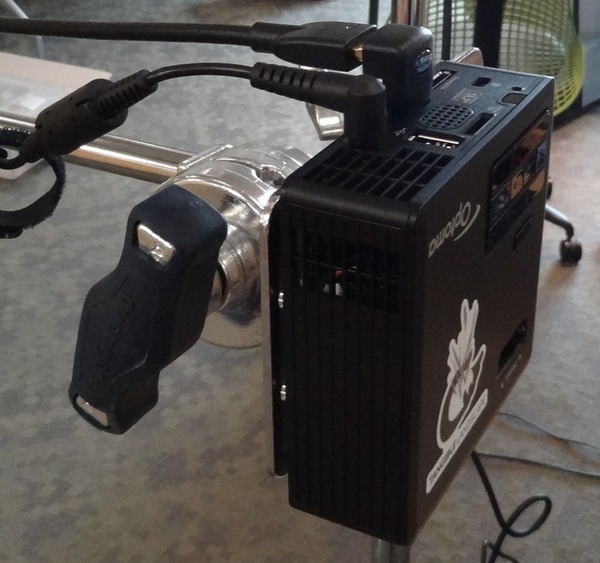
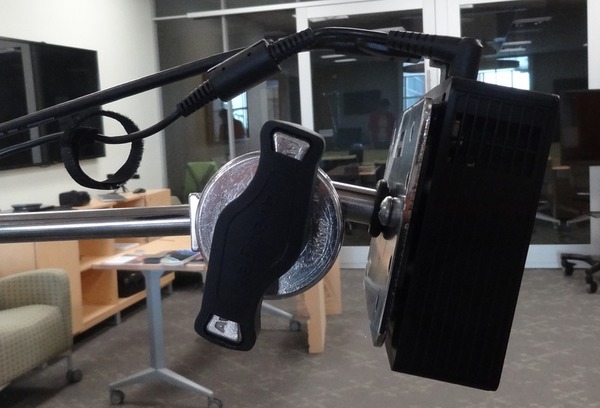
Drill extra hole close to the middle of the wall plate for the scanner and one or more holes for the project projector if you want to secure it with screws. Attaching with one screw on the side of the wall plate works well for the scanner and the hole in the middle is just aesthetics. For small projectors, such as Optoma ML750 WXGA 700, one screw is sufficient, but larger projectors need at least two, but ideally three. Small projectors usually have one camera screw hole while large projectors may have multiple screw holes of different sizes. Washers may be needed depending on the screw size, size of the hole in the plate and depth of the screw hole in the projector. You may need to drill your own hole(s) to the right potion(s). Strapping using velcros or tape is also possible.
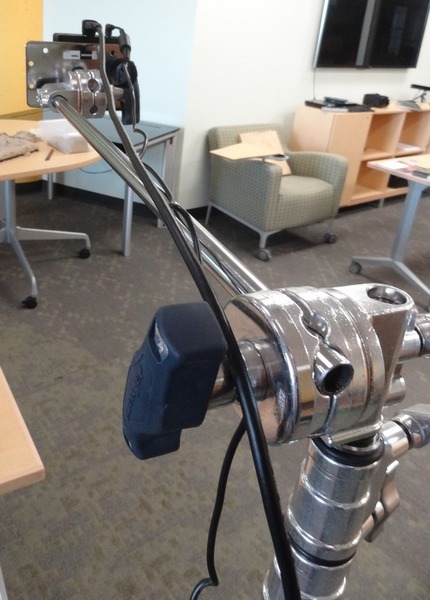
Once you will be putting the stands for sensor and projector next to each other, place the legs in parallel to each other in a way that the higher leg always goes over the one which is one level lower.
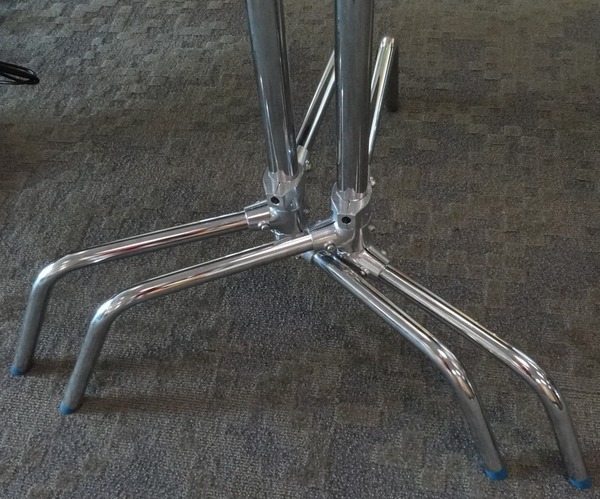
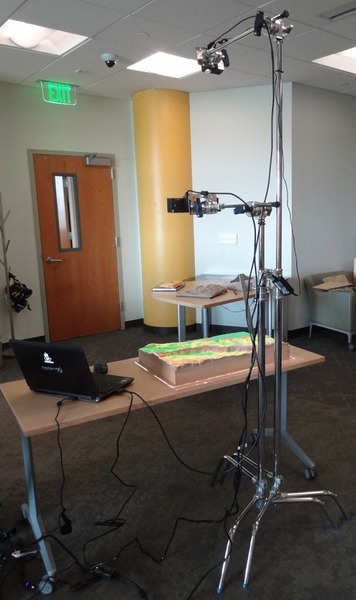
Projector:
- Optoma ML750 WXGA 700 Lumen 3D Ready Portable DLP LED Projector with MHL Enabled HDMI Port
Alternative to using screws is using a plastic or Velcro cable ties which are usually enough for smaller projectors.
Getting started
- Software installation
- Physical setup
- Preparing a simple sand model
- Calibration
- Putting it all together
Tangible Landscape plugin manual
- Tangible Landscape plugin: Scanning
- Tangible Landscape plugin: Output
- Tangible Landscape plugin: Analyses
Advanced features
Resources