Model making
Sculpt a polymer-enriched sand model using Tangible Landscape with the difference analytic (i.e. cut and fill) as a guide. Use Tangible Landscape to continuously scan your model as you sculpt it. Use the difference analysis to compute the difference between your reference elevation and the scanned model. This will show you in near real-time where you need to add and remove sand.
- Acquire elevation data for your landscape. See Data sources.
- Import the elevation data into GRASS GIS as a raster.
- Compute contours from your elevation raster with the module
r.contour. - Calibrate and setup Tangible Landscape. See Using the system.
- Project the map display with the contours onto the table.
- Resize the map display to the dimensions of the model you plan to build.
- Add a loose pile of sand inside the projected map display.
- Scan once and adjust scanning parameters.
- Turn on (uncomment) the difference analysis in
current_analyses.py - Add the difference raster
diffto the project map display. - Sculpt the sand using the difference and contours as a guide.
- Iteratively add sand where
diffis blue and remove sand where it is red.
- Iteratively add sand where
Your hands will be scanned in as you work. If you are using a relative color table for the difference this may cause shifts in color. Using an absolute color table solves this issue, but color rules will need to be customized based on the range of values in your elevation map. An example color table: "-100 black\n-20 red\n0 white\n20 blue\n100 black".
This implementation vertically rescales and translates the scanned raster to match the original elevation raster using the module r.regression.line.
def run_difference(real_elev, scanned_elev, env, **kwargs):
	regression_params = gscript.parse_command('r.regression.line', flags='g', mapx=scanned_elev, mapy=real_elev, env=env)
	gscript.mapcalc('{regression} = {a} + {b} * {before}'.format(a=regression_params['a'], b=regression_params['b'],before=scanned_elev, regression='regression'), env=env)
	gscript.mapcalc('{difference} = {regression} - {after}'.format(regression='regression', after=real_elev, difference='diff'), env=env)
gscript.write_command('r.colors', map='diff', rules='-', stdin="-100 black\n-20 red\n0 white\n20 blue\n100 black", env=env)Terrain models can be digitally fabricated with Computer Numerical Controlled (CNC) routers. See this CNC routing tutorial for detailed instructions. Also refer to Chapter 3 Building Physical 3D Models in the book Tangible Modeling with Open Source GIS. Machinable media include polystyrene foams, urethane foams, and medium density fiberboard (MDF). US suppliers for machinable media include Signfoam, Freeman Supply, and Richlite.
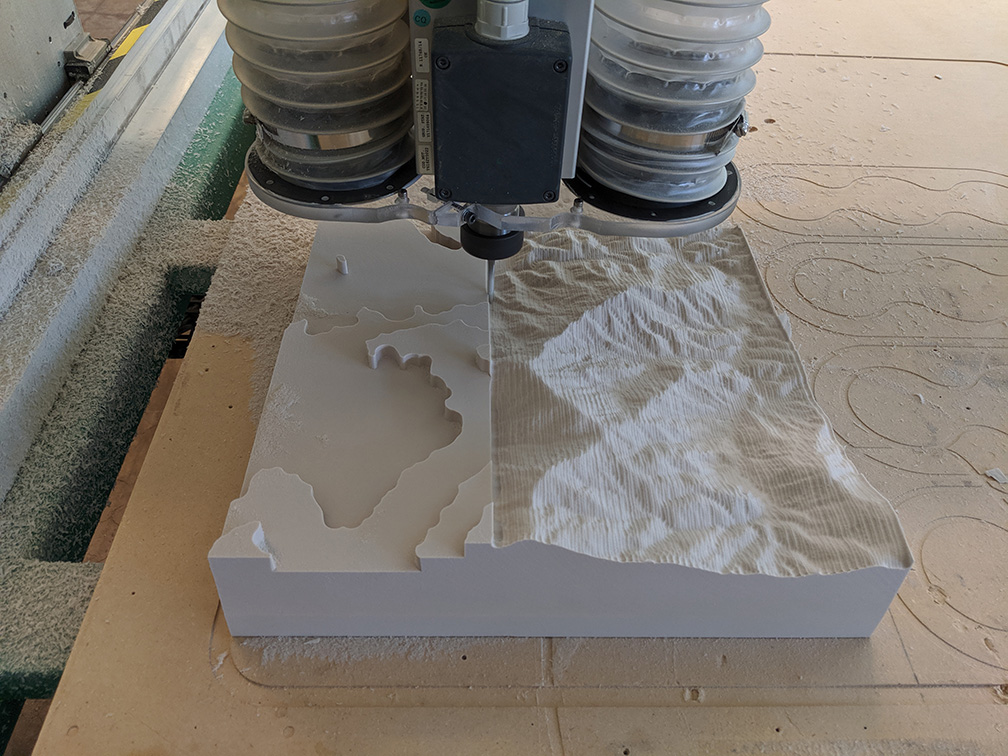
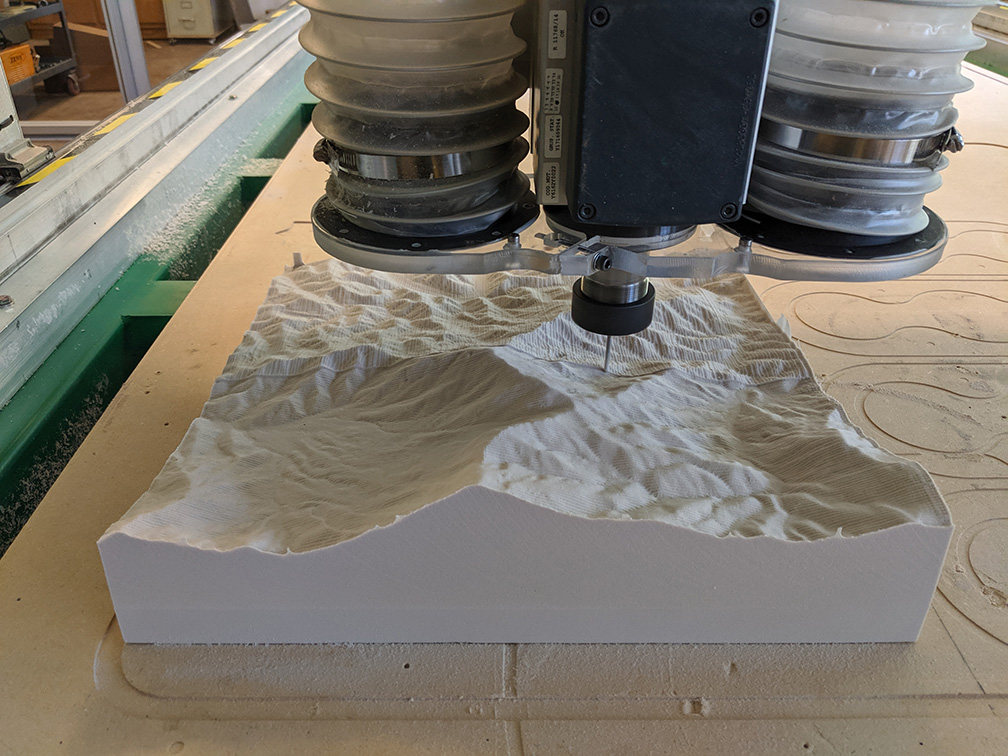
a) CNC parallel finish cut with 1/4" bit and b) CNC parallel finish cut with 1/8" bit in Renshape 5020 urethane foam
CNC routed terrain models can be vacuum formed with plastics such as sytrene, polycarbonate, or acrylic to form light-weight molds. Vacuum formed molds will easily release from and cast precise forms in polymer enriched sand.
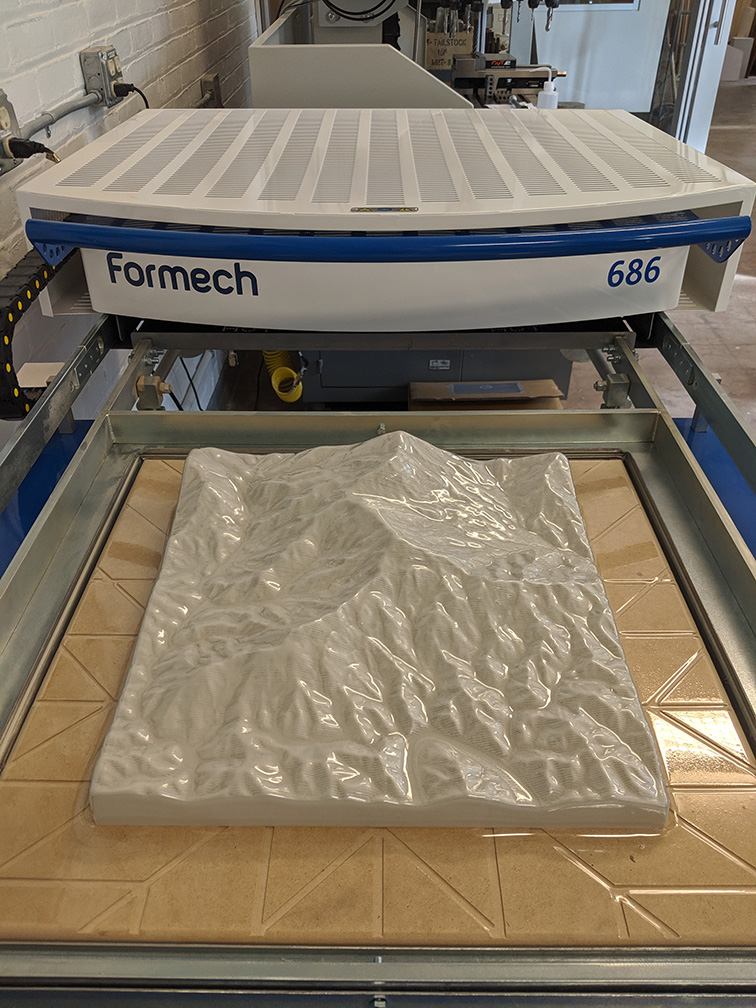
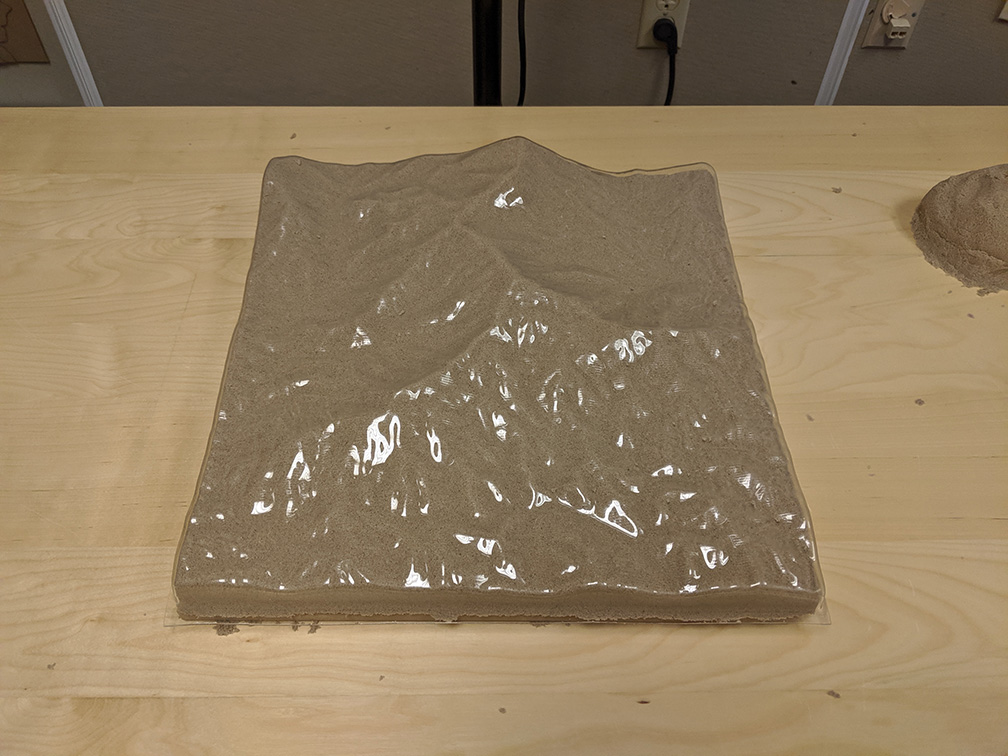
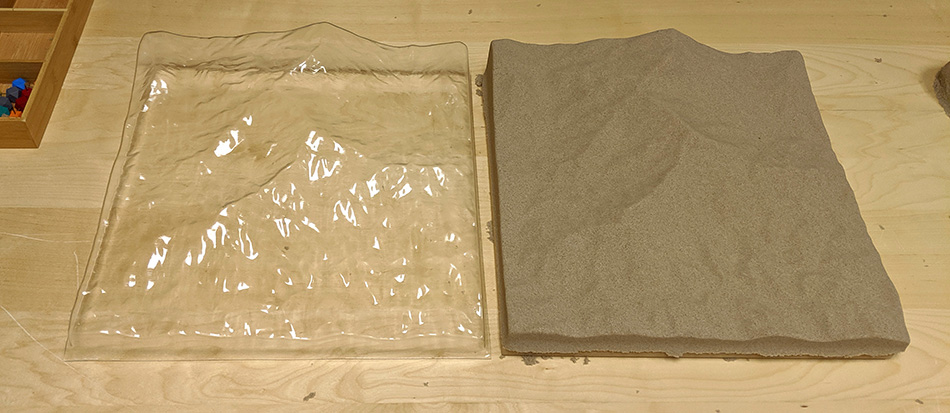
a) Vacuum forming, b) casting, and c) vacuum formed mold and cast polymeric sand
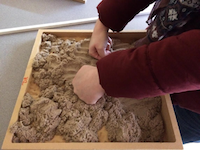
- If sand is compressed, fluff it up before filling model.
- Start filling the first layer of kinetic sand, paying close attention to the corners and sides.
- Now start compressing the first layer of sand, again paying special attention to the corners and sides.
- Repeat this process until the model is filled to the top, making sure each layer is fully compressed, especially the sides and corners.
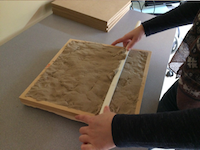
- Once you feel confident the model is adequately filled and compressed, you can scrape excess sand from the model.
- Put the base on the model, pick up both with a strong grip and flip them so the base is now the bottom. (Be careful, the heavier models can be a bit difficult to flip. If you are a smaller stature person, you may need help flipping the heavier models).
- Before removing the model cover, make sure the base and model sides and corners are perfectly aligned, this is very important for the Kinect to properly project the landscape on the sand. Once the model and base are fully aligned, gently remove the model cover from the sand.
3D printed models can also be used to cast polymer enriched sand.
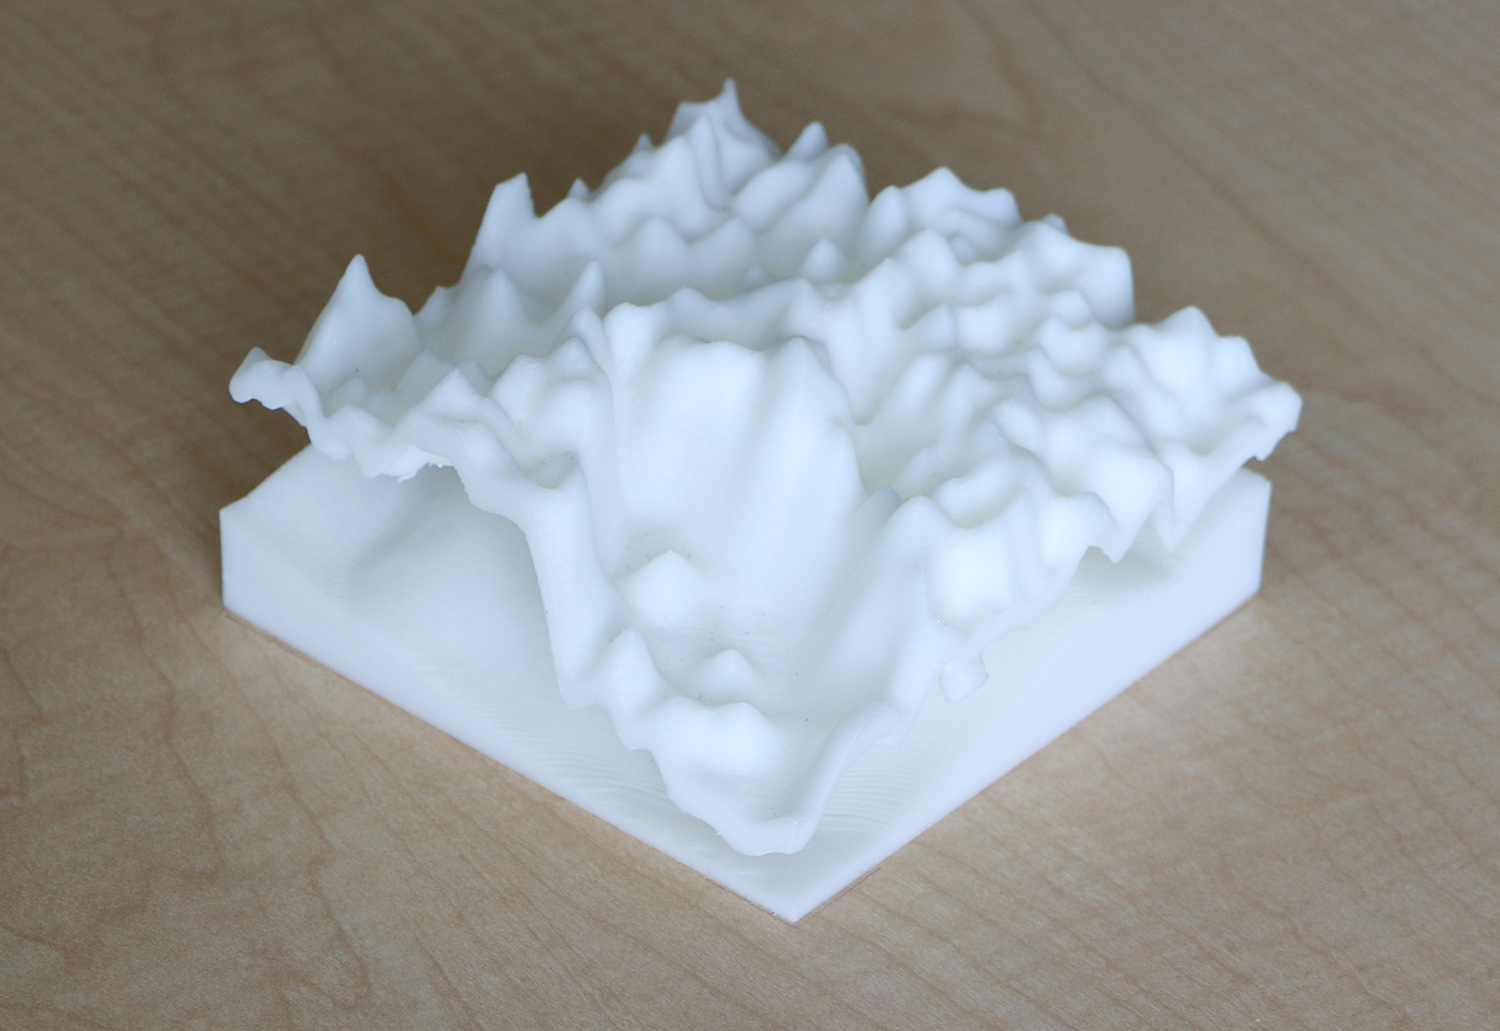
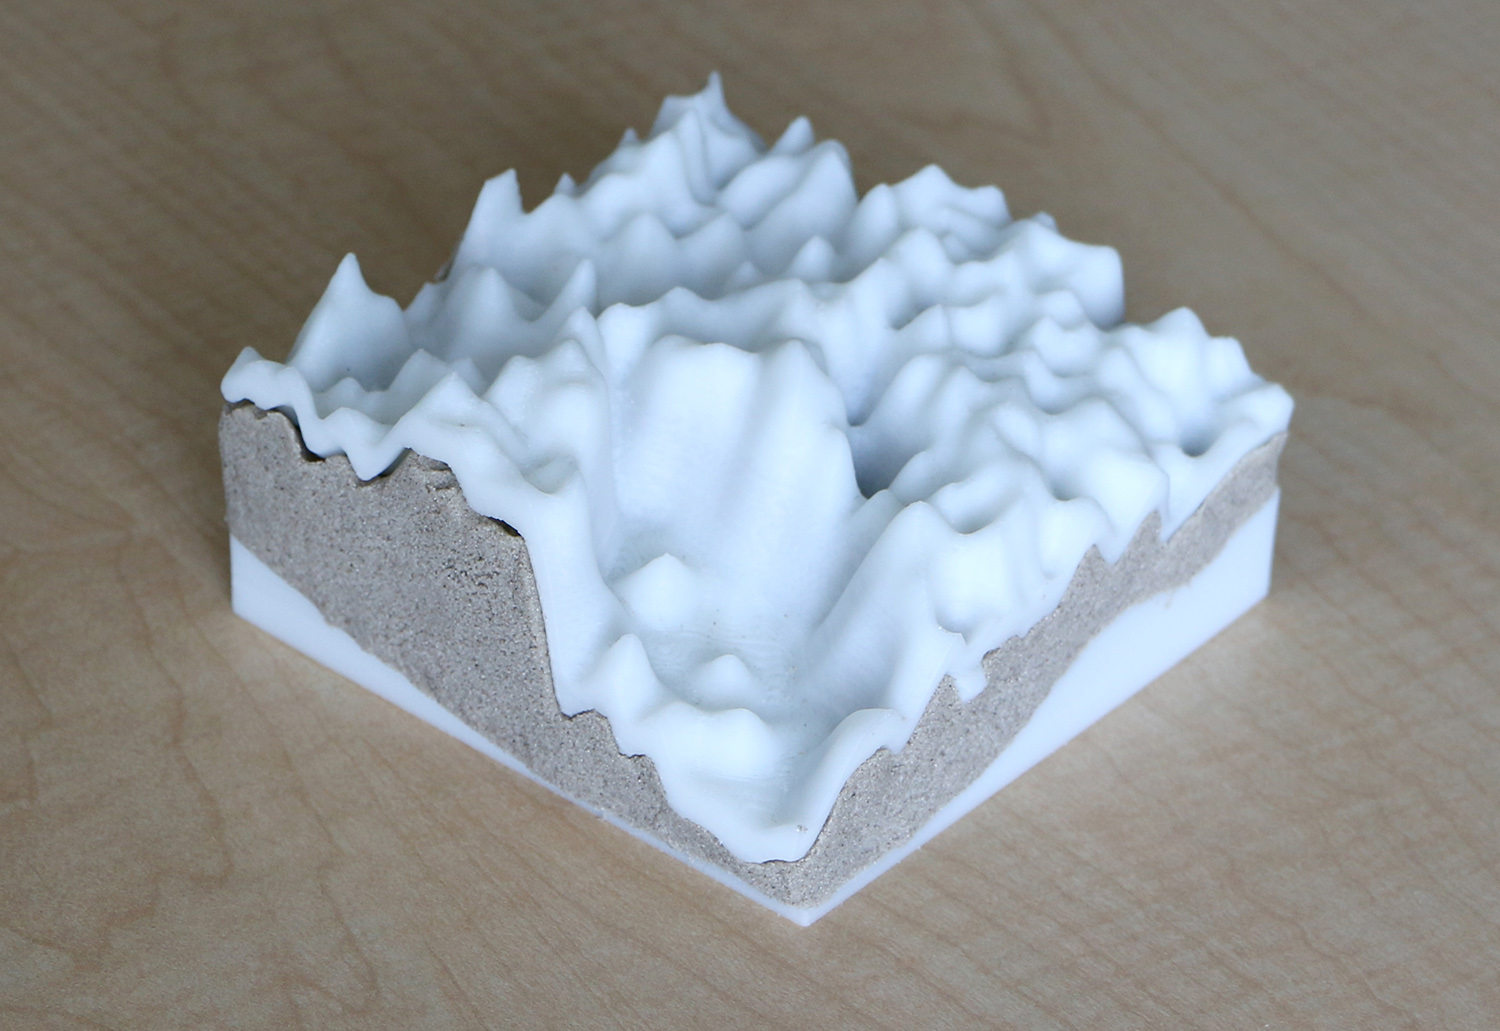
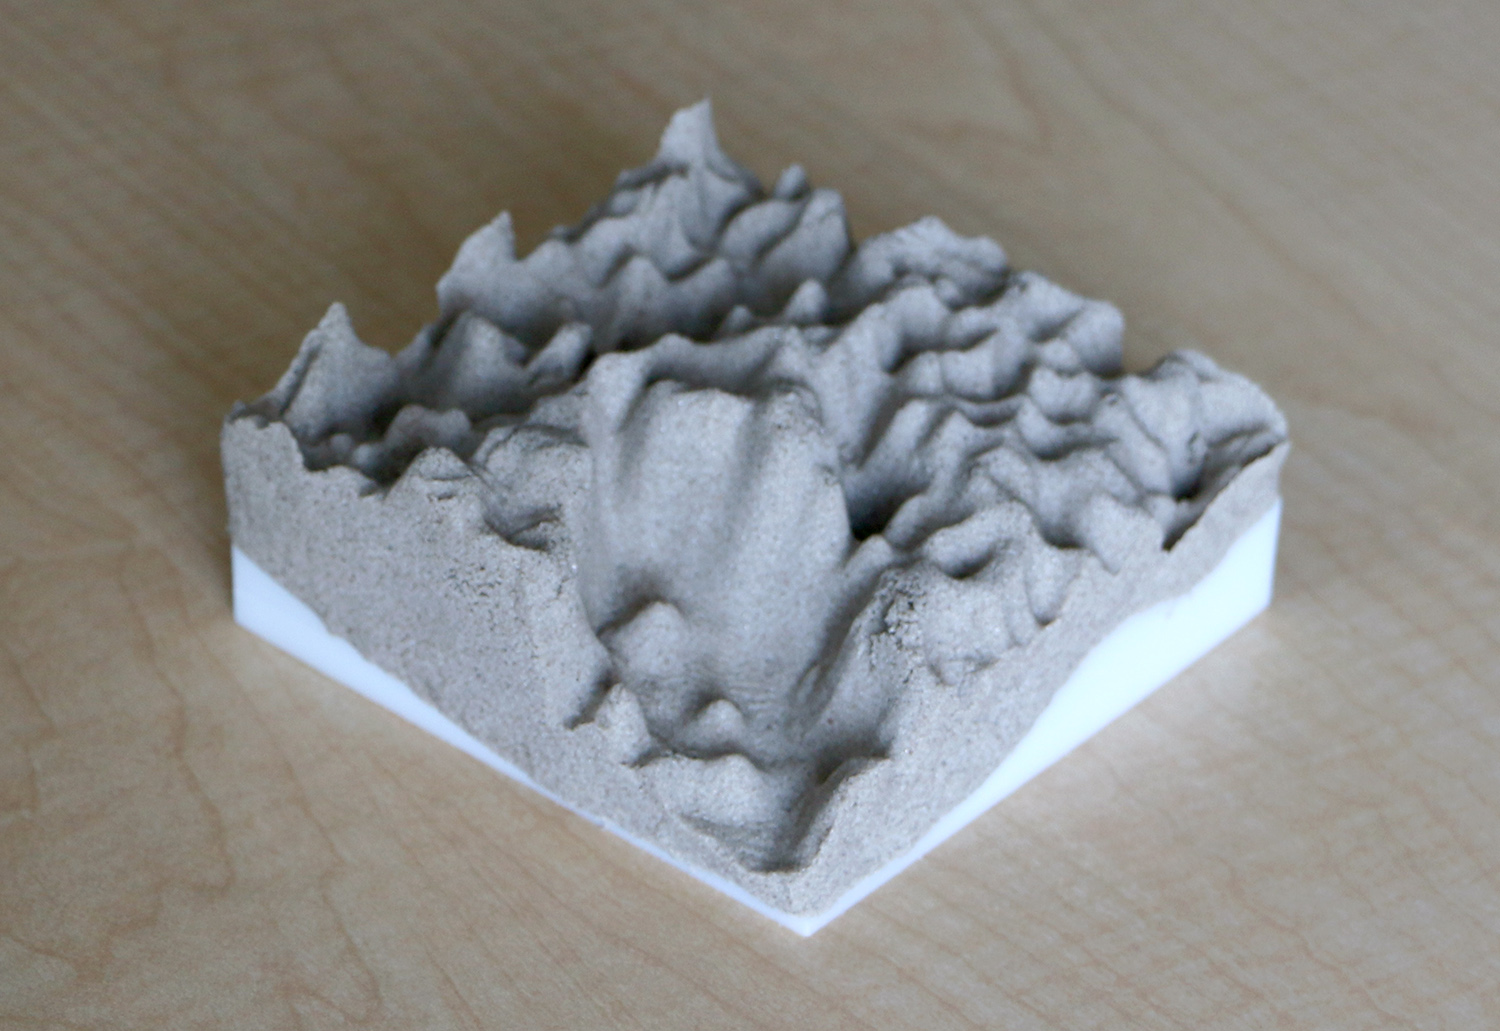
a) 3D printed mold, b) casting polymeric sand with the mold, c) and cast polymeric sand