Animation
A powerful way to design motion is to use the Unity animation systems. Almost any property on a component can be animated using Animator clips or the Timeline feature.
The simplest way to add animation to an object is to use the Animation window - dock it somewhere that makes sense for your editor setup. Select the object you want to animate and click Create in the Animation window.
Use the Animator Out node to control the Animator via Klak. In order to play back your animations in time with music, there are two different methods.
Please note that stepping animations currently don't work in the OP-Z app over bluetooth.
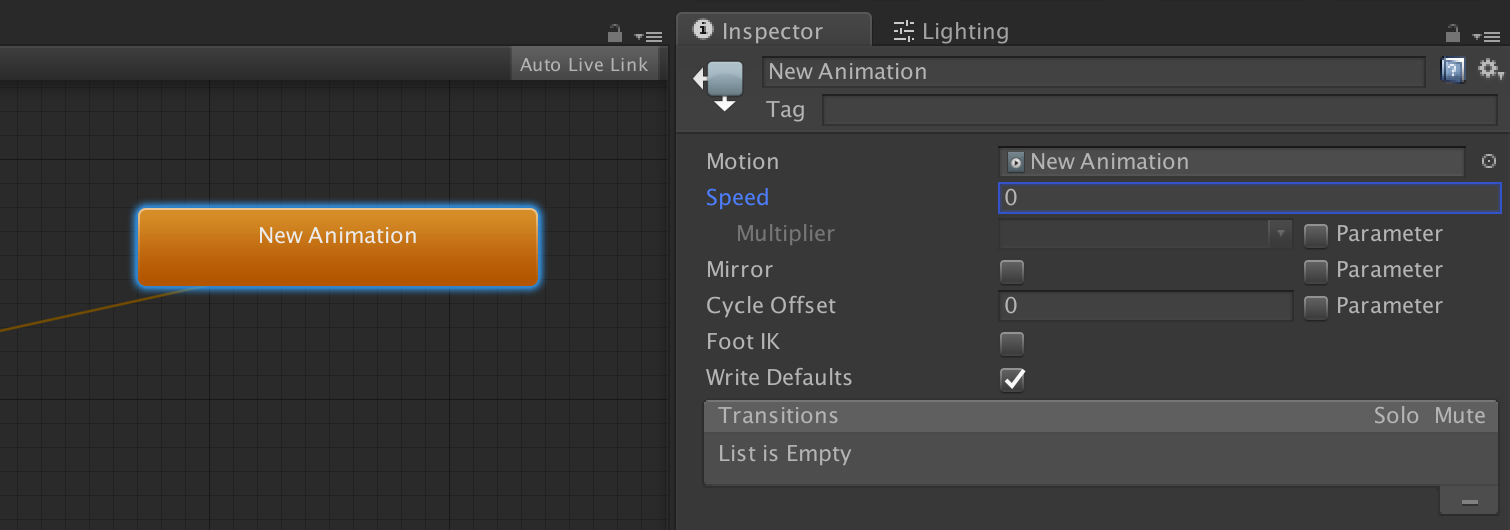
In order for animation stepping to work you first need to set the Speed of your Animator State to 0.
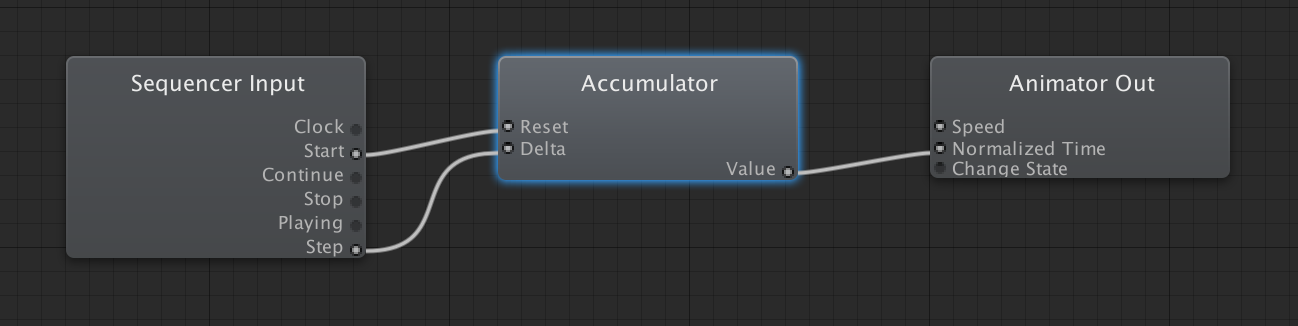
Now instead of Unity driving the animation for you, use the Normalized Time inlet on your Animator Out node to manually set the play position. There are many fun uses for this, cranking an animation with a knob for instance. To push the play position forward incrementally you need to use an Accumulator node. Finally use a Sequencer Input node to sync your animations with music. Wire the Step outlet to your accumulator.
This patch assumes your animation is designed to play back over 1 beat of music. If this is not the case you need to scale the input accordingly - e.g. an animation that should play over 4 beats needs to be driven 1/4 as fast.
The step method relies only on MIDI clock to drive animation, therefore it works with any clock enabled MIDI sequencer. Also it can handle tempo changes without drift. Since MIDI clock has finite resolution in time, you will notice choppy animations at very low tempo.
Some MIDI sequencers transmit their current tempo as a CC message. There is also a videolab sysex message for sending current tempo, you can track this value with the Videolab Input node.
Please note that OP-Z tempo is not transmitted outside of the app, but there is a debug slider in the Videolab Input node inspector during editor playback.
Tempo is rated at beats per minute, BPM. We recommend you design your animations to have 1 unit of time correspond to 1 beat of music. Then divide the tempo by 60 using a FloatFilter node to get a compatible value.
Once you have a speed rating you can route this to the Speed inlet on your Animator Out node. In order for speed modulation to work you first need to set the Speed of your Animator State to 1.
Alternatively you can route speed to the Time Scale property on a System Property Out node. This will modulate all your animations, particle systems and simulations.
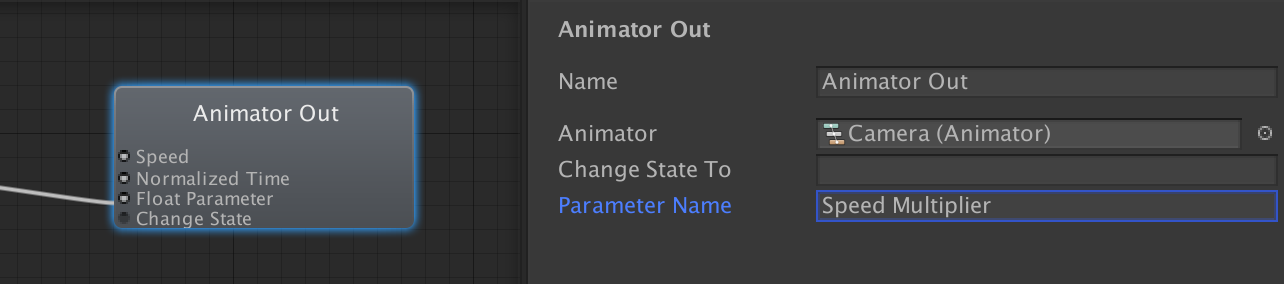
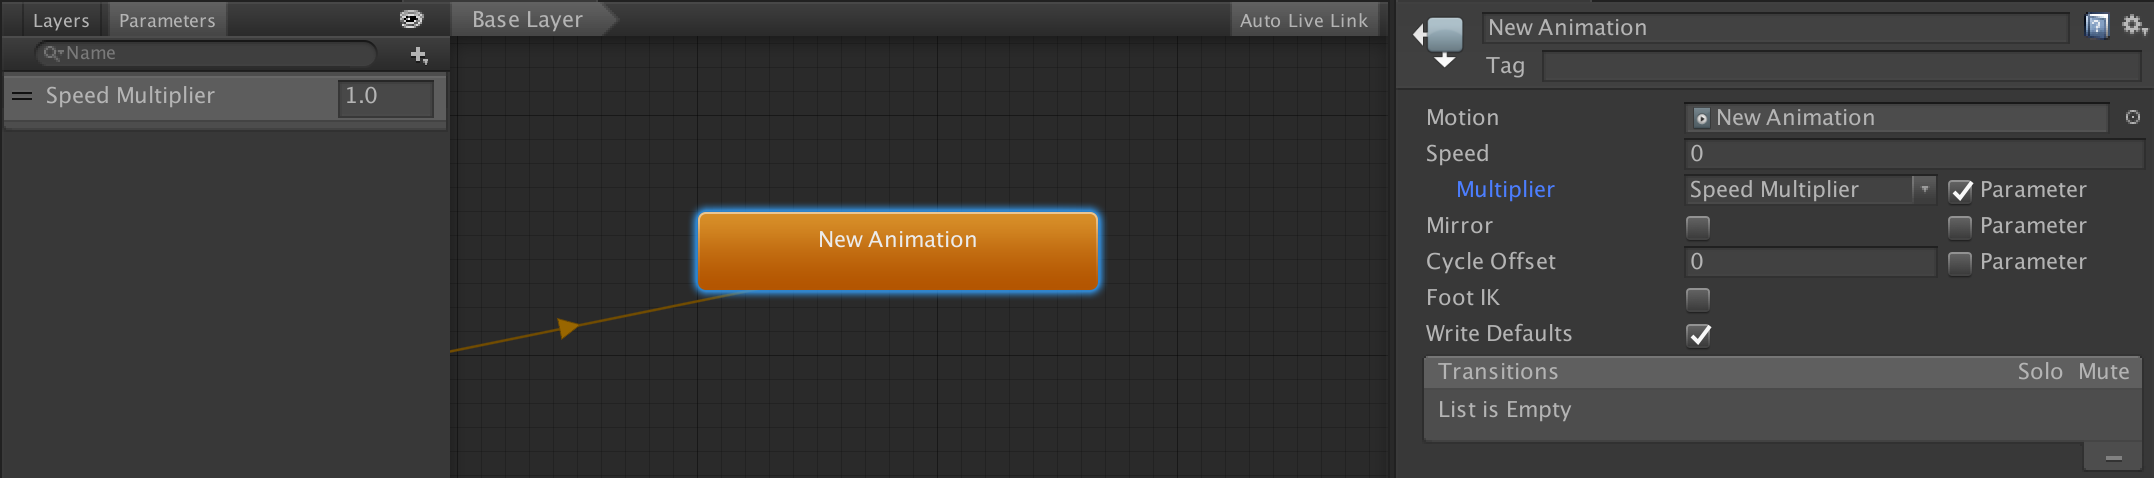
Unity Animator States cannot be made to play backwards using the Speed property. But there is a workaround. Add a Float Parameter to your Animator, and assign it to the Speed Multiplier of the relevant Animator State.
Now wire your speed into the Float Parameter inlet on the Animator Out. This patch allows for both positive and negative speeds.