Automation
You can use the Unity animation systems to control parameters on your MIDI enabled devices. Let's build an LFO. Connect a MIDI enabled sound generator like the OP-Z, so you can hear the effects of the LFO.
Create a Klak patch like this:
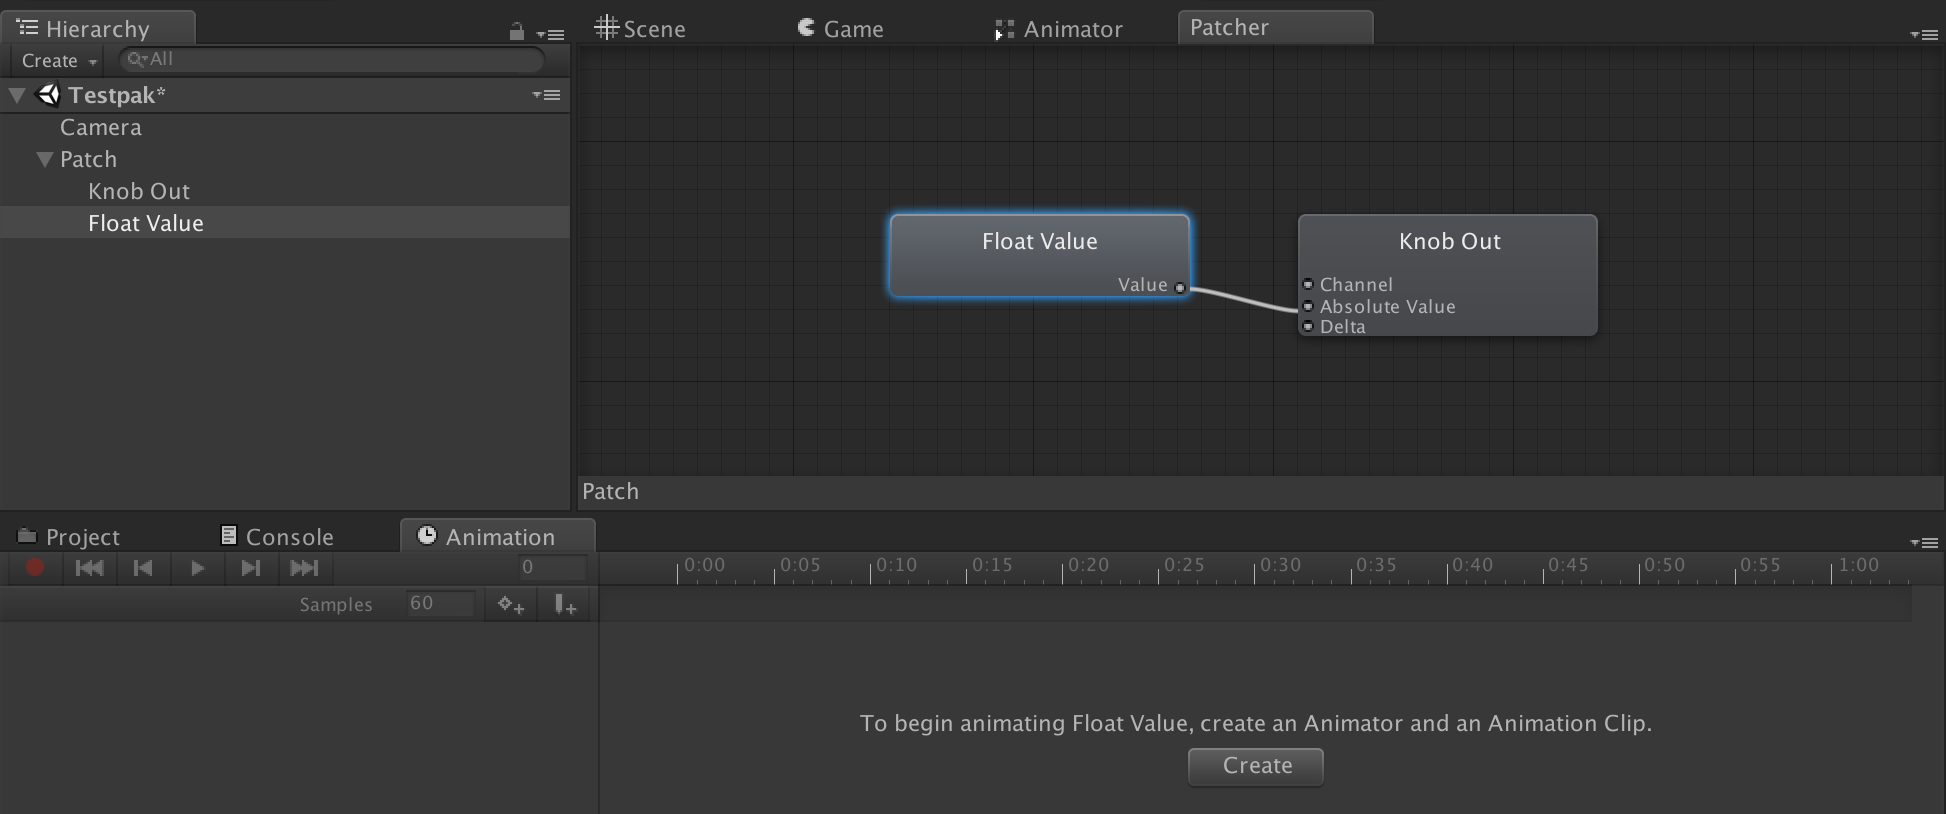
Open the Unity Animation window, and dock it somewhere that fits your Editor setup. Select the Float Value object in the Hierarchy (selecting in the Patcher will not work). Click Create in the Animation window and follow the instructions to create the needed assets.
In the Animation window click Add Property and find the Float Value property. Now experiment with the Animation window features to create some interesting value changes over time - the Curves view is particularly fun.
Press play to hear the animation curves modulate your synth over MIDI. You can even scrub the animation play position in the Animation window to manually control the playback of you animation curves.
You can control the playback of animators using the Animator Out node, check Animation for more info.
You can also use the Animation window to issue MIDI note and sequencer events. Let's add some animation events to start and stop a MIDI sequencer.
Add a Sequencer Out node to your Klak patch. Like before, select the Sequencer Out object in the Hierarchy (again selecting in the Patcher will not work). Click Create in the Animation window, but this time lets add an Animation Event instead working with keyframes. Select the Animation Event on the timeline (it turns blue when selected). In the Animation Event Inspector you can select the Sequencer Out event you want to trigger.
Sometimes you want a more light-weight automation setup. Use the Float Animation Klak node to set up simple curve-based automation.