S3ninja on a Raspberry Pi 3 with Raspbian (Debian Jessie 8.0)
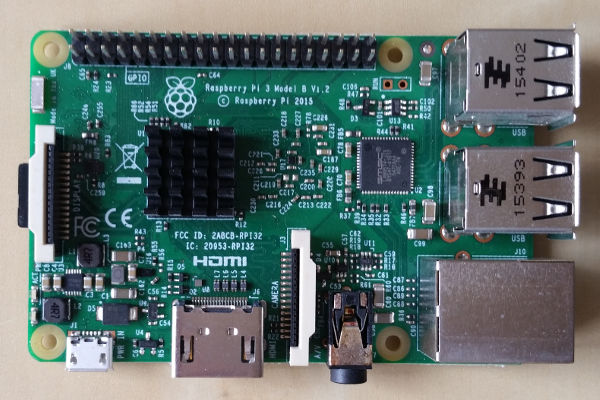
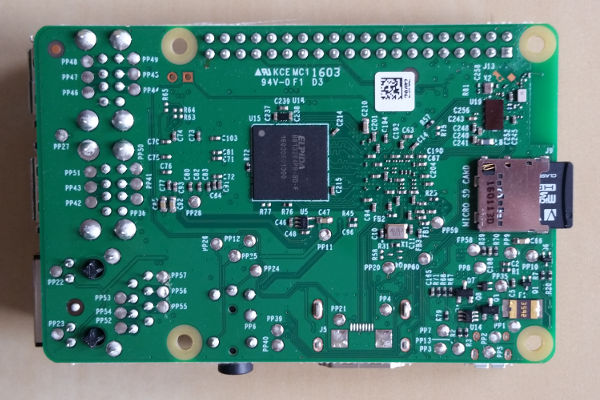
The Raspberry Pi 3 single board computer from the Raspberry Pi Foundation has a 1.2 GHz quad-core ARMv8 processor, 1 GByte main memory and a 10/100 Mbps Ethernet interface.
This installation tutorial explains the installation of a Raspberry Pi 3 device from scratch and the configuration of s3cmd on your computer.
This implies that you have already an installation of s3cmd on the system you want to use for the interaction with the S3ninja storage service.
$ wget https://downloads.raspberrypi.org/raspbian_lite/images/raspbian_lite-2017-03-03/2017-03-02-raspbian-jessie-lite.zip
$ unzip 2017-03-02-raspbian-jessie-lite.zip
Check which one is the correct device! If you use an internal card reader, it is often /dev/mmcblk0.
# dd bs=1M if=2017-03-02-raspbian-jessie-lite.img of=/dev/sdb && sync
Default login of this image is pi/raspberry. To become user root, execute sudo su.
Older Raspian versions started the SSH server by default. Because of security reasons (as explained here), all Raspian versions since version 2016-11-25 (see the release notes) have the SSH server disabled by default. To get the SSH server automativally activated during boot time, create a file ssh with any content (or just an empty file) inside the boot partition (it is the first partition) of the micro SD card.
# mount /dev/sdb1 /media/
# touch /media/ssh
# umount /media/
Insert the micro SD card into the Raspberry Pi computer, connect it with the ethernet cable and the micro USB cable for power suppy and switch on the power supply. The operating system will try to fetch network configuration by using DHCP on the Ethernet interface per default. If you activated the SSH server, you can now log in via SSH.
The system used with this tutorial had these characteristics
$ lsb_release -a
No LSB modules are available.
Distributor ID:	Raspbian
Description:	Raspbian GNU/Linux 8.0 (jessie)
Release:	8.0
Codename:	jessie
$ uname -a
Linux raspberrypi 4.4.50-v7+ #970 SMP Mon Feb 20 19:18:29 GMT 2017 armv7l GNU/Linux
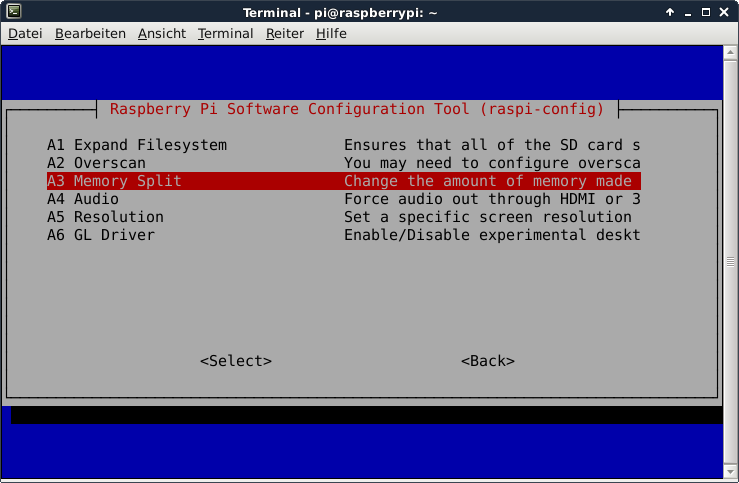
$ sudo raspi-config
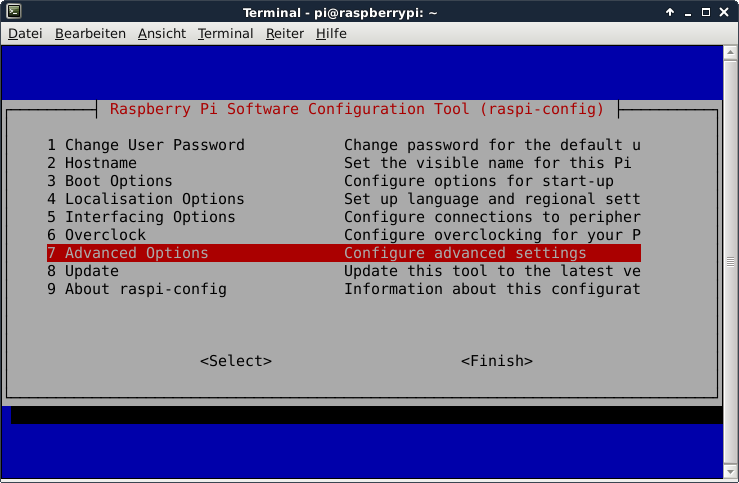
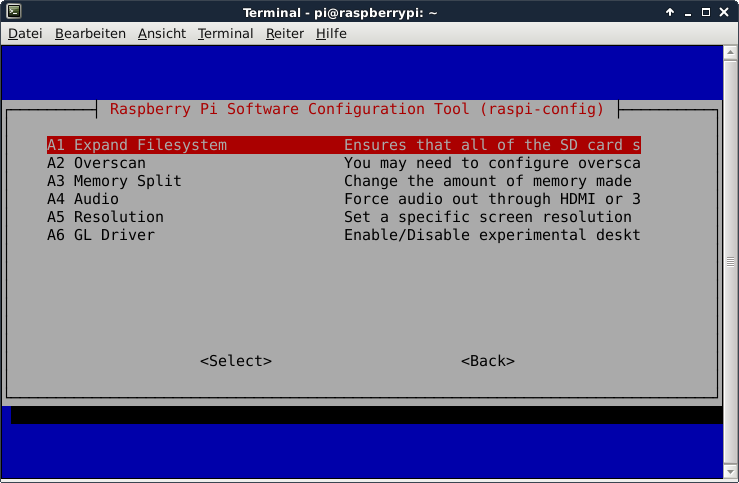
This is not required for running S3ninja, but the Raspberry Pi 3 has just 1 GB of main memory which is not much at all and there is no need to waste 48 MB.
A part of the main memory (just 1 GB) is assigned to the GPU. A pure server does not need a GPU at all. The share can me specified via the raspi-config tool. The minimum value is 16 MB, which is more useful compared with the dafault value (64 MB).
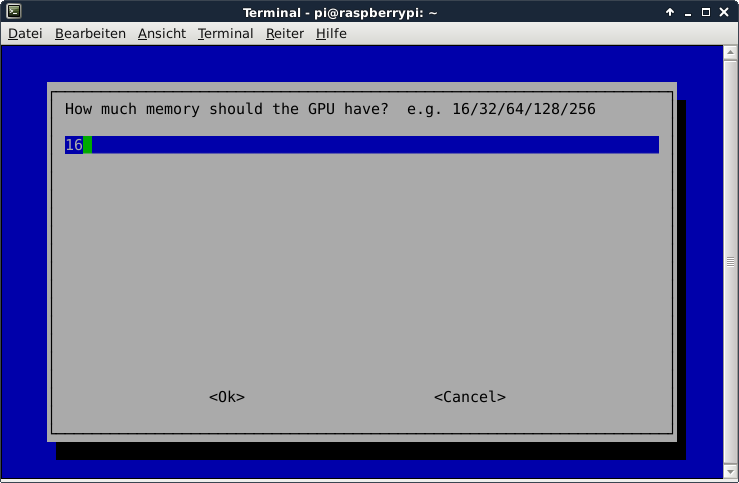
After the new value is specified and after a reboot, the new value should be visible:
# vcgencmd get_mem gpu
gpu=16M
This is not required for running S3ninja, but it is always useful to configure the operating system properly
$ sudo dpkg-reconfigure tzdata
$ cat /etc/timezone
Europe/Berlin
It is also possible to specify the time zone via the raspi-config tool.
This is not required for running S3ninja, but it is always useful to have the correct time on a computer
$ sudo apt-get update && sudo apt-get install -y ntp ntpdate
Now the time sould be synchronized with several NTP servers.
$ ntpq -p
     remote           refid      st t when poll reach   delay   offset  jitter
==============================================================================
*time3.hs-augsbu 129.69.1.153     2 u    -  128  377   31.891    7.194   1.053
-hotel.zq1.de    235.106.237.243  3 u  113  128  377   38.442    0.272   0.896
+bandersnatch.ro 213.239.154.12   3 u   75  128  377   28.497    6.777   3.761
-ntp.janetzki.eu 46.4.77.168      3 u   90  128  377   35.747   -0.316  27.235
+fritz.box       194.25.134.196   3 u   62  128  377    0.368    4.667   0.674
Check the time and date:
# date -R
Sat, 01 Apr 2017 14:57:33 +0200
They are not required for the installation of S3ninja, but just nice to have.
$ sudo apt-get install -y curl htop joe nmap git
The installation of a Java runtime environment ist absolutely necessary. Otherwise it is impossible to start S3ninja.
$ sudo apt-get install -y openjdk-8-jre
All required steps are described on the S3ninja web page here: http://s3ninja.net
This tutorial has been tested with S3ninja revision 2.7. Later revisions may or may not work.
$ mkdir ~/s3ninja && cd ~/s3ninja
$ wget https://oss.sonatype.org/content/groups/public/com/scireum/s3ninja/2.7/s3ninja-2.7-zip.zip
$ unzip s3ninja-2.7-zip.zip
The default storage path needs to be created.
$ mkdir ~/s3ninja/data/s3
Now, s3ninja can be started.
$ ./sirius.sh start

SIRIUS Launch Utility
=====================

Use a custom config.sh to override the settings listed below

SERVICE:
SIRIUS_HOME:   /home/pi/s3ninja
JAVA_CMD:      java
JAVA_OPTS:     -server -Xmx1024m -Djava.net.preferIPv4Stack=true
SHUTDOWN_PORT: 9191
STDOUT:        logs/stdout.txt
USER_ID:

Starting Application...
s3cmd revision 2.7 forces the api to be at / but s3ninja does not allow to set it to /. It permits only /s3. The best option now is to use a light-weight web server like nginx as proxy.
$ sudo apt-get install -y nginx
The configuration file of nginx /etc/nginx/sites-available/default needs only this content:
server {
    listen 8080;
    listen [::]:8080;

    server_name s3.eu-central-1.amazonaws.com;

    location / {
	    proxy_pass http://10.0.0.250:9444/s3/;
    }
}
A restart of nginx is now required.
sudo /etc/init.d/nginx restart
Just these lines need to be modified:
access_key = AKIAIOSFODNN7EXAMPLE
host_base = <the_ip_of_your_raspberry>:8080
host_bucket = <the_ip_of_your_raspberry>:8080
secret_key = wJalrXUtnFEMI/K7MDENG/bPxRfiCYEXAMPLEKEY
use_https = False
Now s3cmd should work properly with the S3ninja service.
$ s3cmd mb s3://testbucket
Bucket 's3://testbucket/' created
$ s3cmd ls
2017-04-13 21:09  s3://testbucket
$ s3cmd rb s3://testbucket
Bucket 's3://testbucket/' removed
S3ninja emulates the S3 API for development and testing purposes. The developers do not recommend it for production systems because it neither provides scalability nor replication or proper security.
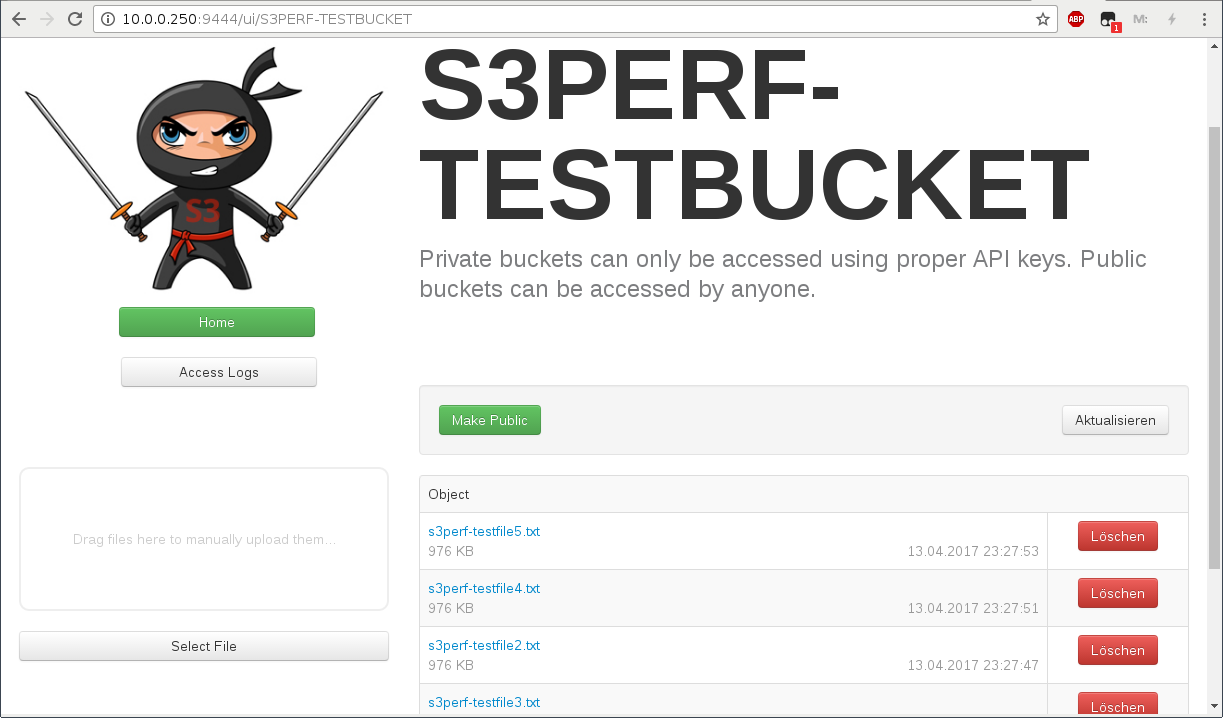
Important !!! When using S3ninja, all bucket names need to be encoded entirely in upper case letters. Otherwise you will just get an error message
In the configuration file ~/s3ninja/app/application.conf, the user access key and the secret access key can be found. There is also the path of the S3 data folder (~/s3ninja/data/s3) and the port number specified. The default port number of S3ninja is 9444.
S3ninja provides a handy web user interface.