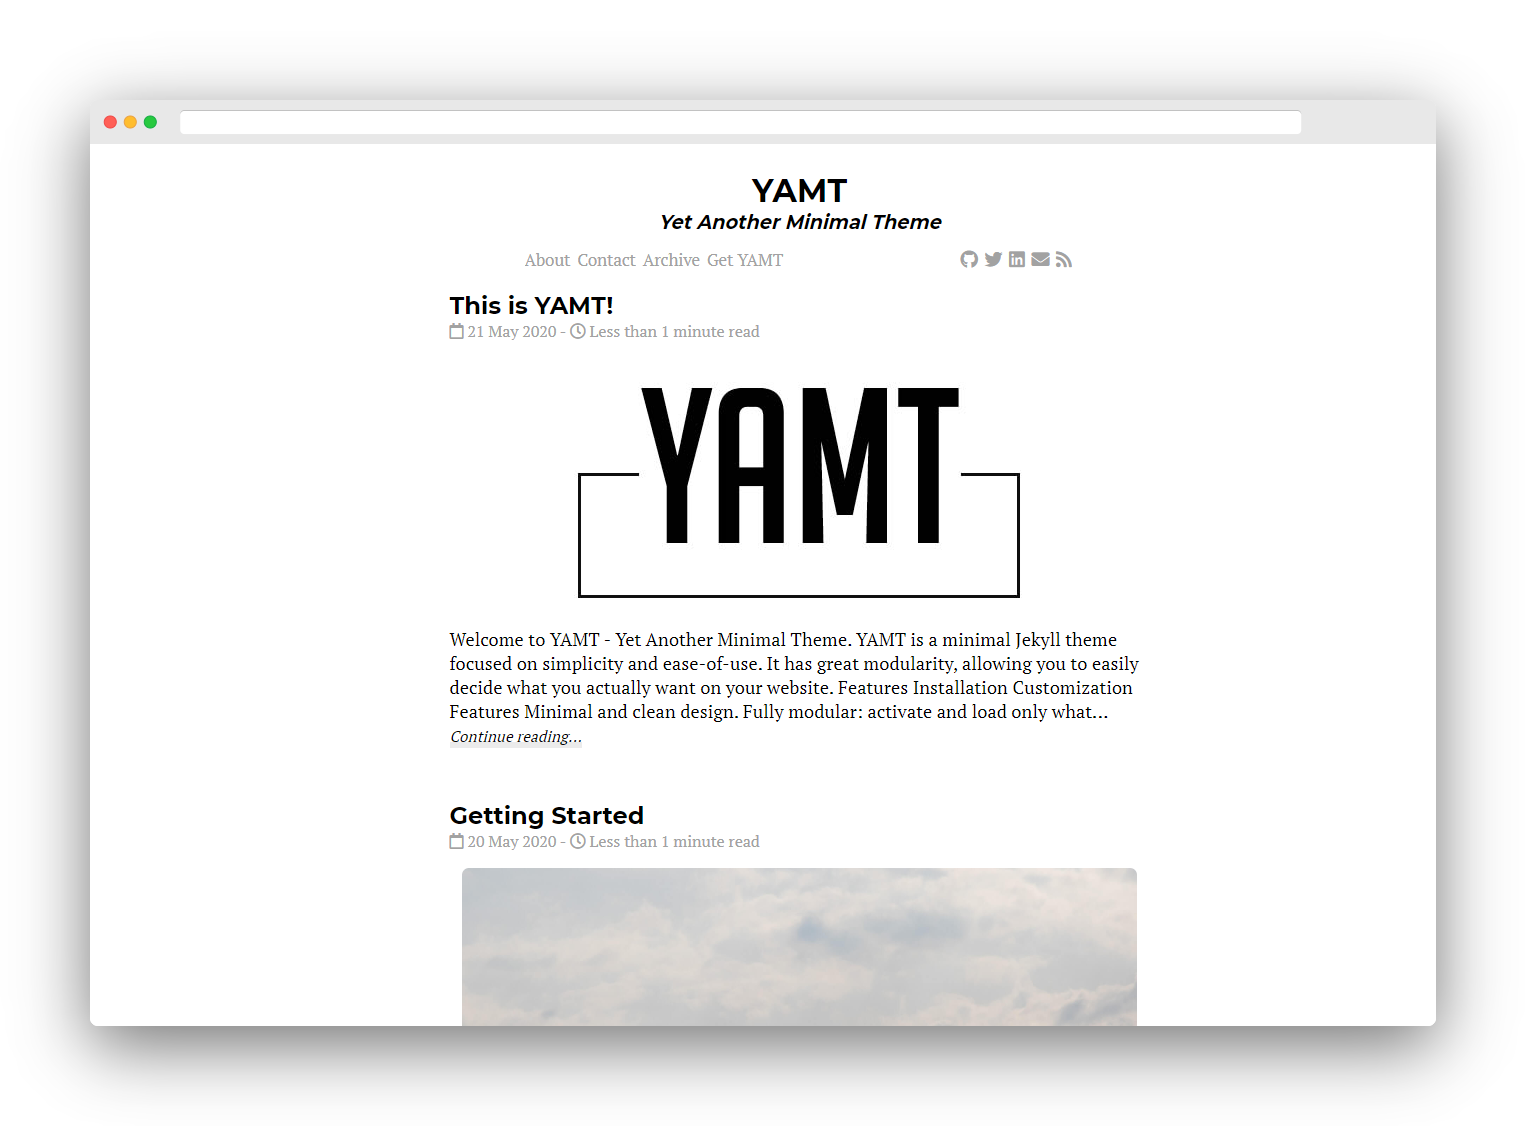
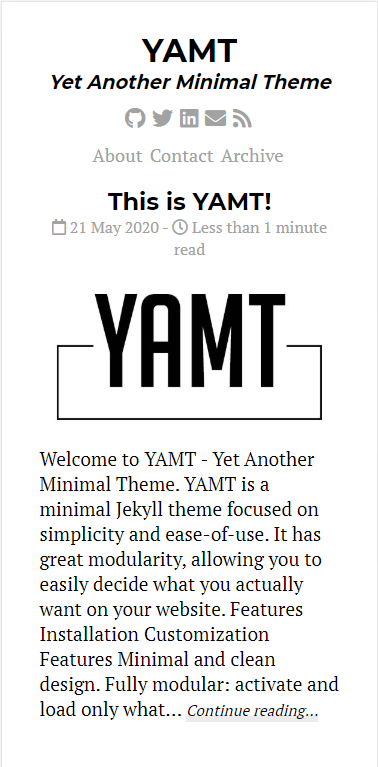
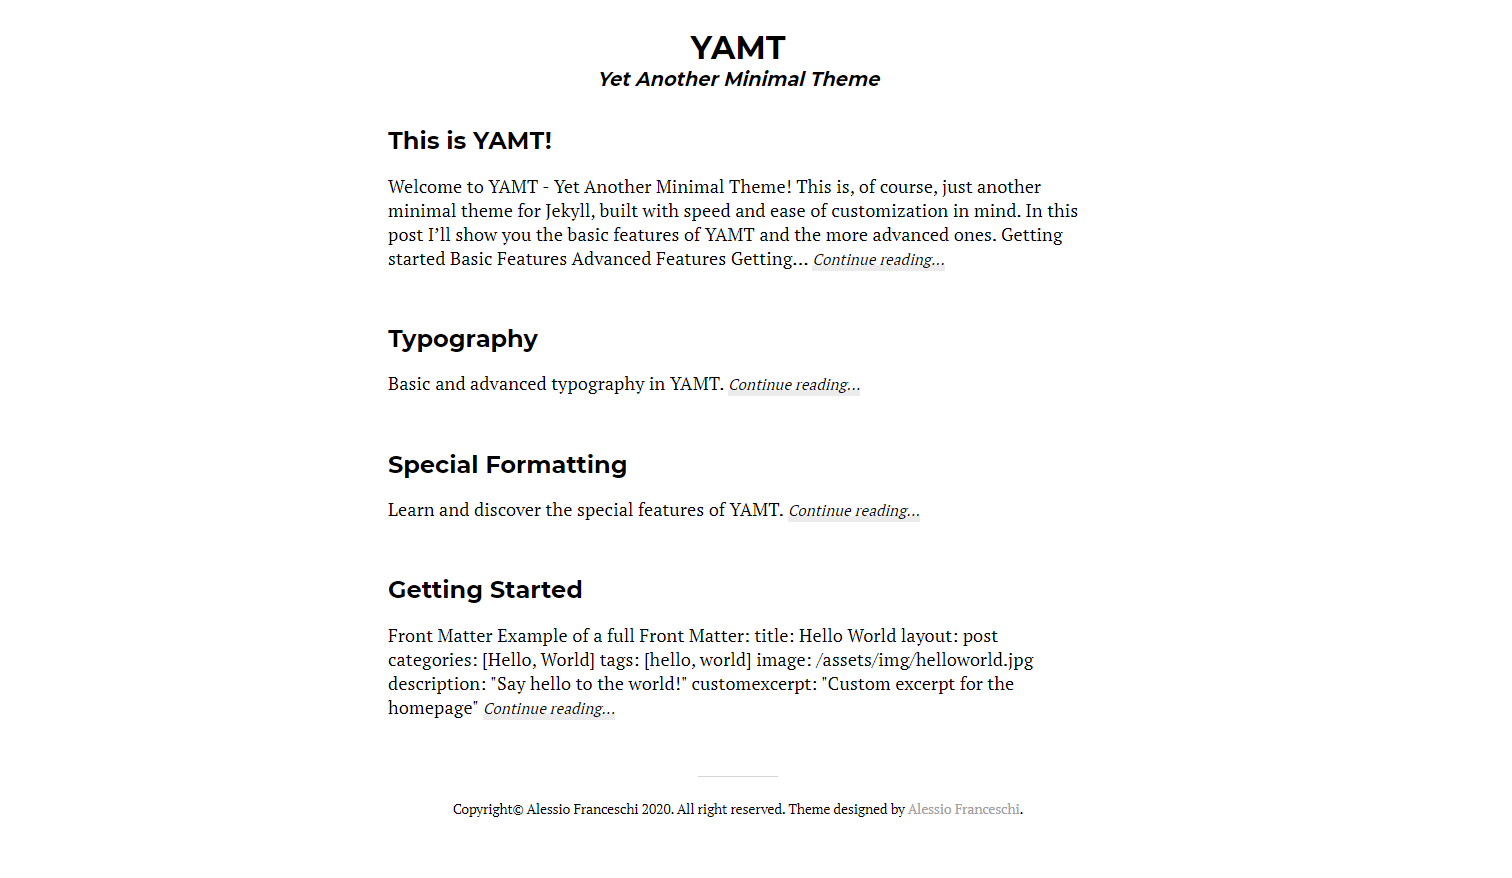
YAMT is a minimal Jekyll theme focused on simplicity and ease-of-use. It has great modularity, allowing you to easily decide what you actually want on your website.
- Minimal and clean design.
- Fully modular: activate and load only what you really need.
- Works great on mobile and smaller screens.
- Works on Github Pages.
- Supports Disqus comments activated only on button press, if you activate them.
- Google Analytics support.
- Open Graph and Twitter Cards support to better index the website content on search engines and social networks.
- MathJAX and LaTeX optional support. Write beautiful math!
- RSS support.
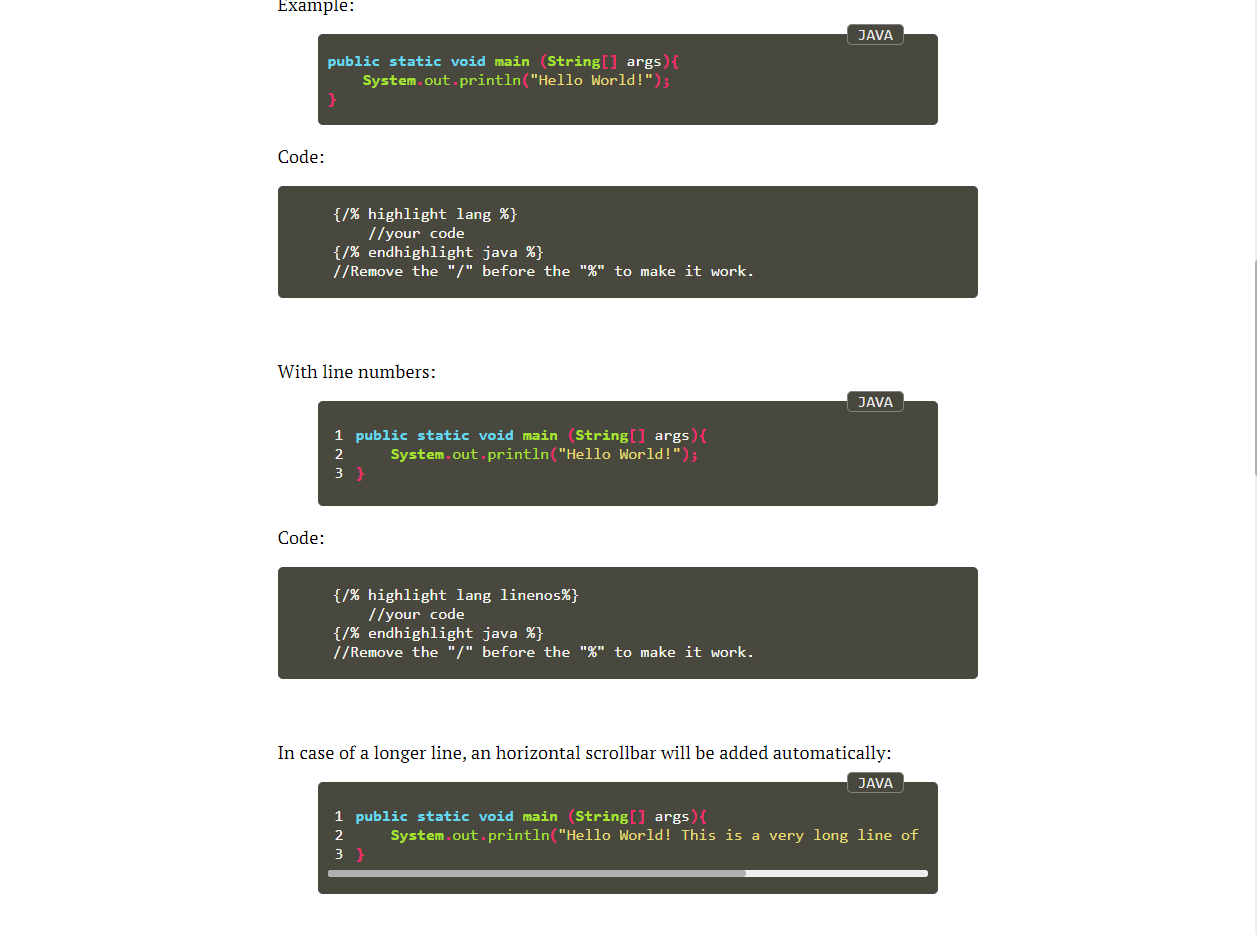
- Beautiful Syntax Highlight. Write some code and show it in a graceful way.
There are four way to use YAMT: Netlify (suggested, as this theme has a contact module built-in working only on Netlify), Github Pages, as a gem-based theme, by forking this repo or by copying all the files into your directory.
You can download the files and add them in your directory to start working.
- Fork this repo. You can copy only master, set it to private or public and name it however you want.
- Go to Netlify, create a New site from Git, choose your repo or all repos, no difference. Back to Netlify, select the recently forked repo.
- Owner and branch are good to go. In build command write
bundle exec jekyll buildand publishing directory should be_site/. - Deploy. Your site will shortly be available. Under domain settings you can change your subdomain, or add a primary level one.
Github Pages uses the --safe flag to build jekyll websites, which disable custom plugins, caching to disk and ignore symbolic links. Because of that, I suggest you to use any other method. Netlify works great with a 5 minute config, so I suggest you use it.
- Fork this repo.
- Create a new branch in your repo and call it
gh-pages. - Publish your website and choose gh-pages as the target branch.
-
Add this line to your Jekyll site's
Gemfile:gem "jekyll-yamt"
-
And add this line to your Jekyll site's
_config.yml:theme: jekyll-yamt
-
And then execute:
$ bundle
-
Or install it yourself as:
$ gem install jekyll-yamt
ERROR: There was an error while loading jekyll-yamt.gemspec: No such file or directory - git ls-files -z. Bundler cannot continue.
If you encounter this error when running bundle install, please make sure git is installed.
YAMT is easily customizable. If you don't need a functionality, just deactivate it in _data/settings.yml.
Most of the customizable things are self-explanatory and found in the _data folder and in the _config.yml.
Under the _data folder there are three files: pages, settings and social.
In pages you can add other pages that will show up in the nav-
In social you can add your socials that will show up in the nav. To add a social, find a suitable icon on FontAwesome and add it's name in the name tag.
Brand defines Font Awesome's font type (fas is solid, fab is brand).
Out of the box this theme has support colors for a bunch of social. If your social isn't supported, just add the color in the header.css
In _data/settings.yml you can activate or deactivate various functions of the theme, like analytics, disqus comments, related posts and so on.
By default YAMT uses the System Font STack, which greatly reduces load times. If you want to use the old Font Stack, in assets/main.scss change typography to typography-old.
In _data/settings.yml you can choose to hide or show the subtitle, the page navigation or the social icons.
In _data/settings.yml you can choose to hide or show the posts infos (date and read-time) and the featured image.
In _data/settings.yml you can choose to hide or show the post infos, categories, related posts and comments.
Note that by removing categories the Categories Archives will no longer be reachable.
YAMT has a built-in contact form builded using Netlify free form functionality. To make it work you only need the line data-netlify="true" when declaring a form.
If you don't want to use Netlify, remove the line data-netlify="true".
Contributions are welcomed and encouraged.
To set up your environment to develop this theme, run bundle install.
Your theme is setup just like a normal Jekyll site! To test your theme, run bundle exec jekyll serve and open your browser at http://localhost:4000. This starts a Jekyll server using your theme. Add pages, documents, data, etc. like normal to test your theme's contents. As you make modifications to your theme and to your content, your site will regenerate and you should see the changes in the browser after a refresh, just like normal.
When your theme is released, only the files in _layouts, _includes, _sass and assets tracked with Git will be bundled.
To add a custom directory to your theme-gem, please edit the regexp in yamt.gemspec accordingly.
Theme designed and created by Alessio Franceschi.
Inspired by Lagrange by LeNPaul.
Also great help from this blog, I've used this even before I created this theme.
Images from Unsplash.
The theme is available as open source under the terms of the MIT License.


