
Panoptic is a security system that can be installed onto any Ubuntu computer. Being self-hosted, it allows you to gain independence from external dependencies. Panoptic offers a cost-effective and customizable alternative to subscription-based security camera systems. By leveraging your own hardware and managing the system directly, you eliminate ongoing fees and gain full control over your data privacy and storage solutions.
Panoptic, designed for the Raspberry Pi 4 running Ubuntu, transforms any USB camera into a security camera. It includes a built-in website that offers a graphical interface to easily manage the system. Although specificlly design for the Raspberry Pi, Panoptic should be able to be run on any Ubuntu computer.
- Raspberry Pi 4
- 4 CPU
- 8GB RAM
- 20GB Disk Space
- At least 1 Webcam
sudo apt update
sudo apt install python3
sudo apt install python3-pip
pip install flask
pip install gunicorn
pip install requests
sudo apt-get install ffmpeg
sudo apt-get install v4l-utils
{may need more dependencies, let me know}

cd {directory, where to install Ex: /home/user/Desktop/Panoptic}
git clone https://github.com/HexHands/Panoptic.git
Once in the correct directory you may run the main.py script.
python3 main.py
Make sure you enter the directory using cd . If not, then the files will be created in the wrong location.
Additionally you may add arguments to the script before running it. It is recommened to put them in parentheses.
path:{path to panoptic folder Ex: /home/panoptic/Desktop/PanopticMY/}
port:{optional port to host server on Ex: 8080}
Example of using all arguments.
python3 /home/panoptic/Desktop/PanopticMY/main.py "path:/home/panoptic/Desktop/PanopticMY/" "port:8080"
You might prefer Panoptic to launch automatically upon system startup, without any user intervention. If you're using Ubuntu with the GUI, you can easily set this up through the Startup Applications tool. Here's how:
- Open the
Startup Applicationsapp. - Click on
Addto create a new startup application. - Fill in the details as follows:
Name: Panoptic
Command: python3 {path to script Ex: /home/panoptic/Desktop/PanopticMY/main.py} "path:{path to panoptic folder Ex: /home/panoptic/Desktop/PanopticMY/}" "port:{optional port to host server on Ex: 8080}"
Comment: Panoptic System
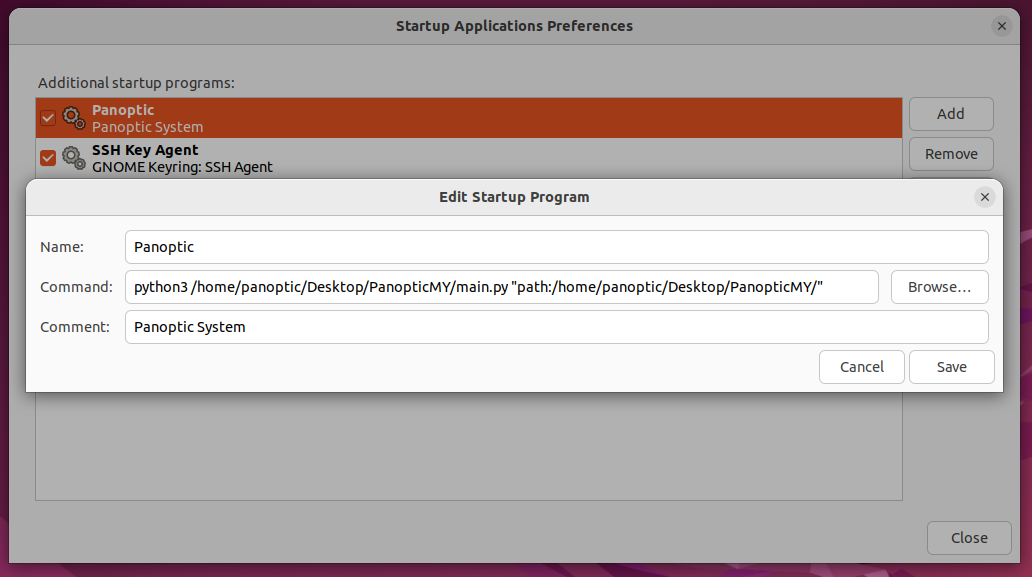
Save. Finally, ensure that the checkbox next to the Panoptic entry is selected to enable automatic startup.
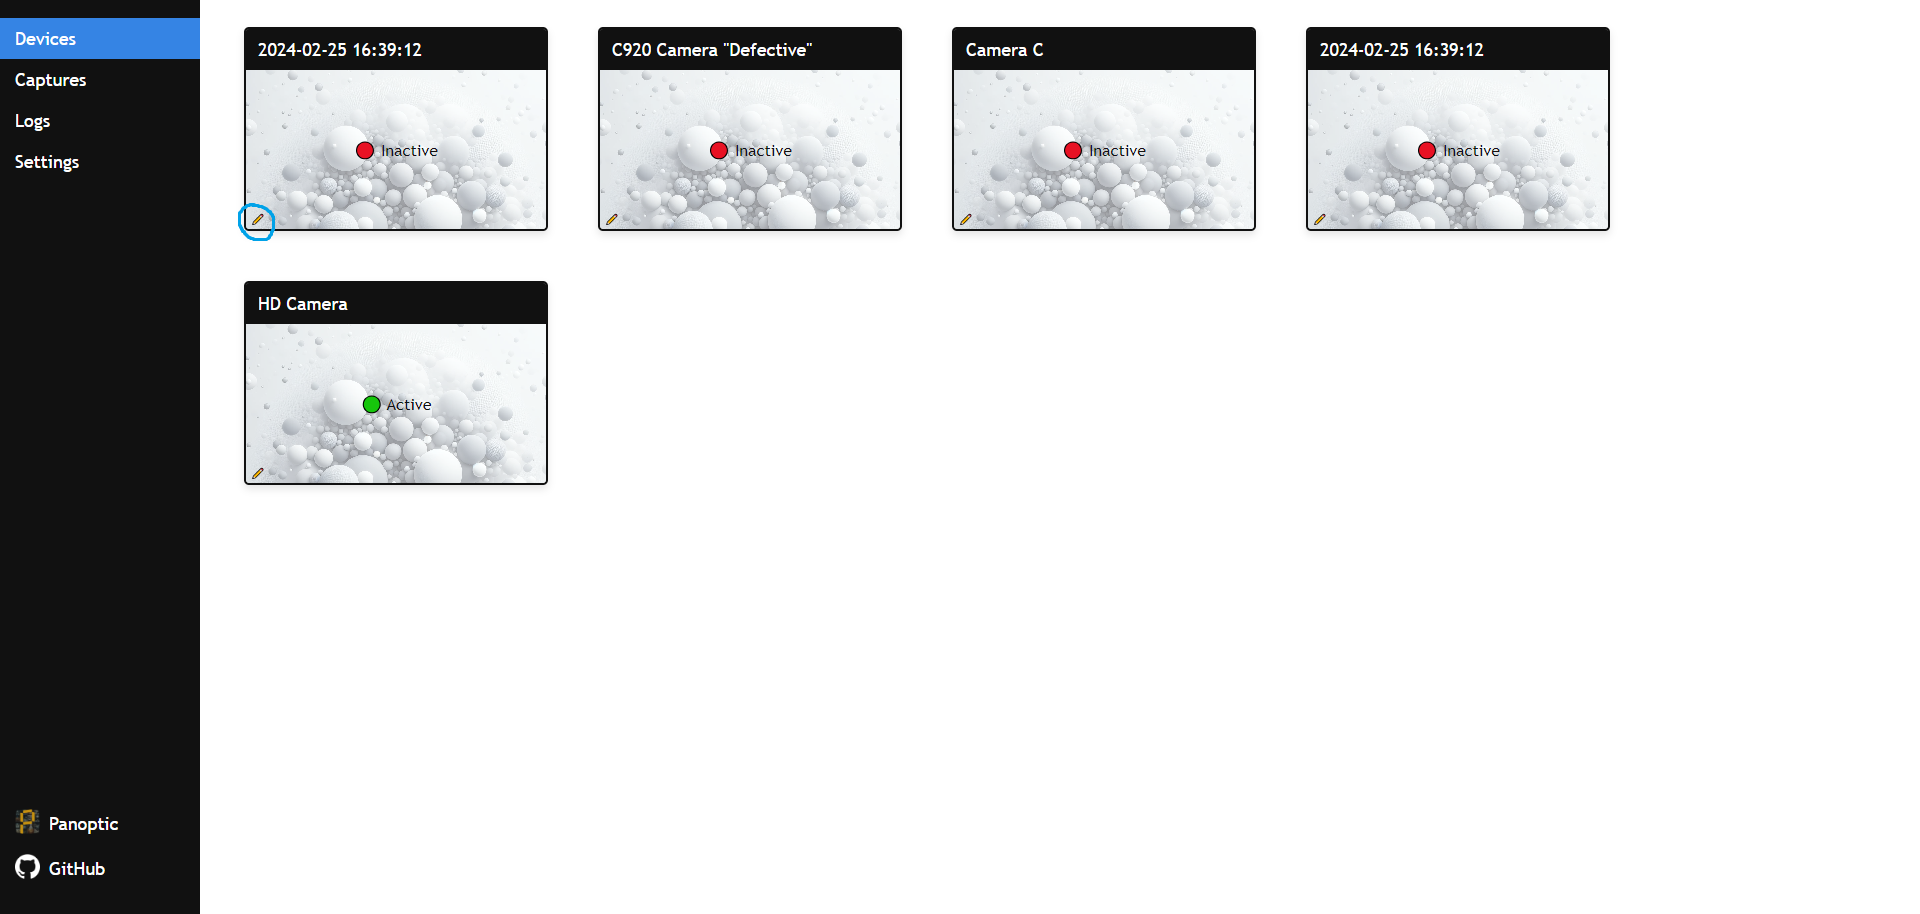
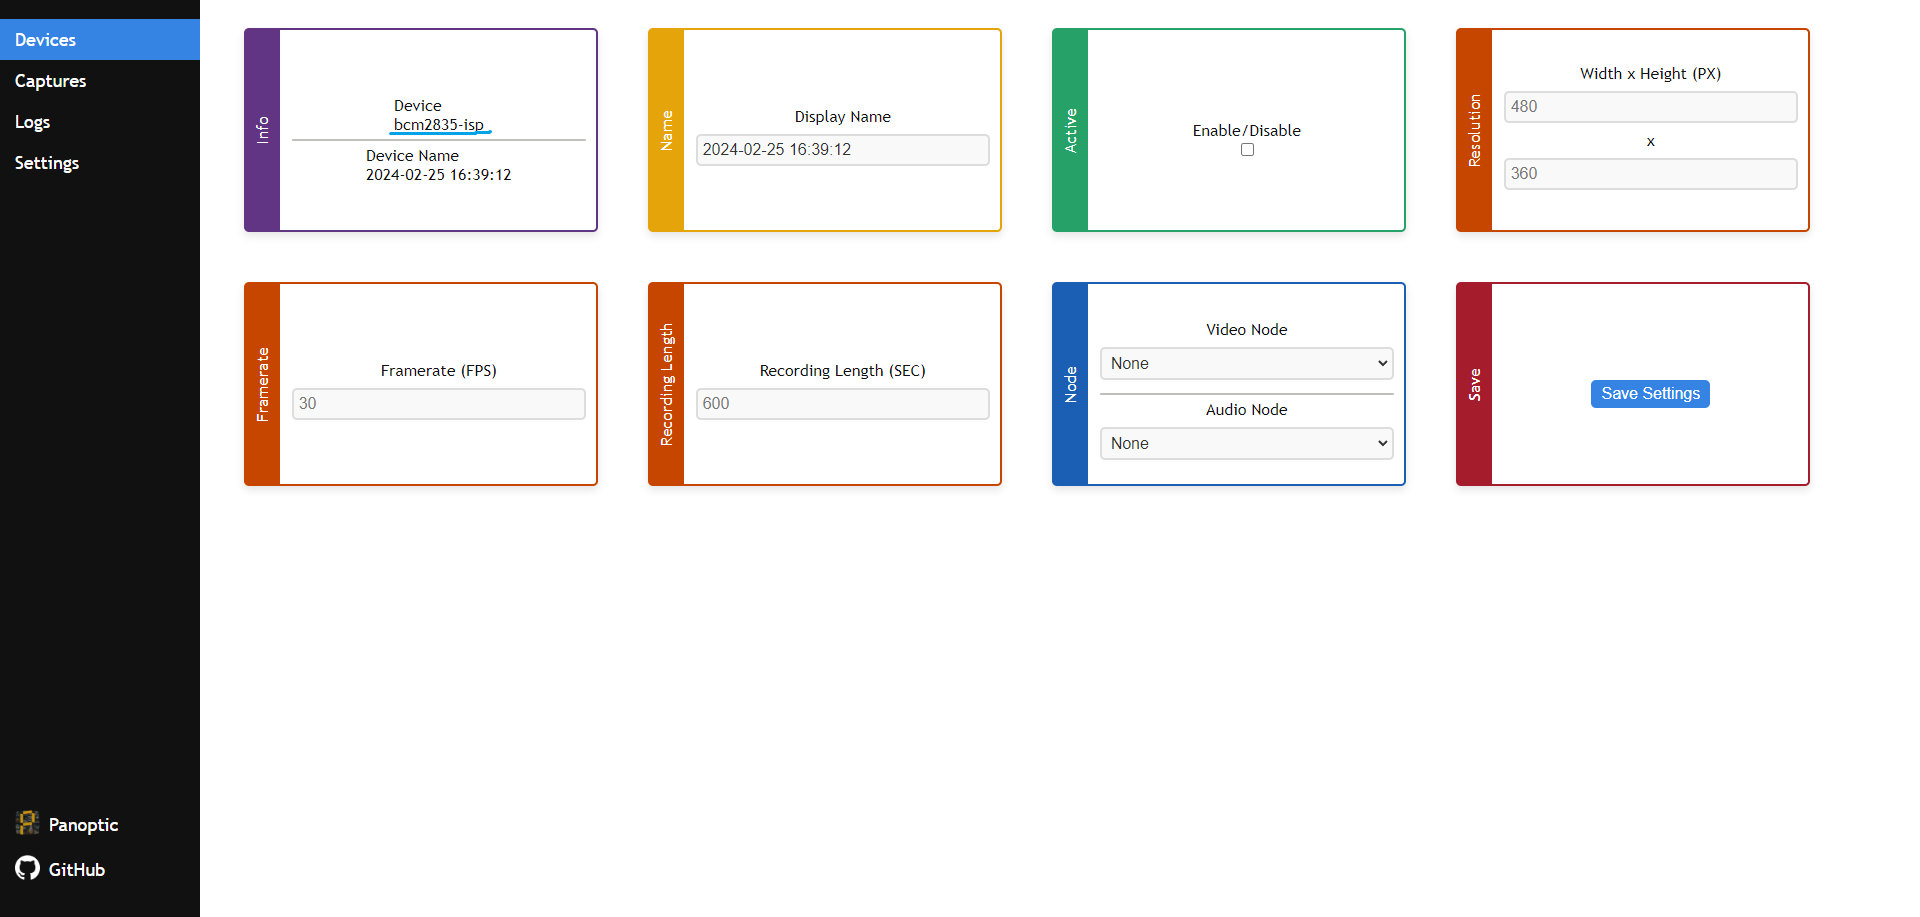
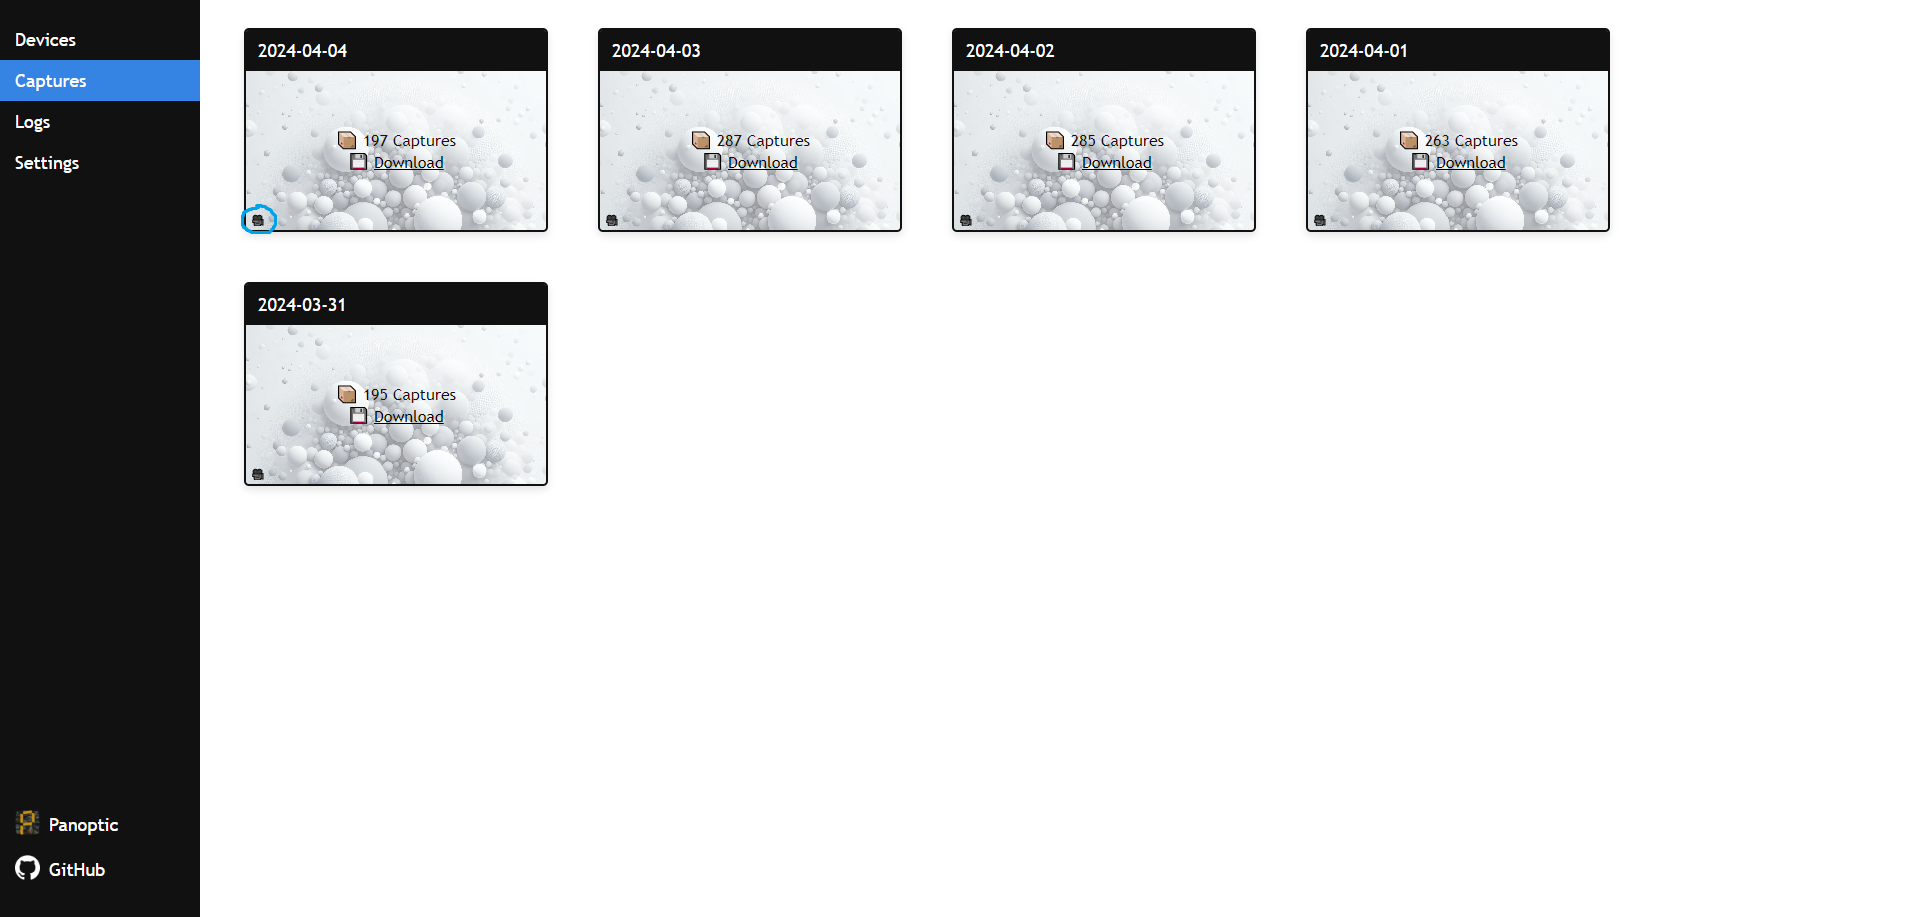
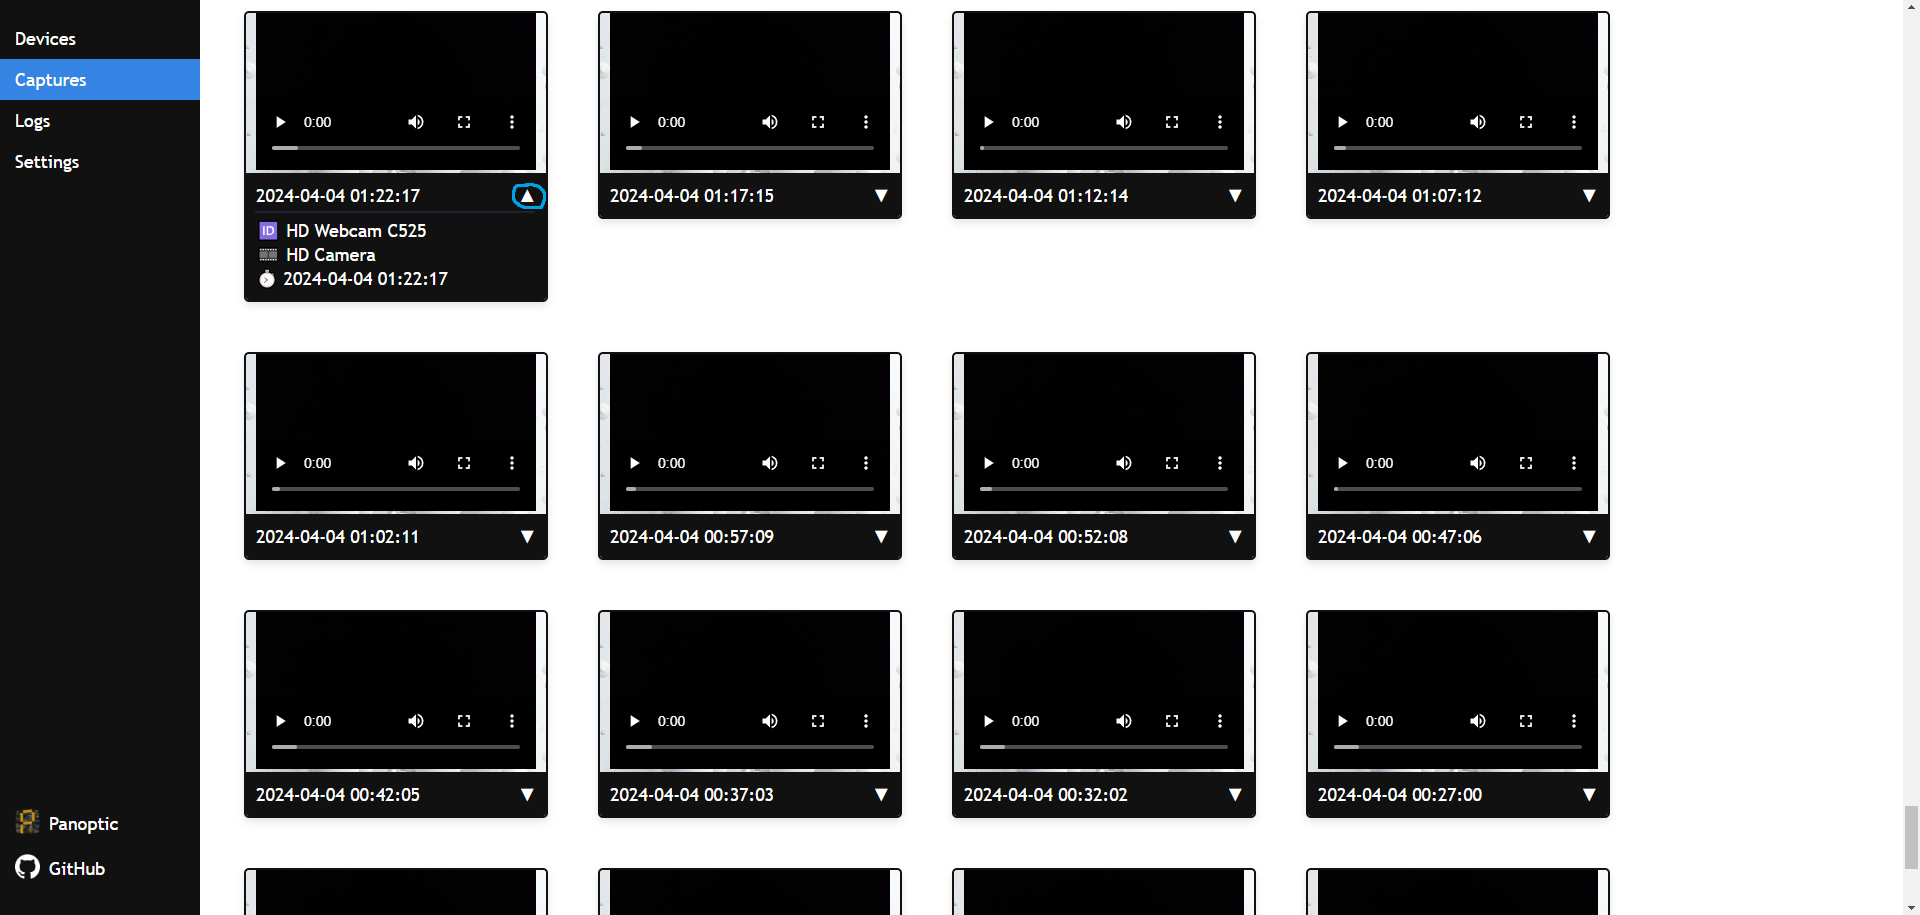
To start, after you've run the necessary commands and launched the main.py script in your command terminal or upon startup, head to the website it creates. You'll need to figure out the website's IP address, but remember, the port is always 8080. (type ip a in the command line to find the IP) The website URL will look something like http://###.###.##.###:8080. Once you get to the website, you'll see a screen like this.

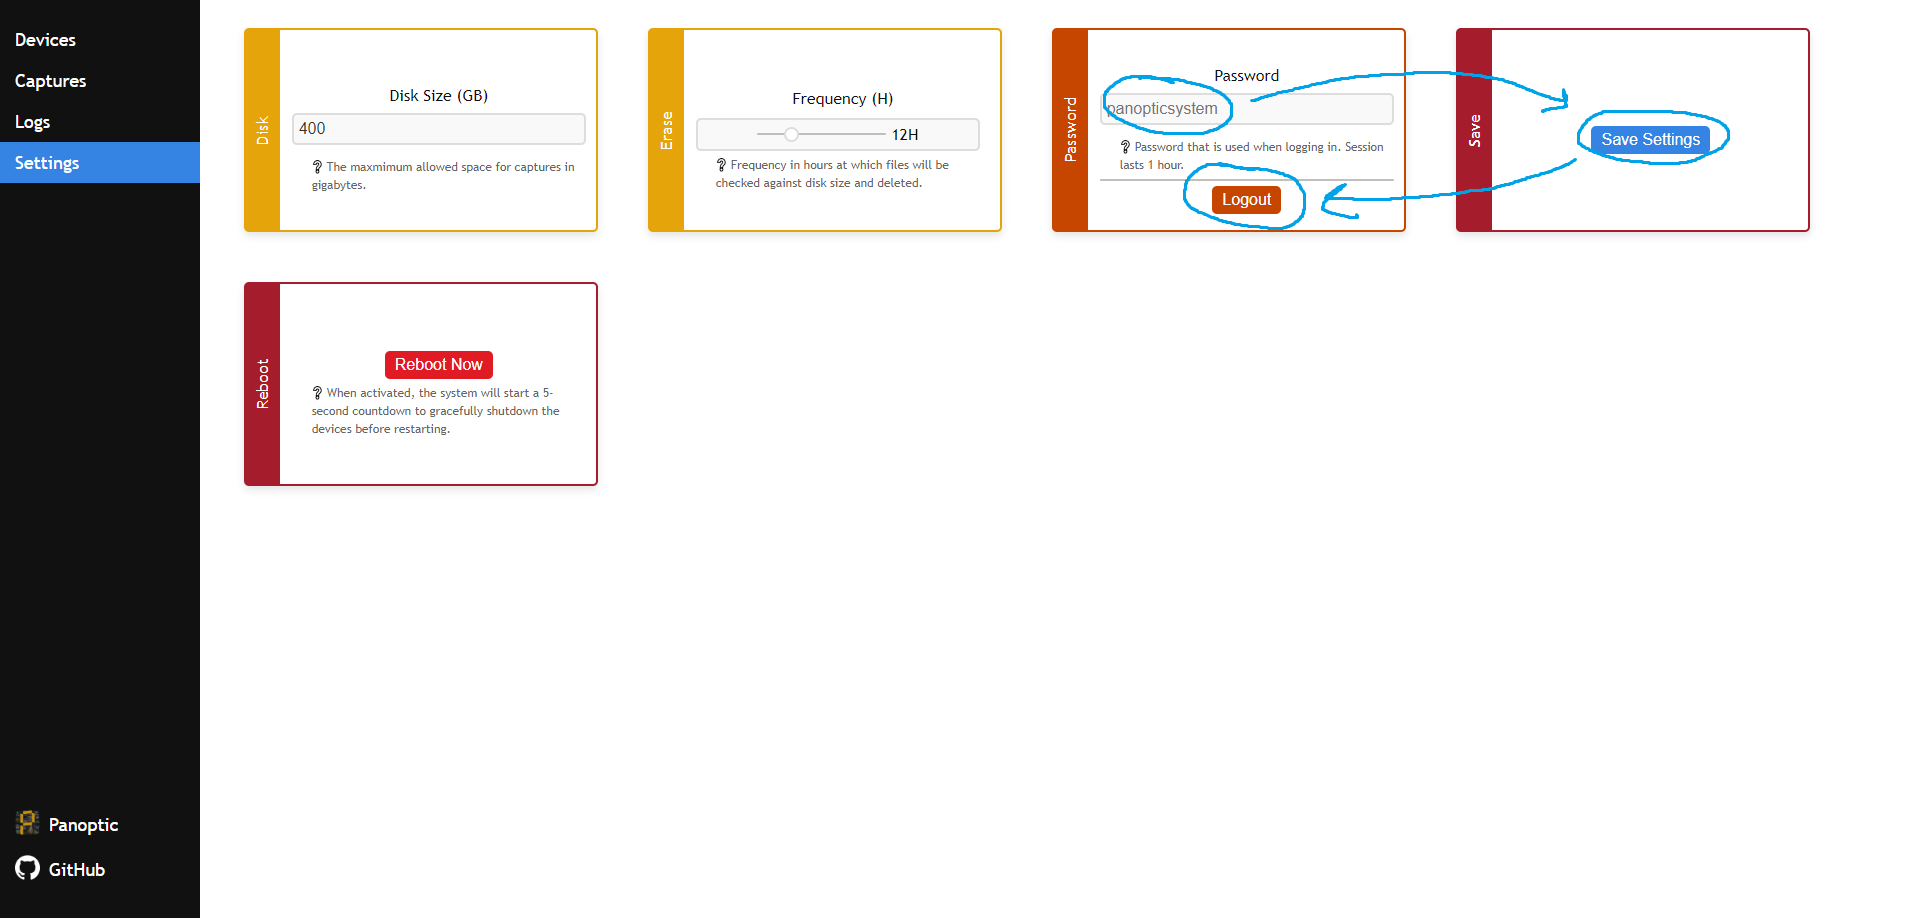
panopticsystem. After logging in, you'll land on the devices section, which we'll set up soon. But first, head straight to settings to change your password. Just type a new password over the old one, hit save settings, and then log out.

- Videos do not work in Firefox
- Possible node changes (restart your system)
Our system is designed primarily for home use, focusing on ease of access rather than high-level security. It's important to note that while the system undergoes testing to ensure functionality, there may still be undetected bugs that could lead to the unintended deletion of files. Additionally, installing the system in a directory with existing files could result in the loss of information. We advise users to proceed with caution and recommend backing up important data before installation.
Please be aware that video data is transferred over the internet and is not encrypted, which could pose a risk if intercepted. The system does incorporate password protection; however, passwords are transmitted without encryption, potentially exposing them to vulnerabilities.
Given these considerations, we advise against connecting the system to the internet unless necessary for your use case. While we strive to ensure the system's reliability across various setups, its performance on different systems cannot be guaranteed. We are not liable for any data breaches, system failures, or data loss that may occur.
Your feedback is valuable to us. Should you decide to use our system, we would greatly appreciate hearing about your experience. Your insights can help us make continuous improvements.
Creative Commons Attribution Non Commercial Share Alike 4.0 International (CC-BY-NC-SA-4.0).
http://creativecommons.org/licenses/by-nc-sa/4.0/

Panoptic repo contains 2 cached JavaScript libraries.
- FileSaver (MIT License, By Eli Grey, GitHub)
- JSZip (MIT & GPL3 License, By Stuart Knightley, GitHub)
Panoptic depends on the following tools...
- FFmpeg (GNU2.1 License, By FFmpeg Community, GitHub, Website)
- Gunicorn (MIT License, By Benoit Chesneau, GitHub)
- v4l-utils (LGPL License, part of the Video4Linux project, LinuxTV)
Panoptic depends on the following Python library...
- Flask (BSD License, By Armin Ronacher, GitHub)