- Microsoft Azure (Virtual Machines/Compute)
- Remote Desktop
- Active Directory Domain Services
- PowerShell
- Windows Server 2022
- Windows 10 (21H2)
- Setup resources in Azure
- Ensure connectivity between the client and domain controller
- Install Active Directory
- Create an administrator and normal user account in active directory
- Join client to domain
- Setup remote desktop for non-administrative users on client computer
- Create additional users and attemot to login into client computer with one of the users
This is the Microsoft Azure portal homepage and where the resources will be create to implement an active directory.
Here a resource group is being created. A resource group can be thought of as a folder.
Here is where the resource group is going to be named.
The image above shows that the resource group has been successfully created.
Here is where the virtual machines will be created. The "Azure virtual machine" option will be selected.
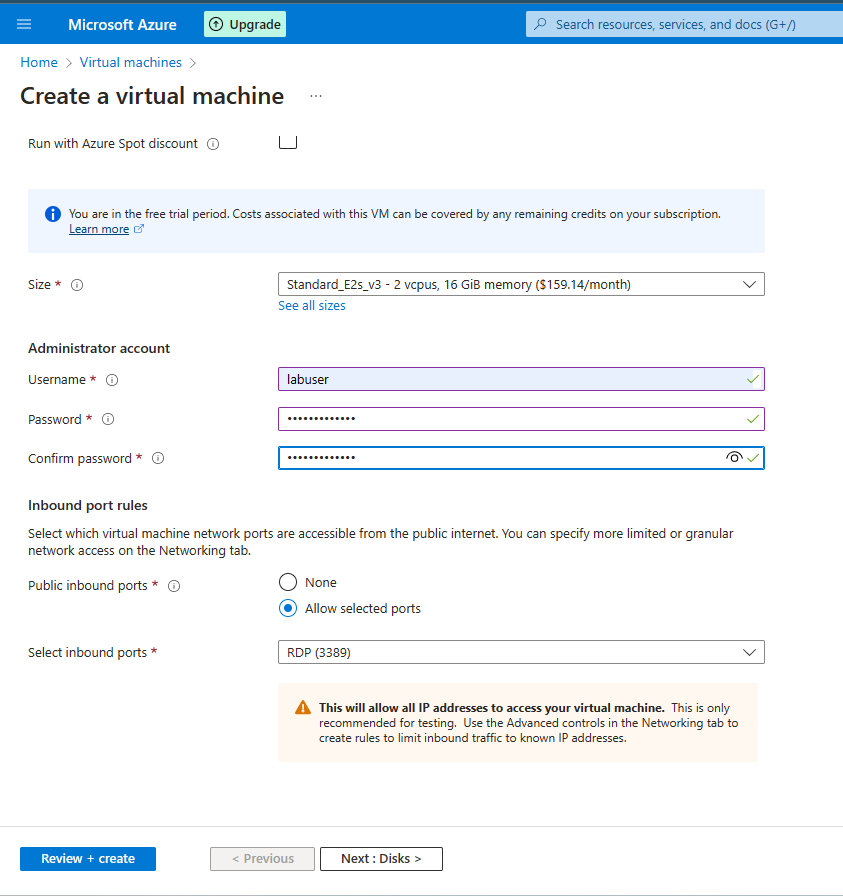
The virtual machine here is named "DC-1" which will act as the domain controller.
The creation of DC-1 username and password. For the "Image", we are choosing "Windows Server 2022".
The virtual machine here is named "Client-1" which will act as the client.
Similar to DC-1, we are creating a username and password. Additionally, the operating system for Client-1 will be Windows 10.
Here in the image above, both virtual machines have been successfully created.
Here we can see that the IP address of DC-1 is dynamic. Therefore, it's important to switch the IP address from dynamic to static. If the server was assigned a dynamic IP address, it would change occasionally, preventing your router from knowing which computer on the network is the server.
Here the IP address has been switched from dynamic to static.
The IP address of DC-1 is being copied so a remote desktop connection can be made.
The credentials that were made earlier are now being used to access the DC-1 virtual machine.
Similar to DC-1, the same process will be done for Client-1.
Here we are logged into Client-1. To start the process of ensuring connectivity, we are going to continuously ping DC-1's private IP address. To do this, we are going open command prompt and type "ping-t". The "Request Timed Out" means that the pinging is being blocked and that we need to access the firewall to change this.
Here we have opened windows defender firewall with advanced security and will attempt to enable some inbound rules. You'll notice the acronym ICMP which is the Internet Control Messaging Protocol is a network layer protocol. It's mainly used to determine whether or not data is reaching it's intended destination.
Here we can see that the chosen inbound rules have been enabled.
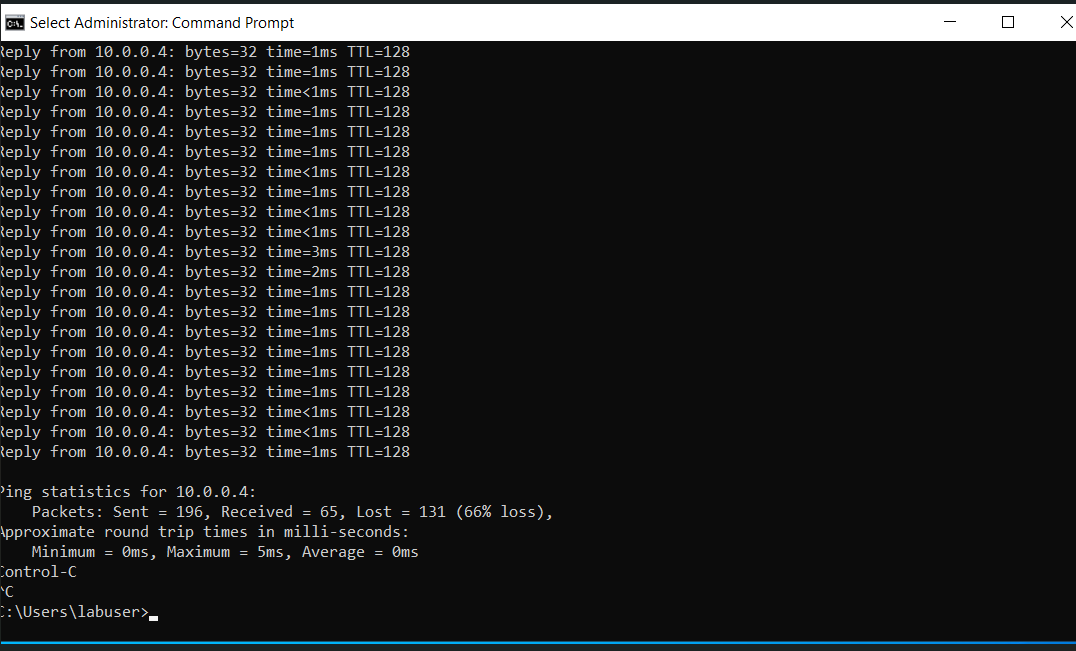
As you can see, when we switch to CLient-1 and observe the command prompt, we are getting a response from DC-1. We can tell by the private IP address.
Here "CTRL + C" was used to stop the continuous pinging.
Here we are switching back to DC-1 so we can start the installation process for Active Directory Domain Services.
This is what we'll see when we begin the installation process. We can simply click next.
Here we are going to choose the installation type. The top option will be used.
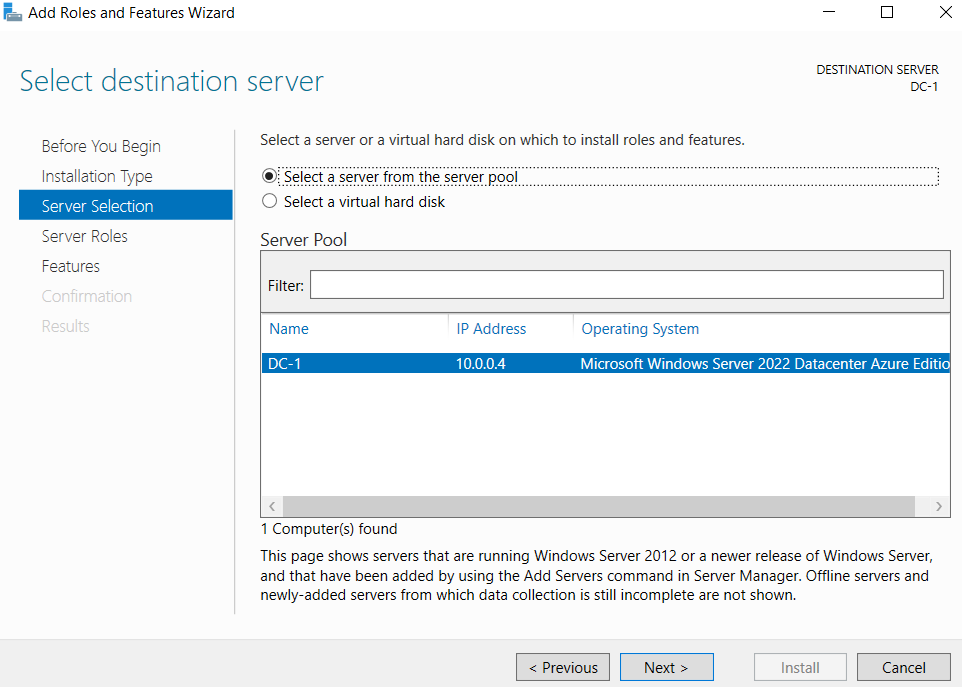
The server that will be selected will be the virtual machine that we created earlier.
The server role that will be chosen is the Active Directory Domain Services (AD DS) becasue this role in particualr uses domain controllers to give network users access to permitted resources through a simple logon process.
Here we are simply going to click next.
Just like the previous step, we will simply click next
Here we are going to install all of the roles and features for our server.
As we can see the installation process was a success.
After the installation of the roles and features for the server, the next step is start the configuration. We'll start this by clicking on the flag with the exclamation mark encases in a triangle.
We are going to click "Promote this server to a domain controller. A domain controller is a server that manages network and identity security. This is important for user authentication and authorization into IT resources within the domain.
For the deployment configuration tab, we are going to click "Add new forest" and type in a name. An Active Directory forest is the highest level of organization within Active Directory. Each forest shares a single database.
In this image, an DSRM (Directory Services Restore Mode) password will be created.
Here we are simply going to click next.
The image above shows the NETBIOS domain name. The NETBIOS domain name is a unique identifier for a network that allows computers to communicate with each other.
Here we will simply click next.
After reviewing the options, we will click next.
All prerequisite checks passed successfully and now the installation can begin.
After the virtual machines restarts, we will login with domain name and original credentials
In this image above, we will click on "Tools", scroll down and select "Active Directory Users and Computers".
We will right click on the domain name, scroll down to "New" and select "Organizational Unit". An organizational unit is like a folder.
The name of this organizational unit will be "_EMPLOYEES", since this is where we are going to generate random users in this organizational unit. An additional organizational unit will be create and will be named "_ADMINS".
As you can see here, we are creating an administrator in the "_ADMINS" organizational unit.
The image above demonstrates the administrators information being created.
Enter the password for the new administrator.
After entering the information, click "Finish".
In the image above, we are adding Jane Doe to the "Domain Admins" security group.
Once we click "OK", we will logout of DC-1 and log back in using Jane Doe's account.
This is the image of Jane Doe's credentials being used.
Open command prompt and type in "hostname" to verify that Jane Doe is the user.
In the following steps, we are going to join Client-1 to DC-1. In order to do this, we will go back to the Azure portal and change Client-1's DNS settings to DC-1's private IP address. We will start the process by clicking "Network Interface".
After clikcing "Network Interface", we will select "DNS Servers" then pick "Custom".
Now we are entering the private IP address of DC-1.
Client-1 will now be restarted.
Login into Client-1 with Jane Doe's credentials after the virtual machine restarts. From here, we're going to click on "System".
Click on "Rename this PC"
Click on "Change" to start the process to renmae the PC. Once this is done, we're going to add Client-1 to the domain then click "OK".
The comptuer will restart after we join Client-1 to DC-1. Use Jane Doe's credentials to login.
Go back to DC-1 to verify that Client-1 has joined DC-1. We can see in the image above that Client-1 is in the "Computers" organizational unit.
Now we're going to go back to CLient-1 to allow “domain users” access to remote desktop. First go to "System" and click "Remote Desktop".
Click "Select users that can remotely access this PC".
A "Select Users of Groups" window will open. From here, type "domain users" and select "Check Names". Lastly click "OK".
Switch back to DC-1 and run Windows PowerShell ISE as an administrator. This is where random users will ge generated by using a script. The script will additionally generate the same password for each unique user and will upload the user accountts into the "_EMPLOYEES" organizational unit.
After the script is copied into Windows Powershell, click the green play button which will run the code.
As you can see, the script has generated random users into the "_EMPLOYEES" organizational unit.
A random user will be selected to verify that we can access Client-1 using their credentials. We will go on properties to copy the user's login credentials.
Copy the username and use the password that was listed in the script.
Enter the user's credentials.
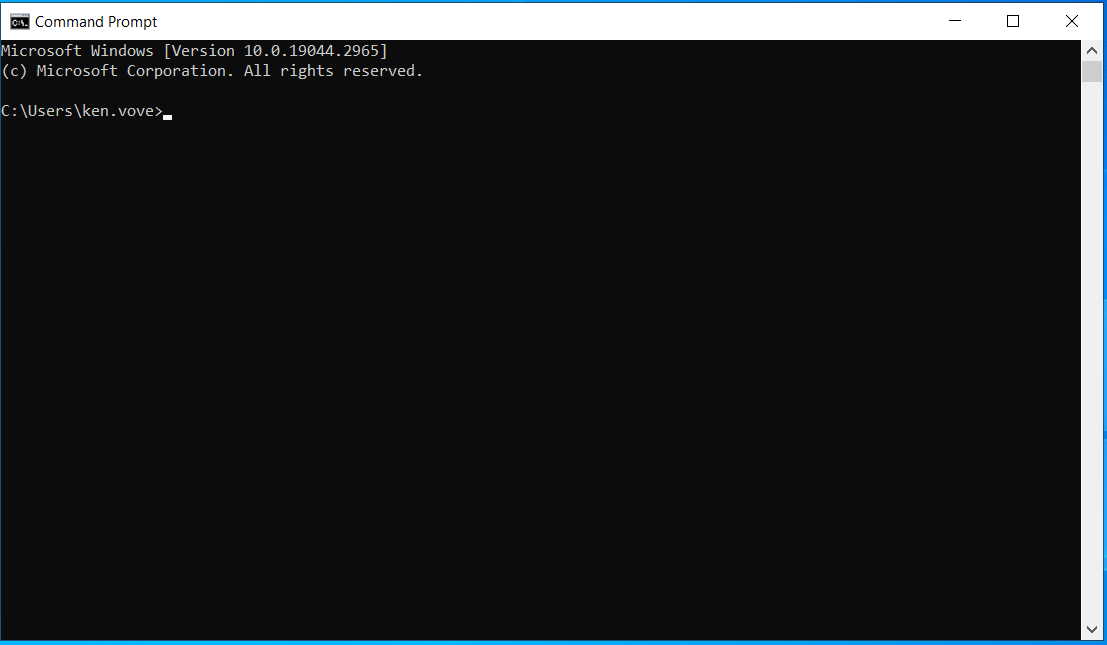
Once logged in, you can open command prompt to verify that the login was successful.


