Introduction: This repository is also based off of another repository I created, called 'OpenRoad' but this used Flask and SQLAlchemy.
Depoloyed Link to Heroku
With the core UX Principles in mind, I began brain storming and deciding who my target audience for my road trip website and the features I can intergrate that can benefit users.
The target audience for Open Road are:
- 21-35 year olds
- People who seek adventure and not afraid to go on the off beaten track
- People that have potentially less responsibilities and are able to take a road trip
- People who enjoy getting inspiration from others experiences and sharing their own
Following the pandemic, there are circa three years worth of missed years people were unable to travel and explore. We are seeing more young people wanting to travel and have new experiences to make up for lost time.
As the site is specifically road trip orientated travel, younger people often go on holiday with friends and have potentially less responsibilities such as children/mortgage. A road trip can be as short or as long as you want it to be, providing flexibility.
The users will be looking for:
- The ability to navigate the site with ease.
- Read concise information about road trips the user is interested in.
- The user is able to create a user account. Which links to the following point below:
- The ability to share their own experiences via writing their own blog or commenting on another post.
Due to the site being able towards a younger audience who often browse on mobile devices; I will use bootstrap elements to customise and create a responsive site. Often young people are looking for a memory building experience with friends/ loved ones or finding themselves in a solo experience; which road trips can offer.
Please find all my user stories & acceptance criteria in greater detail here
- USER STORY: Manage posts.
- USER STORY: Manage/create Categories.
- USER STORY: Site Pagination.
- USER STORY: Open a post.
- USER STORY: Basic website layout with Navbar/footer.
- USER STORY: User can clear view Logged in status.
- USER STORY: Like a post.
- USER STORY: View road trip posts list
- USER STORY: Remind user to register for an account if they do not have one.
- USER STORY: Scroll to the Top Button on home page.
- USER STORY: Comment on a post.
- USER STORY: Intuitive sit navigation.
- USER STORY: All road trips must have a description, suggested travel length.
- USER STORY: Accout Registration.
- USER STORY: Informative landing page.
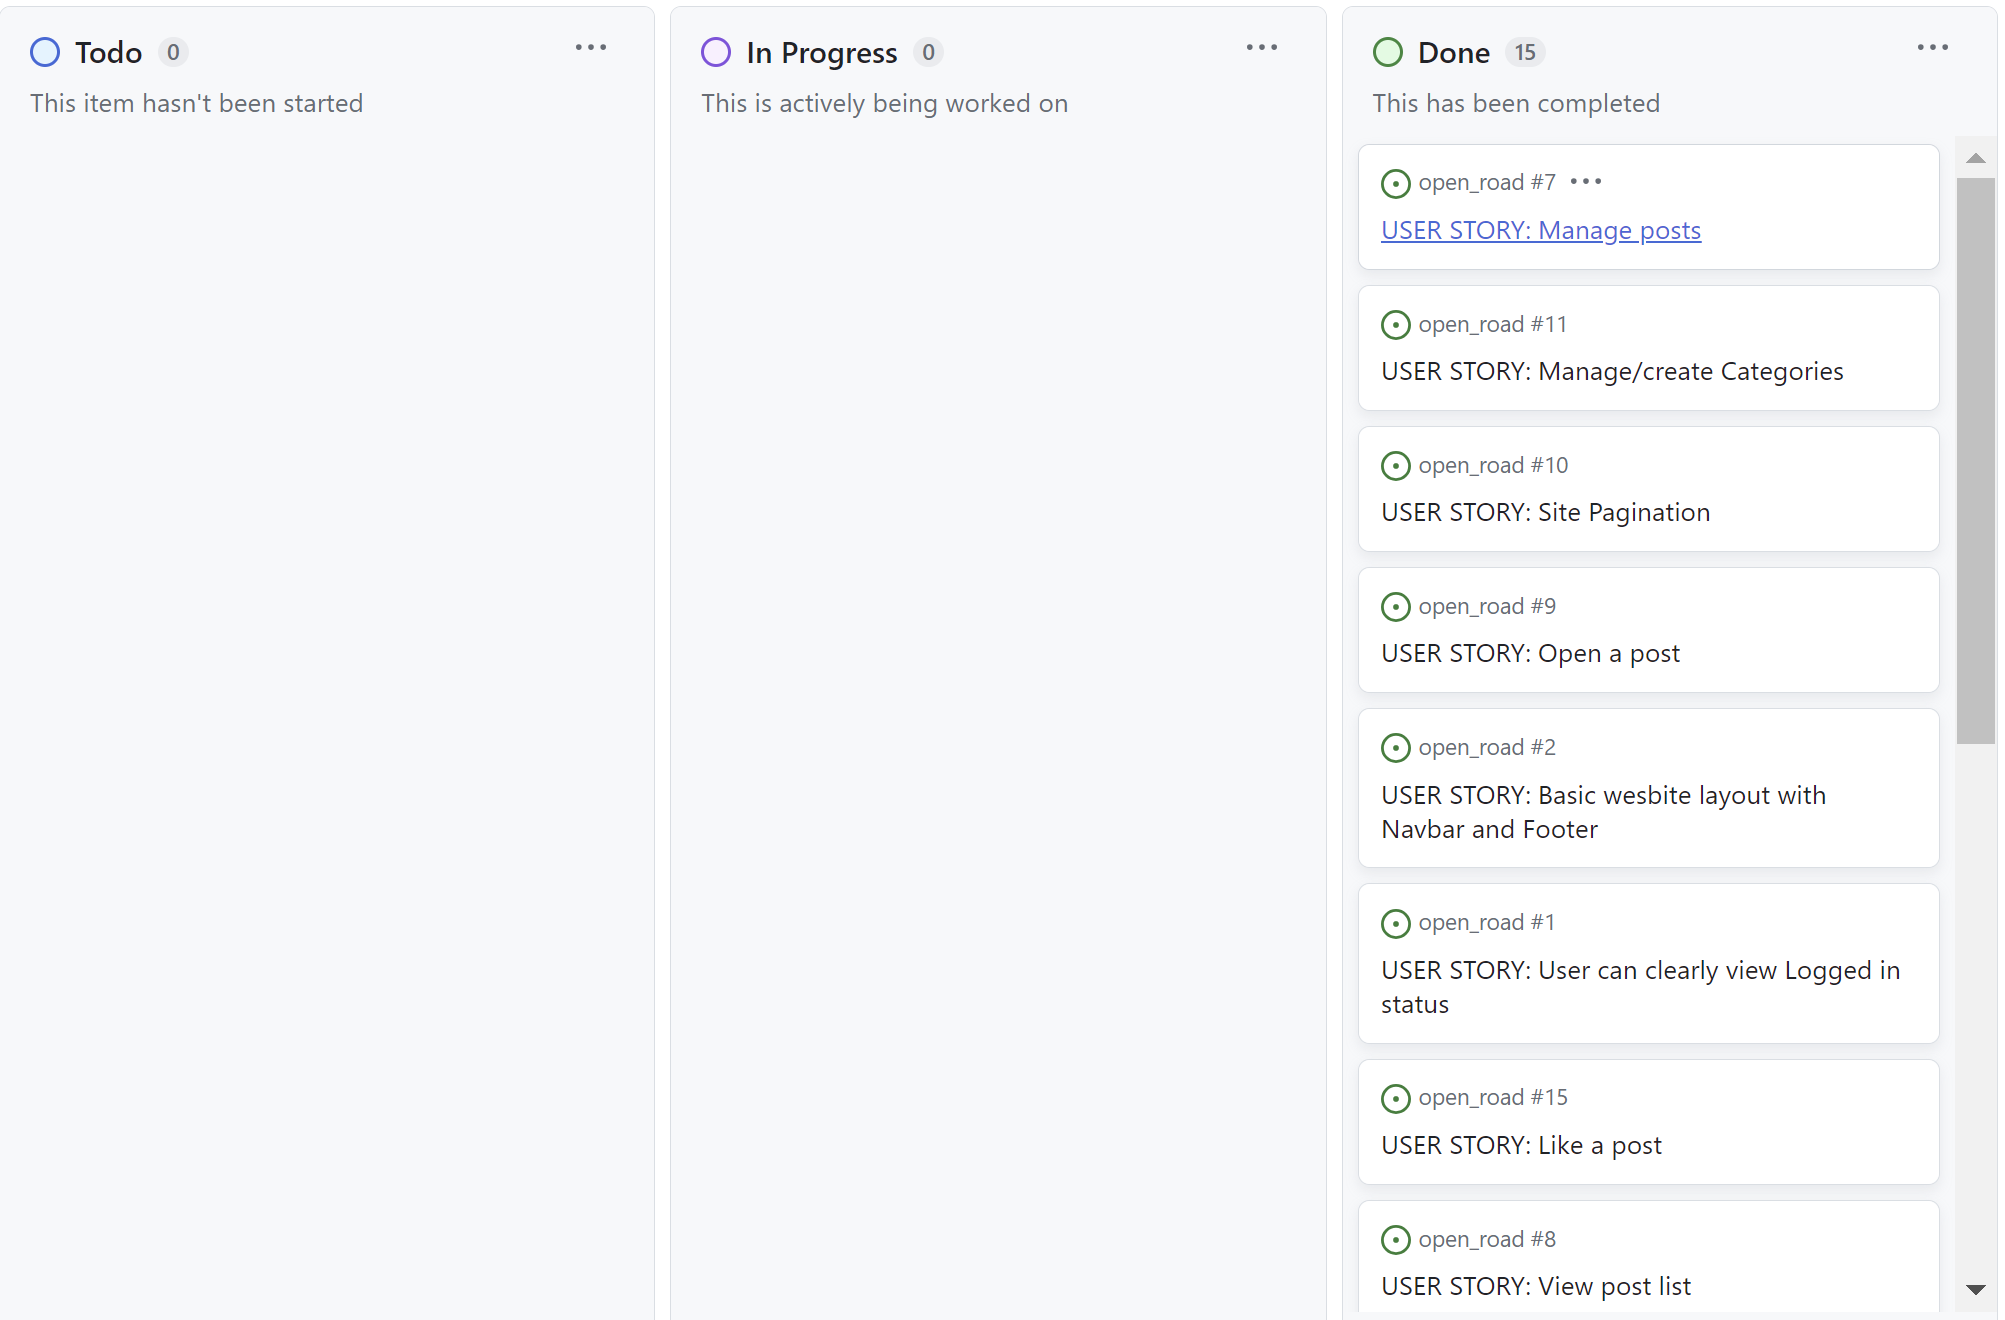
Kanban Board
1.3 Mapping User Story Criteria:
Please also see this illustrated on my Kanban Board that has been marked Public:
Project set to Public Visibility.
| # | Feature | Importance | Viability |
|---|---|---|---|
| 1 | View Road Trips | 5 | 5 |
| 2 | View and Create Trip Posts | 5 | 5 |
| 3 | Edit and Delete Trip Posts | 4 | 3 |
| 4 | Create, Edit and Delete Account | 4 | 3 |
| 5 | Login and Logout to Account | 5 | 5 |
| 6 | Moderate Content posted by Account Users | 4 | 3 |
| 7 | Receive Notifications on users activities | 2 | 2 |
| 8 | Search Different Road Trips based on Category | 3 | 1 |
| 9 | Delete Comments | 2 | 3 |
| 10 | Show alert messages to communicate Log Authentication to user | 4 | 4 |
To achieve both user and business goals, I will include the following features:
- A responsive navbar that allows users to navigate through various pages on the site.
- A Landing page providing a brief summary about Open Road and links to trips posts and login/ registration options.
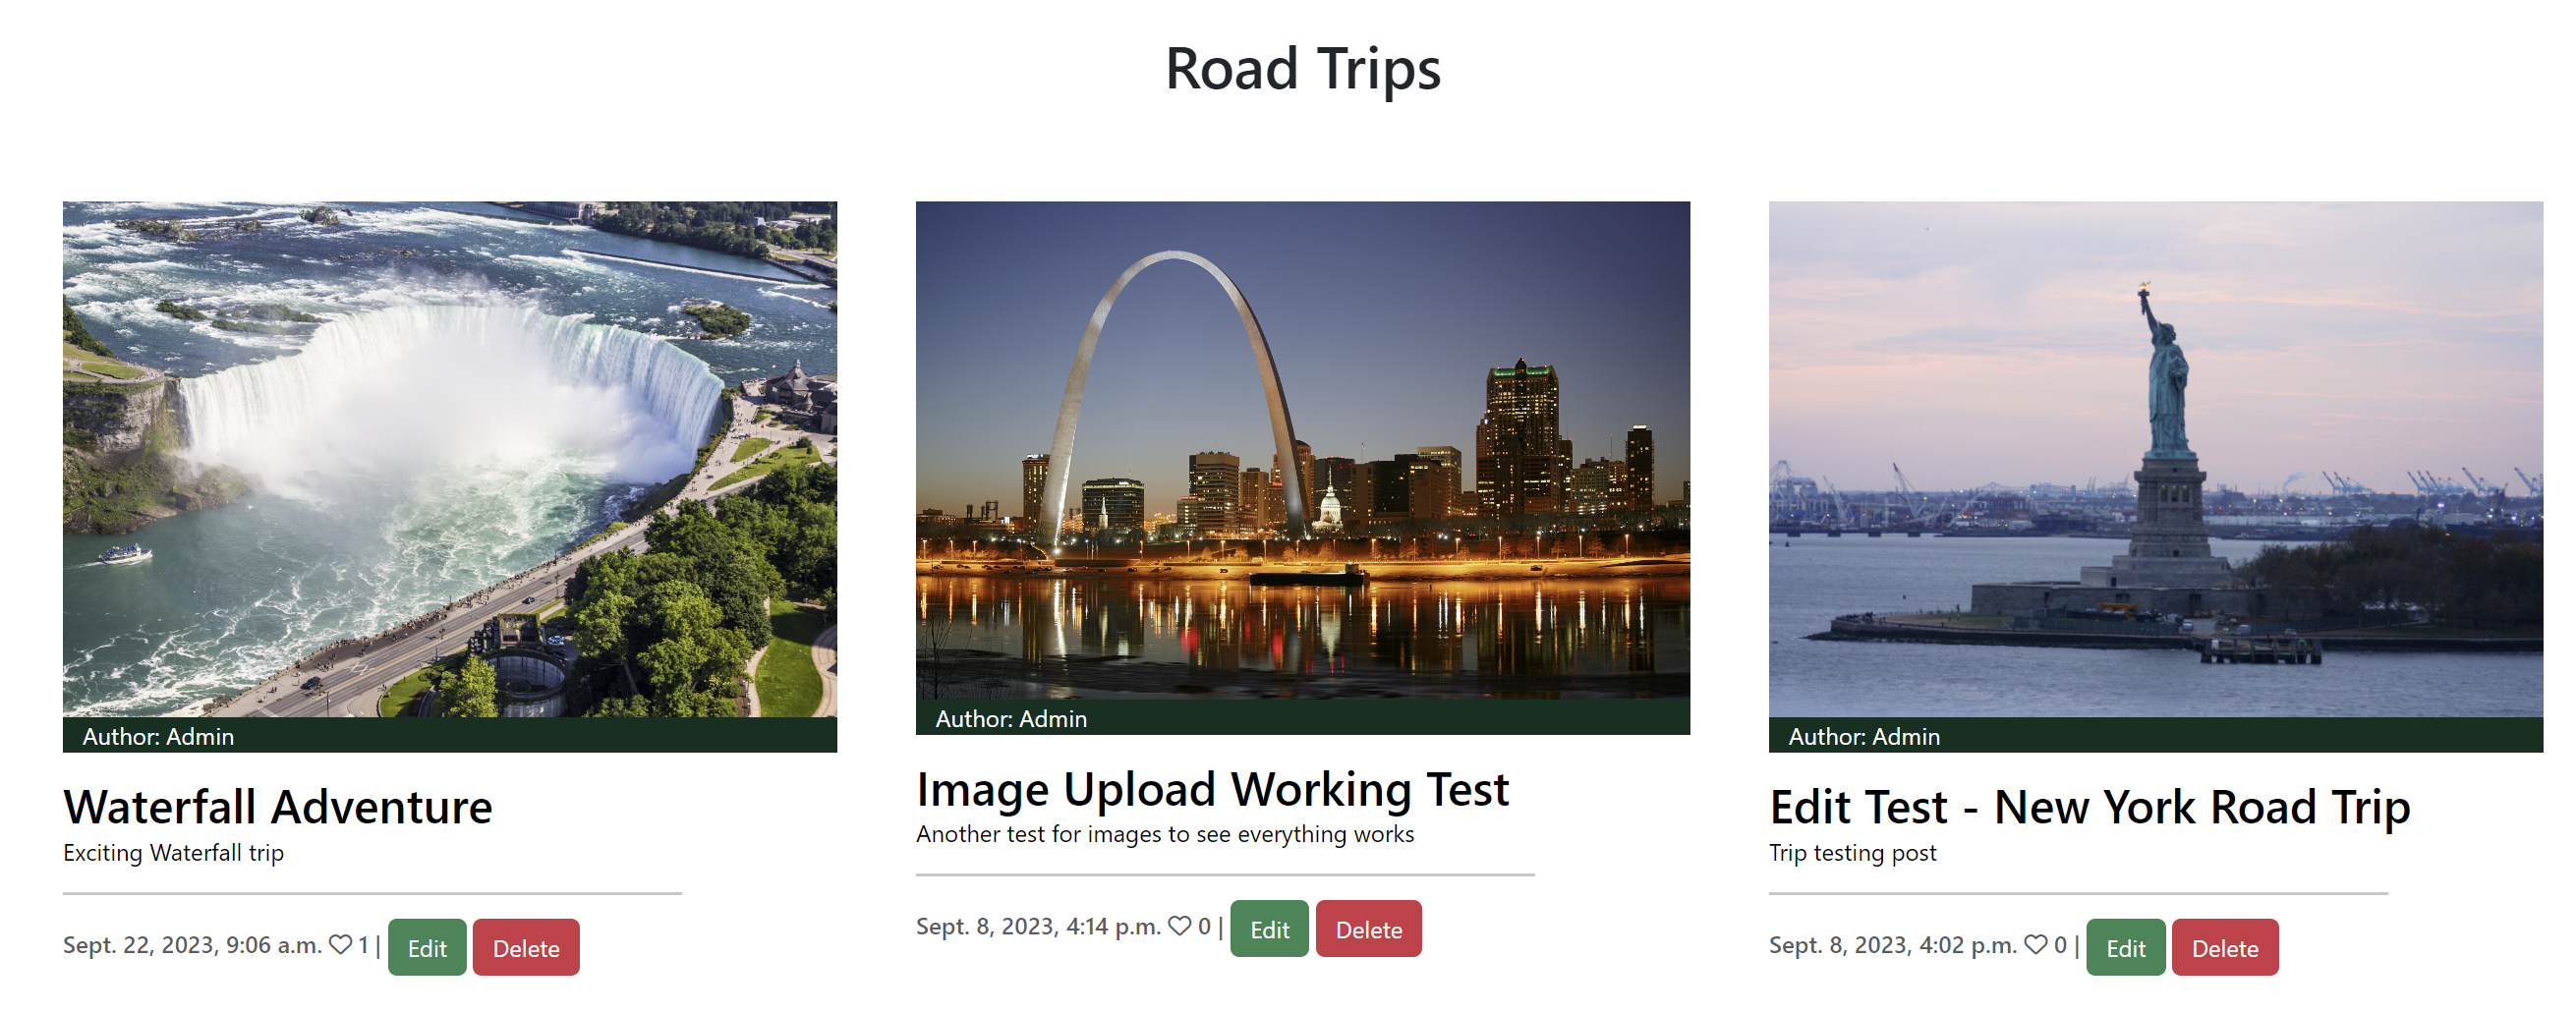
- Road Trip Post page, with Card displaying the different posts from users shared.
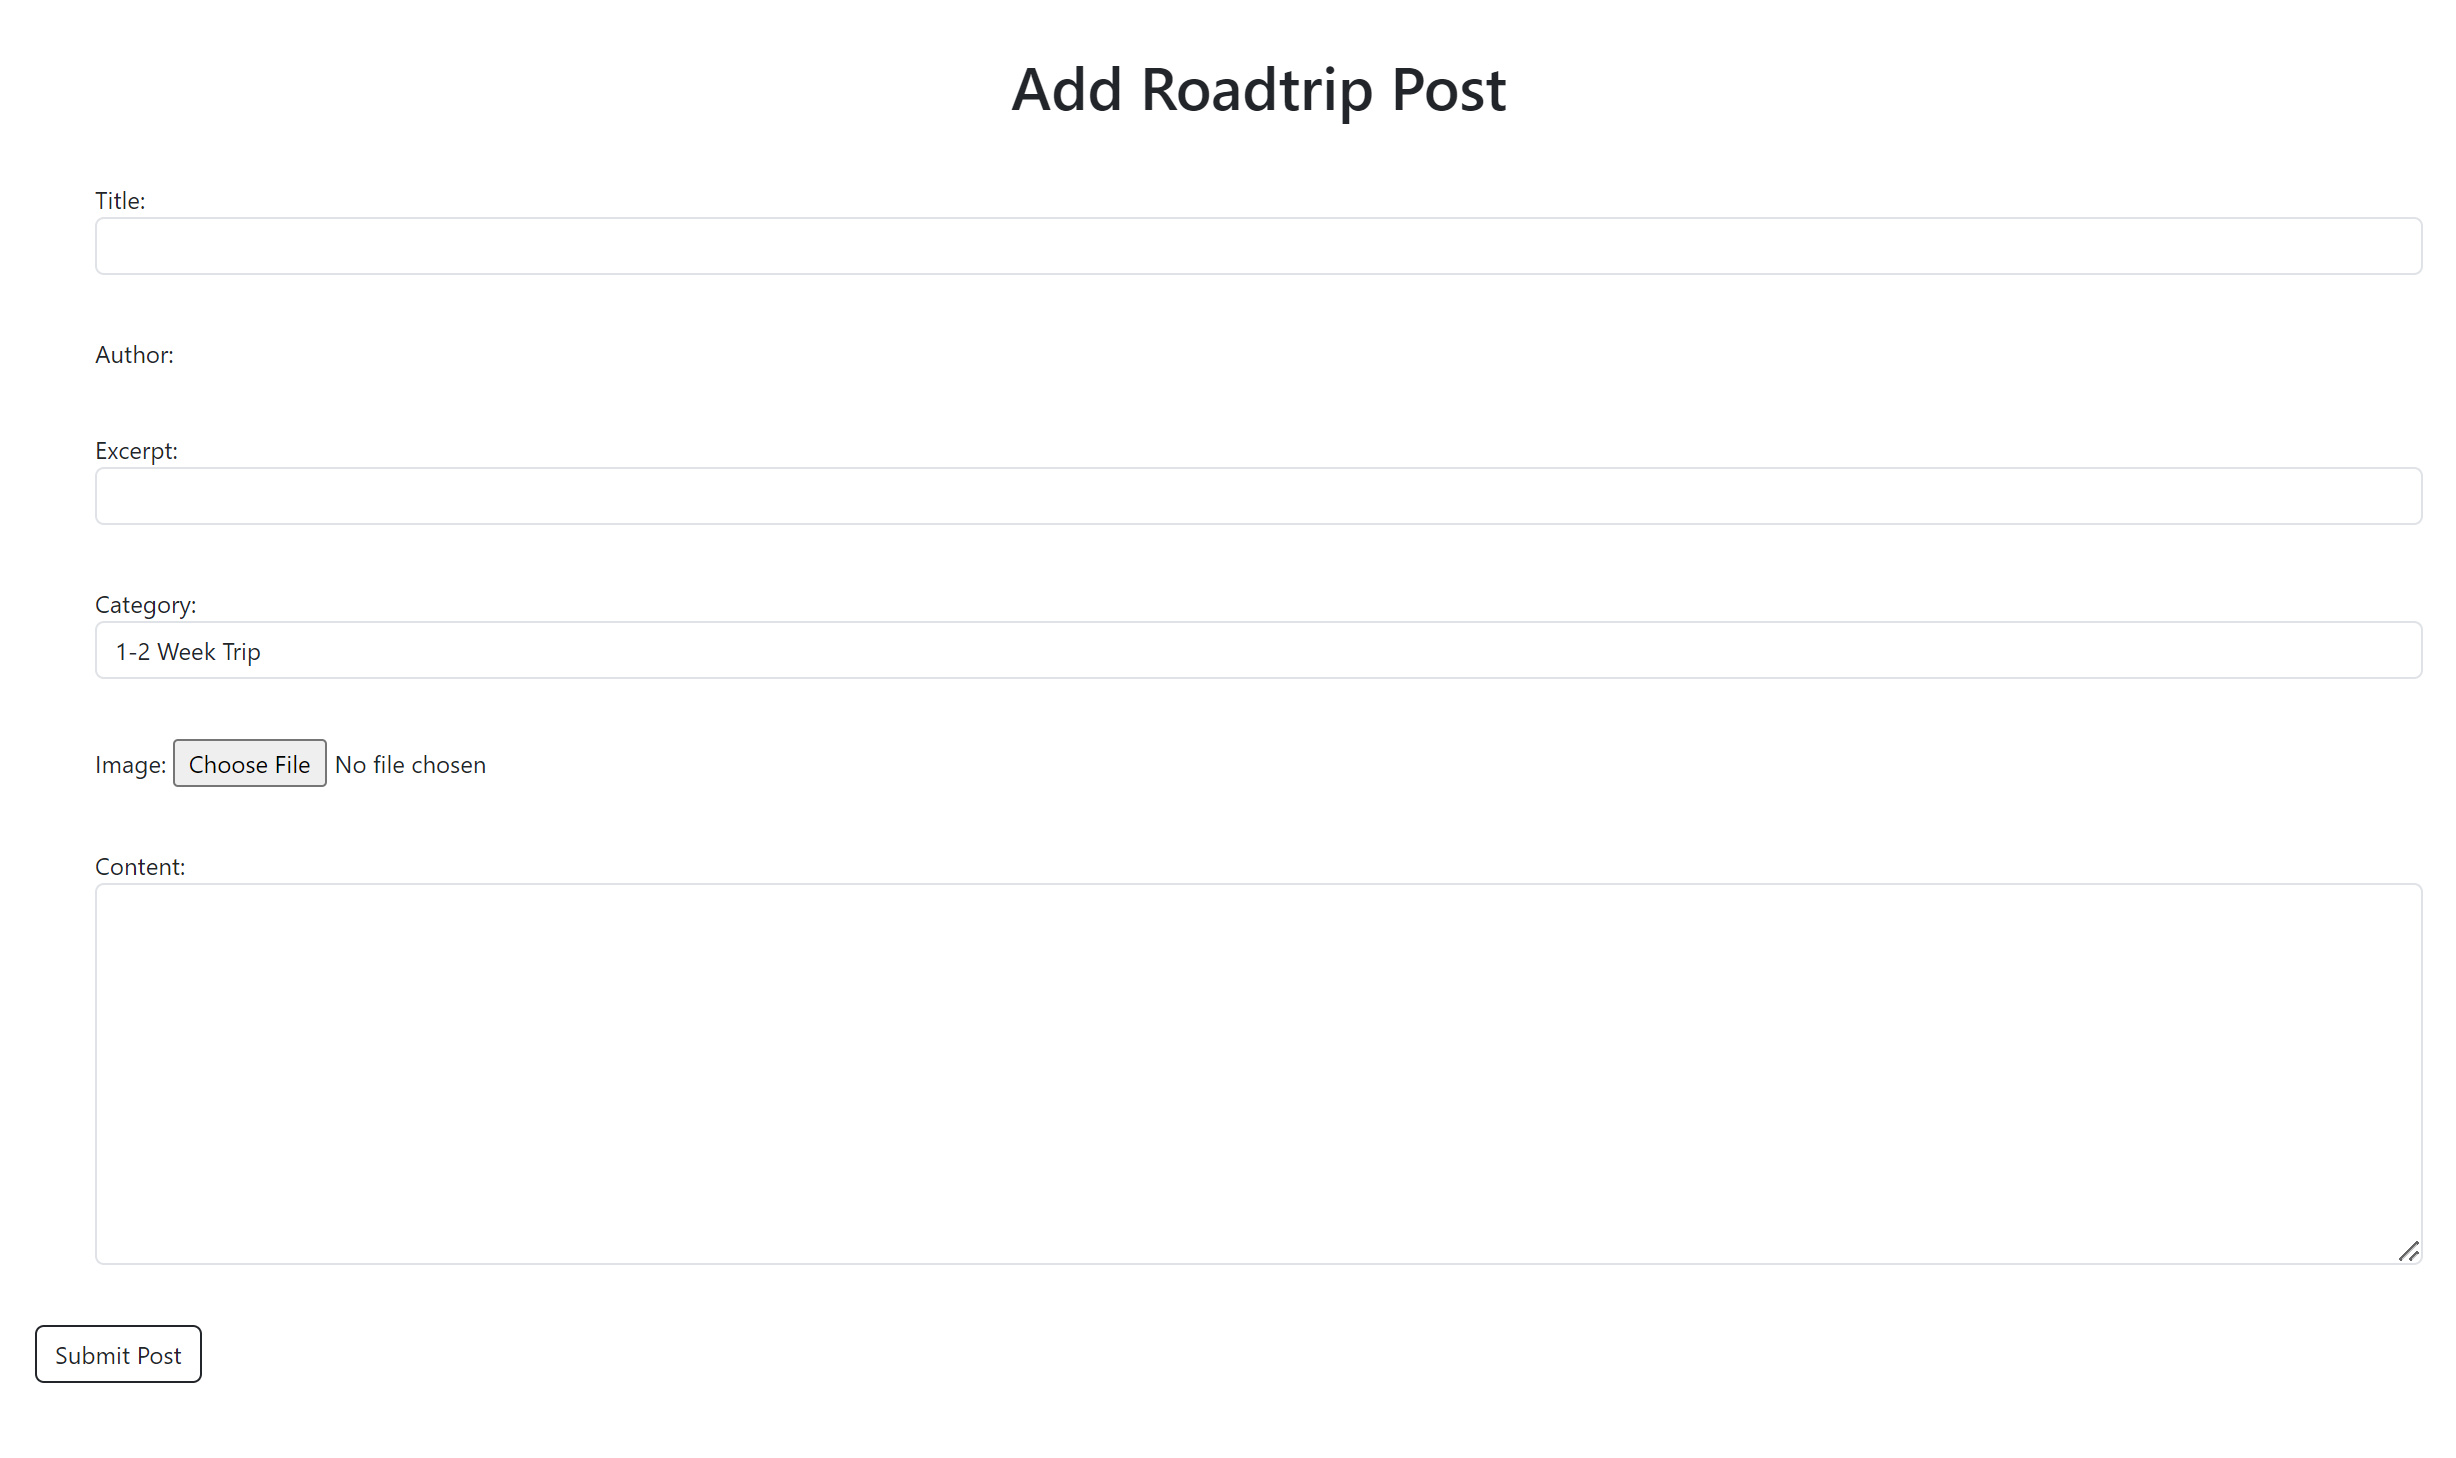
- Add Road Trip page, allowing logged in users to share their experience.
- Post detail page, users can click on a post from road trip page that they are interested in and read the full post.
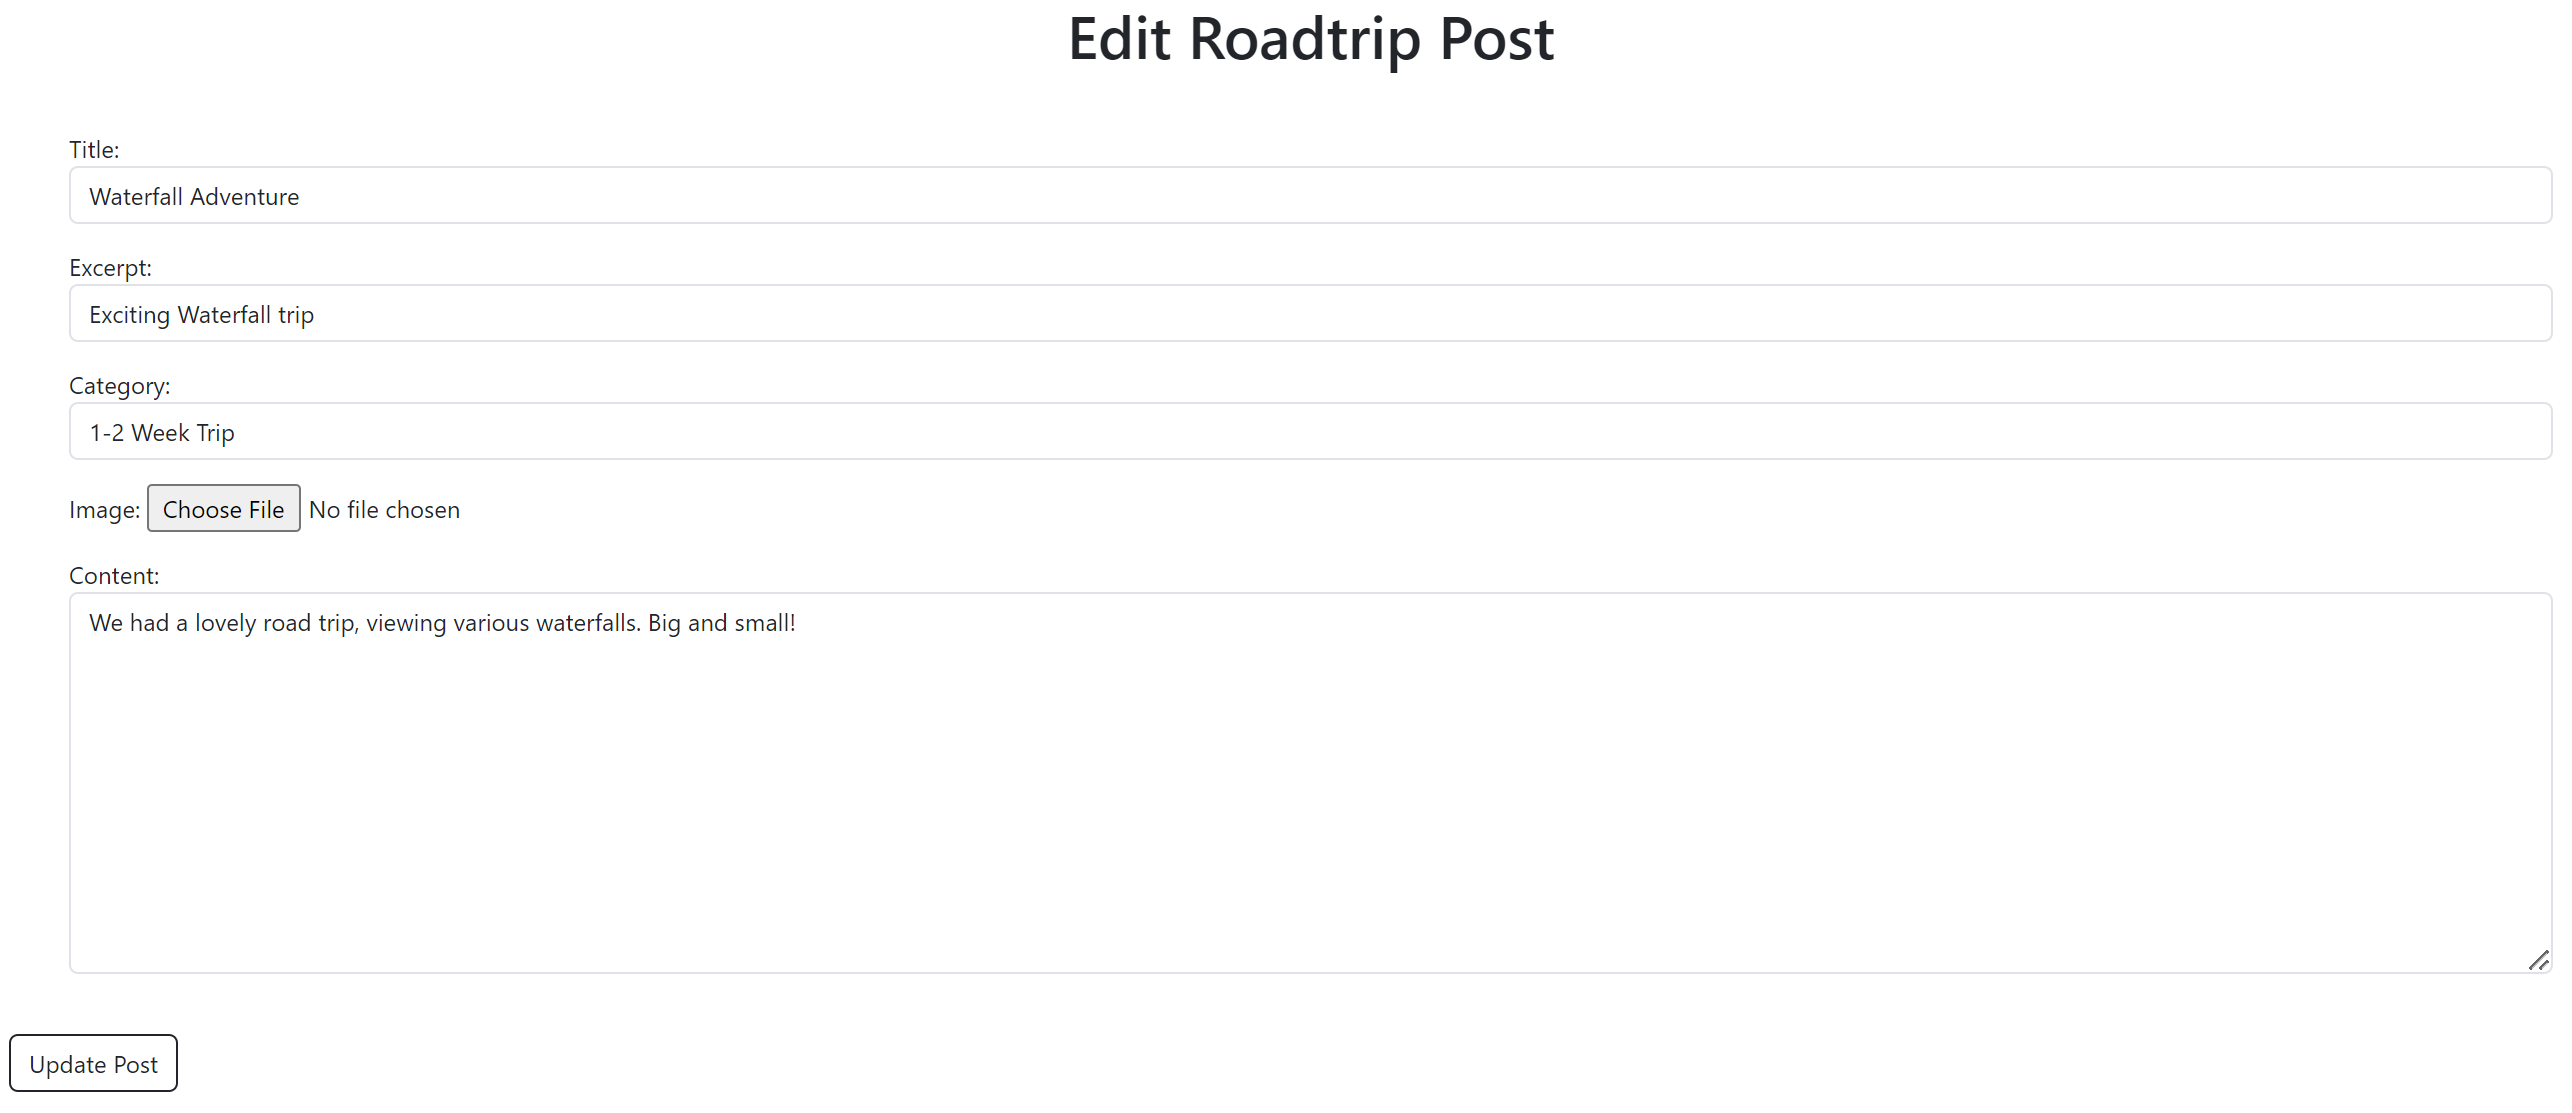
- Edit Post page: If a user is logged in, there shows an Edit Button on both the road trip page and post detail page. This will take them to the edit page where they can make alterations to their post.
- Delete Post Page: If a user is logged in, there shows a Delete Button on both the road trip page and post detail page. This will take them to the delete page where they can make alterations to their post.
- Register/ login and sign out feature using Django allauth.
The design of website is made to be clean cut and simple. This is to offer key information quick and locate what is desired rather than reading unessary information.
The website is made of two apps:
- Website: offers core functionality
- roadtrip: display posts and blog post data
App structure:
Please note, the website differs slightly from the original wireframes.
The theme is supposed to be clean cut and simple, offering the simplicity that is a humbling road trip journey. I have used bootstrap to create styling and design to my website.
Wireframes:
Below are my wireframes for the project, I have divided the wireframes into 4 categories.
Home Page design, Posts List (Road Trips), Authentication (What login, register pages will look like structure wise); and what the Create and Edit Pages will look like.
I chose a dark green colour to offer a nature theme to the site as road trips around the USA are heavily influence by the immersive experience in the great unknown.
| Color | Hex |
|---|---|
| English Holly | #023020 |
| Black | #000000 |
| White | #ffffff |
| Emperor | #555555 |
The Layout has changed on the home page due to the following: I wanted to add a comment model to delete comments, I was having some trouble so I seeked help from Tutor support. I was advised to restart the databased and continue fom there. After succesfully transferring the db. My bootstrap and summernote was half showing, half not. I changed bootstrap 4 to 5 to fix the bootstrap issue. But code for the bootstrap 4 layout was no longer viable.
Please see attached Data Schema below:
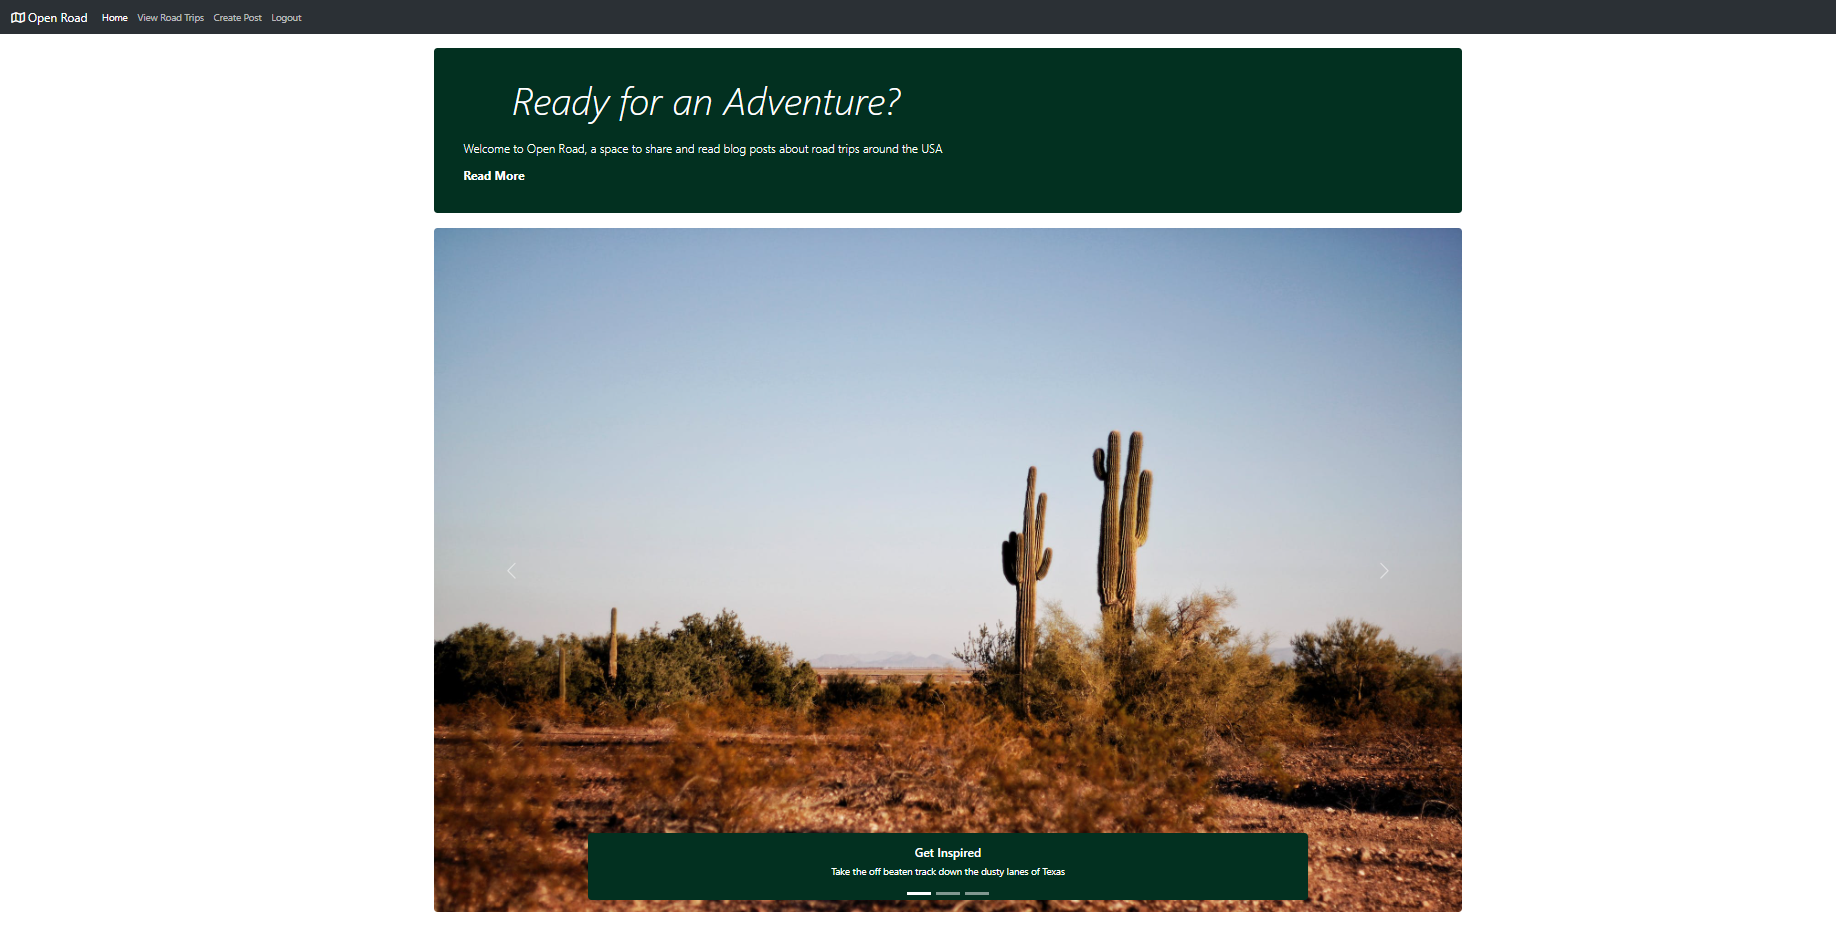
Home Page: This features a links to Roadtrips by clicking the Read More link and a Carousel to feel inspired to get on the road!
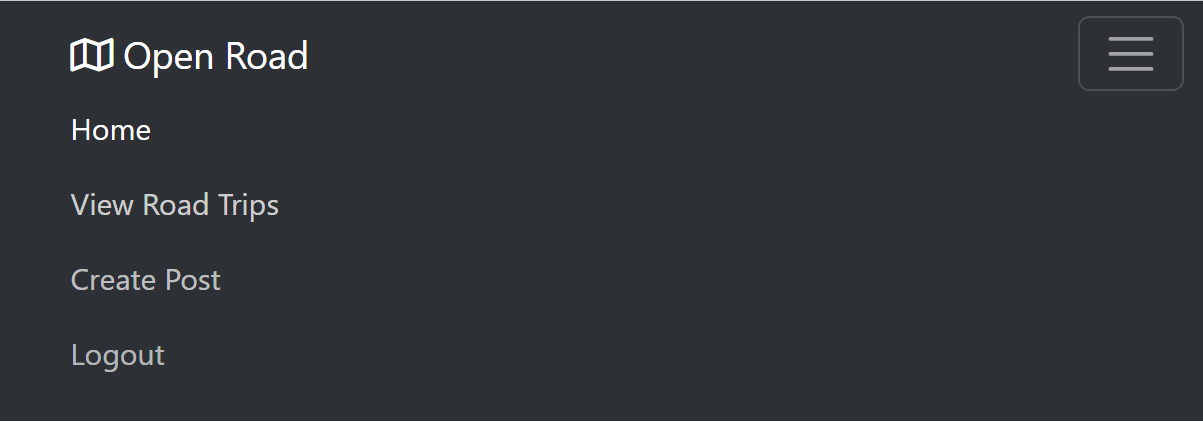
Navigation Bar: The nav bar has links to all the active pages. This allows the user to clearly identify each option and navigate to where they want.
Logo: The logo when clicked, will redirect users back to the home page.
The Nav bar is fully responsive and collapses on mobile devices to a hamburger icon. This allows the user to easily access the navigation links without the hassle of pressing back buttons on the browser. Or struggling to read small text along the bar.
Navbar difference depending on whether the user is logged in or not.

Links to road trips - This offers a second option to the user in case they are scrolling on the home page initially and decide they want to view posts.
Site users are able to view blog posts from people's road trips around the USA.
If the user is logged in, they are able to view Edit and Delete buttons for posts they have published. Otherwise they are not able to do so with others posts.
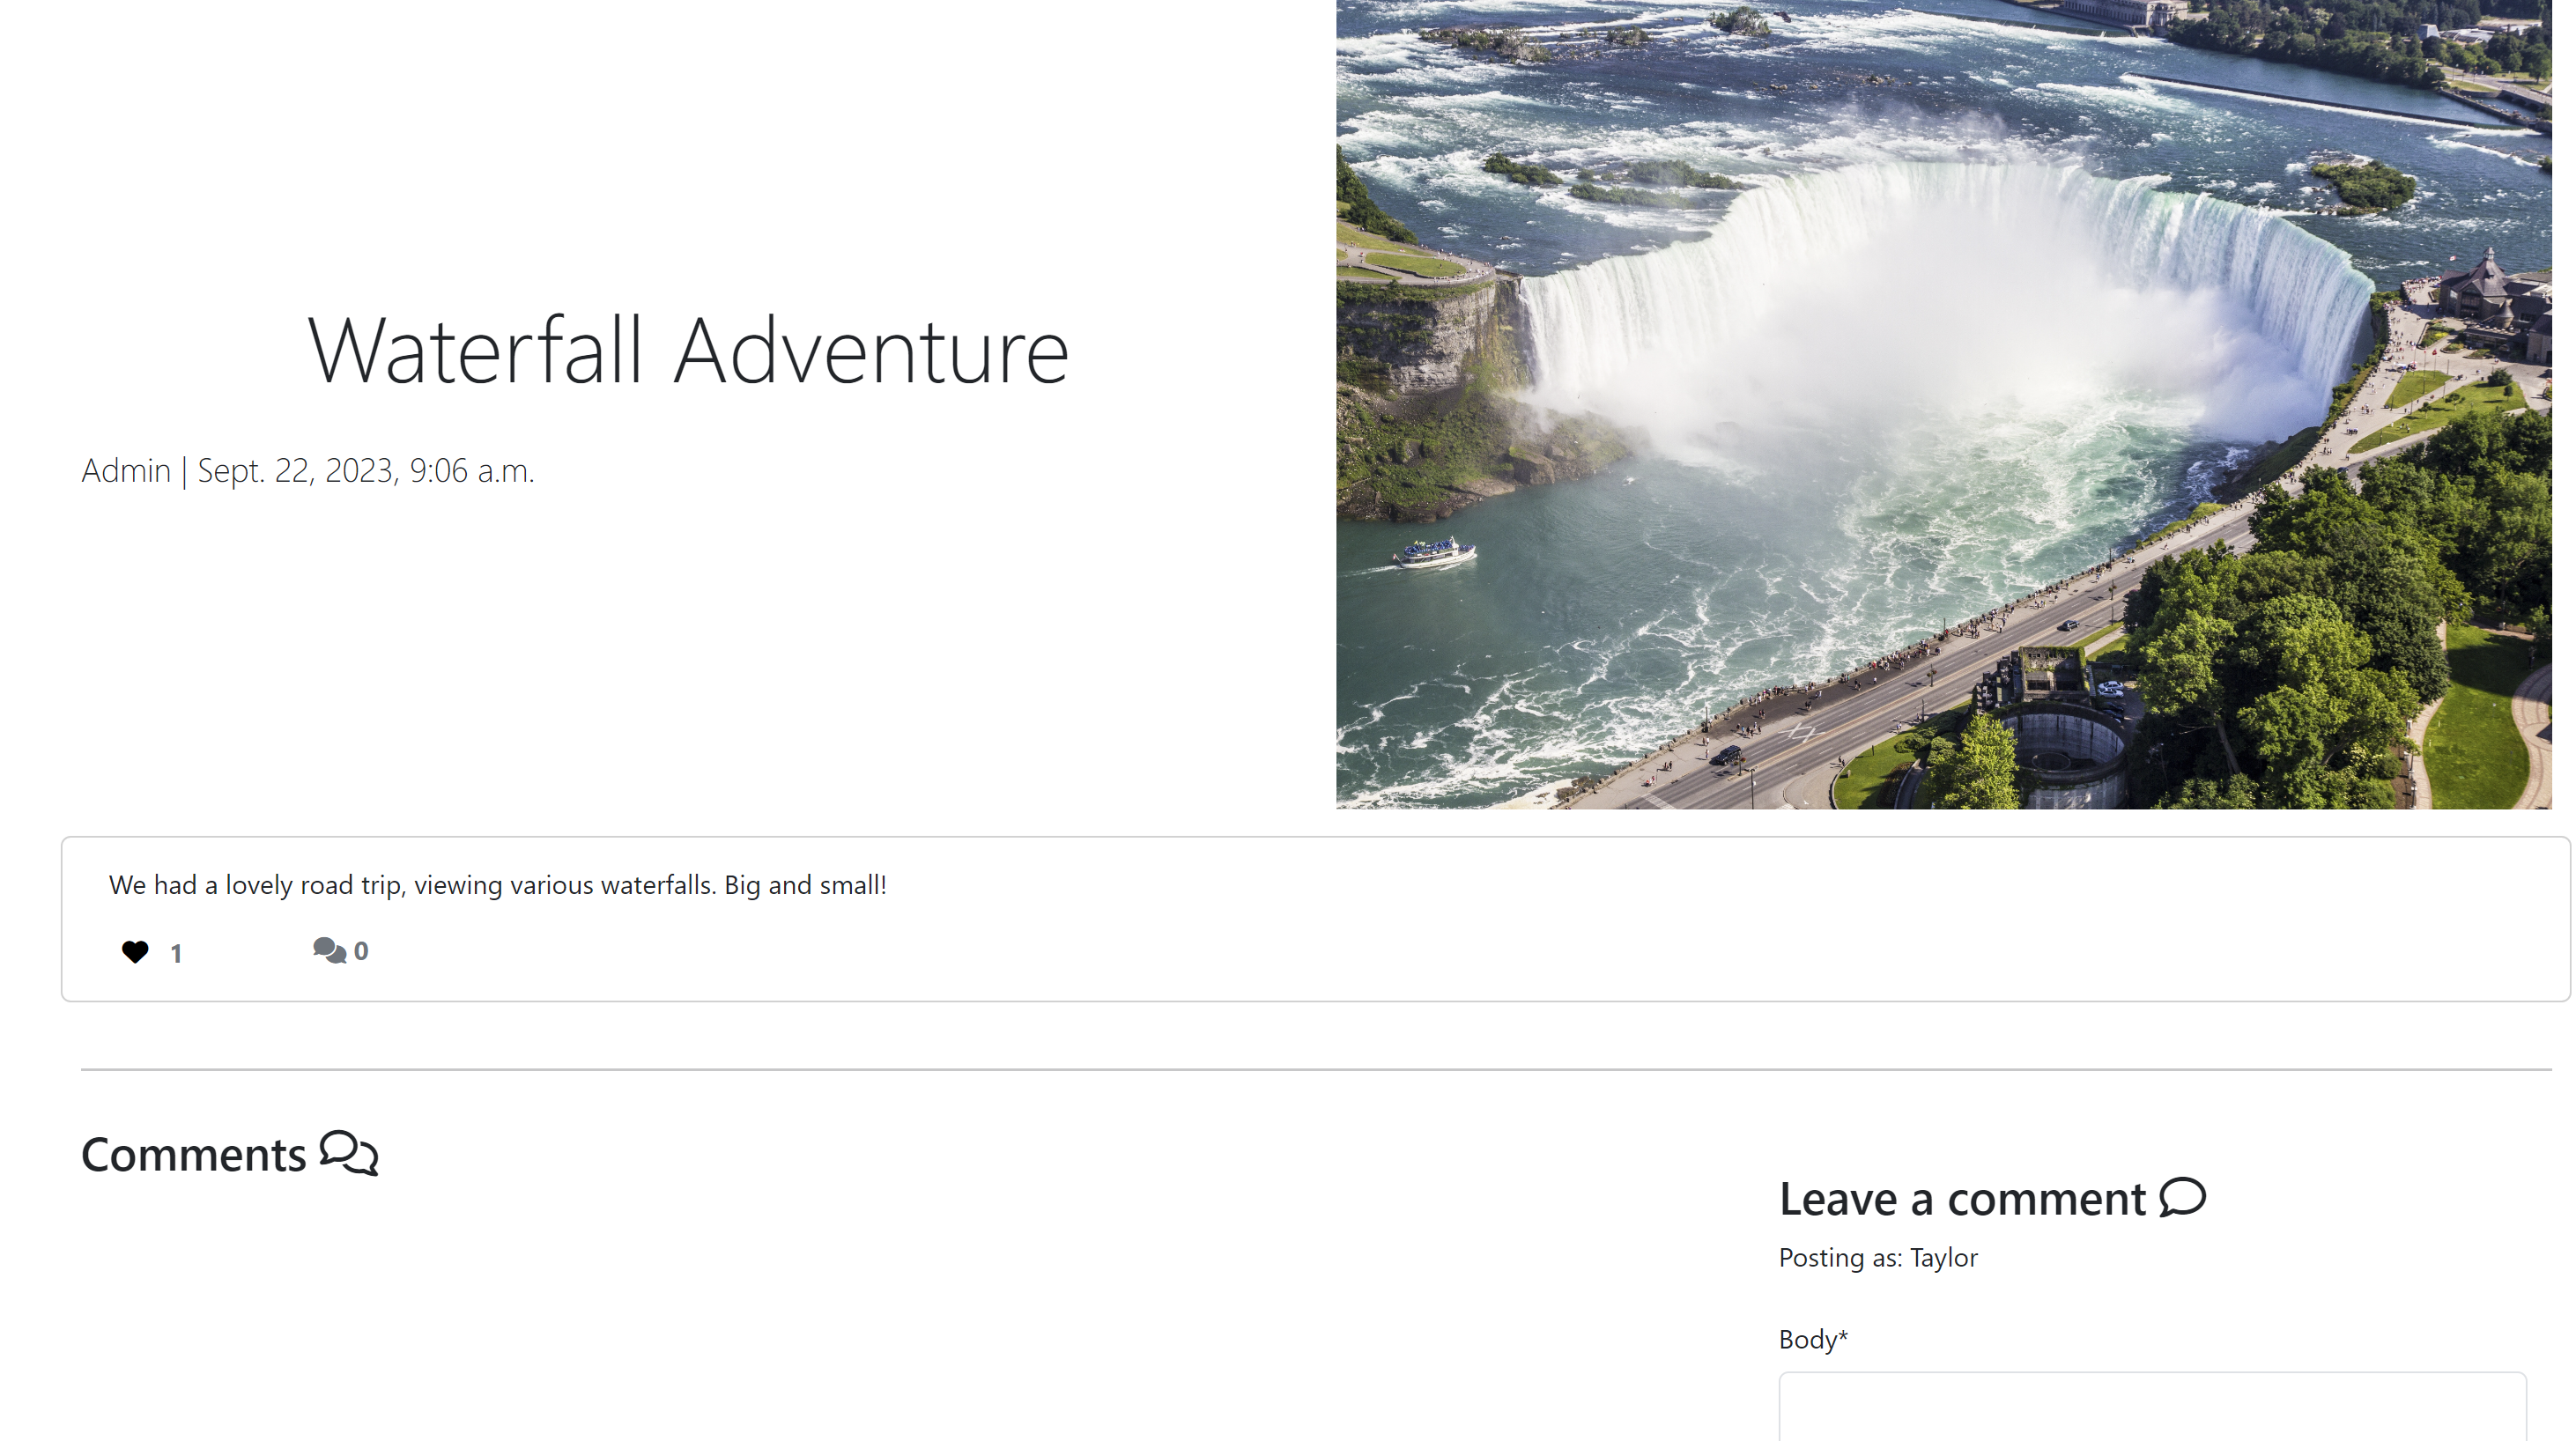
Here the user is able to view the blog post in full detail and comment if they wish to share an opinion or feeback.
If the user is logged in, they are able to view Edit and Delete buttons for posts they have published. Otherwise they are not able to do so with others posts.
Once logged in, users with log ins are able to add their own blog experiences.
All posts must be approved by the admin before being published. When added the post is defaulted to a draft until approved.
Once logged in, users with log ins are able to edit their own blog experiences.
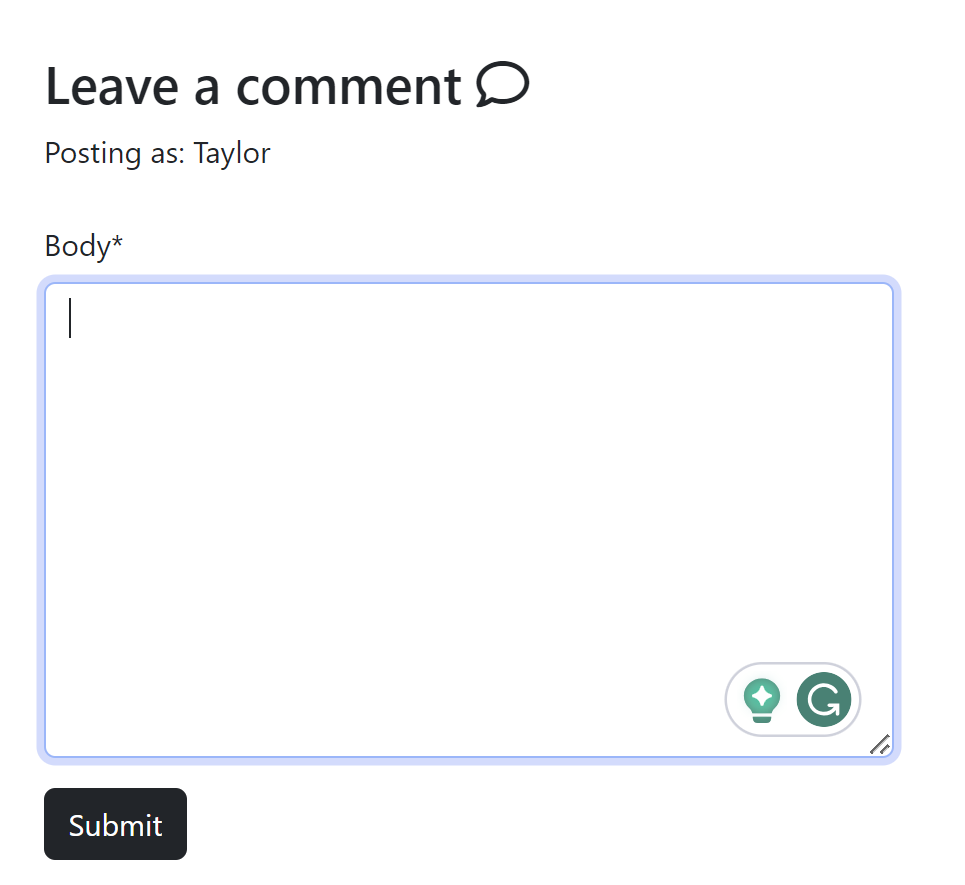
Once logged in, users with log ins are able to leave comments on travel posts.
Once logged in, users with log ins are able to like posts.
LO2 2.3 CRUD Operations
I wanted to highlight the notifications of successfull or failed CRUD operations. Please see all of the following notifications below as per LO2 2.3 Criteria:
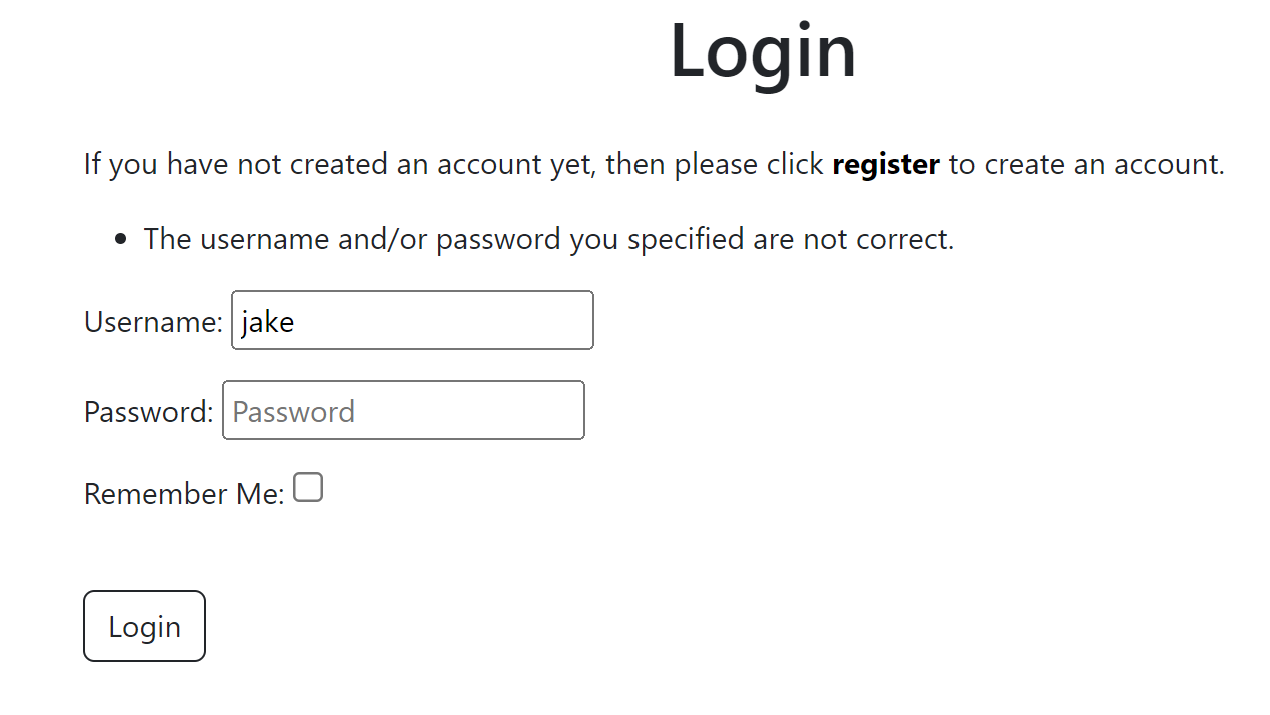
- Login: The user is notified if a username or password is incorrect. This is including case-sensitivity scenrios.
- Logout: User is notified when they have successfully signed out.
- Create Post: The user is notified that their post has been created and waiting for approval.
- Edit Post:
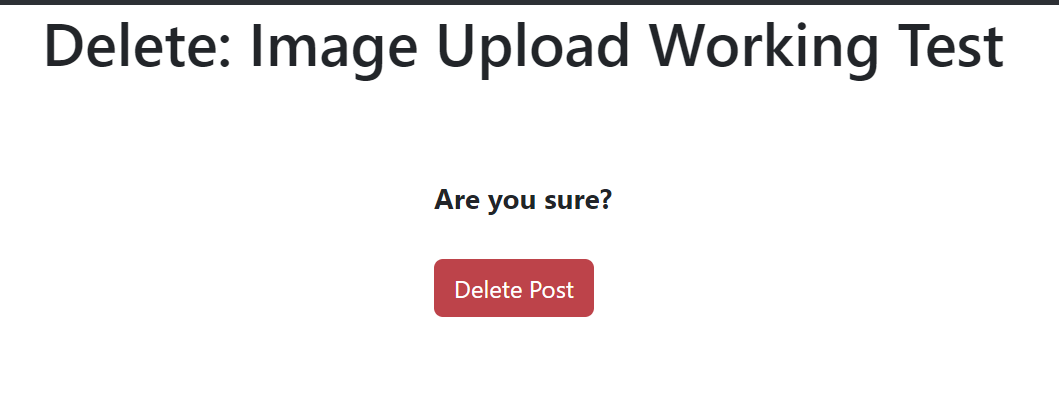
- Delete Post
- Comment on Post: The user is notified when they have successfully commented and that this is waiting for approval.
- Like a Post: The user is notified that when they clicked like, it was successfully added to the post.
- Unlike a Post: The user is notified that when they click on a post again that they have liked. It successfully removes the like.
In addition, fail notifications have been set up in the event this occurs. These can be reviewed in Views.py. And these have been tested and run successfully which can be reviewed via test_views.py.
The User is provided with error pages should they come across the following 404 or 500 Error message.
Please click the following links 404 and 500 to read more about these error messages.
On the 404 Page the user is provided with a link to redirect them back to the home page if they are lost. In addition, the Navbar tab has been maintained, so they can also navigate elsewhere on the site with ease. Including the logo which will also redirect a user back to the home page.
For the future, my favourite features I would look to add to the project are:
- Edit and Delete Comments
- Favicon - See for further detail Unresolved Bug
- More Advanced Presenting Content Box
- Notification for when a new user successfully registers
- A contact form, to allow users to send in feedback of things they may like to be included on the site.
- HTML
- CSS
- JavaScript
- Python
- Python used to write all of the code in this application that makes it fully functional.
- Django
- Django is the framework that has been used to build the overall project and all its apps.
- Image Color Picker
- Balsamiq
- Font Awesome
- Used for the icons in the website.
- GitHub
- Used to store code for the project once pushed.
- Pep8
- Used to test code for any issues/errors.
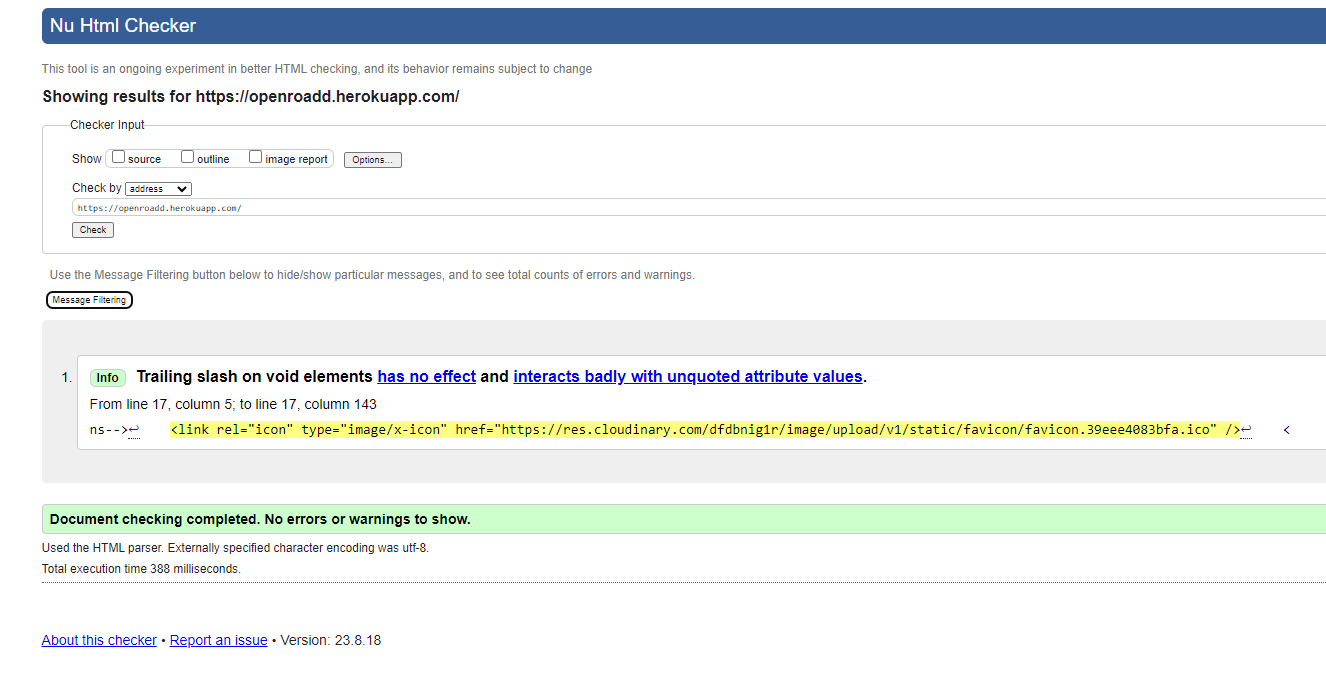
- W3C Markup Validation Service
- Used to validate HTML code written and used for this webpage.
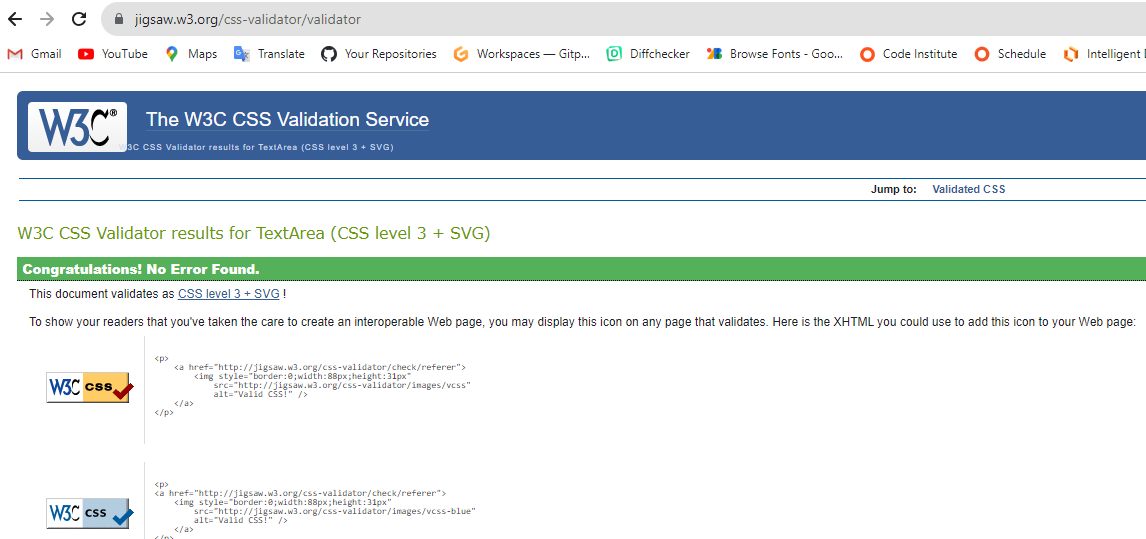
- W3C CSS Validation Service
- Used to validate CSS code written and used for this webpage.
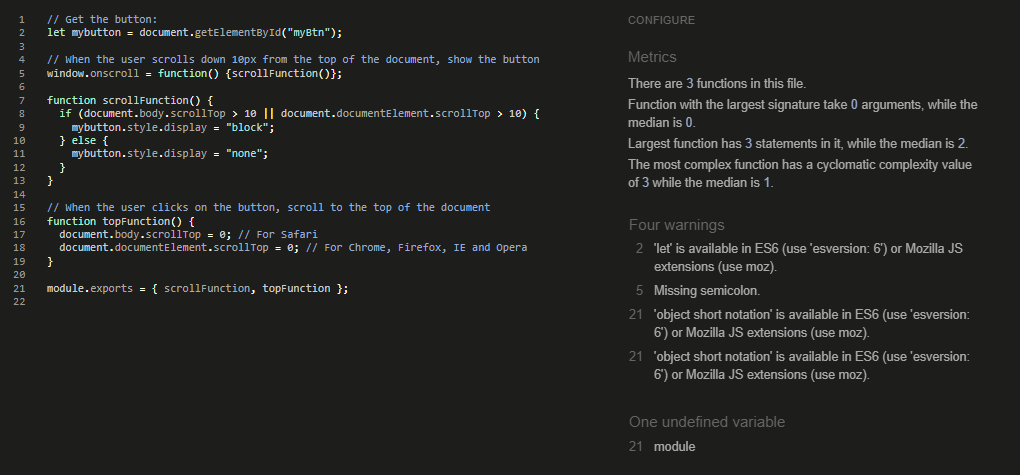
- JSHint
- Used to validate JS code.
- PostgresSQL/ElephantSQL
- I have used ElephantSQL a PostgreSQL relational database in deployment to store the data for my models.
- Grammarly
- I have used Grammarly to check my spelling and grammar.
- Cloudinary
- I have used cloudinary to story my images seen running on the website.
- Gunicorn
- Python WSGI HTTP server.
- Psychopg 2
- Python PostgreSQL adapater.
- dj-database-url
- Django utility to create an environment variable to configure the Django application.
- Django-allauth
- User account management django application suite.
- Crispy Forms
- Django app to simplify form rendering.
- Crispy Bootstrap 5
- Bootstrap 5 templates for Crispy Forms.
- Bootstrap 5
- I used this for the styling of the front end.
- I have tested the CRUD Functionabilty of this site which works both in Django Admin and on the site for users who wish to carry out CRUD actions on their post. Or Add a comment/like to a post.
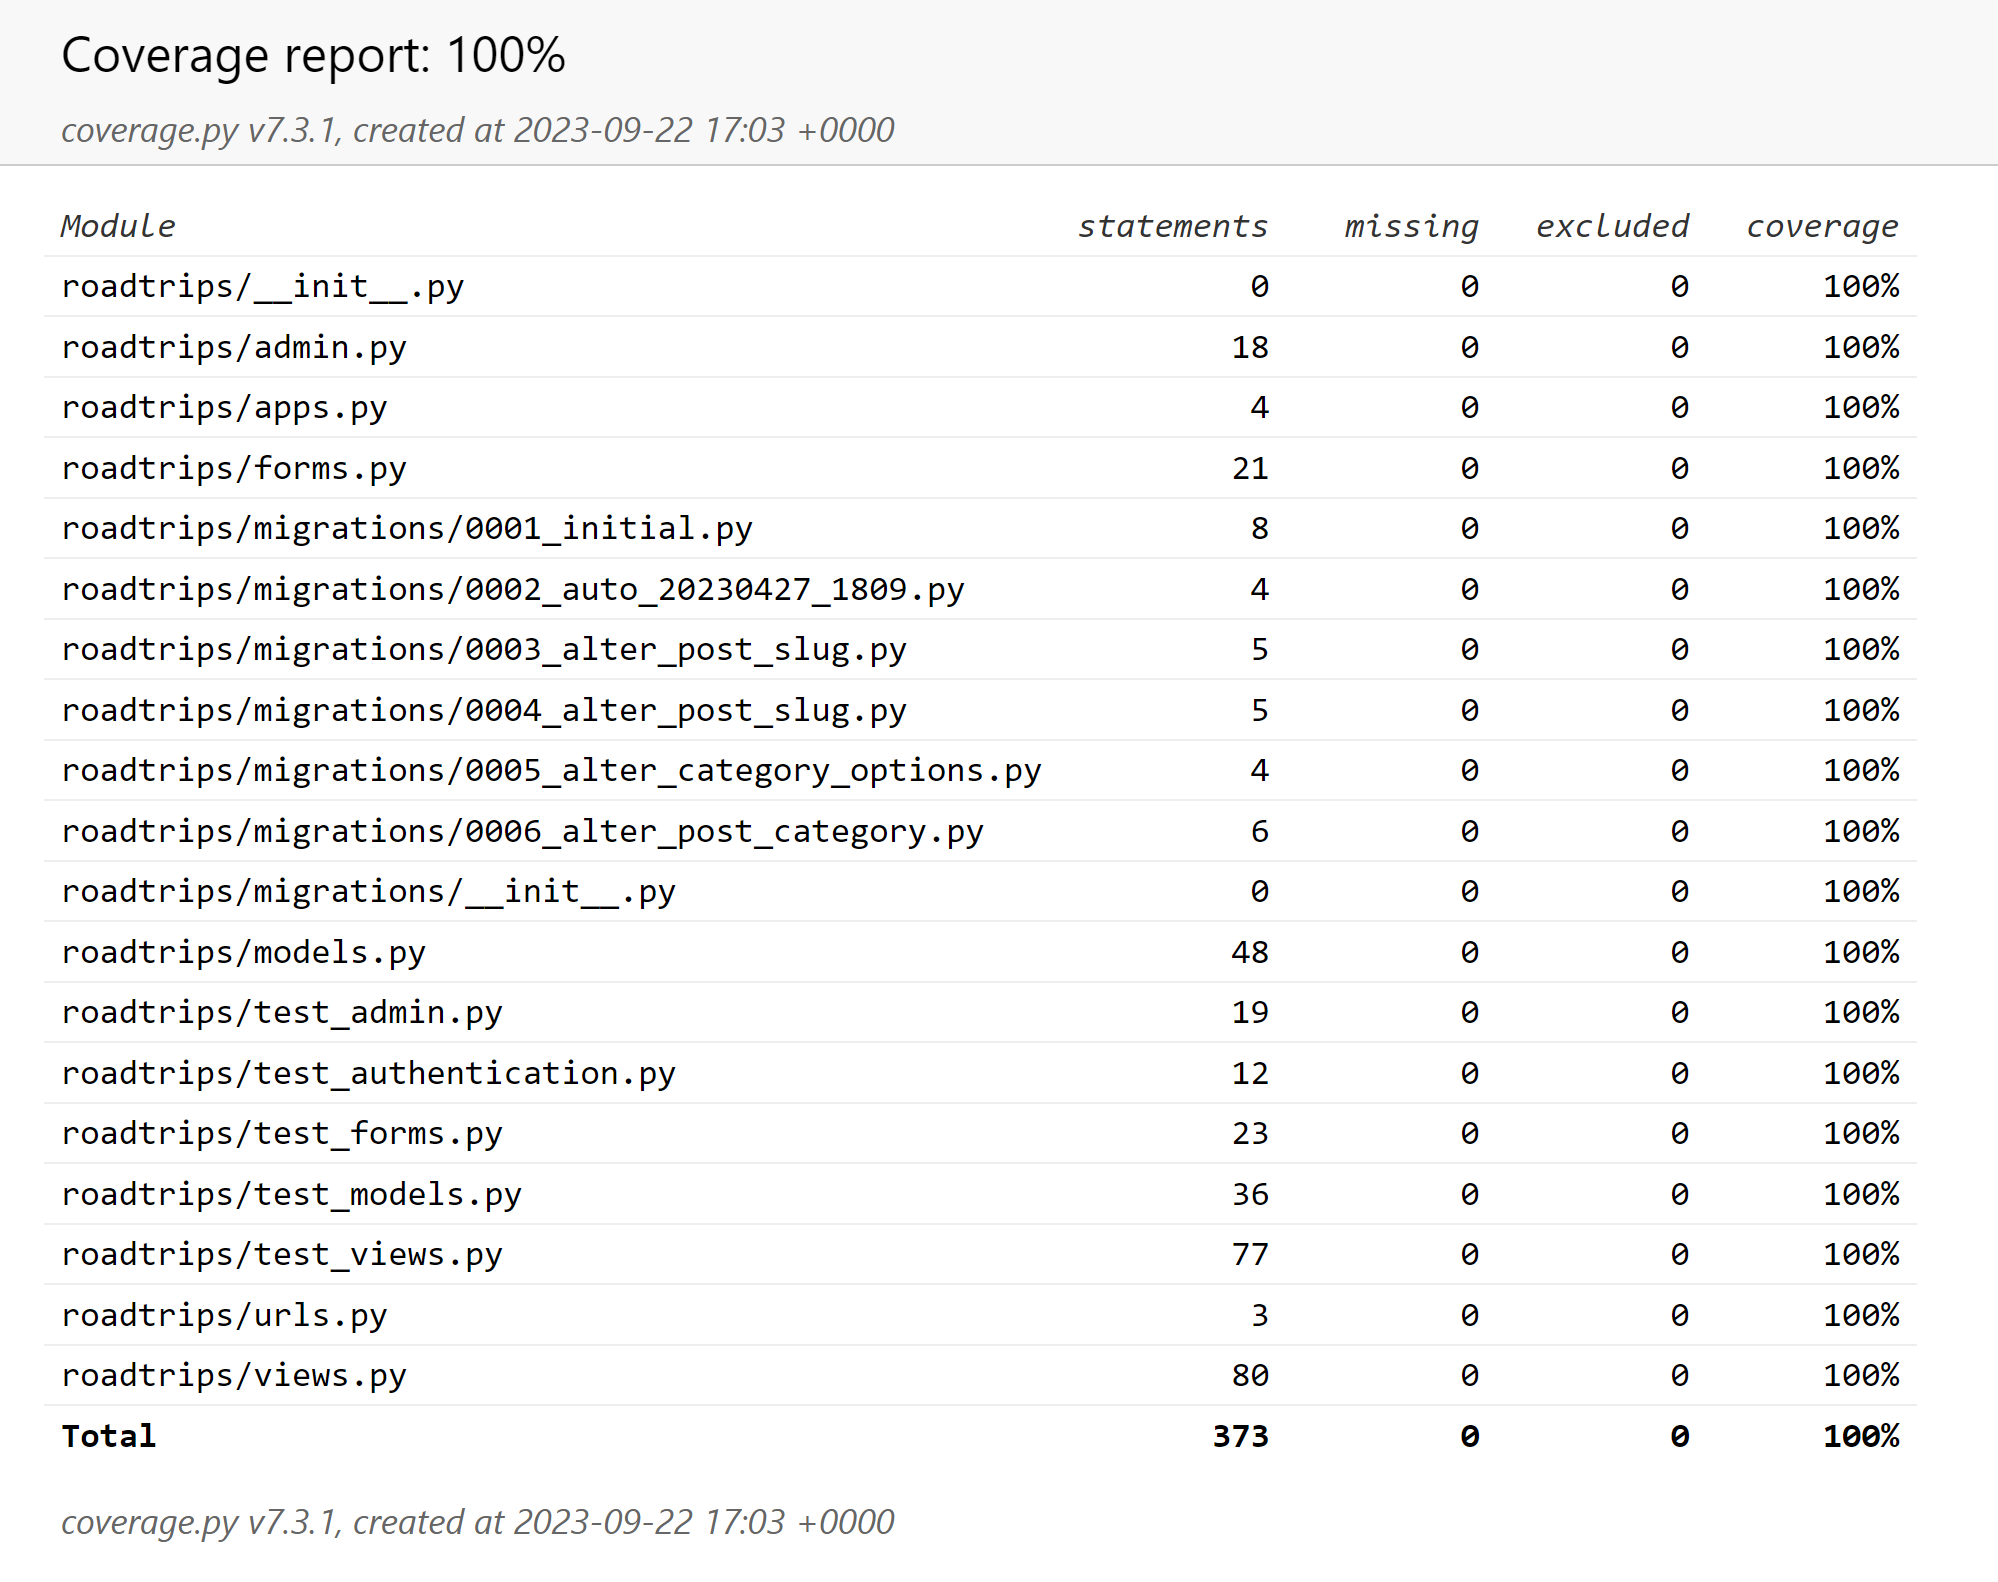
I have used the Coverage library to carry out my Automated Testing.
To generate your own coverage report from the command line:
- Install the package using the command
pip3 install coverage. - Run coverage run manage.py test.
- Run
coverage htmlto generate the report. - To access the report via the browser, use the command
python3 -m http.serverand openindex.htmlfile from insidehtmlcovfolder, that will appear.
During the development process, I have conducted a number of manual tests to ensure the functionality and usability of my website. Please see a detailed description of the testing process undergone for each feature:
Navigation Bar:

Steps
    Click on each link in the navbar to ensure they redirect to appropriate page.
    Test on multiples devices
Expected Outcome
    Each link redirects to appropriate page.
    On smaller screens, navbar collapses into hamburger icon.
Results
    All functions as expected.

Logo:

Steps
    Click on logo from different pages.
Expected Outcome
    User redirected to home page.
Results
    Functions as expected.
Add New Post:

Steps
    Log in and navigate to the section to add a new blog post.
    Fill in the necessary details and submit the form.
Expected Outcome
    A success notification appears stating the post has been created and is waiting for approval.
    The new post appears as a draft (if there's a draft visibility feature).
Results
    All functions as expected.

View Post:

Steps
    Navigate to the Road trips page.
    Ensure all published posts are displayed.
    If logged in, ensure Edit and Delete buttons are visible for the user's own posts.
Expected Outcome
    Posts are visible.
    Edit and Delete buttons are visible only for the user's posts.
Results
    Functions as expected.
Edit Post:

Steps
    Navigate to one of your existing blog posts.
    Click on the 'Edit' button and modify content.
    Submit the form to save changes.
Expected Outcome
    The content is updated and reflects the changes made.
    A success notification appears indicating the post has been updated.
Results
    All functions as expected.
Delete Post:

Steps
    Navigate to one of your existing blog posts.
    Click on the 'Delete' button and confirm the deletion.
Expected Outcome
    The blog post is removed from the list of posts.
    A success notification appears indicating the post has been deleted.
Results
    All functions as expected.
Comment on Post:

Steps
    Navigate to one of your existing blog posts.
    Click on the 'Edit' button and modify some content.
    Submit the form to save changes.
Expected Outcome
    The content is updated and reflects the changes made.
    A success notification appears indicating the post has been updated.
Results
    All functions as expected.
Like a Post:

Steps
    Navigate to an existing blog post.
    Click on the 'Like' button or icon.
Expected Outcome
    The like counter increases.
    A success notification appears indicating the post has been liked.
Results
    All functions as expected.

Unlike a Post:

Steps
    Navigate to an existing blog post that you've already liked.
    Click on the 'Unlike' button or icon.
Expected Outcome
    The like counter decreases.
    A success notification appears indicating the post has been unliked.
Results
    All functions as expected.
Steps
    Navigate to the main posts page.
    Click on the next page or a specific page number.
Expected Outcome
    The page displays the next set of posts based on the pagination setting.
Results
    All functions as expected.
Steps
    Scroll down on any long page until the "top" button appears.
    Click on the "top" button.
Expected Outcome
    The page smoothly scrolls back to the top.
Results
    All functions as expected.
404 - Page Not Found:

Steps
    Intentionally navigate to an invalid URL on the website.
Expected Outcome
    404 error page is displayed with a message and a link back to the home page.
Results
    All functions as expected.

500 - Internal Server Error:

I did not carry out a manual test for the 500 error because this error typically means there is an unexpected error with the server.
LO4 - Create automated tests for a Full-Stack-Web application using an MVC framework and related contemporary technolgies:
LO4 4.1: Automated Testing of Python to assess functionality carried out below.
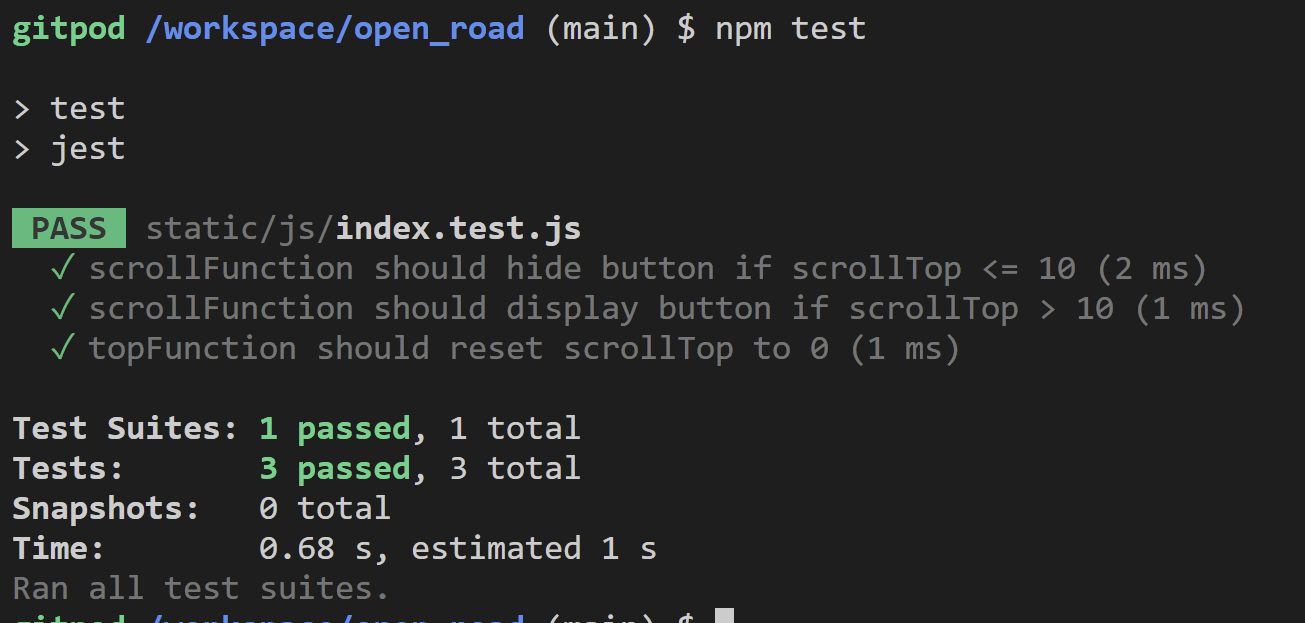
LO4 4.2: Automated Testing for JavaScript to assess functionality carried out below.
LO4 4.3: Both manual and automated testing have been carried out for this project and conscientiously documented throughout this README file.
- Lighthouse Home Page
- Lighthouse Sign Up
- Lighthouse Login
- Lighthouse Create Post
- Lighthouse Post List
- I had a bug where my css and js would not load once setting the DEBUG to False and in the Heroku Deployed interface.
Solution: Add {% load static %} to base.html and change css and js links to:
<link type="text/css" rel="stylesheet" href="{% static 'css/style.css' %}"><script src="{% static 'js/index.js' %}"></script>
- Images were not uploading from users wanting to create a post.
Solution: Add this code = <form method="POST" enctype="multipart/form-data">
- test_views was failing due to an issue when running error messages regarding updating post/ deleting etc.
Solution: Add httpResponseRedirects to relevant pages, this allowed the failing tests to pass.
My Favicon is not showing despite make alterations to its path and setting in the root of static folder.
Future Solution: I'm going to use a different favicon to see if this makes a difference and add different sizings for varying devices. This bug has been left unfixed in order to focus on more important tasks such as successful deployment and checking over my work as a whole. However, I wanted to note that this is a small task I can rectify in the future.
The main branch of my repository open_road, has been used for the deployment of this application.
In order to deploy my Django application, I used the Code Institute Python Essentials Template.
Instructions:
- Click on
Use This Templatebutton. - Then create a repository name and a concise description.
- Click on
Create Repository from Template. This will then create your repository and open up into its repository page. - Then create a Gitpod Workspace. Click on
Gitpod. Expect a few minutes of loading while it sets up. - Rule of thumb should be to return to the Gitpod Workspace when you want to continue working on the project rather than clicking on
Gitpodin your repository; as this will create a new workspace rather than continue on the one you are currently working on. - (Optional: but it is good to pin your workspace so that it isn't deleted).
- It is important to commit your work carried out often with clear messages. The following commands are used:
3 Step Commit Process:
git add .: adds ALL modified files to staging areagit commit -m "A message explaining what you are committing": commits changes to a local repository.git push: pushes all committed changes to the subject Github repository.
To deploy my project, I followed the steps offered by the Code Institute tutorial and the Django Blog Cheatsheet.
- In the Gitpod CLI use
pip3 freeze --local requirements.txtto create the relevant files needed for Heroku to succesfully install your project dependencies. - Important:
requirements.txtandenv.pyshould be in the.gitignorefile to prevent the files from being committed. The env.py holds the secret key and important links that should not be compromised. - In addition, you need a
Procfileas this will specify the commands that are carried out by the app on startup.
Instructions:
- Go to Heroku.com and log in. You cannot do the following steps without an account.
- Click
Newand selectCreate New App. - Give your project a unique name. You will be prompted to change it if it is not.
- Select the region you are in (e.g. mine is EU).
In the Heroku settings: You need to set your Environment Variable to essure your application deploys successfully.
- Click
Revel Config Varsand enter: - SECRET_KEY - to be set to your chosen key
- CLOUDINARY_URL - to be set to your Cloudinary API environment variable
- PORT = 8000
- COLLECTSTATIC = 1
Heroku Deployment:
- Click Deploy tab
- Click
Github-connectto connect your Github account. - Search for your repository name.
- Select the correct repository name and click
connect. - You can either manually or automatically deploy your application.
- Select your deployment method and click
Deploy Branch. - Once ready, you will be able to click
View.
Please see the following links I have used to fix bugs, learn skills or tackle problems:
I would like to thank my course mentor Akshat Garg for his guidance and support in our sessions.

