Traditional encryption-decryption applications required multi-party trust functions (a non zero-trust approach), whether that's between
- A sender and recipient (in the case of private key sharing)
- A sender, recipient, and 3rd party (in the case of cloud/private applications)
or require absurd amounts of IT & security resources for simple file sharing.
We believe a better, easier, and more secure solution should be available by now, and after searching found none, so we made our own!
OpenSigil is a unique zero-trust file encryption solution that runs primarily on the Hedera Smart Contract Service. Anyone with a Hashpack wallet can sign in, encrypt a file, and share the encrypted file however, and with whomever they like.
It's up to the original file owner to decide who has the ability to decrypt their copy of the file, and access can be provided or revoked at any time.
This application is completely open source, frontend, backend, dockerfiles, even the smart contract source is available to be verified. We encourage users to explore our reposititory and provide comments, suggestions, submit issues and improvements! This project is currently in the demo-only stage for the Hedera22 hackathon. It's not ready for mainnet use quite yet, but we hope to be production ready shortly after judging is over!
- A file owner selects a file to be encrypted
- This file is then encrypted asymmetrically using a public key generated with Fernet and Elliptic Curve Cryptography
- After the file is successfully encrypted, a smart contract is generated on the Hedera Smart Contract service which contains
- The sha256 hash of the encrypted file
- The owner's Hedera account id
- A list of account's with decryption access
- At any point the file owner can submit an order to add/revoke decryption access to the encrypted file
- Whenever another user tries to decrypt a file on the platform, the application will hash the file, find the associated Hedera Contract and check if a user has decryption access
- If this user passes authentication, then the file is decrypted and immediately made available in it's exact original state!
While our platform code is open source, it's much harder to verify our platform is running the code we say it is. And it's infeasible for trust and resource reasons to expect every user to spin up their own version each time they want to share a file. So instead, we run the code that's essential for a good user experience. But all authentication code is hosted and executed using Smart Contracts.
Smart contracts are what make OpenSigil so Open (and zero trust), all computations happen remotely on a distrubuted and verifiable system with a guaranteed state. At any point any user can verify not just who has access, but who had access, for how long, and how that access was provided.
Any user encrypting a file can ensure their associated contract contains the proper logic, and executes properly. They can also setup their own watchdog and log any interaction with their contract thanks to Hedera Mirror Nodes. And all of this happens completely separate from our application, with all operations verifiable with any compatable 3rd party network explorer or Hedera-compatible solution.
In summary, we use Smart Contracts because it's the only way to create a completely trustless and verifiable access & authentication system.
Since our application requires Smart Contracts for zero-trust operations, we need cheap, fast transactions with as close to a 0% failure rate as possible. The Hedera Smart Contract Service is the only available distributed technology platform that can fit our needs.
Hedera contracts have
- Extremely low fees at an avg of 1$ for contract creation and .026$ for each update transaction source
- Compare that to 500$ for a simple Eth contract, with features like KYC raising the cost to 5 figures+ source
- Fast, fair-ordered transactions, where it's a FIFO based queue. Rather than the competition, which requires gas-based bribery for pitiful execution times
- Guaranteed finality (with appropriate gas calculation) source
- Environmental sustainability source
- While not essential for technical execution, the purpose of this project is to solve problems, not to create bigger ones for ourselves and future generations.
Elliptic Curve Cryptography provides cutting edge public-key cryptography (which is required for technical execution). While certainly harder to technically impliment than RSA, for private key operations such as signature generation or key management, ECC is 50-100x faster than RSA for most 256-bit operations. Yet, all asymmetric algorithms drastically lose performance with larger payload size, and ECC is no exception.
Instead we use symmetric encryption to crytographically protect file data, with ECC used to generate a public and private key based on the symmetric private key. Fernet was chosen as the best possible cipher due to it's performance, minimal resource requirements, security and ease of implimentation.
Requires:
- Python 3
- Pipenv
- Docker
- Install Python libraries
pipenv install
- Generate main encryption credentials
pipenv run python3 scripts/tools/generate_encryption_creds.py
- Create new .env file
cp django_api/env.example django_api/.env
- Update credentials of .env file based on results of generate_encryption_creds.py
- Create new client-config.json
# Scripts
cp resources/credentials/client-config_template.json resources/credentials/client-config.json
# Django (Docker doesn't support symlinks)
cp django-api/resources/credentials/client-config_template.json django-api/resources/credentials/client-config.json
- Add main Hedera credentials to client-config.json(s)
Encrypt File
curl -X POST -F 'data=@<path_to_file>' http://localhost:5000/api/sigil/encrypt --output <path_to_encrypted_file>
Decrypt File
curl -X POST -F 'data=@<path_to_encrypted_file>' http://localhost:5000/api/sigil/decrypt
Encrypt File With Hedera Token
curl -X POST -F 'data=@inputfile.txt' http://localhost:5000/api/sigil/hedera-encrypt -H "ACCOUNT-ID: <hedera_account_id>" -H "PUBLIC-KEY: <hedera_public_key>" -H "PRIVATE-KEY: <hedera_private_key>" --output encryptedfile.txt
Decrypt File With Hedera Token
curl -X POST -F 'data=@encryptedfile.txt' http://localhost:5000/api/sigil/hedera-decrypt -H "ACCOUNT-ID: <hedera_account_id>" -H "CONTRACT-ID: <hedera_contract_id>"
Check Access List for Decryption
curl -X POST -F 'data=@inputfile.txt' http://localhost:5000/api/sigil/list-access -H "CONTRACT-ID: <hedera_contract_id>"
Add Account ID to Access List
curl -X POST -F 'data=@inputfile.txt' http://localhost:5000/api/sigil/add-access -H "CONTRACT-ID: <hedera_contract_id>" -H "ACCOUNT-ID: <hedera_account_id>"
Add Remove ID from Access List
curl -X POST -F 'data=@inputfile.txt' http://localhost:5000/api/sigil/revoke-access -H "CONTRACT-ID: <hedera_contract_id>" -H "ACCOUNT-ID: <hedera_account_id>"
Add Remove ID from Access List
curl -X POST -F 'data=@inputfile.txt' http://localhost:5000/api/sigil/revoke-access -H "CONTRACT-ID: <hedera_contract_id>" -H "ACCOUNT-ID: <hedera_account_id>"
Associate a File Hash & Contract Id With a Hedera Account Id
curl -X POST http://localhost:5000/api/sigil/add-record -H "ACCOUNT-ID: <hedera_account_id>" -H "CONTRACT-ID: <hedera_contract_id>" -H "FILE-HASH: <encrypted_file_hash>"
Get List of File Hashes & Contract Id's Associated With a Hedera Account
curl -X POST http://localhost:5000/api/sigil/get-record -H "ACCOUNT-ID: <hedera_account_id>"
Smart Contract Demo
pipenv install
cd scripts/demo/
pipenv run python3 contract_demo.py
Start your Development with an Innovative Admin Template for Chakra UI and React. Purity UI Dashboard is built with over 70 frontend individual elements, like buttons, inputs, navbars, navtabs, cards or alerts, giving you the freedom of choosing and combining. The product comes with a simple JWT authentication flow: login/register/logout.
Features
- Innovative Chakra UI Design - Creafted by Creative-Tim
- React, Redux, Redux-persist
- Authentication: JWT Login/Register/Logout
- Full-stack Ready using a Django API Server (open-source project) - Server Features
- Django / DRF / SQLite3 - a simple, easy to use backend
- Authentication with JWT (login, logout, register)
- Docker, Unitary tests
Links
- Django React Purity Dashboard - product page
- Django React Purity Dashboard - LIVE Demo
- Free Support via Github (issues tracker) and Discord.
Clone/Download the source code
$ git clone https://github.com/app-generator/django-react-purity-dashboard.gitStart the Django API
$ cd django-api
$ docker-compose pull   # download dependencies
$ docker-compose build  # local set up
$ docker-compose up     # start the app
At this point, the API should be up & running at http://localhost:5000, and we can test the interface using POSTMAN or curl.
Start the React UI (using another terminal)
$ cd react-ui
$ docker-compose pull # download dependencies
$ docker-compose build # local set up
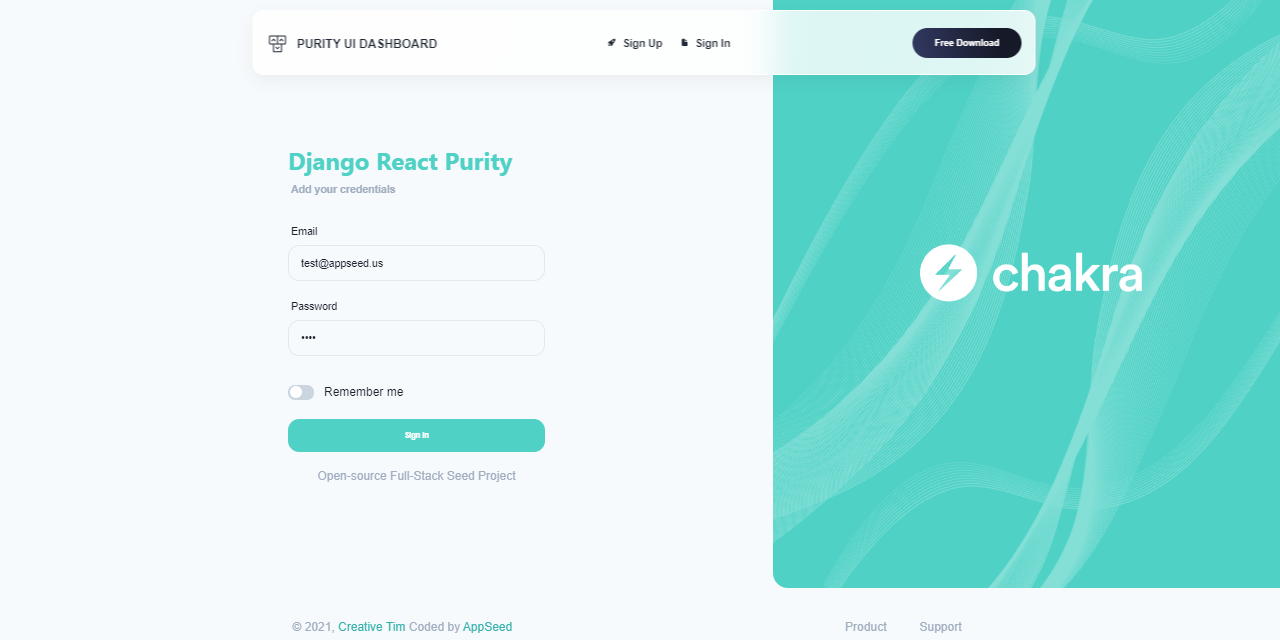
$ docker-compose up # start the app Once all the above commands are executed, the React UI should be visible in the browser. By default, the app redirects the guest users to authenticate.
After we register a new user and Sign IN, all the private pages become accessible.

The product is built using a two-tier pattern where the React frontend is decoupled logically and physically from the API backend. How to use the product:
Compile and startthe Django API Backend- by default the server starts on port
5000
- by default the server starts on port
Compile and startthe React UI- UI will start on port
3000and expects a running backend on port5000
- UI will start on port
Configuration(Optional)- Change the API port
- Configure the API port used by the React UI to communicate with the backend
$ cd django-api
$
$ # Create a virtual environment
$ virtualenv env
$ source env/bin/activate
$
$ # Install modules
$ pip install -r requirements.txt
$
$ # Set Up the Database
$ python manage.py migrate
$
$ # Start the API
$ python manage.py runserver 5000$ cd react-ui
$
$ # Install Modules
$ yarn
$
$ # Start for development (LIVE Reload)
$ yarn start Change the port exposed by the Django API
$ python manage.py runserver 5001Now, the API starts on port 5001.
Update the API port used by the React Frontend
API Server URL - src/config/constant.js
const config = {
    ...
    API_SERVER: 'http://localhost:5000/api/'  // <-- The magic line
};For a fast set up, use this POSTMAN file: api_sample
Register -
api/users/register(POST request)
POST api/users/register
Content-Type: application/json

{
    "username":"test",
    "password":"pass",
    "email":"test@appseed.us"
}
Login -
api/users/login(POST request)
POST /api/users/login
Content-Type: application/json

{
    "password":"pass",
    "email":"test@appseed.us"
}
Logout -
api/users/logout(POST request)
POST api/users/logout
Content-Type: application/json
authorization: JWT_TOKEN (returned by Login request)

{
    "token":"JWT_TOKEN"
}
Django React Purity - Login
Django React Purity - User Profile

- Ask for Support on Discord
- See for React Starters - index provided by AppSeed
Django React Purity Dashboard - Open-source full-stack seed project provided by AppSeed App Generator