5_Adding_config_files_en
we need to copy the configuration files we just downloaded to the right place. To do so use
cp -R ~/3D-Druckerplausch-Klipper/Klipper_cfg/Prusa_Universal_Config_Revised/* ~/klipper_config/
We then activate the correct config for the board (in this example a Prusa Einsy) and also the mcu:
cp klipper_config/printer_example_Einsy.cfg klipper_config/printer.cfg
cp klipper_config/mcu_example.cfg klipper_config/mcu.cfg
We then have to tell klipper which device to use to communicate with our printer. In case of Prusa the device
is /dev/serial/by-id/usb-Prusa_Research__prusa3d.com__Original_Prusa_i3_MK3-if00
Open up the file using e.g. nano klipper_config/mcu.cfg
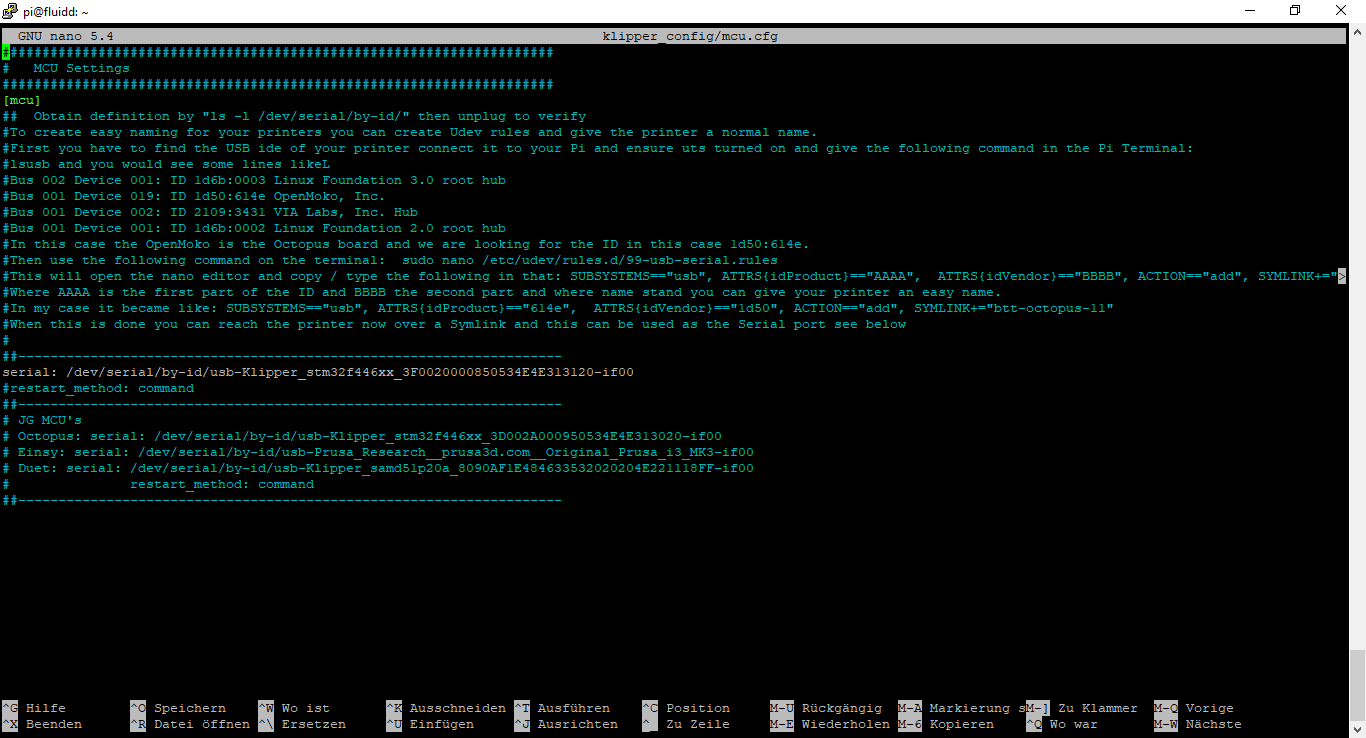
and replace the line serial: with the following:
serial: /dev/serial/by-id/usb-Prusa_Research__prusa3d.com__Original_Prusa_i3_MK3-if00
Save and close the file with Ctrl+X, Y and Enter.
If you have not connected your printer to the Raspberry Pi now is the perfect time to do so.
Go visit the webinterface. Open your browser and head to http://<IP_of_your_Pi>
The GUI should open and eventually will greet you with an error message. Hit FIRMWARE RESTART and
klipper should start and initialize the webinterface.
Enable your webcam (if used) under Settings->Cameras. If there is no stream visible you have to start the
webcam service once. Just do sudo systemctl start webcamd.service
If neither FIRMWARE RESTART nor starting the webcam service manually give you a working stream then just reboot your Raspberry Pi. After it´s up again you should be good to go.
HAPPY PRINTING - oder besser HAPPY CALIBRATING! :)

- 🏡 Flash bootloader
- ⚙️ Download config files
- 🔌 Install klipper
- 🔧 Create firmware
- 🚀 Adding config files
- 💬 ioBroker integration
- 📢 PINDA troubleshooting
- 📊 Resonance compensation
- ⌨️ Sheet Manager Commands
- 👪 Wiki ToDo list
