The front-end code increases monumentally day-by-day. In enterprise apps, I see JS files spikes to MBs even after compression. Loading these huge files gives a very unpleasant experience for the end-user because they've to just stare the blank white screen for a while! Sometimes it's just difficult to cut down the size and in those cases it's better to provide a nice welcome screen to release the tension of the user.
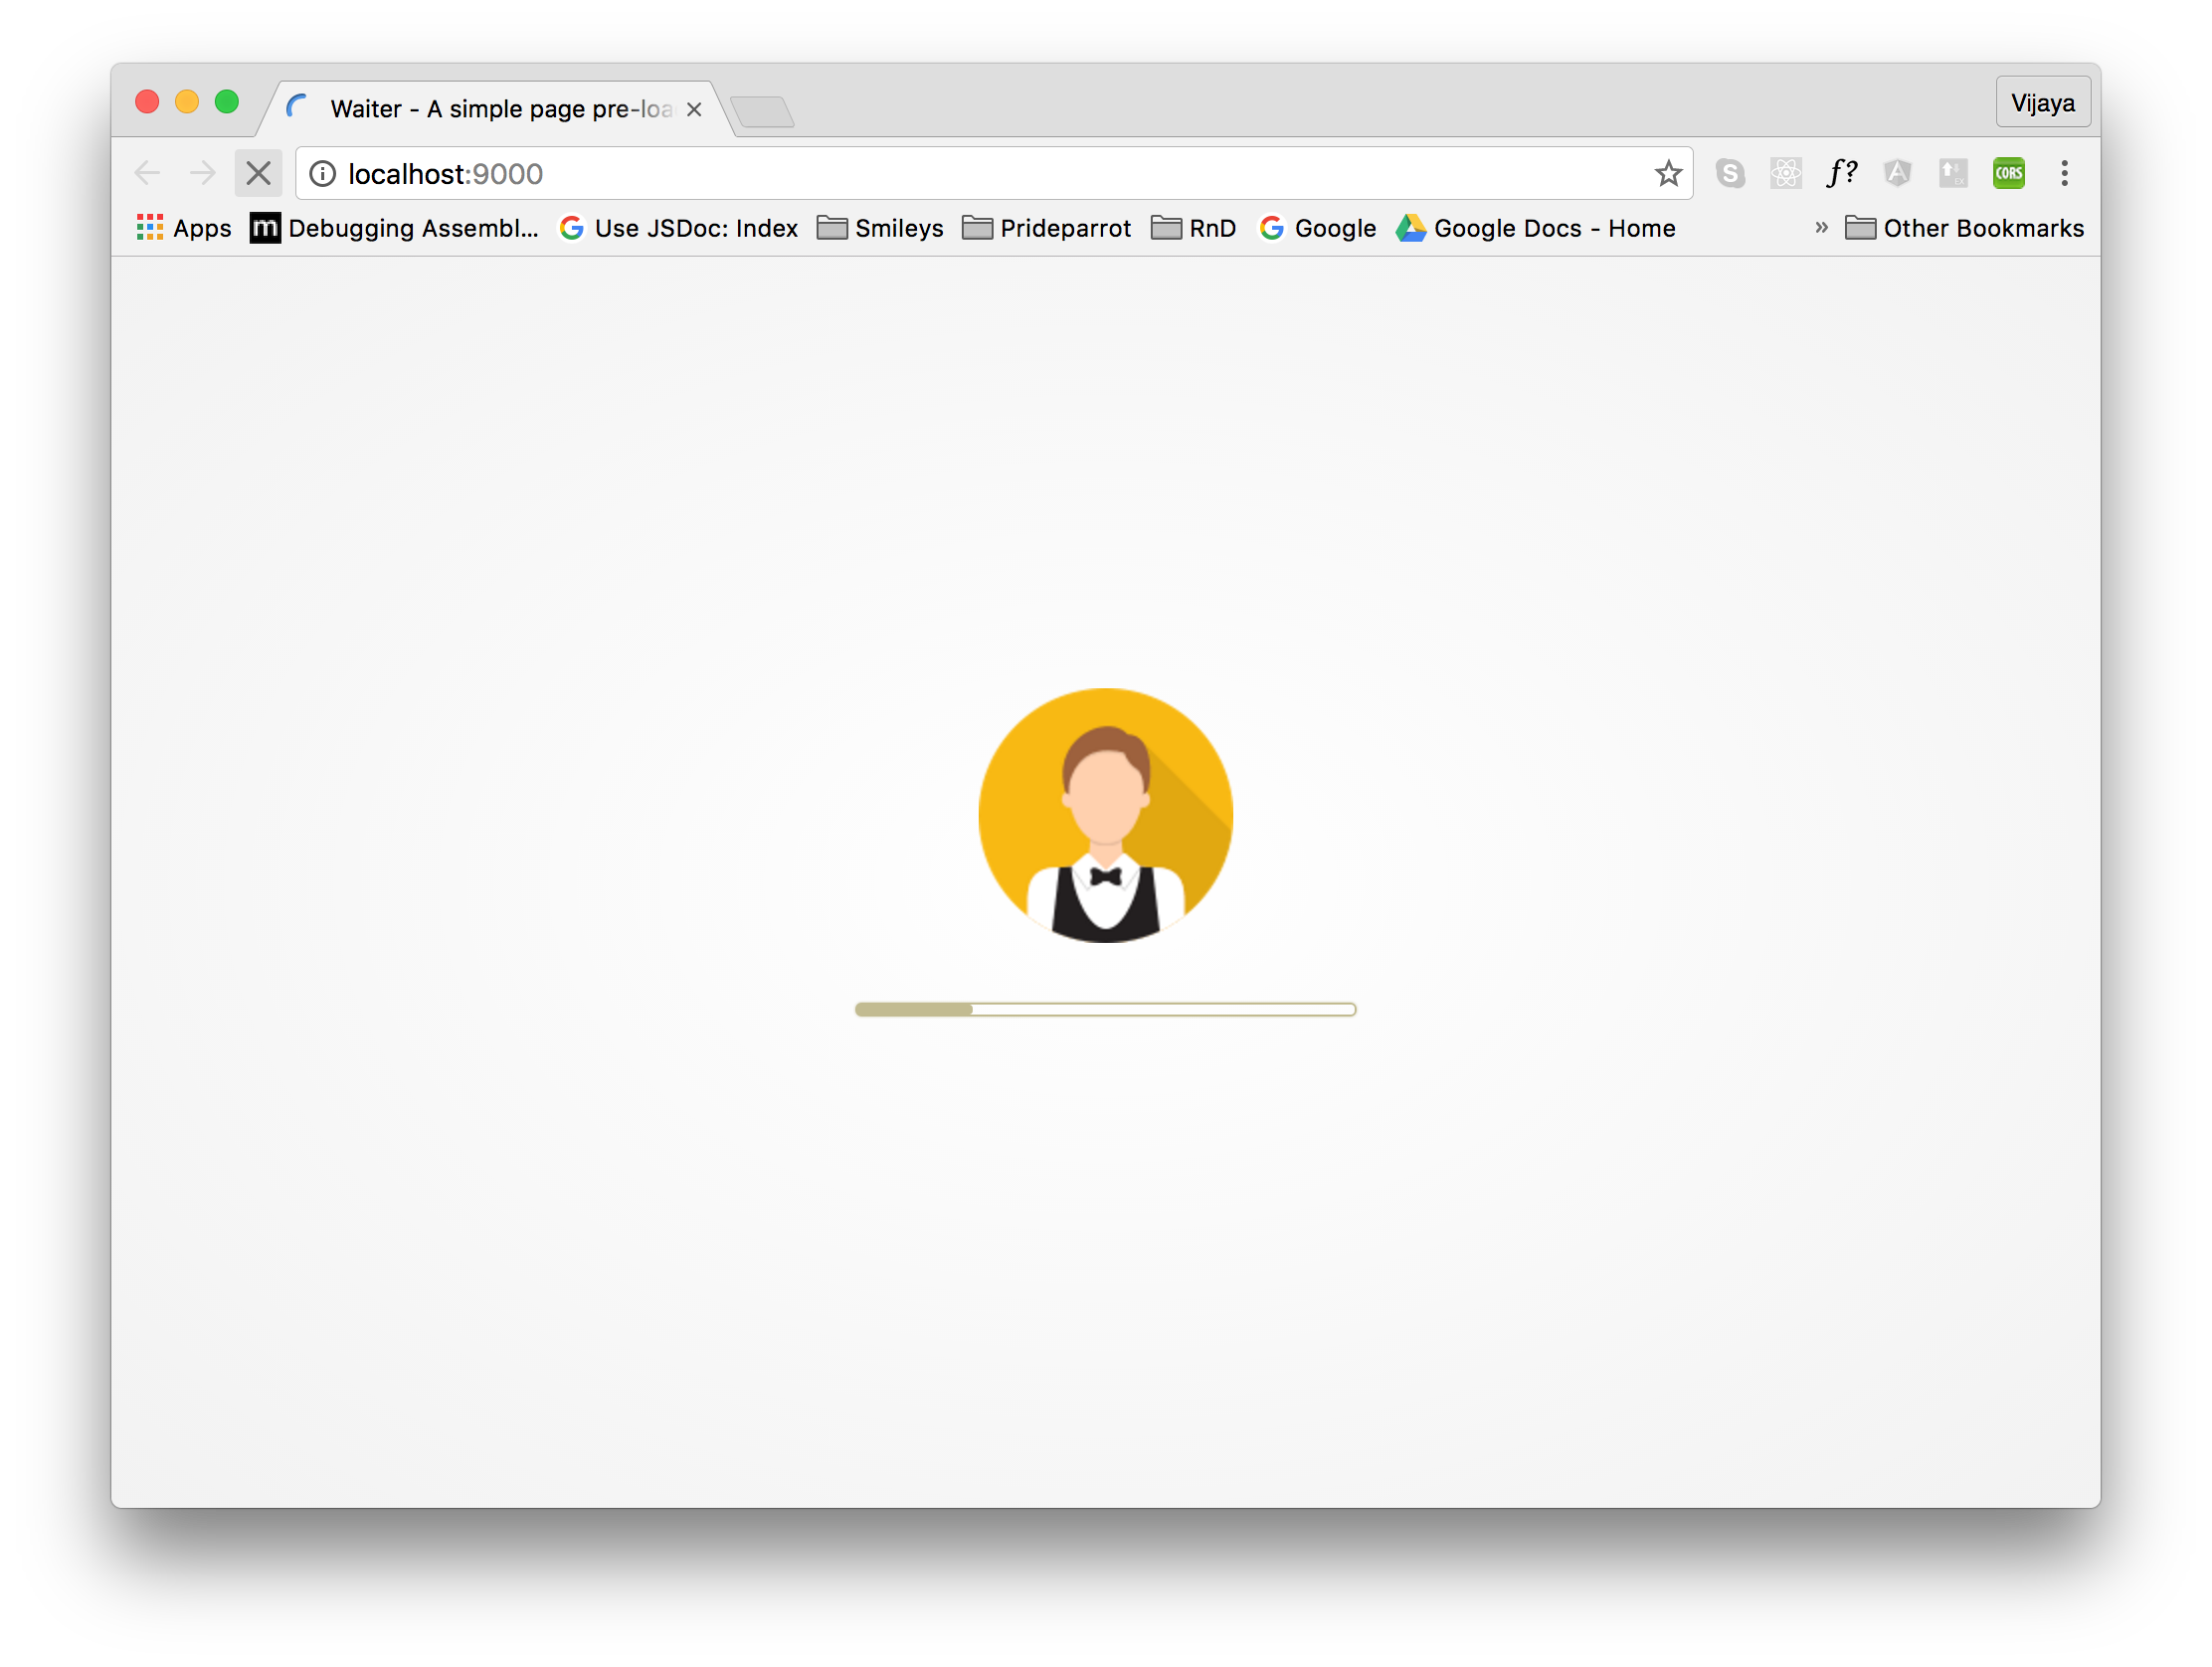
Waiter is a simple pre-loading screen built with pure JS and CSS3. It don't have any dependency with any 3rd party library. Waiter provides options to display your own logo image with a nice fake progressbar that gives an illusion the page is gonna load soon!
DEMO!
To use Waiter you've to follow the below steps!
- You can either download the complete source code manually from Github or you can install through npm as below,
npm install https://github.com/VJAI/Waiter.git --save- Move your application JS and CSS files to the end of <body>. Moving CSS files inside the <body> make you think whether it's right practice. It's perfectly OK to reference CSS files inside the <body> but to pass the HTML5 validation please specify
propertyattribute of the <link> element asstylesheet. If the CSS file size is small then it would be OK to reference in the <head> (for a slight duration the user may see the blank screen).
...
    <link rel="stylesheet" property="stylesheet" href="app.min.css" >
    <script src="app.min.js"></script>
</body>- Copy everything from waiter.min.css from dist and drop it inline with <style> element under <head>.
<style>
    [content from waiter.min.css]
</style>
If you are using build tool like grunt or gulp you don't have to do this manually. There are plugins available like grunt-processhtml or gulp-processhtml that can copy JS or CSS files and make them inline in your HTML file. We are already using similar mechanism to inline the Waiter CSS and JS files in the index.html file. We've used grunt-processhtml to achieve this. Please take a look at the index.template.html.
If you are not using any build tool like grunt or gulp then you've to do this manually.
- Copy everything from waiter.min.js from dist and drop it inline with <script> element and it should be the first child of the <body>.
<body>
    <script>
        [content from waiter.min.js]
    </script>
    [...other content]
</body>
Again, if you are using grunt or gulp then you don't have to do this copy-paste manually.
Don't reference these files by href or src and that beats the purpose of Waiter!
Waiter provides a single option to you and it's called manual. As default the pre-loading screen is removed in the window.onload event but if you want to take that control of removing it yourself (like after an AJAX call) then you've to pass this option as true. To pass the option you've to set the data-manual attribute in the <body> element as true.
<body data-manual="true">
    ...
Later you can manually remove the Waiter by calling window.waitOver().
As default waiter uses a sample logo image. You can replace it with the base64 string of your own logo image. Other than the logo you can also customize the background-color of the screen and the progress-bar.
The best way to customize these things is to modify the below SASS variables in waiter.scss and compiling it to CSS file.
$logo - base64 string of the logo image. You can create base64 string of your JPG, PNG logo image online using this tool.
$bgColor - Waiter background color
$progressBarColor - Progress bar color
If you are using build tool then compiling SCSS to CSS would be easy, else you can do it online using this tool.
I don't advice you to override the CSS styles but you could do that. The reason is we are using some formulas internally to create secondary colors from the passed colors and so it's good to override the SASS variables and compile it to CSS.
As default when the wait is over the waiter slides up. You can change the animation by overriding the waiter--anime and waiter--anime-trigger CSS classes. You can either do it in your SASS or CSS file.
Below are couple of different animations you could try.
&.waiter--anime {
    transition: opacity 0.5s;
}

&.waiter--anime-trigger {
    opacity: 0;
}&.waiter--anime {
transition: all .5s ease-in-out;
}
&.waiter--anime-trigger {
transform: scale(2);
opacity: 0;
}If you are not happy with the above animations you are free to roll your own :)


Tested fine in Edge, IE11 and IE10. Currently have some issues in IE9 which will be taken care soon. No plan for IE8!
First you've to make sure Grunt CLI is installed globally npm install -g grunt-cli and then run npm install to install all the dependencies required by the project.
The following are the couple of npm commands you need to know.
npm start - Creates a server and launches the index.html page in the browser. Whenever you make any change to the JS or SCSS file, the page will be automatically refreshed with the changes.
npm run build - Compiles the waiter.scss file to waiter.css file, minifies the JS and CSS files and finally copies them to the dist folder.
There are more improvements you can do to Waiter. How about making the screen content dynamic? Instead of always displaying the logo image and the progress bar you can display dynamic information like events and other things. Feel free to fork and improve!
For any queries please reach me through http://prideparrot.com/contact.