Welcome👋
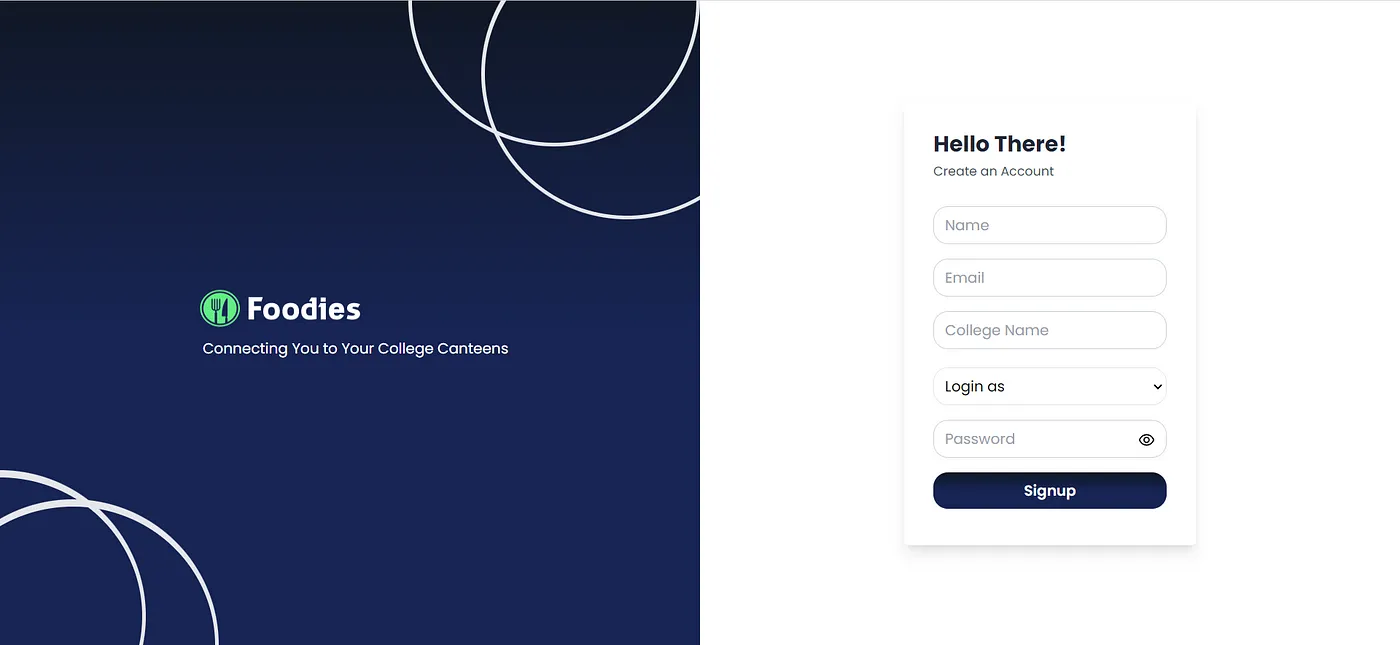
Welcome to Foodies, your go-to college dining companion! Designed for seamless campus culinary experiences, Foodies simplifies menu exploration and nutritional insights. Access daily canteen menus, make informed dietary choices with Spoonacular integration, and empower canteen efficiency. Our platform prioritizes user security and simplicity, ensuring effortless student sign-ups and hassle-free canteen management. Stay up-to-date with our Health News section, delivering valuable insights for healthier eating habits. Embrace convenience and culinary enlightenment with Foodies! 🍽️
- Menu Exploration: Easily check out daily menus of all campus canteens from personal devices.
- Nutritional Insights: Access nutritional information for dishes, aiding in informed dietary choices.
- Canteen Optimization: Assist canteen owners with menu planning and recipe suggestions, enhancing efficiency.
- User-Friendly Interface: Effortless sign-up for students and secure login credentials for canteen owners.
- Health News: Stay informed with health-related articles, empowering users to make healthier dietary choices.
- React.js: Provides a sleek and efficient frontend.
- Tailwind CSS: Ensures stylish and user-friendly designs.
- Express.js: Powers the backend operations.
- MongoDB Atlas and Mongoose: Store and manage important data.
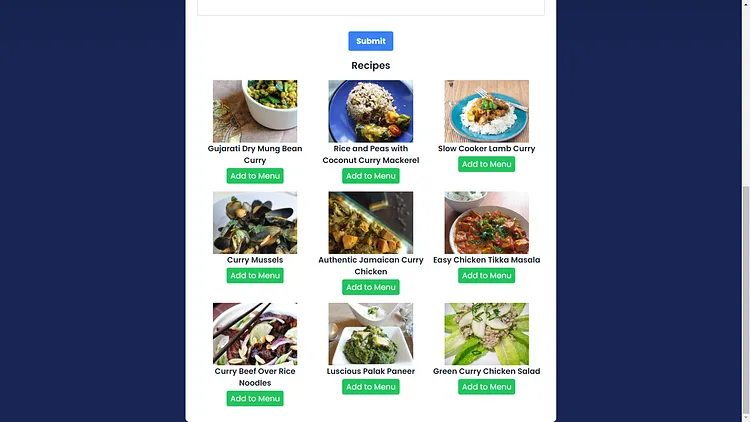
- Spoonacular API: Offers nutritional information and recipe ideas.
- G News API: Fetches health-related articles.
- Bcrypt and JWT: Ensure data security and protection.
- Poll Functionality: Allow users to vote on preferred dishes.
- Feedback System: Share thoughts with canteens for service improvement.
- Expanding Horizons: Extend Foodies to multiple colleges for personalized canteen listings.
-
Fork and clone the repository
-
Navigate to the Project Directory:
cd FoodiesWeb -
Split Terminal for Backend Setup
-
Navigate to the Server Directory:
cd server -
Install Dependencies (in both terminals):
npm install
-
Setup Environment Variables
cp .env.example .env
Setup MongoDB local host instance and port in env file in your local device. Default port is 4000 Sample uri is given below.
PORT=3000 DATABASE_URL="http://localhost:21713/foods" EMAIL="The email from which forgot the password email will be sent" MAILPASS="password for the email ( app password )"-
Enable 2-step verification if not In https://myaccount.google.com/security, do you see 2-step verification set to ON
-
Generate APP PASSWORD by clicking on below link https://myaccount.google.com/apppasswords?rapt=AEjHL4PAhcbtFEpLwfNtVix3bfiGe71GdrW_Naiuvp_NVnMZyTd0UR07M2mVnEyWzkw9kB99YVhhfEVtjxTi3QWSZ39biK-zGwnghm0u778vwmlh6TFbmh4
-
-
Start the Backend Server (in the terminal within the /server directory):
In the terminal where you navigated to the /server directory, run the following command to start the backend server:nodemon server.js
-
Start the React App (with Backend Running):
After navigating run the following command to start the React app with the backend server running successfully:npm start
With these steps, you'll have both the backend server and the React app up and running, ready for development or testing.
This project was bootstrapped with Create React App.
Runs the app in the development mode.\
Open http://localhost:3000 to view it in your browser.
The page will reload when you make changes.
You may also see any lint errors in the console.
Launches the test runner in the interactive watch mode.
See the section about running tests for more information.
Builds the app for production to the build folder.
It correctly bundles React in production mode and optimizes the build for the best performance.
The build is minified and the filenames include the hashes.
Your app is ready to be deployed!
See the section about deployment for more information.
Note: this is a one-way operation. Once you eject, you can't go back!
If you aren't satisfied with the build tool and configuration choices, you can eject at any time. This command will remove the single-build dependency from your project.
Instead, it will copy all the configuration files and the transitive dependencies (webpack, Babel, ESLint, etc) right into your project so you have full control over them. All of the commands except eject will still work, but they will point to the copied scripts so you can tweak them. At this point, you're on your own.
You don't have to ever use eject. The curated feature set is suitable for small and middle deployments, and you shouldn't feel obligated to use this feature. However, we understand that this tool wouldn't be useful if you couldn't customize it when you are ready for it.
You can learn more in the Create React App documentation.
To learn React, check out the React documentation. .
-
Fork the Repository
-
Set Up the Project, by cloning the repository to your local machine
-
Install dependencies.
-
Start the project.
-
Create a New Branch
-
Create or work on existing issues
-
Make changes and commit with descriptive messages
-
Push changes to your forked repository.
-
Create a Pull Request


