中文 | English
Installation | Run | Screenshot | Architecture | Integration | Compare | Community & Sponsorship
Golang-based distributed web crawler management platform, supporting various languages including Python, NodeJS, Go, Java, PHP and various web crawler frameworks including Scrapy, Puppeteer, Selenium.
Two methods:
- Docker (Recommended)
- Direct Deploy (Check Internal Kernel)
- Docker 18.03+
- Redis
- MongoDB 3.6+
- Go 1.12+
- Node 8.12+
- Redis
- MongoDB 3.6+
Run Master Node for example. 192.168.99.1 is the host machine IP address in Docker Machine network. 192.168.99.100 is the Master Node's IP address.
docker run -d --rm --name crawlab \
        -e CRAWLAB_REDIS_ADDRESS=192.168.99.1 \
        -e CRAWLAB_MONGO_HOST=192.168.99.1 \
        -e CRAWLAB_SERVER_MASTER=Y \
        -e CRAWLAB_API_ADDRESS=192.168.99.100:8000 \
        -e CRAWLAB_SPIDER_PATH=/app/spiders \
        -p 8080:8080 \
        -p 8000:8000 \
        -v /var/logs/crawlab:/var/logs/crawlab \
        tikazyq/crawlab:0.3.0
Surely you can use docker-compose to one-click to start up. By doing so, you don't even have to configure MongoDB and Redis databases. Create a file named docker-compose.yml and input the code below.
version: '3.3'
services:
  master:
    image: tikazyq/crawlab:latest
    container_name: master
    environment:
      CRAWLAB_API_ADDRESS: "localhost:8000"
      CRAWLAB_SERVER_MASTER: "Y"
      CRAWLAB_MONGO_HOST: "mongo"
      CRAWLAB_REDIS_ADDRESS: "redis"
    ports:
      - "8080:8080" # frontend
      - "8000:8000" # backend
    depends_on:
      - mongo
      - redis
  mongo:
    image: mongo:latest
    restart: always
    ports:
      - "27017:27017"
  redis:
    image: redis:latest
    restart: always
    ports:
      - "6379:6379"
Then execute the command below, and Crawlab Master Node + MongoDB + Redis will start up. Open the browser and enter http://localhost:8080 to see the UI interface.
docker-compose upFor Docker Deployment details, please refer to relevant documentation.
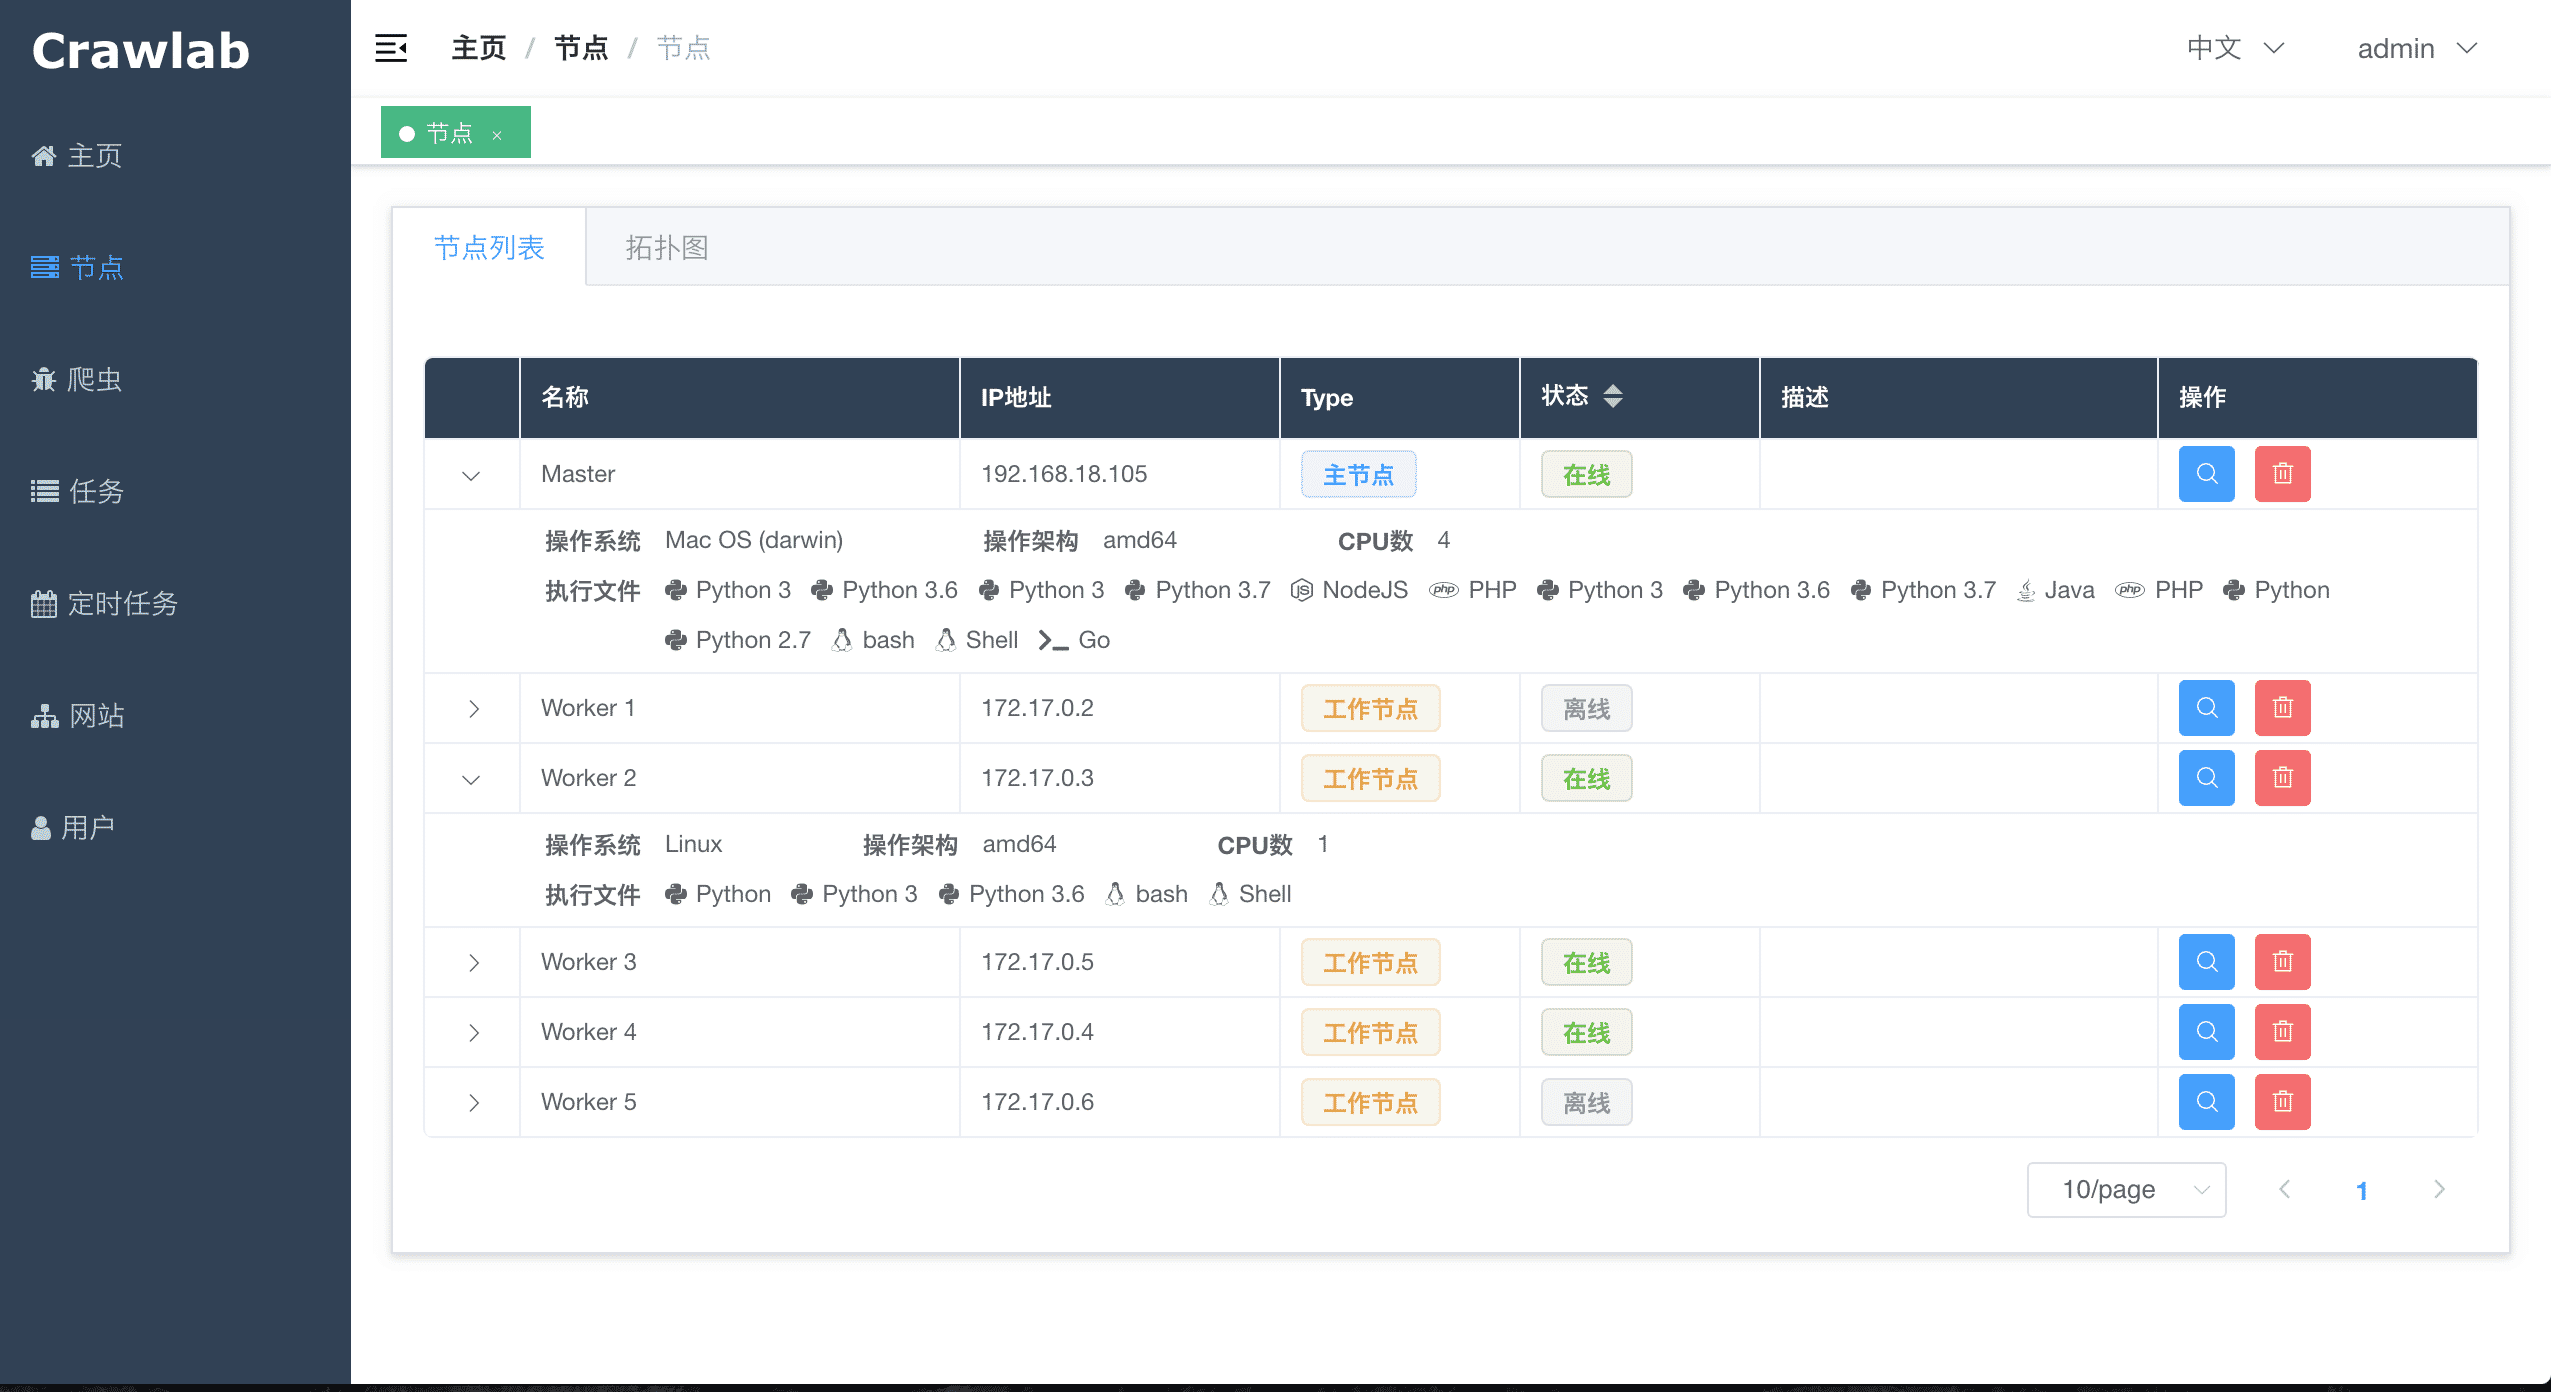
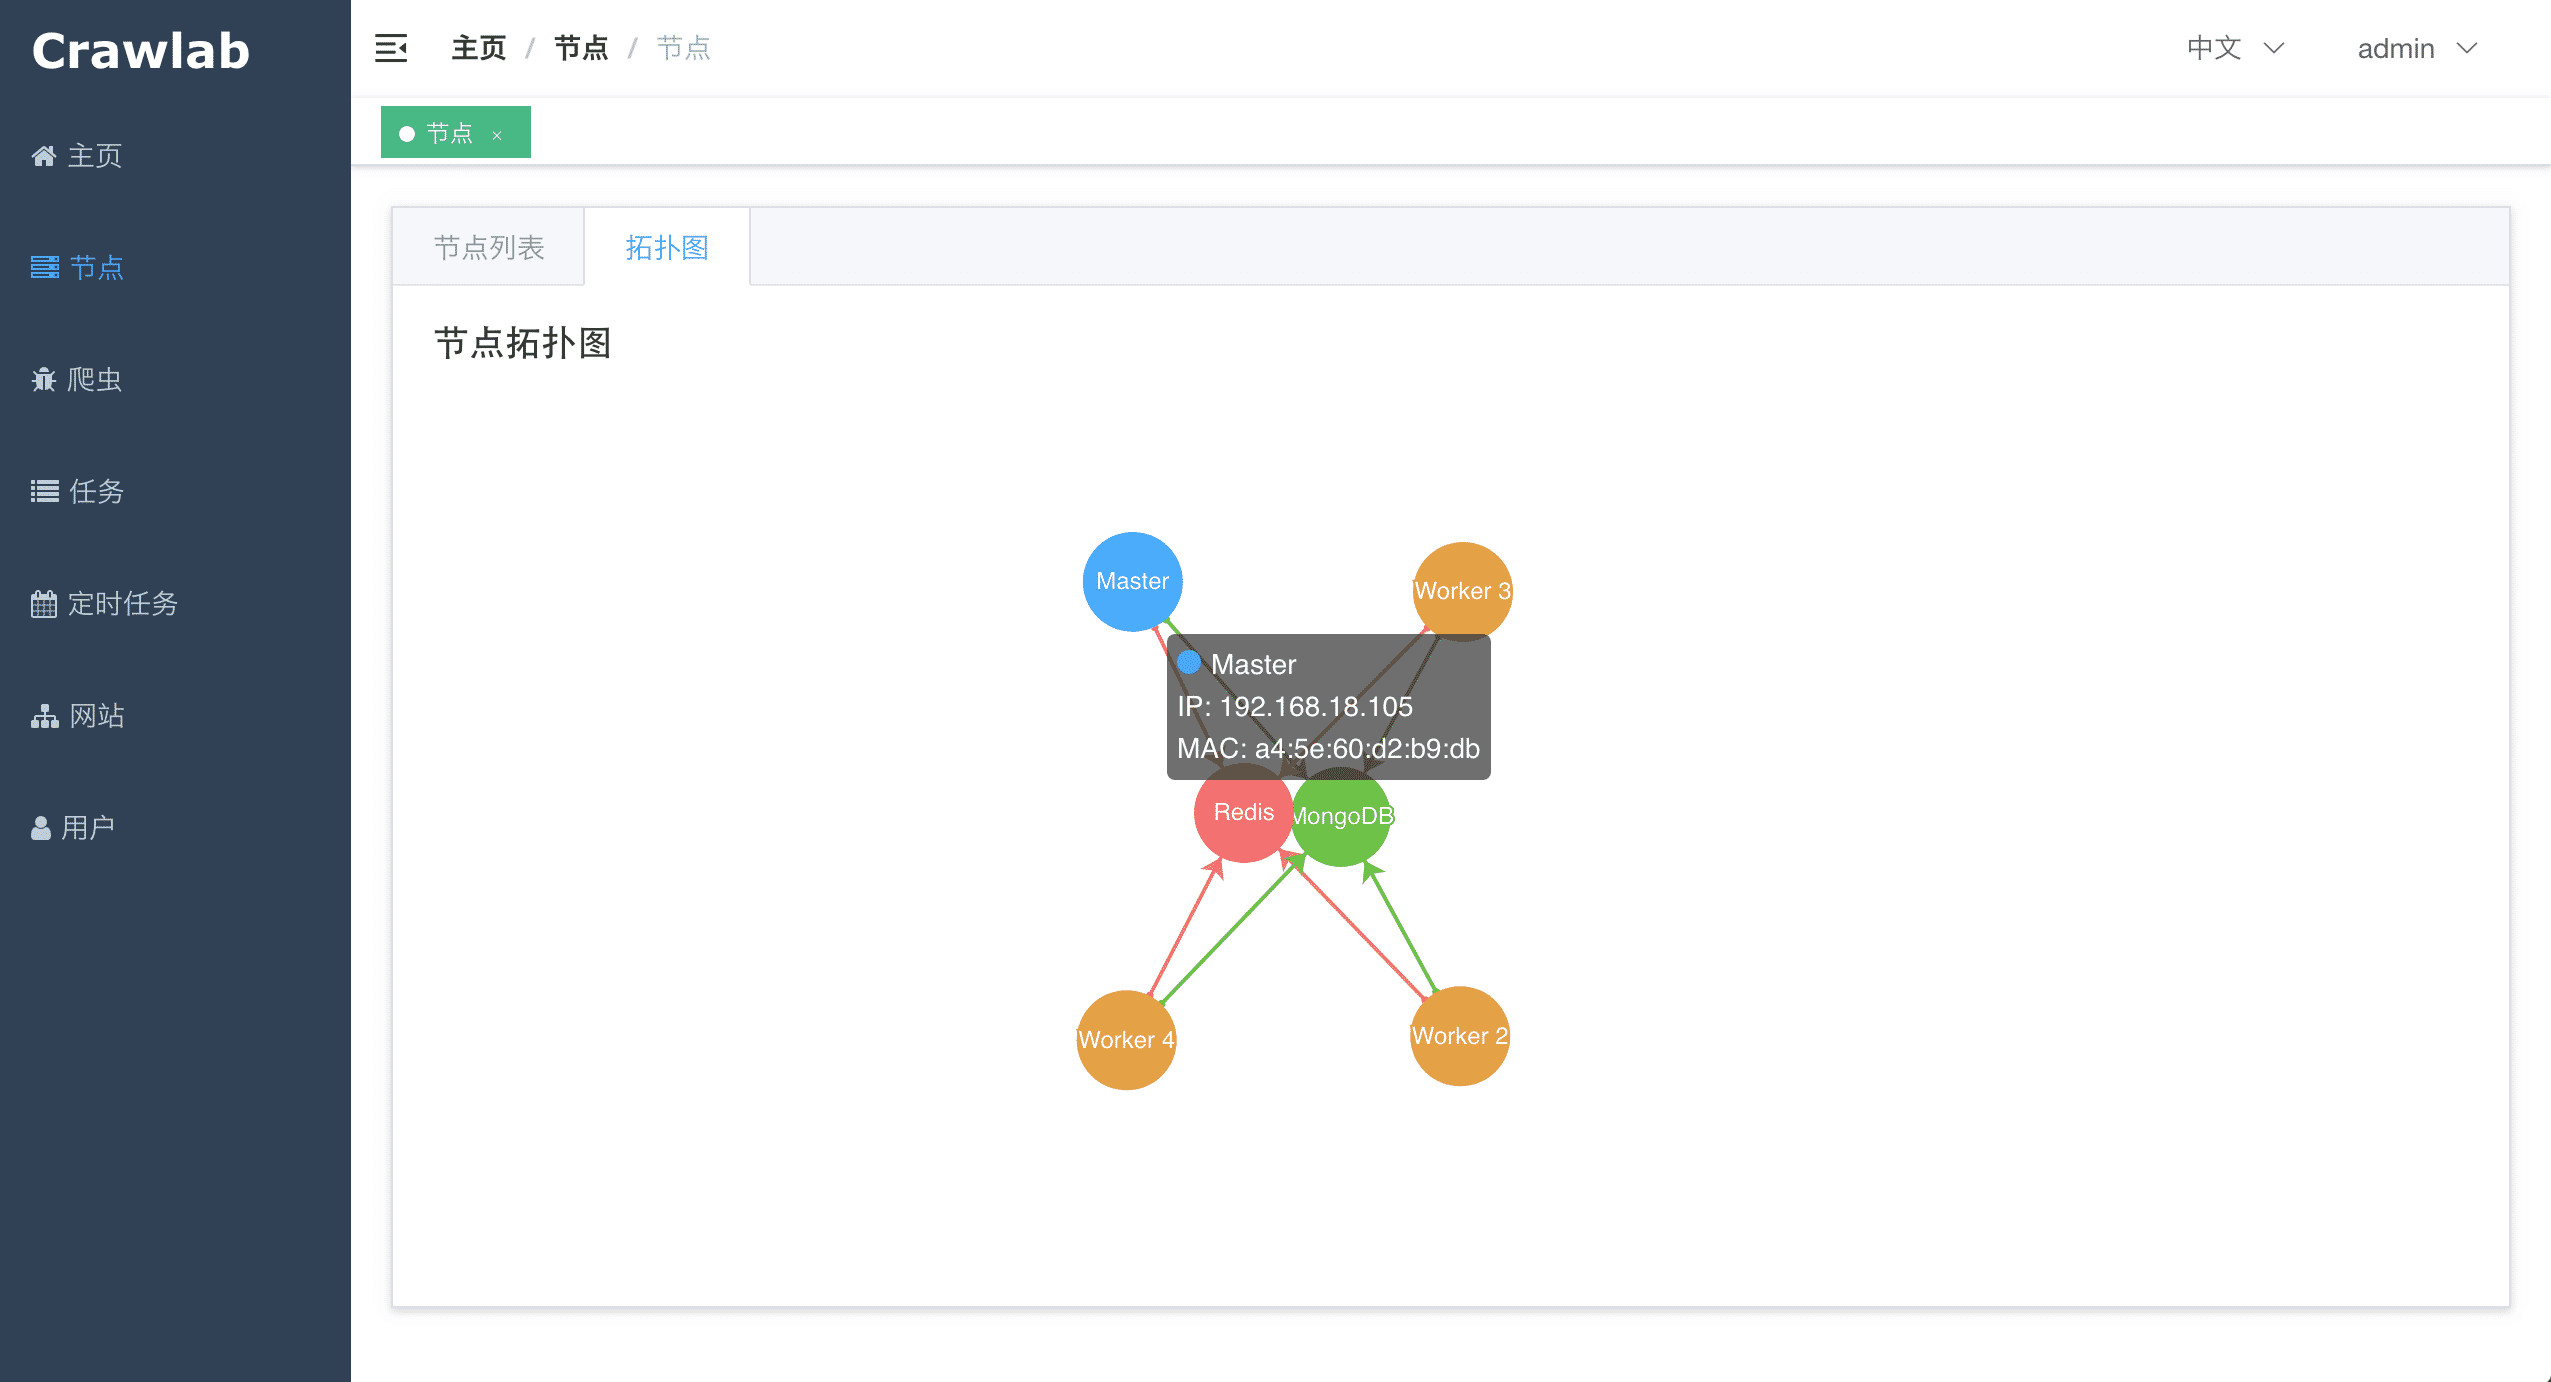
The architecture of Crawlab is consisted of the Master Node and multiple Worker Nodes, and Redis and MongoDB databases which are mainly for nodes communication and data storage.
The frontend app makes requests to the Master Node, which assigns tasks and deploys spiders through MongoDB and Redis. When a Worker Node receives a task, it begins to execute the crawling task, and stores the results to MongoDB. The architecture is much more concise compared with versions before v0.3.0. It has removed unnecessary Flower module which offers node monitoring services. They are now done by Redis.
The Master Node is the core of the Crawlab architecture. It is the center control system of Crawlab.
The Master Node offers below services:
- Crawling Task Coordination;
- Worker Node Management and Communication;
- Spider Deployment;
- Frontend and API Services;
- Task Execution (one can regard the Master Node as a Worker Node)
The Master Node communicates with the frontend app, and send crawling tasks to Worker Nodes. In the mean time, the Master Node synchronizes (deploys) spiders to Worker Nodes, via Redis and MongoDB GridFS.
The main functionality of the Worker Nodes is to execute crawling tasks and store results and logs, and communicate with the Master Node through Redis PubSub. By increasing the number of Worker Nodes, Crawlab can scale horizontally, and different crawling tasks can be assigned to different nodes to execute.
MongoDB is the operational database of Crawlab. It stores data of nodes, spiders, tasks, schedules, etc. The MongoDB GridFS file system is the medium for the Master Node to store spider files and synchronize to the Worker Nodes.
Redis is a very popular Key-Value database. It offers node communication services in Crawlab. For example, nodes will execute HSET to set their info into a hash list named nodes in Redis, and the Master Node will identify online nodes according to the hash list.
Frontend is a SPA based on Vue-Element-Admin. It has re-used many Element-UI components to support corresponding display.
A crawling task is actually executed through a shell command. The Task ID will be passed to the crawling task process in the form of environment variable named CRAWLAB_TASK_ID. By doing so, the data can be related to a task. Also, another environment variable CRAWLAB_COLLECTION is passed by Crawlab as the name of the collection to store results data.
Below is an example to integrate Crawlab with Scrapy in pipelines.
import os
from pymongo import MongoClient

MONGO_HOST = '192.168.99.100'
MONGO_PORT = 27017
MONGO_DB = 'crawlab_test'

# scrapy example in the pipeline
class JuejinPipeline(object):
    mongo = MongoClient(host=MONGO_HOST, port=MONGO_PORT)
    db = mongo[MONGO_DB]
    col_name = os.environ.get('CRAWLAB_COLLECTION')
    if not col_name:
        col_name = 'test'
    col = db[col_name]

    def process_item(self, item, spider):
        item['task_id'] = os.environ.get('CRAWLAB_TASK_ID')
        self.col.save(item)
return itemThere are existing spider management frameworks. So why use Crawlab?
The reason is that most of the existing platforms are depending on Scrapyd, which limits the choice only within python and scrapy. Surely scrapy is a great web crawl framework, but it cannot do everything.
Crawlab is easy to use, general enough to adapt spiders in any language and any framework. It has also a beautiful frontend interface for users to manage spiders much more easily.
| Framework | Type | Distributed | Frontend | Scrapyd-Dependent |
|---|---|---|---|---|
| Crawlab | Admin Platform | Y | Y | N |
| ScrapydWeb | Admin Platform | Y | Y | Y |
| SpiderKeeper | Admin Platform | Y | Y | Y |
| Gerapy | Admin Platform | Y | Y | Y |
| Scrapyd | Web Service | Y | N | N/A |
If you feel Crawlab could benefit your daily work or your company, please add the author's Wechat account noting "Crawlab" to enter the discussion group. Or you scan the Alipay QR code below to give us a reward to upgrade our teamwork software or buy a coffee.


