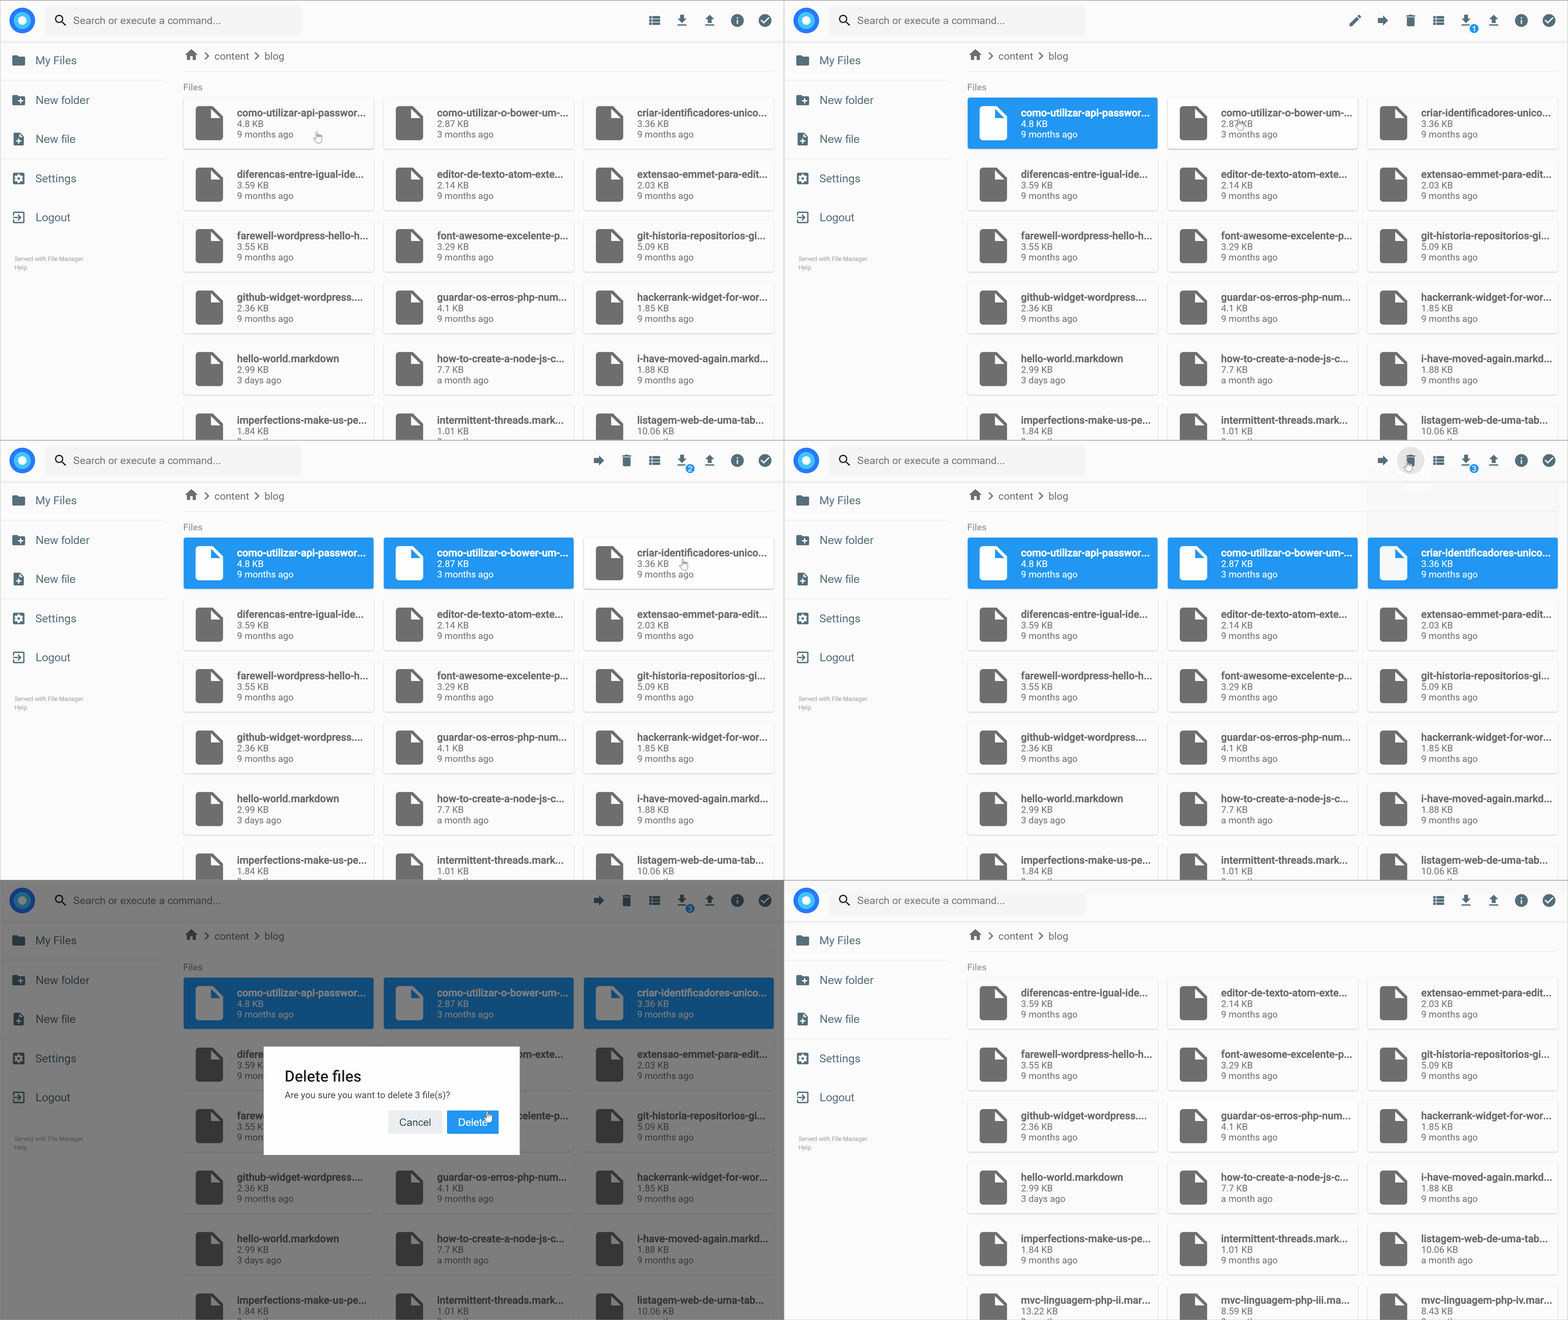
filemanager provides a file managing interface within a specified directory and it can be used to upload, delete, preview, rename and edit your files. It allows the creation of multiple users and each user can have its own directory. It can be used as a standalone app or as a middleware.
This is a library that can be used on your own applications as a middleware (see the documentation), as a plugin to Caddy web server or as a standalone app.
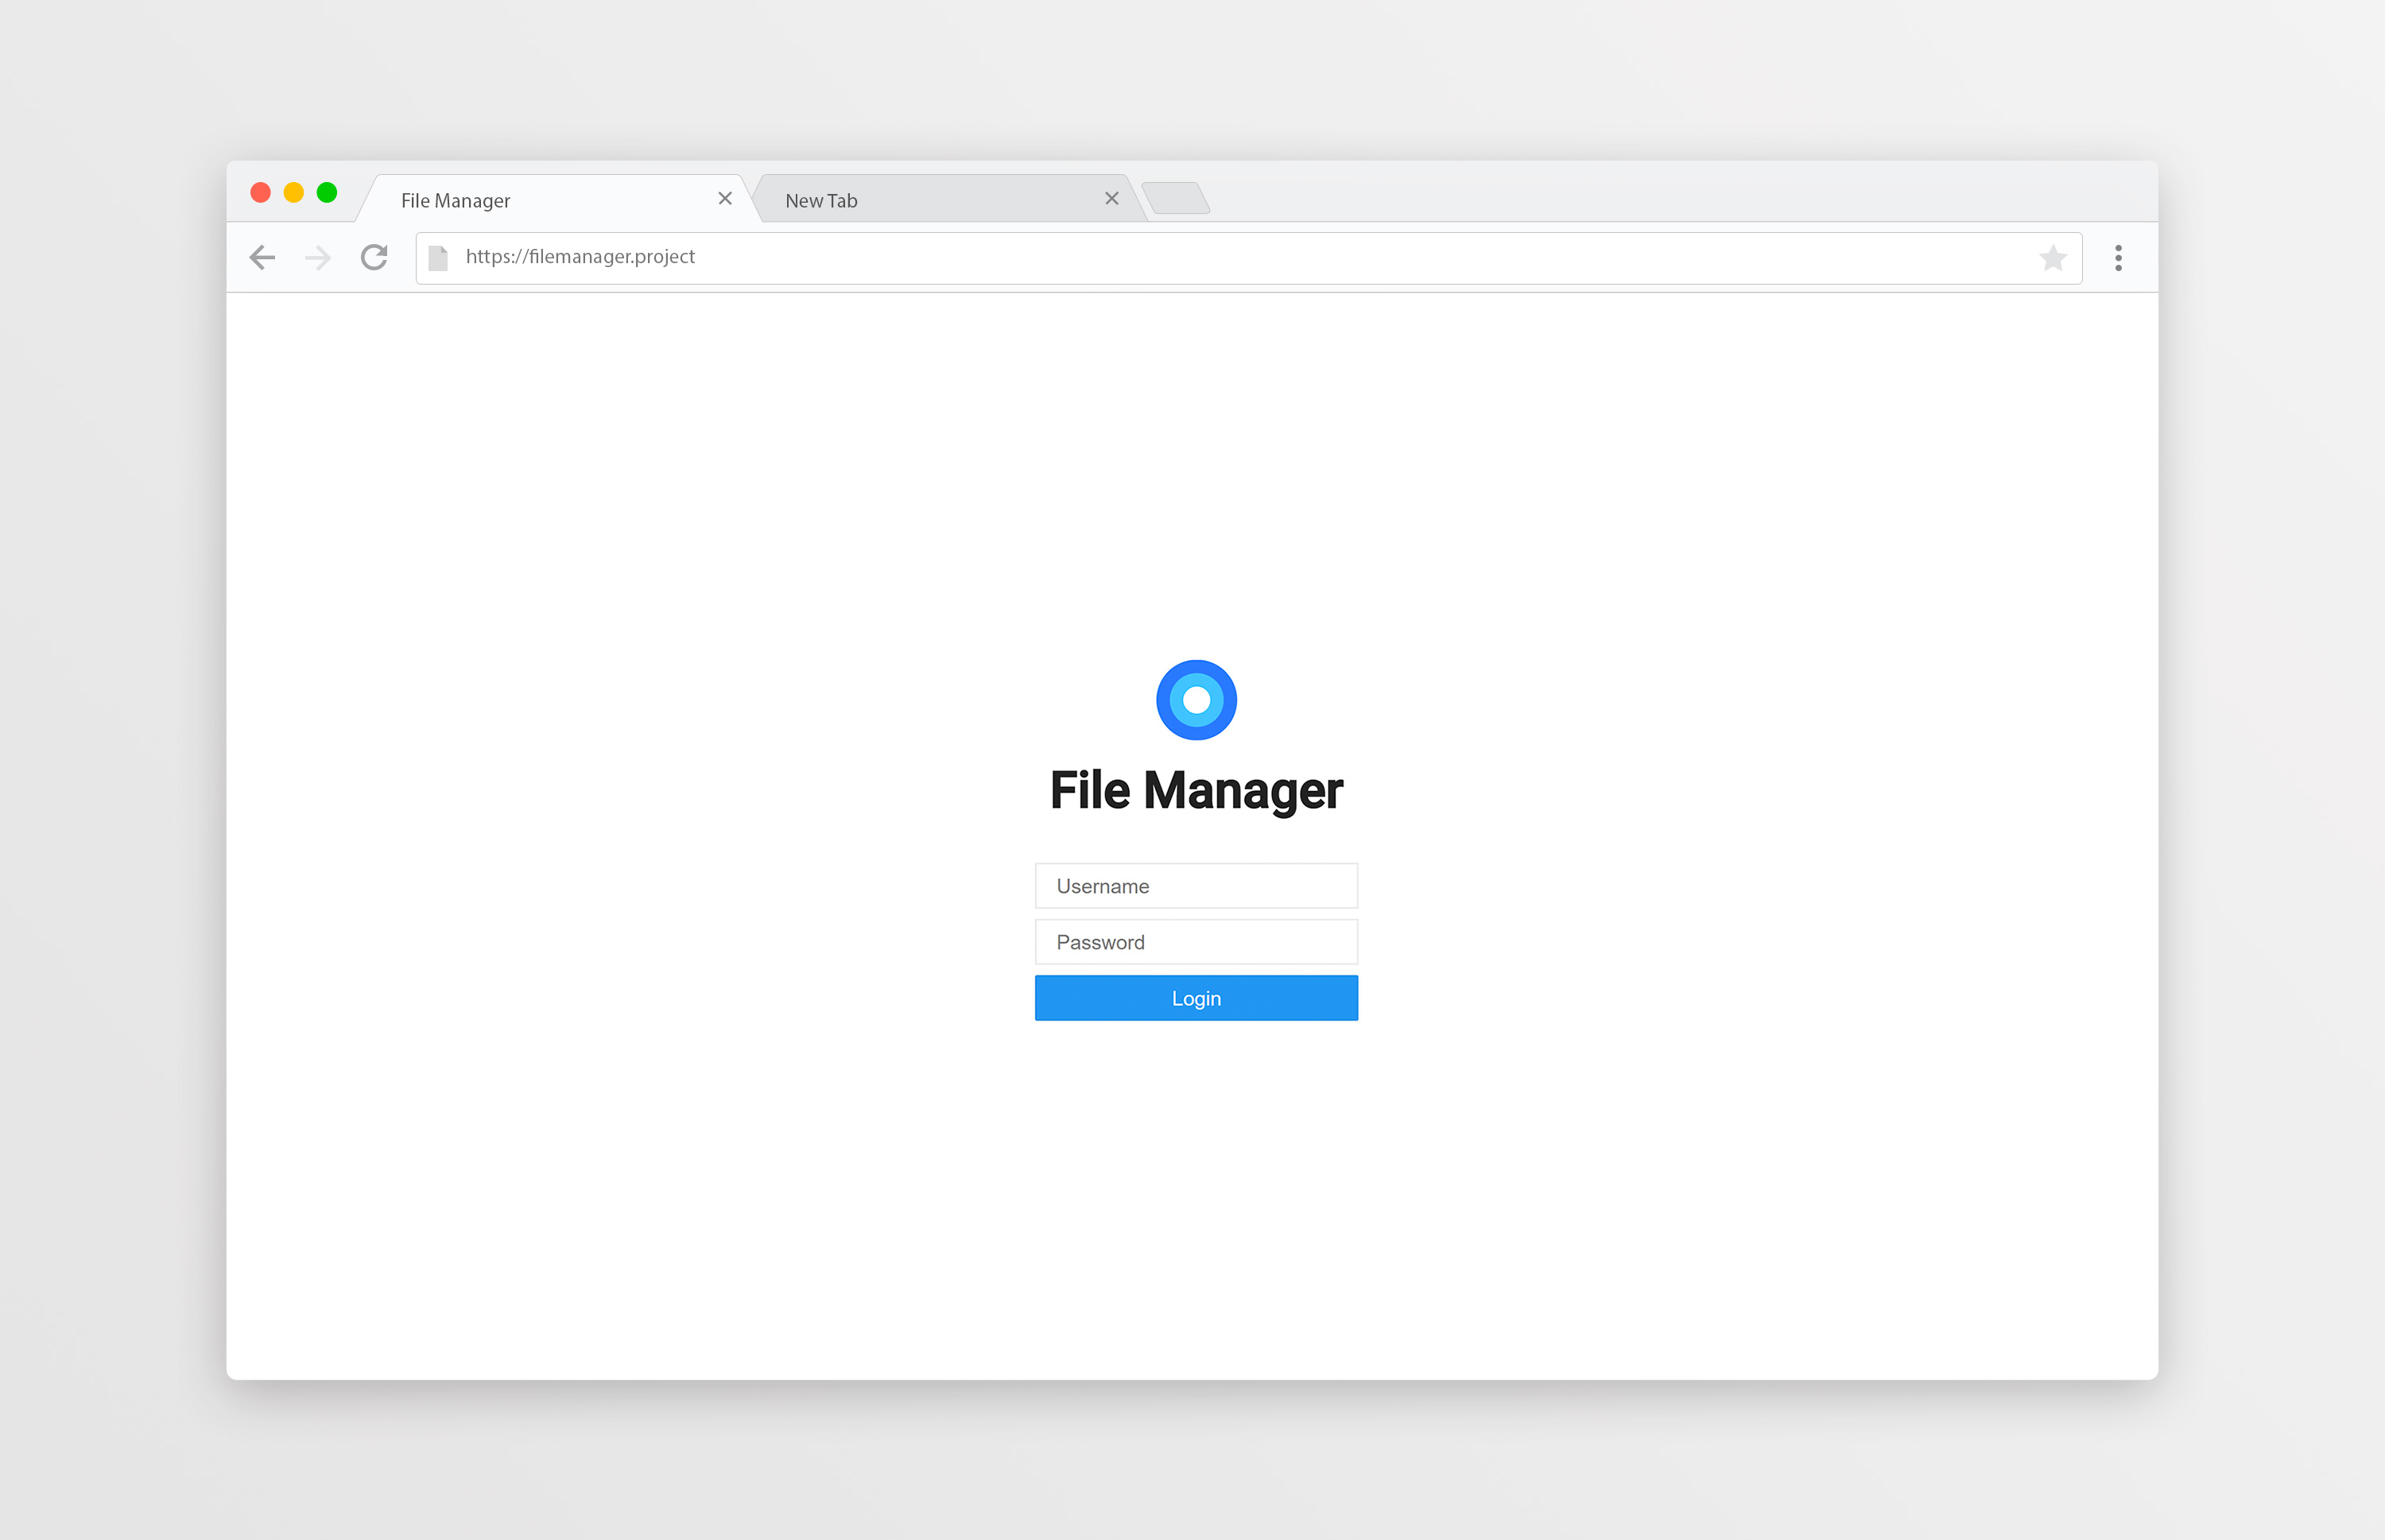
Once you have everything deployed, the default credentials to login to the filemanager are:
Username: admin
Password: admin
The easiest way to get started is using this with Caddy web server. You just need to download Caddy from its official website with http.filemanager plugin enabled. For more information about the plugin itself, please refer to its documentation.
You can use filemanager as a standalone executable. You just need to download it from the releases page, where you can find multiple releases. The 'latest' always corresponds to the latest commit made to the master branch so it might not be stable.
You can either use flags or a JSON configuration file, which should have the following appearance:
{
  "port": 80,
  "database": "/path/to/database.db",
  "scope": "/path/to/my/files",
  "allowCommands": true,
  "allowEdit": true,
  "allowNew": true,
  "commands": [
    "git",
    "svn"
  ]
}
The scope, allowCommands, allowEdit, allowNew and commands options are the defaults for new users. To set a configuration file, you will need to pass the path with a flag, like this: filemanager --config=/path/to/config.json.
Otherwise, you may not want to use a configuration file, which can be done using the following flags:
-allow-commands
      Default allow commands option (default true)
-allow-edit
      Default allow edit option (default true)
-allow-new
      Default allow new option (default true)
-commands string
      Space separated commands available for new users (default "git svn hg")
-database string
      Database path (default "./filemanager.db")
-port string
      HTTP Port (default "80")
-scope string
      Defualt scope for new users (default ".")
Easy login system.
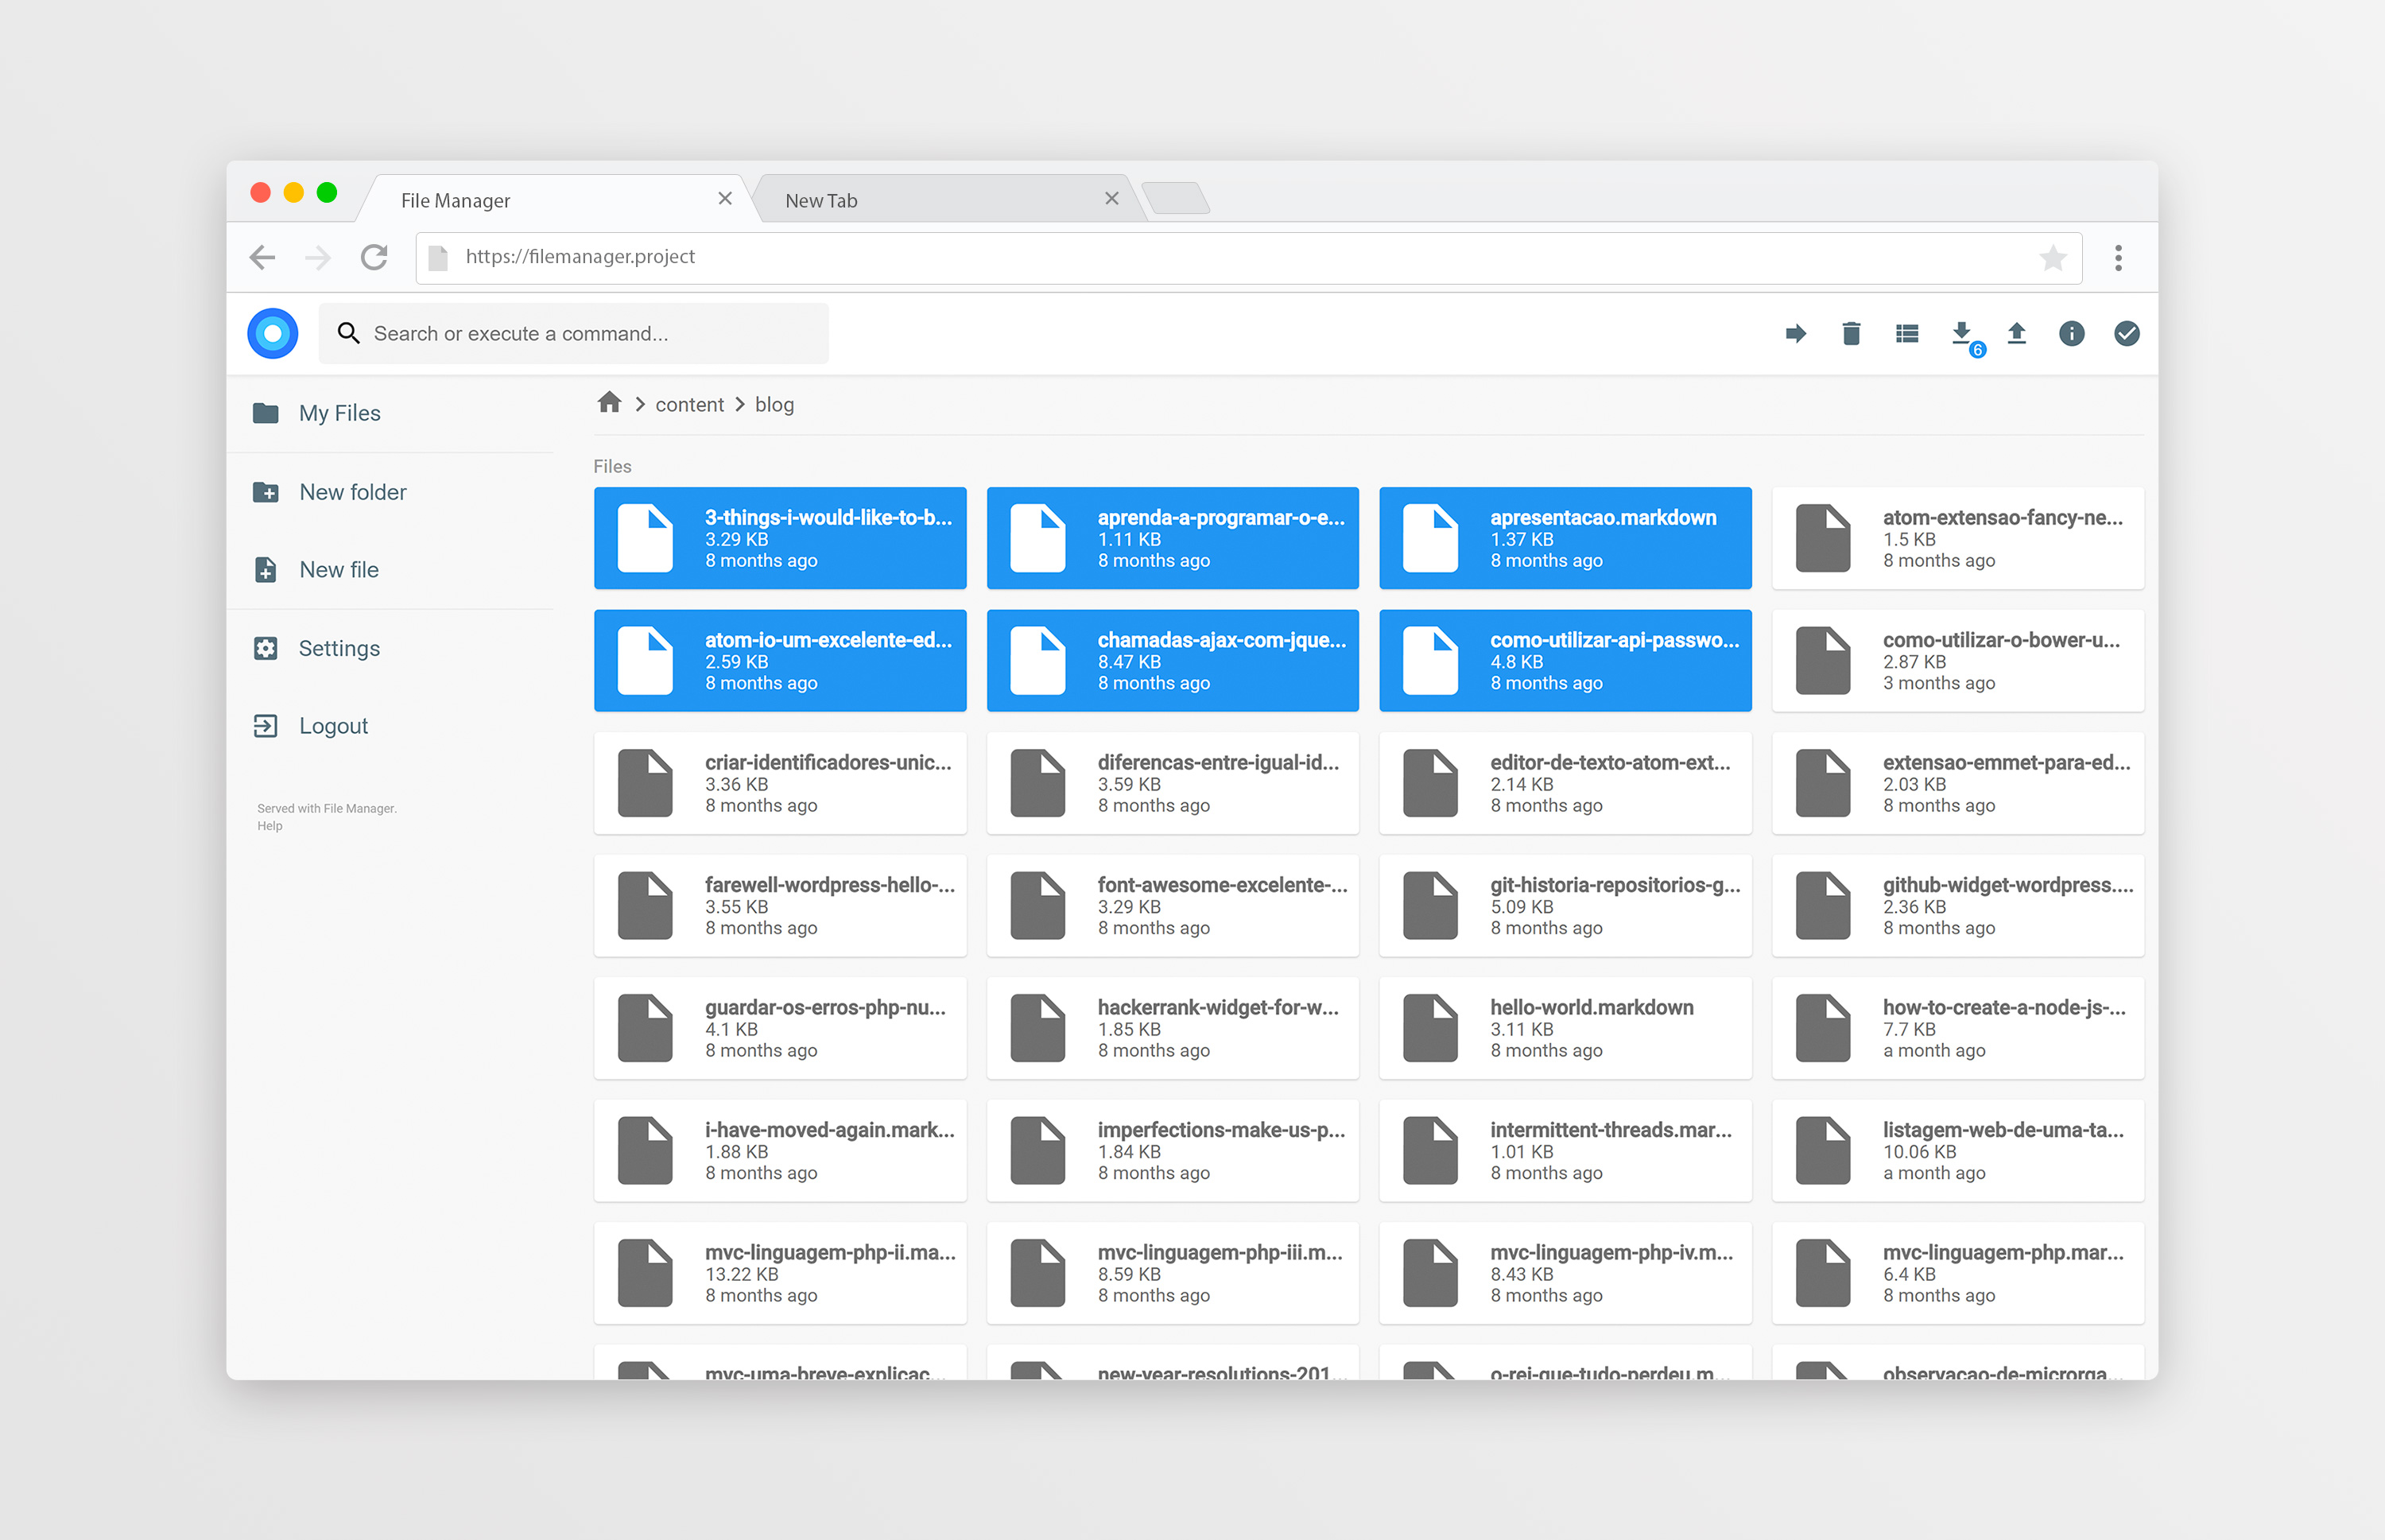
Listings of your files, available in two styles: mosaic and list. You can delete, move, rename, upload and create new files, as well as directories. Single files can be downloaded directly, and multiple files as .zip, .tar, .tar.gz, .tar.bz2 or .tar.xz.
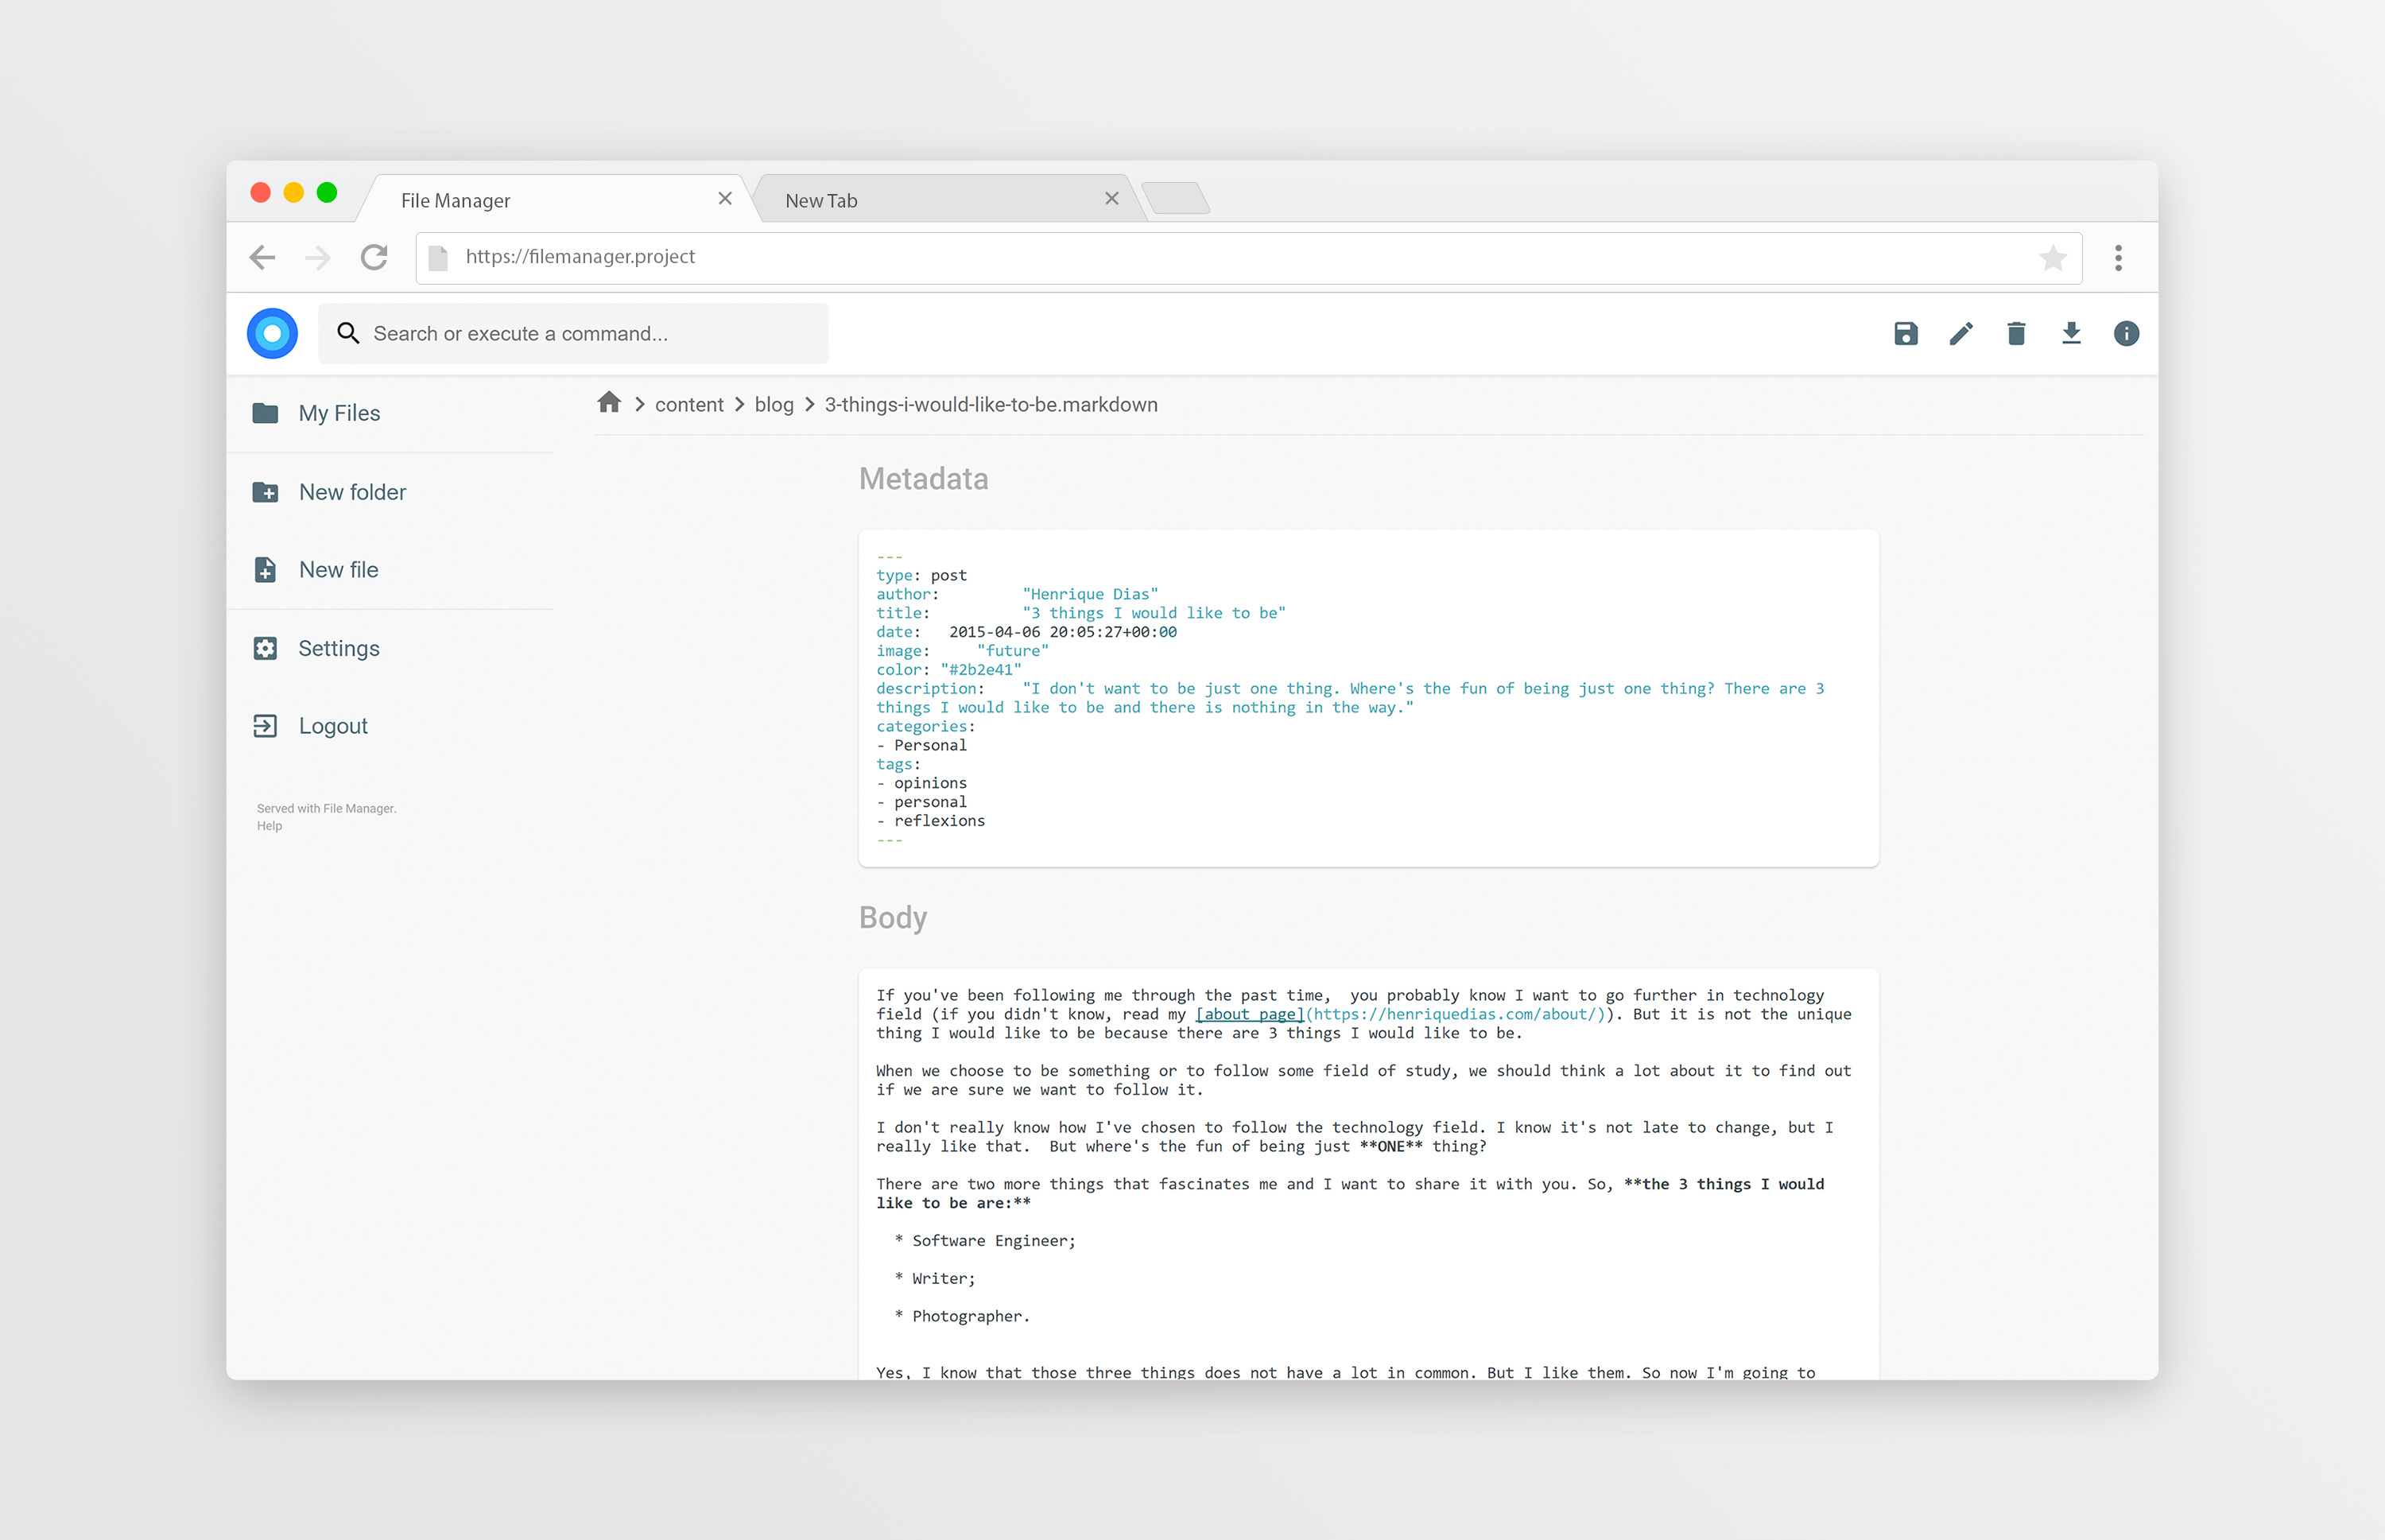
File Manager editor is powered by Codemirror and if you're working with markdown files with metadata, both parts will be separated from each other so you can focus on the content.
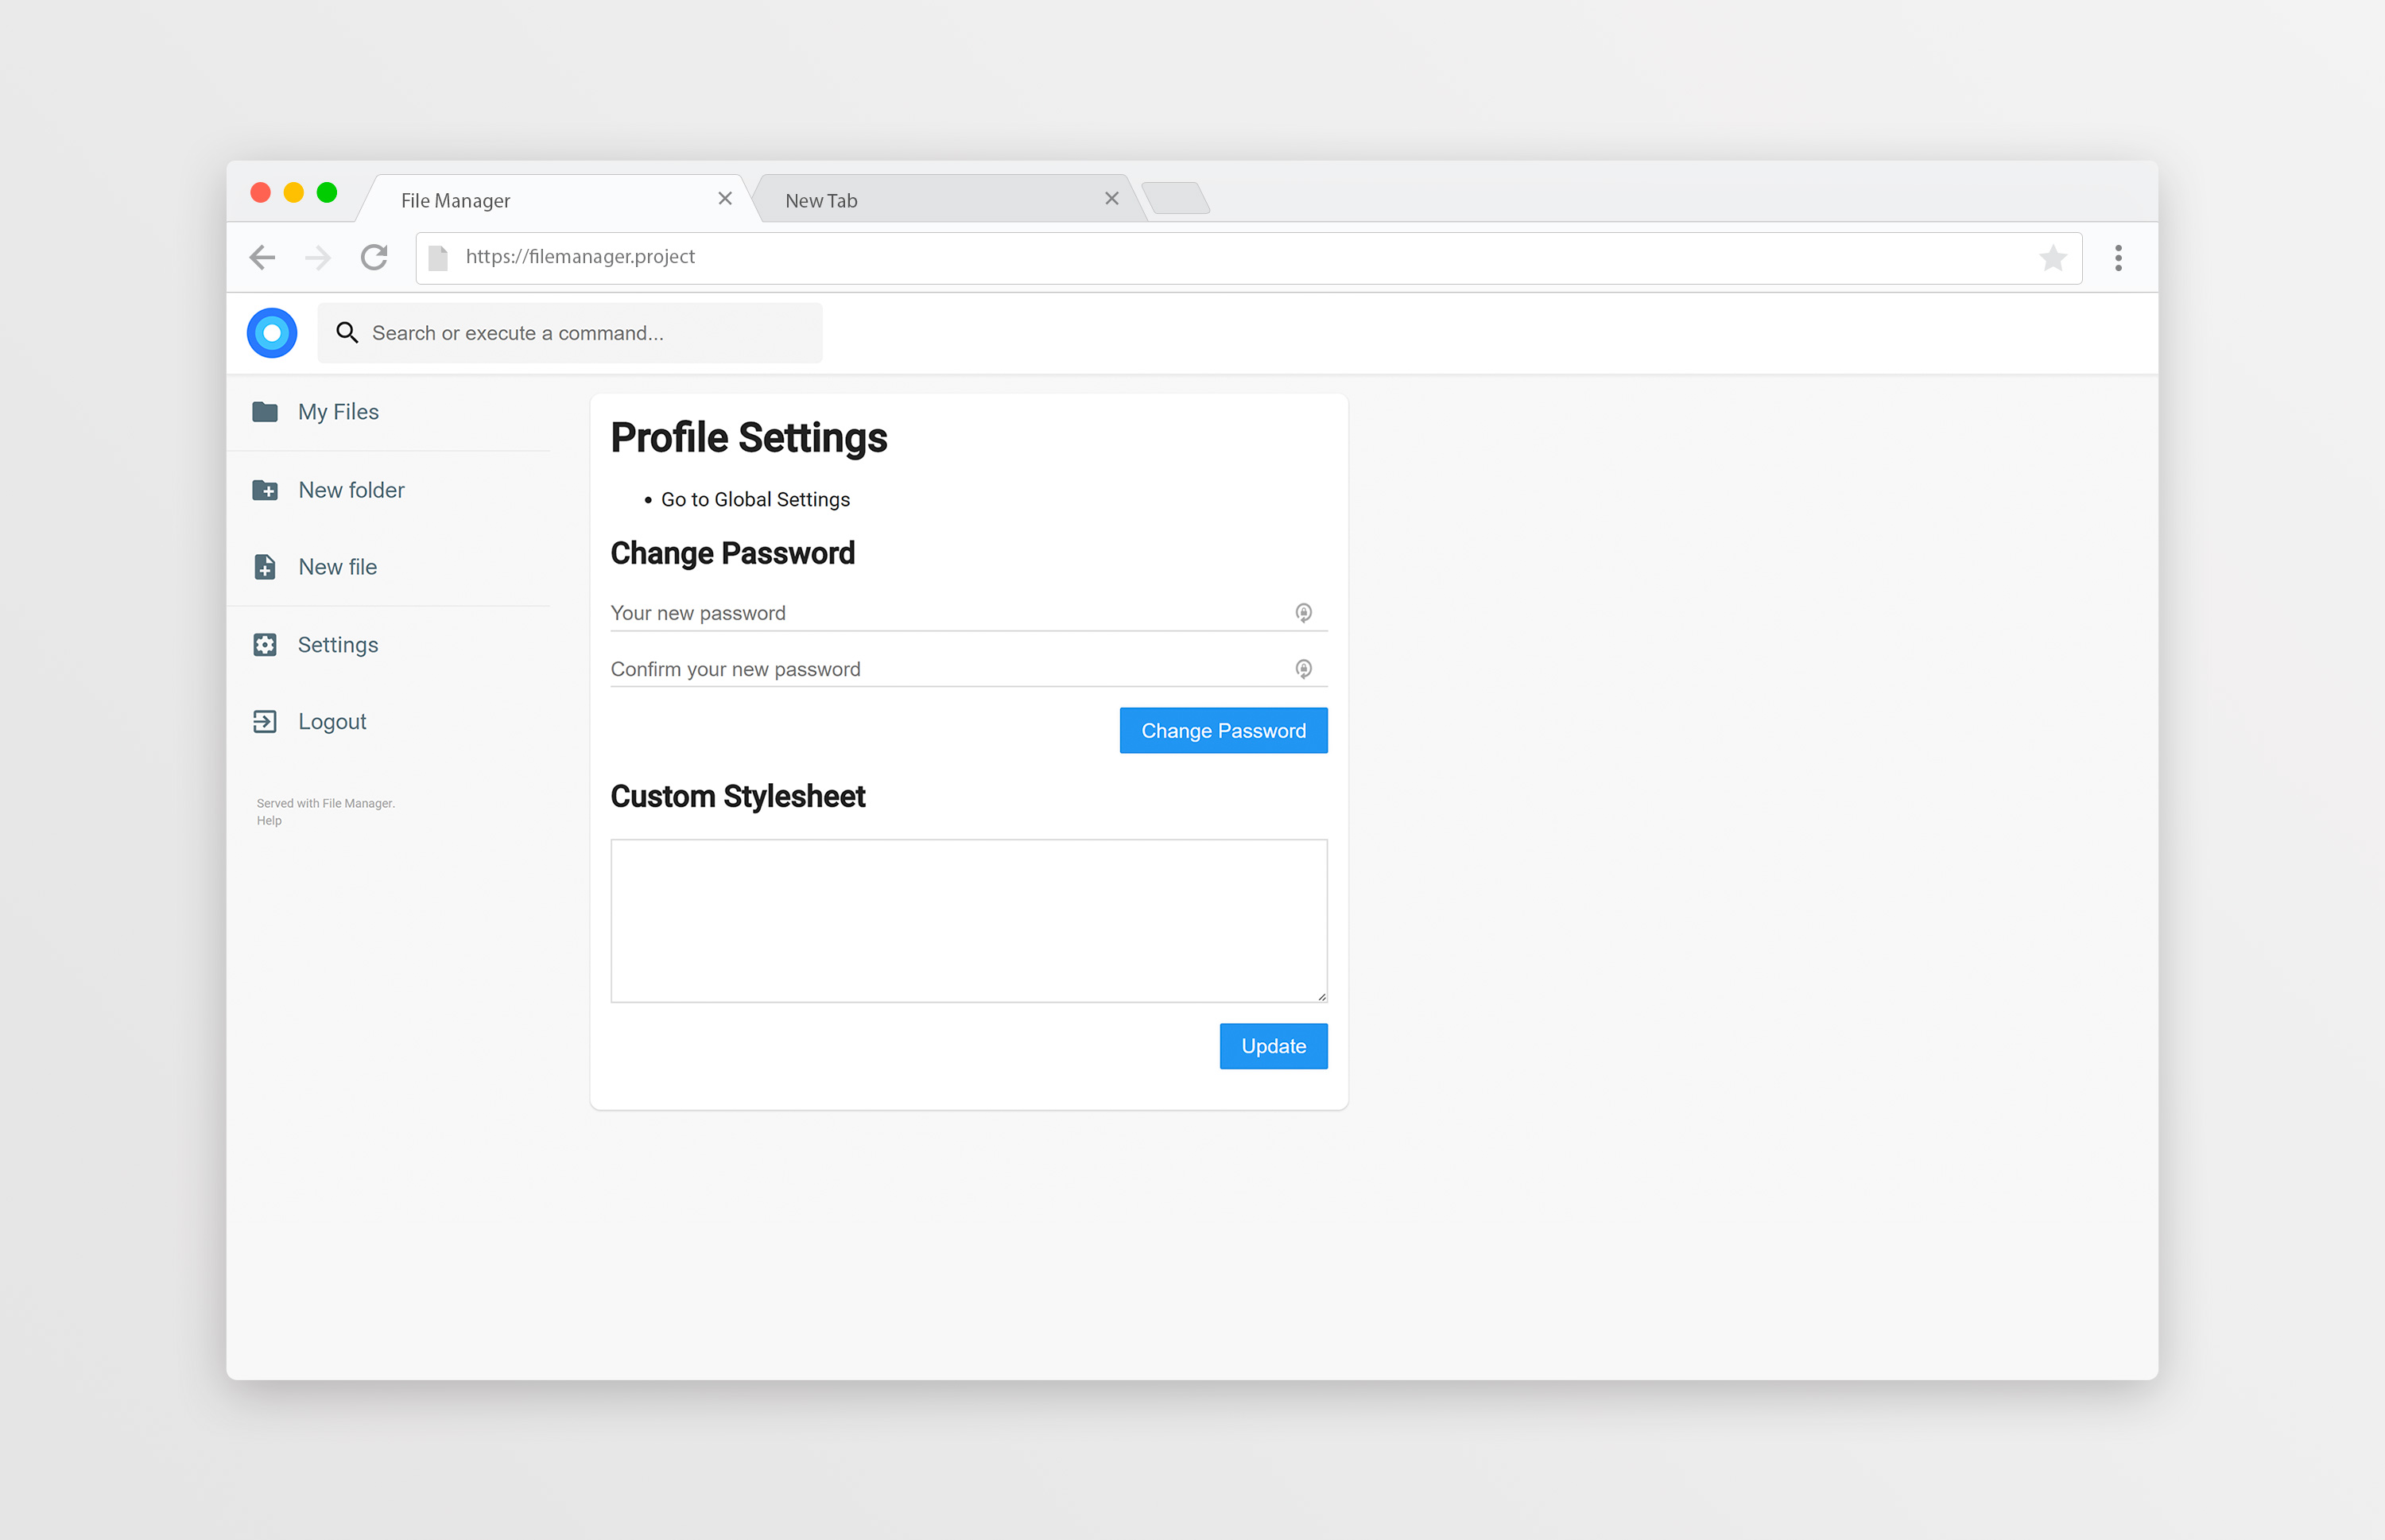
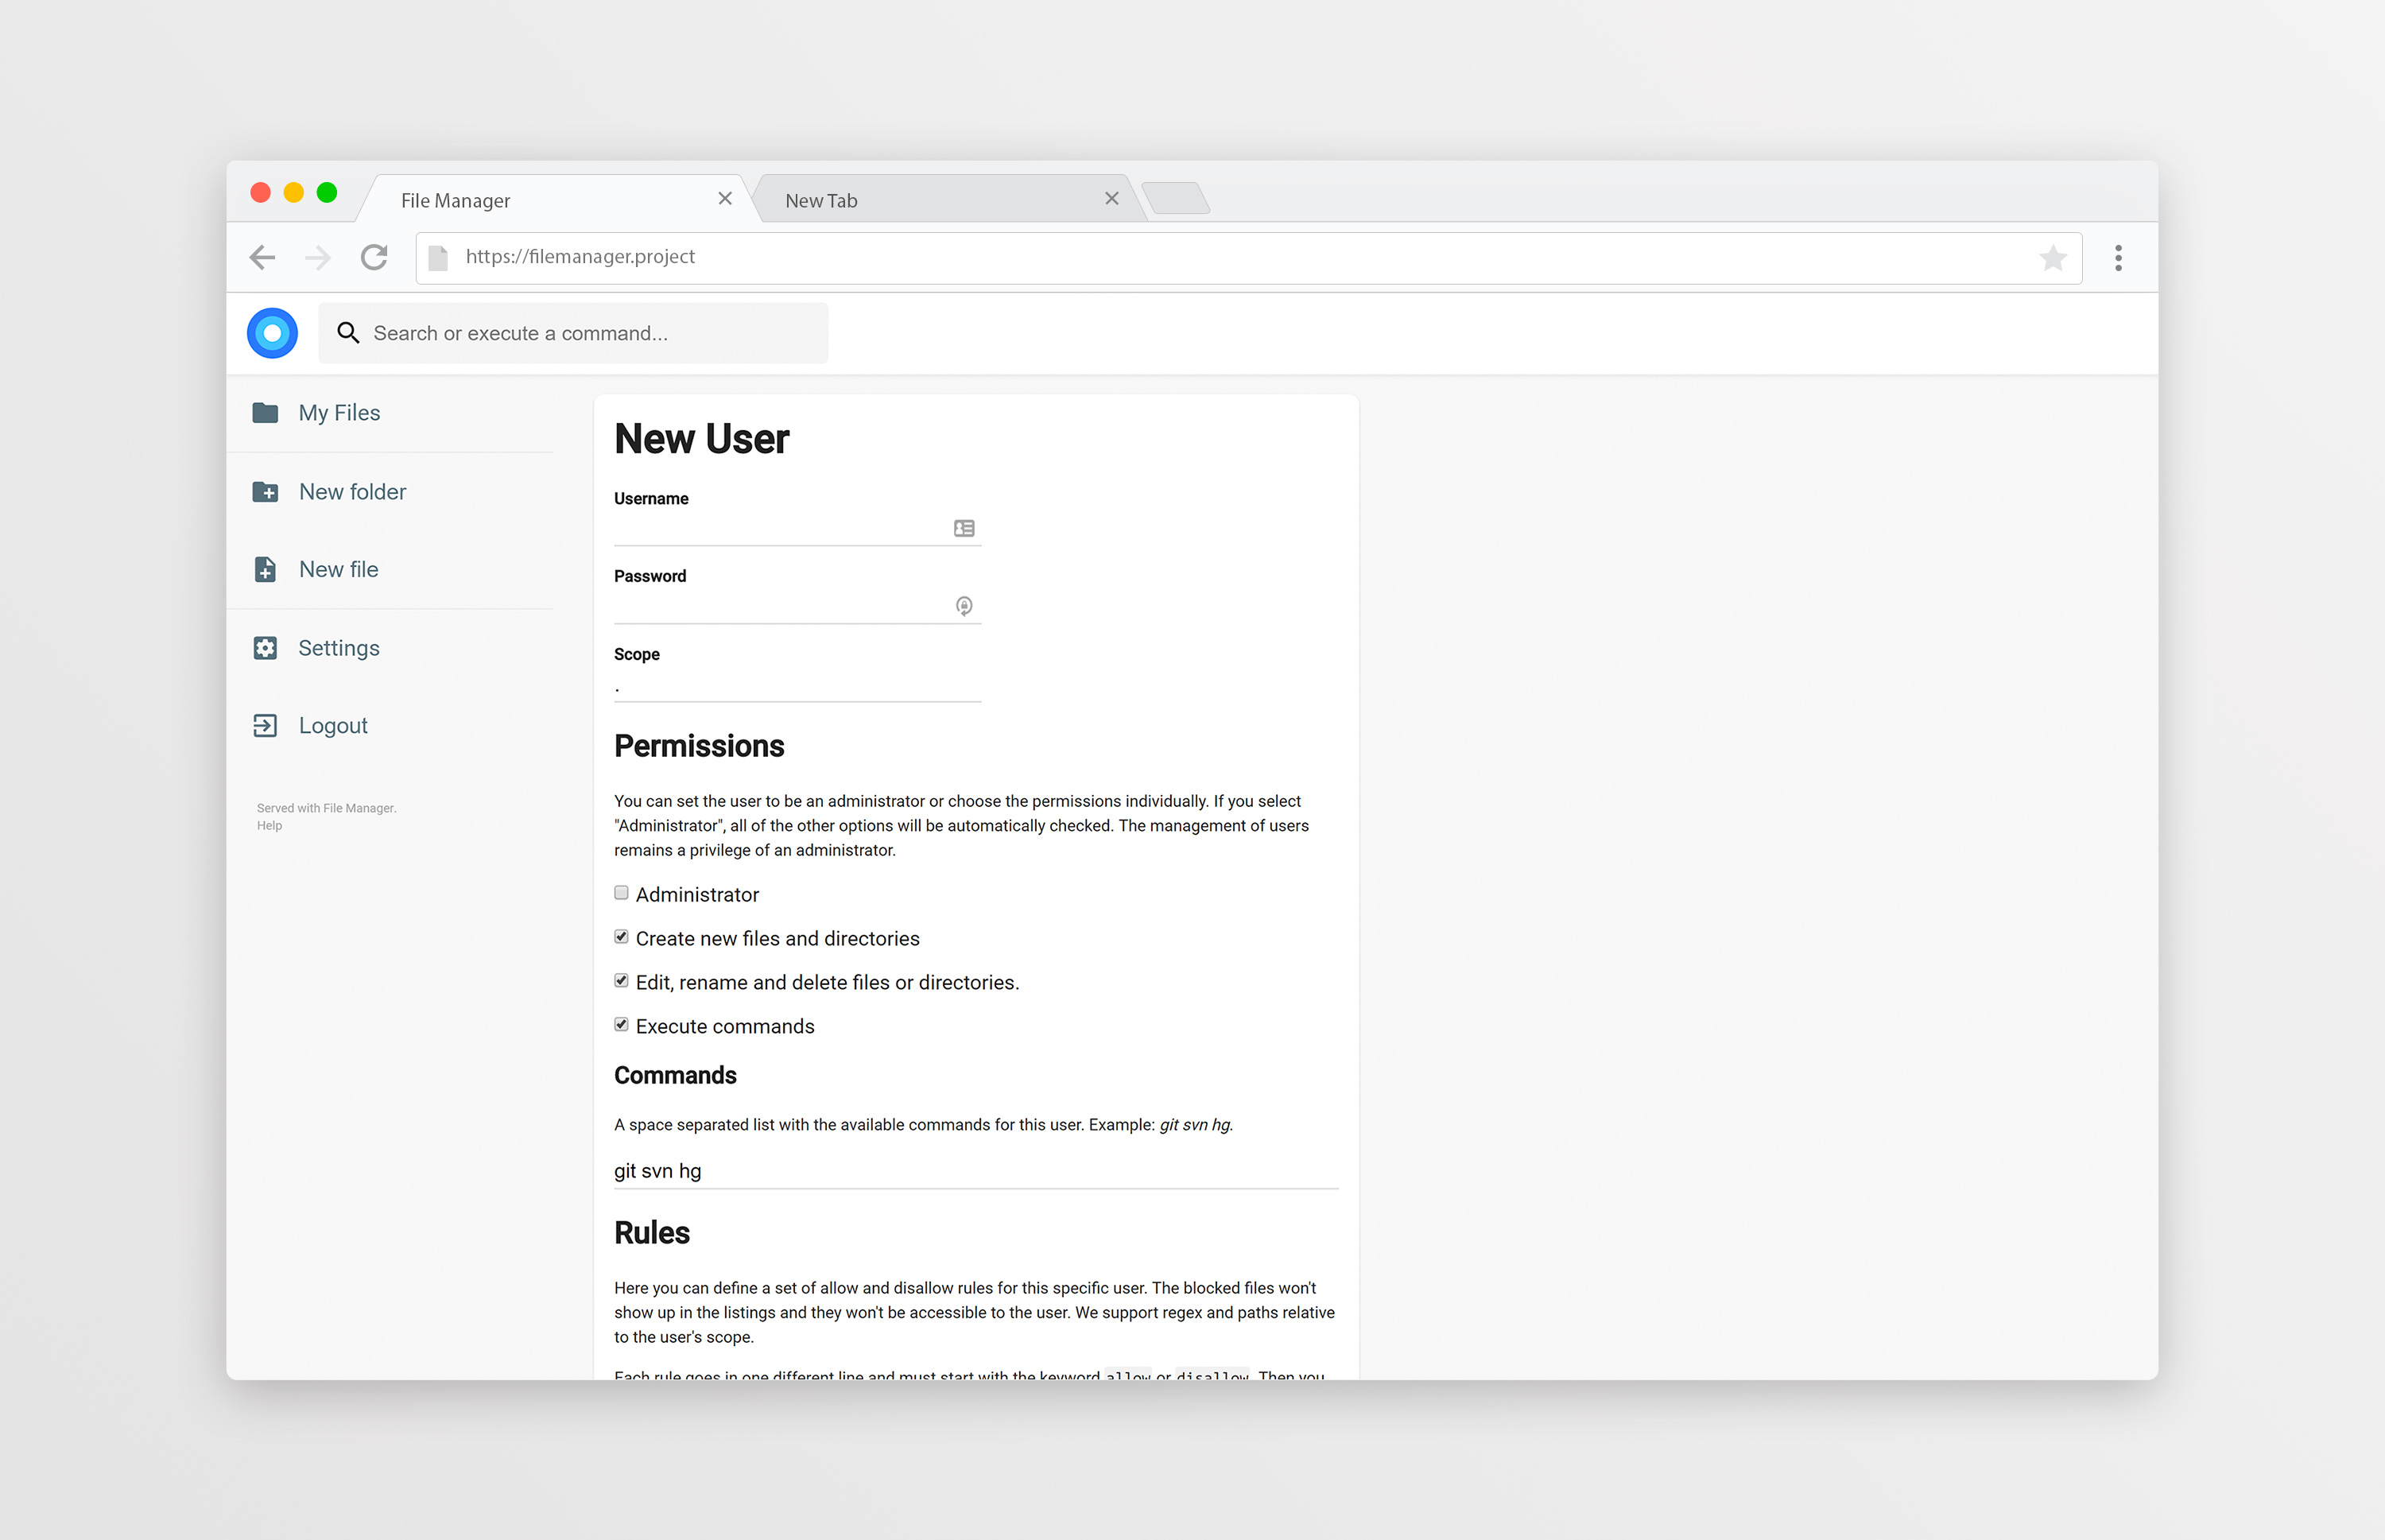
On the settings page, a regular user can set its own custom CSS to personalize the experience and change its password. For admins, they can manage the permissions of each user, set commands which can be executed when certain events are triggered (such as before saving and after saving) and change plugin's settings.
We also allow the users to search in the directories and execute commands if allowed.
We support multiple users and each user can have its own scope and custom stylesheet. The administrator is able to choose which permissions should be given to the users, as well as the commands they can execute. Each user also have a set of rules, in which he can be prevented or allowed to access some directories (regular expressions included!).
FileManager allows you to search through your files and it has some options. By default, your search will be something like this:
this are keywords
If you search for that it will look at every file that contains "this", "are" or "keywords" on their name. If you want to search for an exact term, you should surround your search by double quotes:
"this is the name"
That will search for any file that contains "this is the name" on its name. It won't search for each separated term this time.
By default, every search will be case sensitive. Although, you can make a case insensitive search by adding case:insensitive to the search terms, like this:
this are keywords case:insensitive
If you want to contribute or want to build the code from source, you will need to have NodeJS and Go installed on your computer. You should start by doing the following:
go get github.com/hacdias/filemanager
Then, you should navigate to $GOPATH/src/github.com/hacdias/filemanager and execute npm install. You can start the live build of static assets with the command npm start dev.
If you are using this as a Caddy plugin, you should use its official instructions for plugins and import github.com/hacdias/filemanager/caddy/filemanager.
Before pulling, and if you made any change on assets folder, you must run the build.sh script on the root of this repository.
Enjoying this project? You can donate to its creator. He will appreciate.
