HOWTO_FS200
The teletypes TeKaDe FS200Z are powered by a 24V= supply and are typically equipped with a V.10 interface (with 25 pin Sub-D male plug).
The teletypes TeKaDe FS220Z are normally equipped with 230V~ mains supply and a TW39 interface (with ADo8 plug).
Both power supply versions are suitable for either FS200Z / FS220Z, also the line interface modules can be replaced with the respective other type. V.10 and TW39 interface boards are provided by some military shops.
Below the printer cover there are some switches. Set them as follows:
- ≡ to 1. Printer feed control - line spacing.
- ❮/≡ to ⦾ (on). Return-button implies WR (CR) and ZV (LF) ("Auto-CRLF").
- Speaker Volume as you like.
- ✦ to ⦾ (on). Enable ID request; ID (Kennungsgeber) may be sent to other machines.
- Abruf (request) to ⦾ (on), if needed. If set to on and the FS200 receives a previously saved sequence of characters, it starts the tape reader and sends the contents of the tape to the remote station. If not needed, leave it at ⧂ (off).
-
100 bd. or any baud rate you prefer, but remember to adapt the corresponding setting in config file
telex.json. - ARQ to ⧂ (off). (On would allow external character retrieval from reader or keybord memory)
- HDx/Dx to HDx (half duplex).
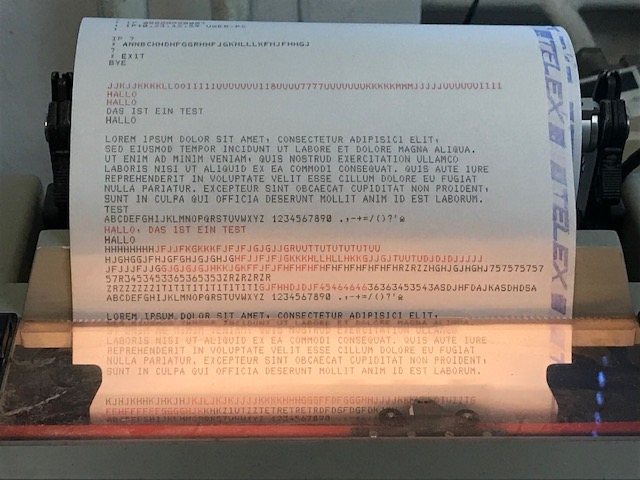
With duplex protocol switch set to HDx and using the adapter with diodes the own typed text will be echoed back (hardware loop) and printed in red while the text received from the other machine will be printed in black.
- Press
LOK - Press
A.../1... - Type in the text
KENNUNG:- Red LED in
MAG-key lights up
- Red LED in
- Press
returnand type your ID like12345 MYSELF D(max. 18 characters) followed byreturn - Press
MAG- Red LED in
MAG-key turns off - Status is printed
- Red LED in
As soon as the FS200 is connected to mains and to a TELEX interface (V.10 or TW39), it is in standby mode and ready for receiving a call. All LED's are off.
- On an incoming call the FS200 starts the printer
and switches the paper illumination on (if not, press
BELfor "Beleuchtung"). - Each incoming character is printed immediately.
- If you want to write back (chat), you have to press
LINfirst to connect the keyboard to the line. Then type your answer. - The connection is closed by either the caller,
by pressing
LOK(see above) or by the mentioned FS200 timeout of ~40s of inactivity.
- Press
LIN.- The LED in
LIN-key lights up. - The FS200 powers up the printer.
- The paper illumination is switched on (if not, press
BELfor "Beleuchtung").
- The LED in
- Enter the i-Telex-Number of the remote station on the keyboard.
- As soon as the number is completely entered and valid, a connection is automatically established.
Hint: If you configured piTelex for "plus-dialing", you have to enter a '+' after the last digit to start dialing.
- When the connection has been established, the LED in the adapter cable or in the interface circuit lights up (if present :-) ).
- As soon as the number is completely entered and valid, a connection is automatically established.
- Type your message...
- To end the connection press
LOKand wait 1 second.- After 1 second, the FS200 terminates the connection automatically.
- Approx. 40 seconds later the FS200 returns to ready/Standby state; the LED in the
LOK-key goes out.
Note: There is no explicit
ST-button.
For more details see the FS200 manual (German language)
For more info on i-Telex communication see i-Telex Net (German language)

- Local use
-
i-Telex
- tbd
- Advanced Topics
- Acccess SD-Card from Windows
- Show INET Address in Console
- Off-button for RPi
- Multiple piTelex Instances
- Mail notification on new telex
- Circumvent DS-Lite restrictions
-
TW39 (current loop)
-
ED1000 (FSK modulation)
-
V.10 (TeKaDe FS200, FS220)
-
SEU-M-board based
- with Austrian AGT (Ö-AGT, current loop)
- inside LO2000, LO2001, LO3000 (SEU-B replace)