用 node.js 搭建属于自己的blog, UI风格我自己设计成简约的,你可以修改成自己喜欢的。 没有采用前后端分离和当前流行的MVVM框架,前端也没有模块化和工程化,采用了传统的后端渲染页面方式,一方面项目主要是用来熟悉后端的开发流程和模式,二是为了更好的SEO。 对于想从前端转向全栈开发的人员,这是一个很好的实践和参考,也是学习node.js很好的案例,项目有一些未使用的服务接口,你可以根据自己的需求去继续扩展。
Use node.js to build your own blog,UI style,I designed my own UI style to be simple,you can modify it to your own liking. The project does not use the way of front and back separation, nor does it use the popular MVVM framework, such as react and Vue,the front end has not been modularized and engineered,the project uses the traditional backend rendering page,the first is to make front-end developers familiar with the development process and mode of the back-end, and second, for better SEO. This is a good practice and reference for those who want to move from front-end development to full-stack development. It is also a good case for learning node.js,the project has some unused service interfaces, you can continue to expand according to your needs.
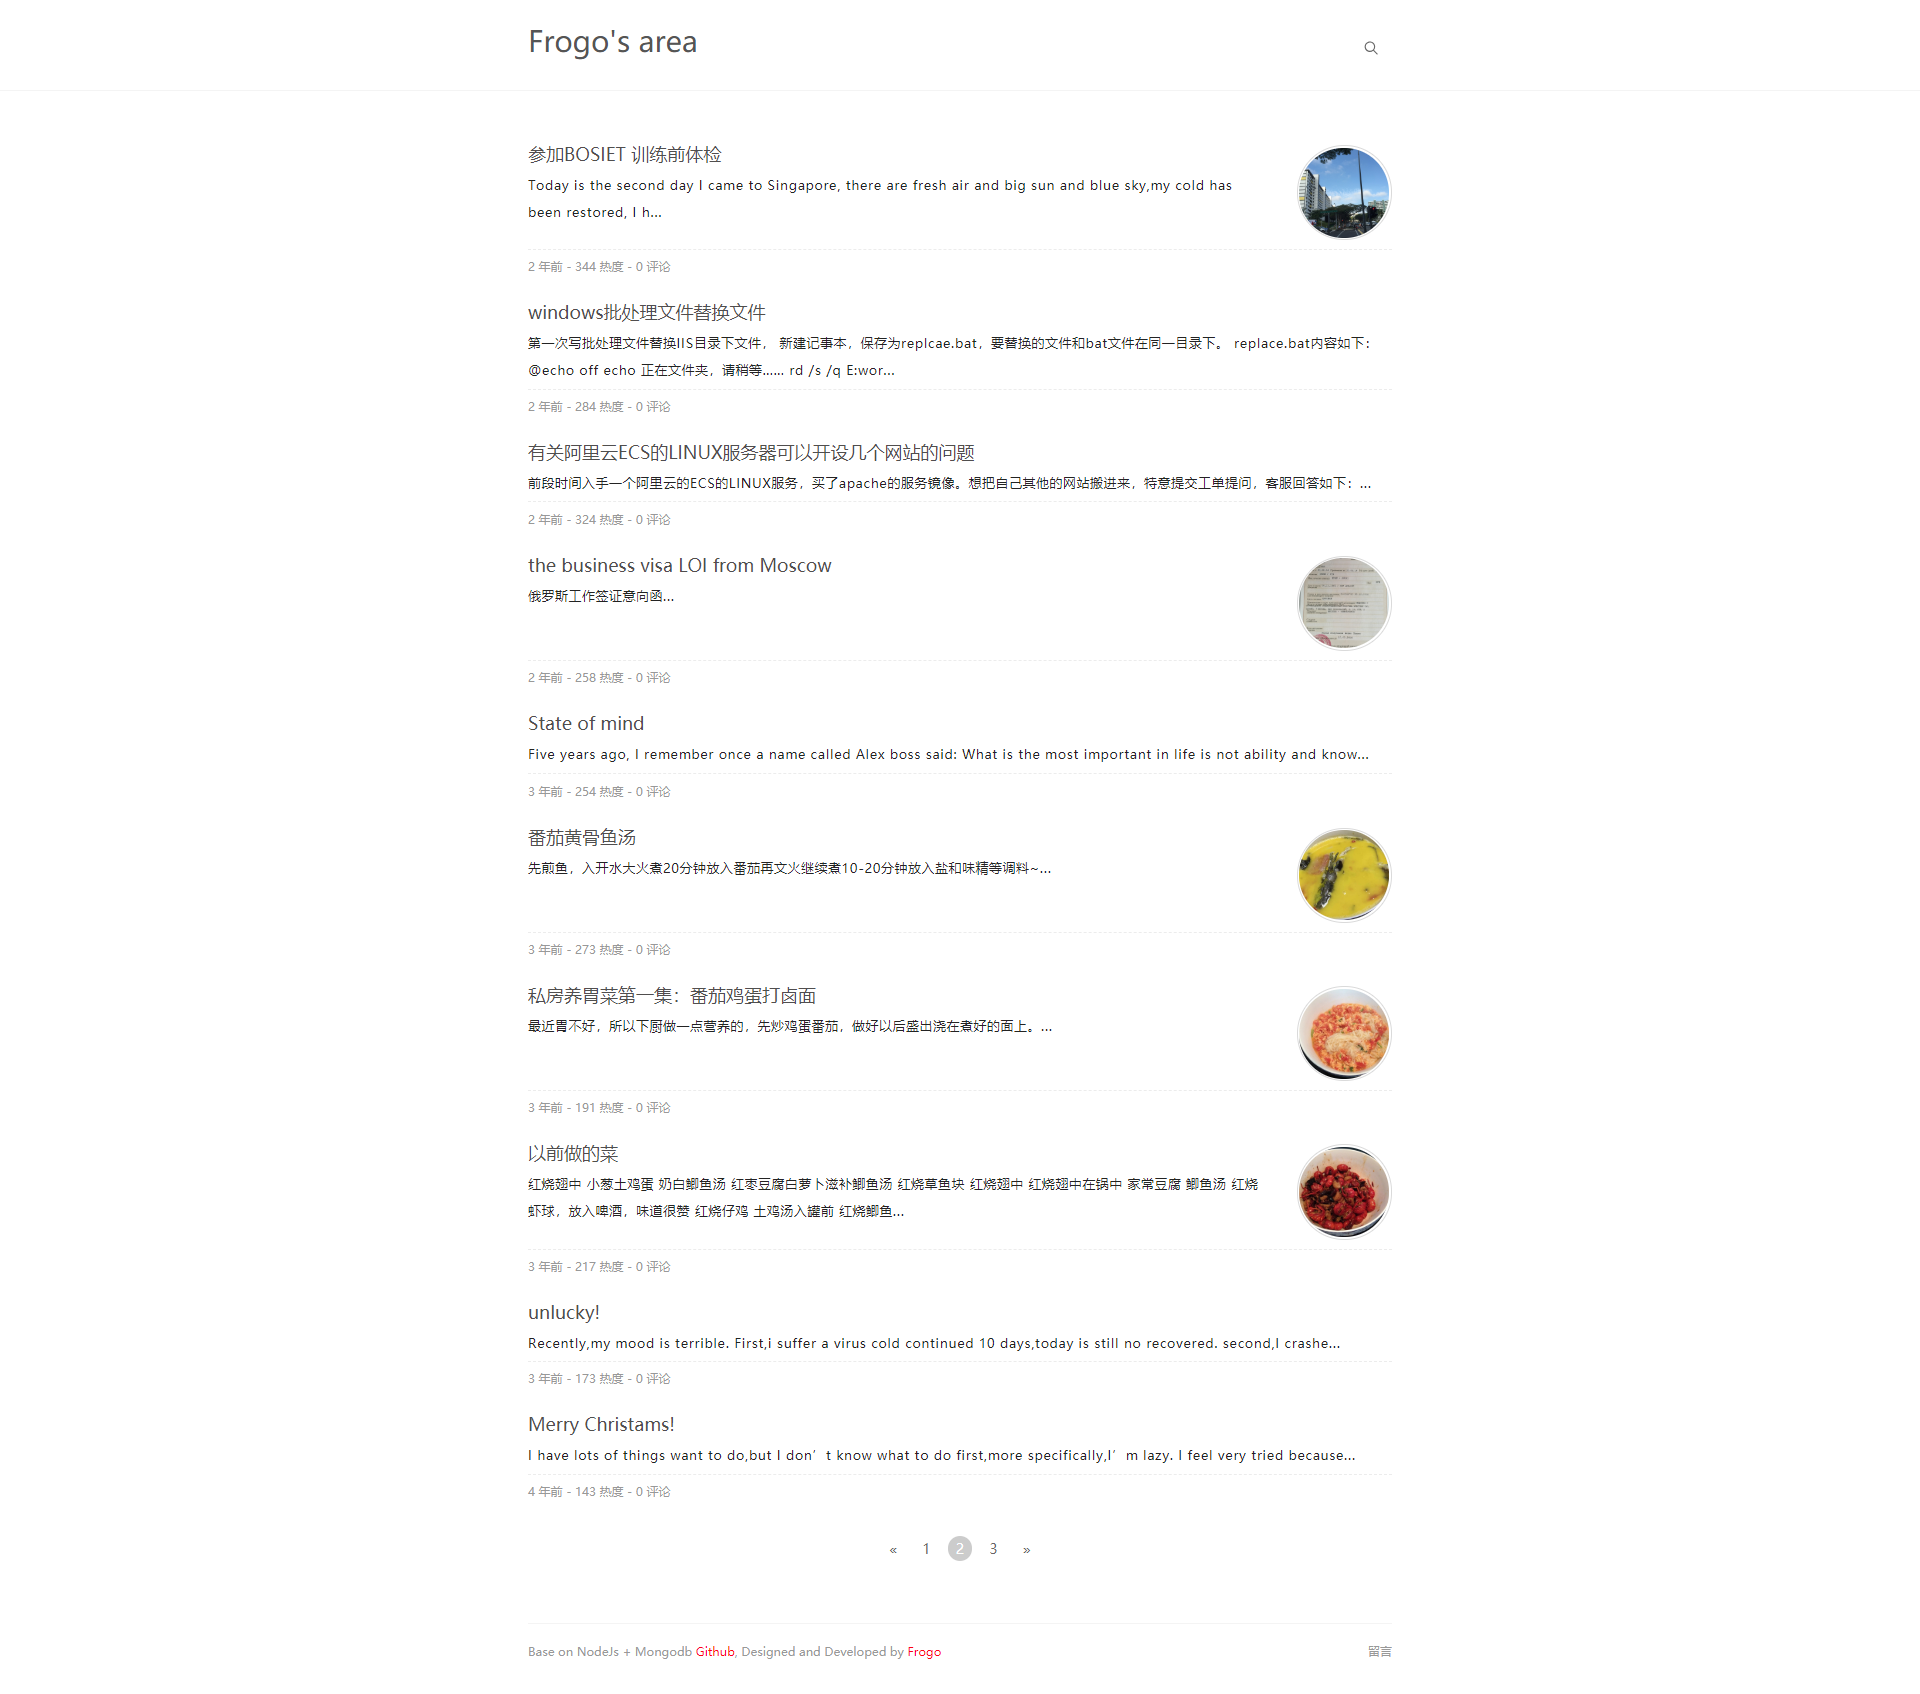
个人博客blog.frogo.cn,该博客是部署在阿里云的centOS6.5上面,部署教程可参照 在阿里云ECS CentOS7上部署基于MongoDB+Node.js的博客
Personal Blog blog.frogo.cn。
- 服务端:Node.js
>=7.9.0 - 数据库:MongoDB
>=3.4 - 数据库操作工具:mongoose
4.9 - WEB框架:Express
4.0 - 模板引擎:express-handlebars
>=3.0 - JS和UI库:JQuery
>=2.0Bootstrap3.3.7
- server:Node.js
>=7.9.0 - database:MongoDB
>=3.4 - Database operation tool:mongoose
4.9 - WEB framework:Express
4.0 - Template engine:express-handlebars
>=3.0 - UI library:JQuery
>=2.0Bootstrap3.3.7
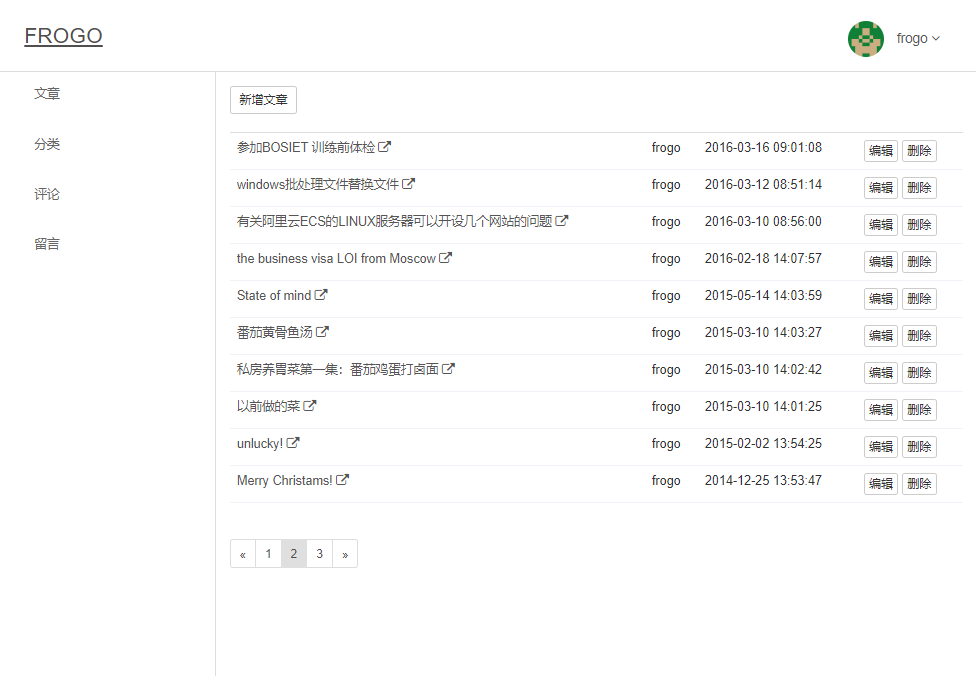
后端采用传统的MVC结构,models是对象模型(就是数据格式),views是视图层,controllers是操作数据的层,所有的请求通过routes(路由)分发。
The Back-End uses the traditional MVC structure, models are the object model (that is, the data format), views are the view layer, controllers are the layers of the operational data, and all requests are distributed through routes.
├── models (M)
├── views  (V)
│   ├── app
│   ├── layout
│   ├── partials
│   └── server
├── controllers (C)
│   ├── app
│   └── server
├── routes  (路由)
│   ├── app
│   └── server
├── services (后端服务接口)
├── libs (一些功能函数,诸如邮件,加密, some functions, such as mail, encryption)
├── middlewares (中间件)
├── node_modules
├── public
│   ├── assets (前端一些静态文件)
│   │   ├── app
│   │   │   ├── pugins
│   │   │   └── server
│   │   ├── uploaded (图片上传目录)
│   │   │   ├── files
│   │   │   └── tmp
├── .gitignore
├── app.js
├── config.js
├── package-lock.json
├── package.json
├── readme.md
- 请在Linux或者windows系统下确保安装了正确版本的Node.js 和 MongoDB, MongoDB教程自行学习。
- 进入blog目录
cd blog - 安装依赖包 npm install
- 打开MongoDB 终端,创建一个名叫blog的数据库
- 修改config.js里面的数据库连接,一般是url: 'mongodb://localhost:27017/blog'
- npm run dev 进入开发环境
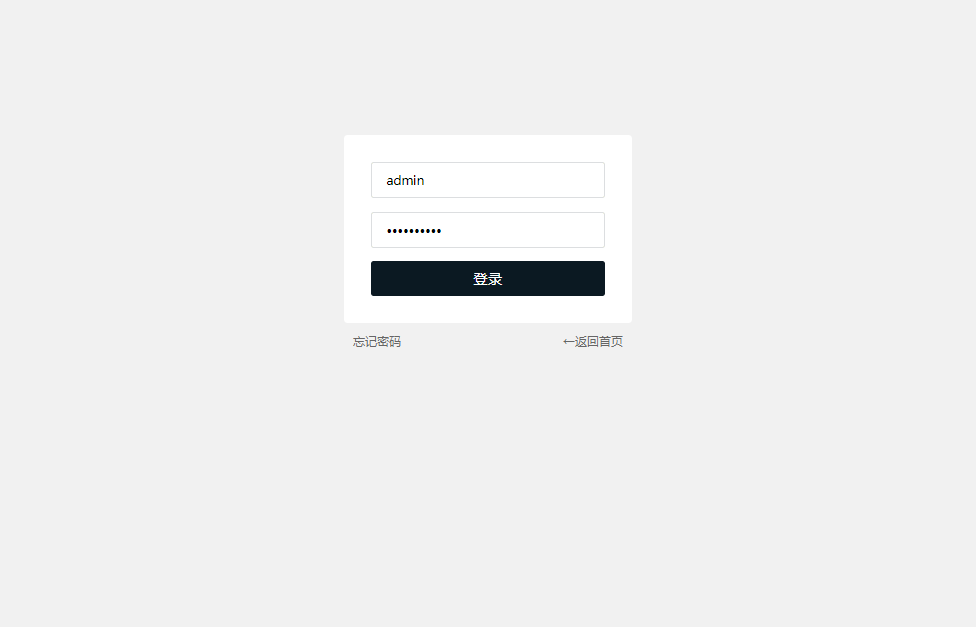
- 浏览器打开http://localhost:7000/admin/ 按照提示安装初始化
- 调试可以打开chrome,地址栏输入 chrome://inspect ,打开
Open dedicated DevTools for Node会出来一个调试窗口,当然也可以使用WebStorm,打开debug模式去调试。
- Please ensure that the correct version of Node.js and MongoDB are installed under Linux or Windows. MongoDB tutorial learns by yourself.
- Go to the blog directory
cd blog - Install node.js dependency package
npm install - Open the MongoDB terminal and create a database called blog.
- Modify the database connection in config.js, usually url: 'mongodb://localhost:27017/blog'
npm run deventers the development environment- The browser opens http://localhost:7000/admin/ Follow the prompts to install the initialization.
- You can open the chrome browser to debug the code of the node.js server, enter chrome://inspect in the address bar, open
Open dedicated DevTools for Nodewill come up with a debugging window, Of course, you can also use WebStorm to open the debug mode to debug.