Analytics of US flights with sparklyr. This was originally created by Michiaki Ariga (aki@cloudera.com). We have followed all the steps described on this article on the Cloudera blog website. This is a more detailed version with screenshots and steps-by-steps on how to run it.
We need Cloudera Data Science Workbench installed with a Cloudera data lake to run the examples here presented.
First step is to open our Cloudera Manager to check our resources. To do so, we need to point our browser at: http://my_cloudera_manager:7180 After that, we will see a console like this one:
 Once, we know where is our CDSW installed, we point our browser and we will open for the first time our CDSW platform. We will see something like this:
It's not big. It's only 3 machines for the data lake. It's a CDH 6 plus 2 machines with CDSW.
We are not covering in this articles how to install CDH or CDSW. However, you can do it with the public documentation and you can reproduce this environment to run this or other tutorials.
In the next section you can see the roles per machine and you can reproduce this environment.
We are going to create a team, in my case, My team.
 After this, we will create a project from this github repo.
 Immediately, we can see our new project called "Flight Analytics" with all the files from this repo on your project in CDSW.
We need to setup an authentication to the Hadoop cluster before launching a session. Otherwise, we can't be able to setup our environment with the files at the HDFS. To this operation, you need to go the Settings at the user menu, "Account Settings".
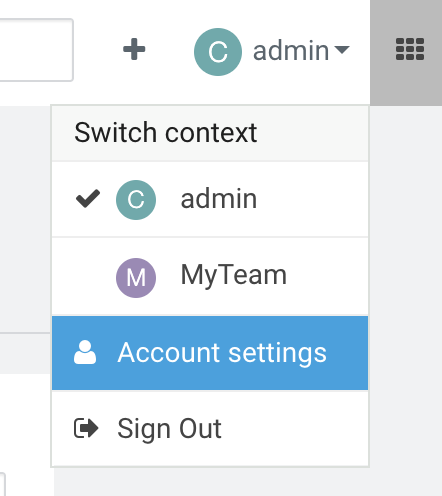 After opening the settings page, you need to go to the "Hadoop Authentication" tab and set your user and password. In our case, we will choose the user hdfs which has the necessary rights.
Now, we are ready to launch our session. We press the blue button that says "New Session" at the right upper corner to create a start a session. Before launching the system will ask us to choose options like editor, language of the docker machine and capacity of that machine.
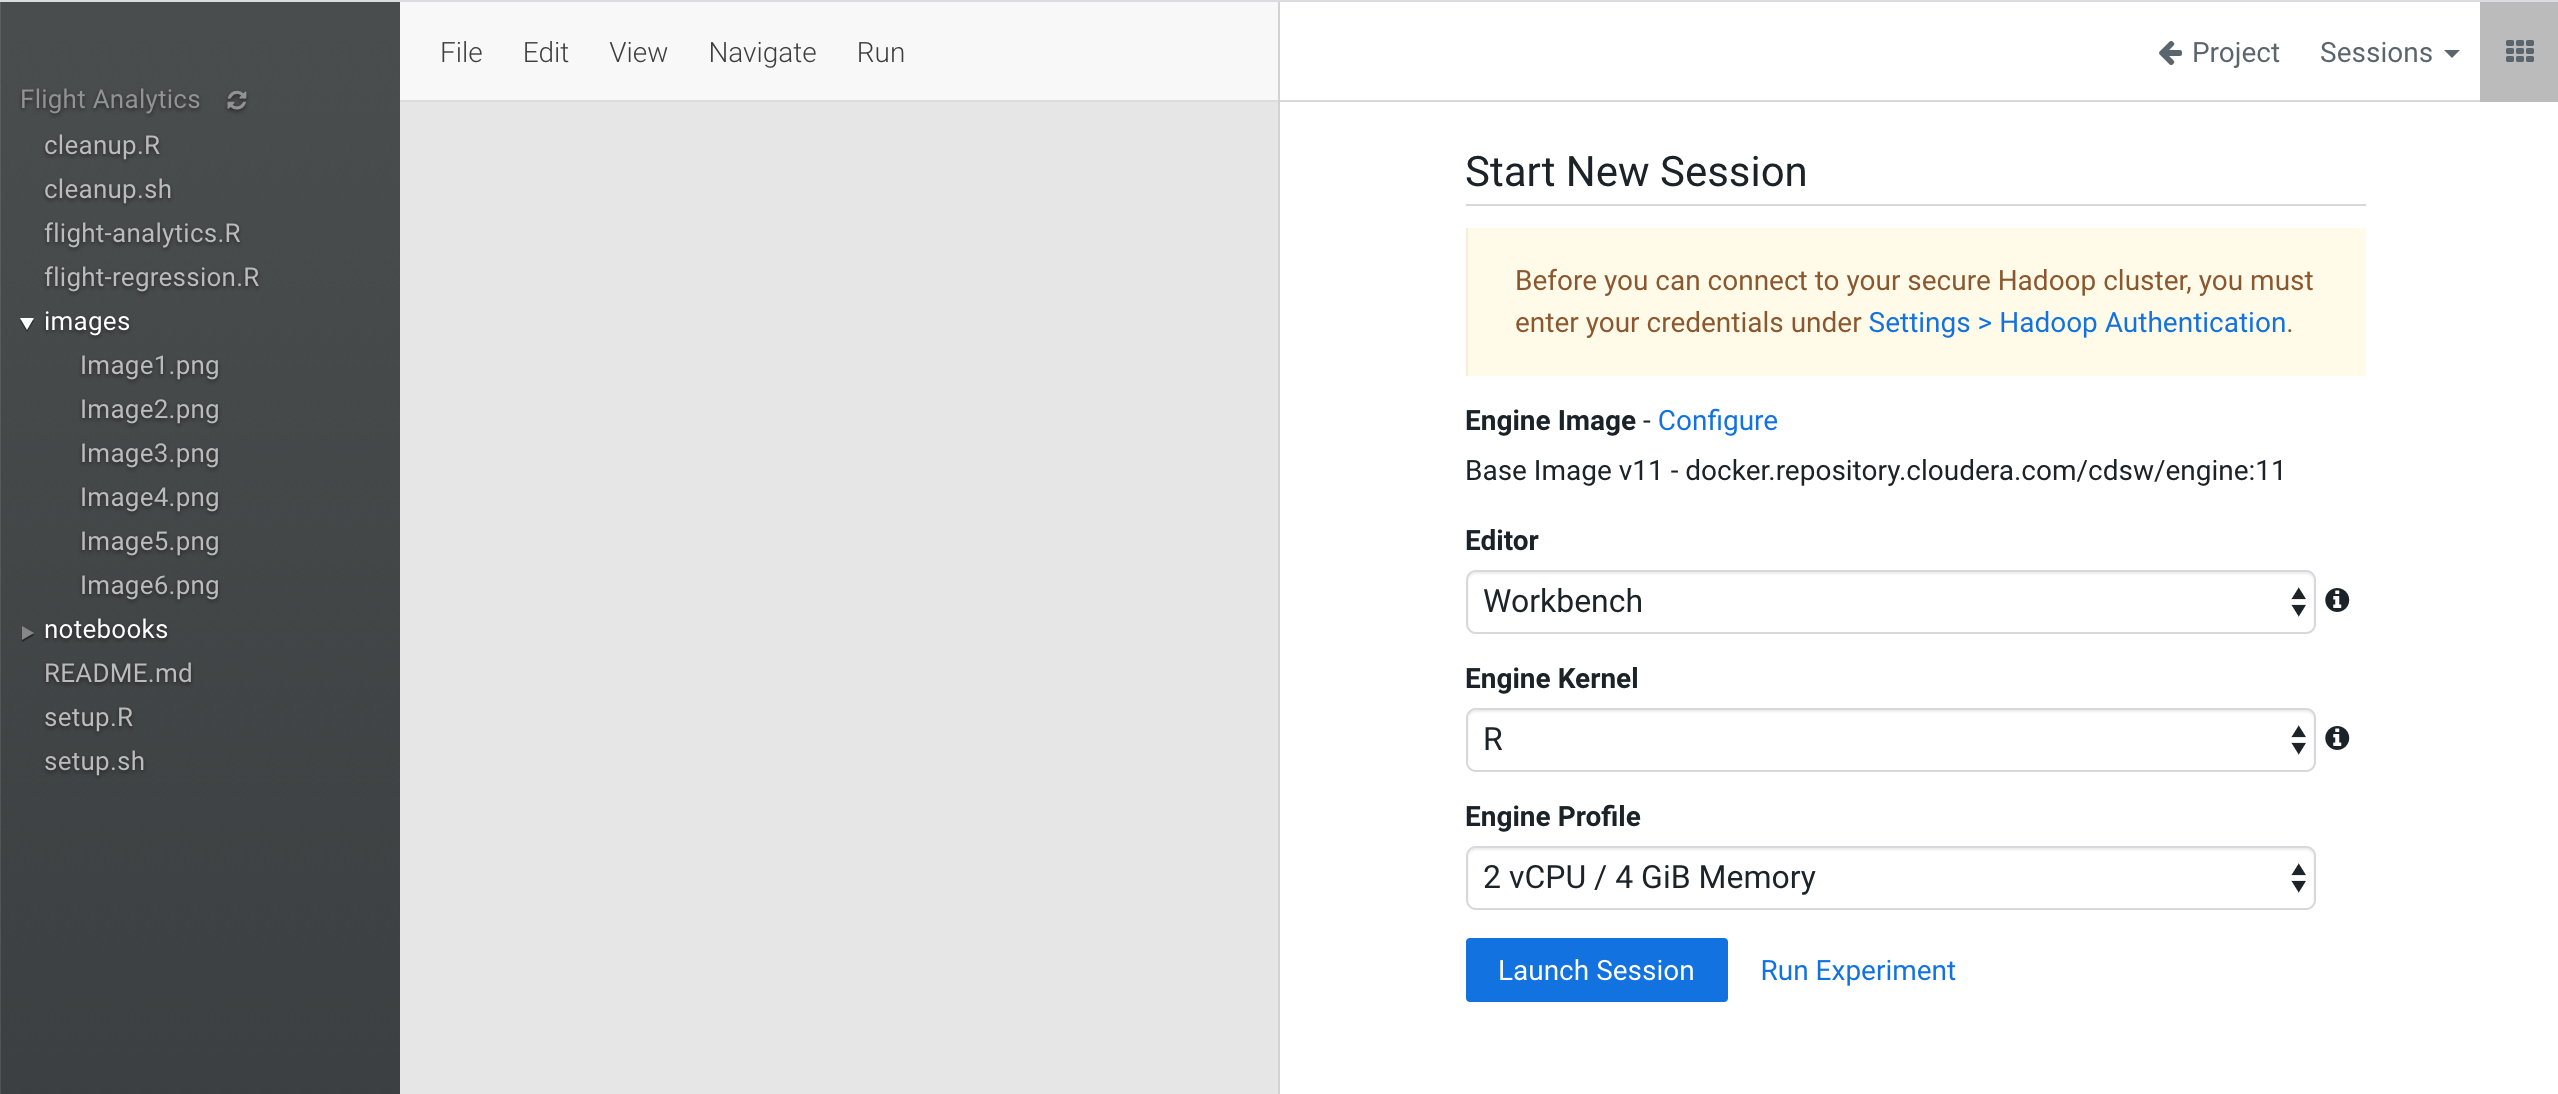 After we choose our options, in our tutorial, we should choose Workbench default editor, R as Language and a profile of 2 Cores / 4 GB RAM.
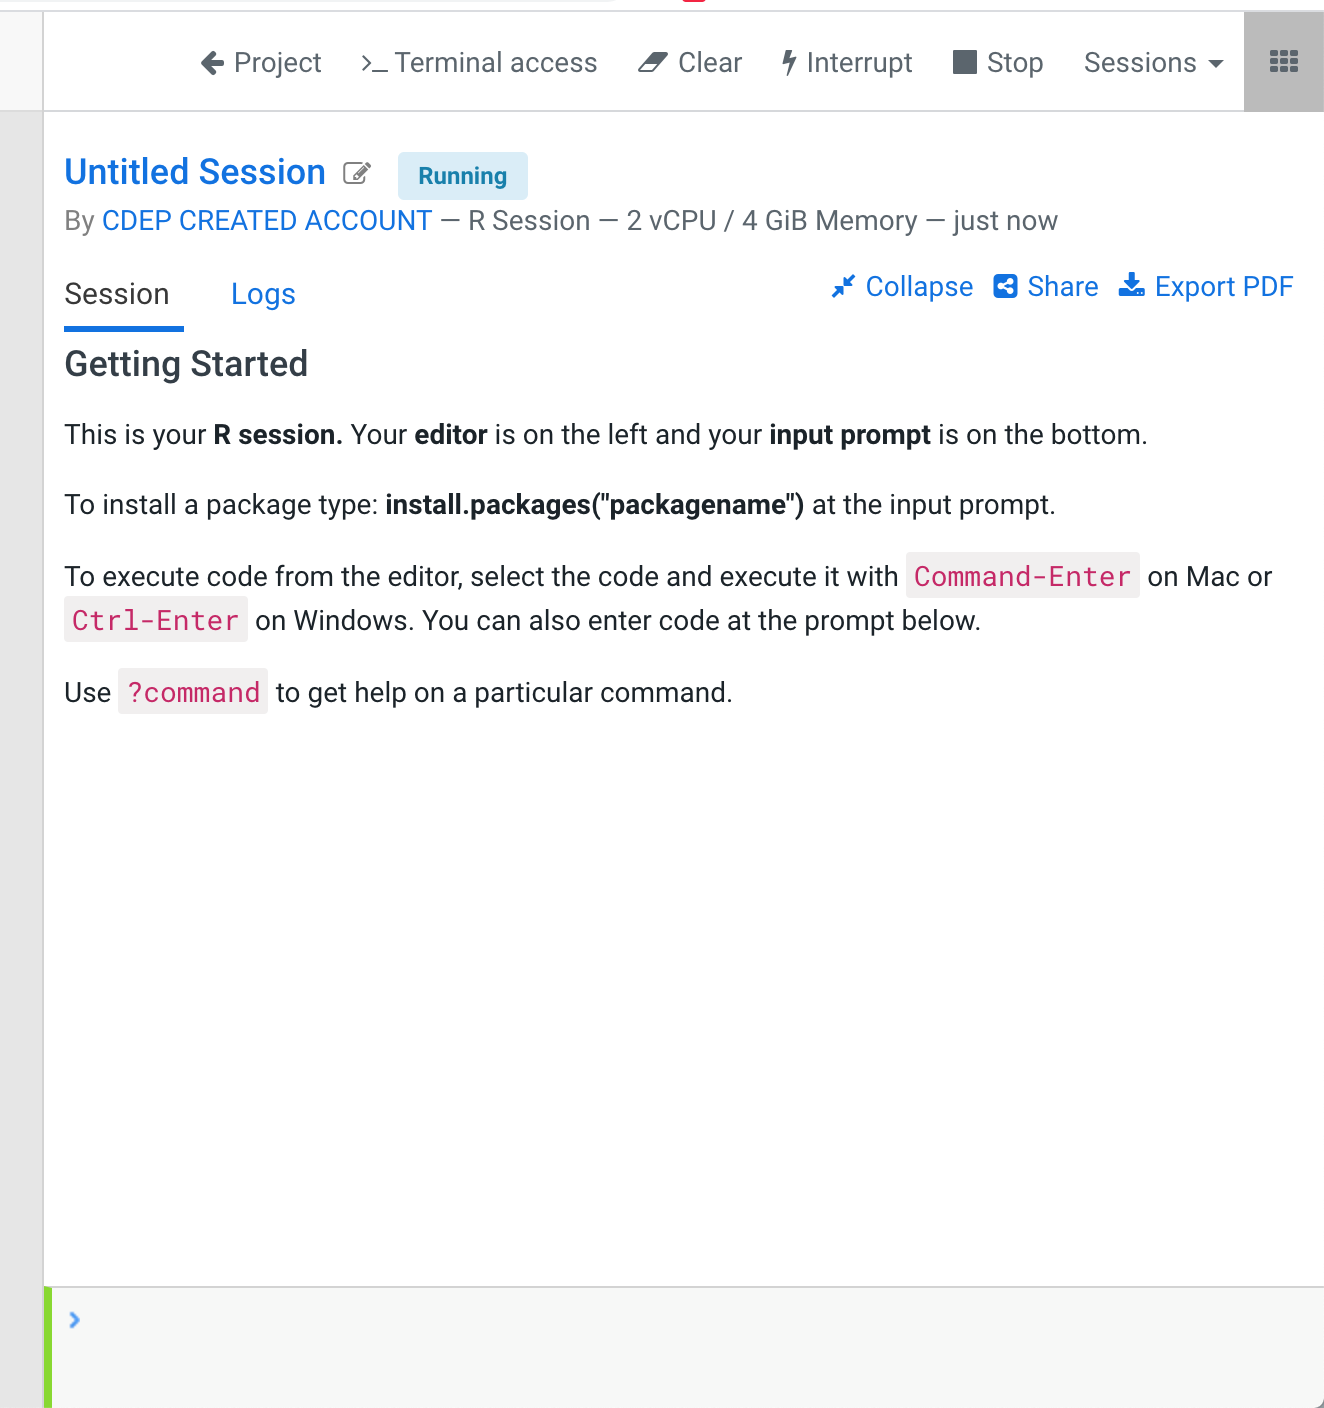
When the session is ready, we will see the upper bar where we have:
- Terminal Access. We can have a terminal session inside the docker engine.
- Clear. We clear the console
- Interrupt / Stop: We can control the docker engine.
In the bottom we have command prompt with R in our case. We can type R commands interactively. Otherwise, we can run a file from the project file system.
 Launching a session take some minutes. We will know that is ready, because the prompt command in the bottom will be red until it's ready to be used.
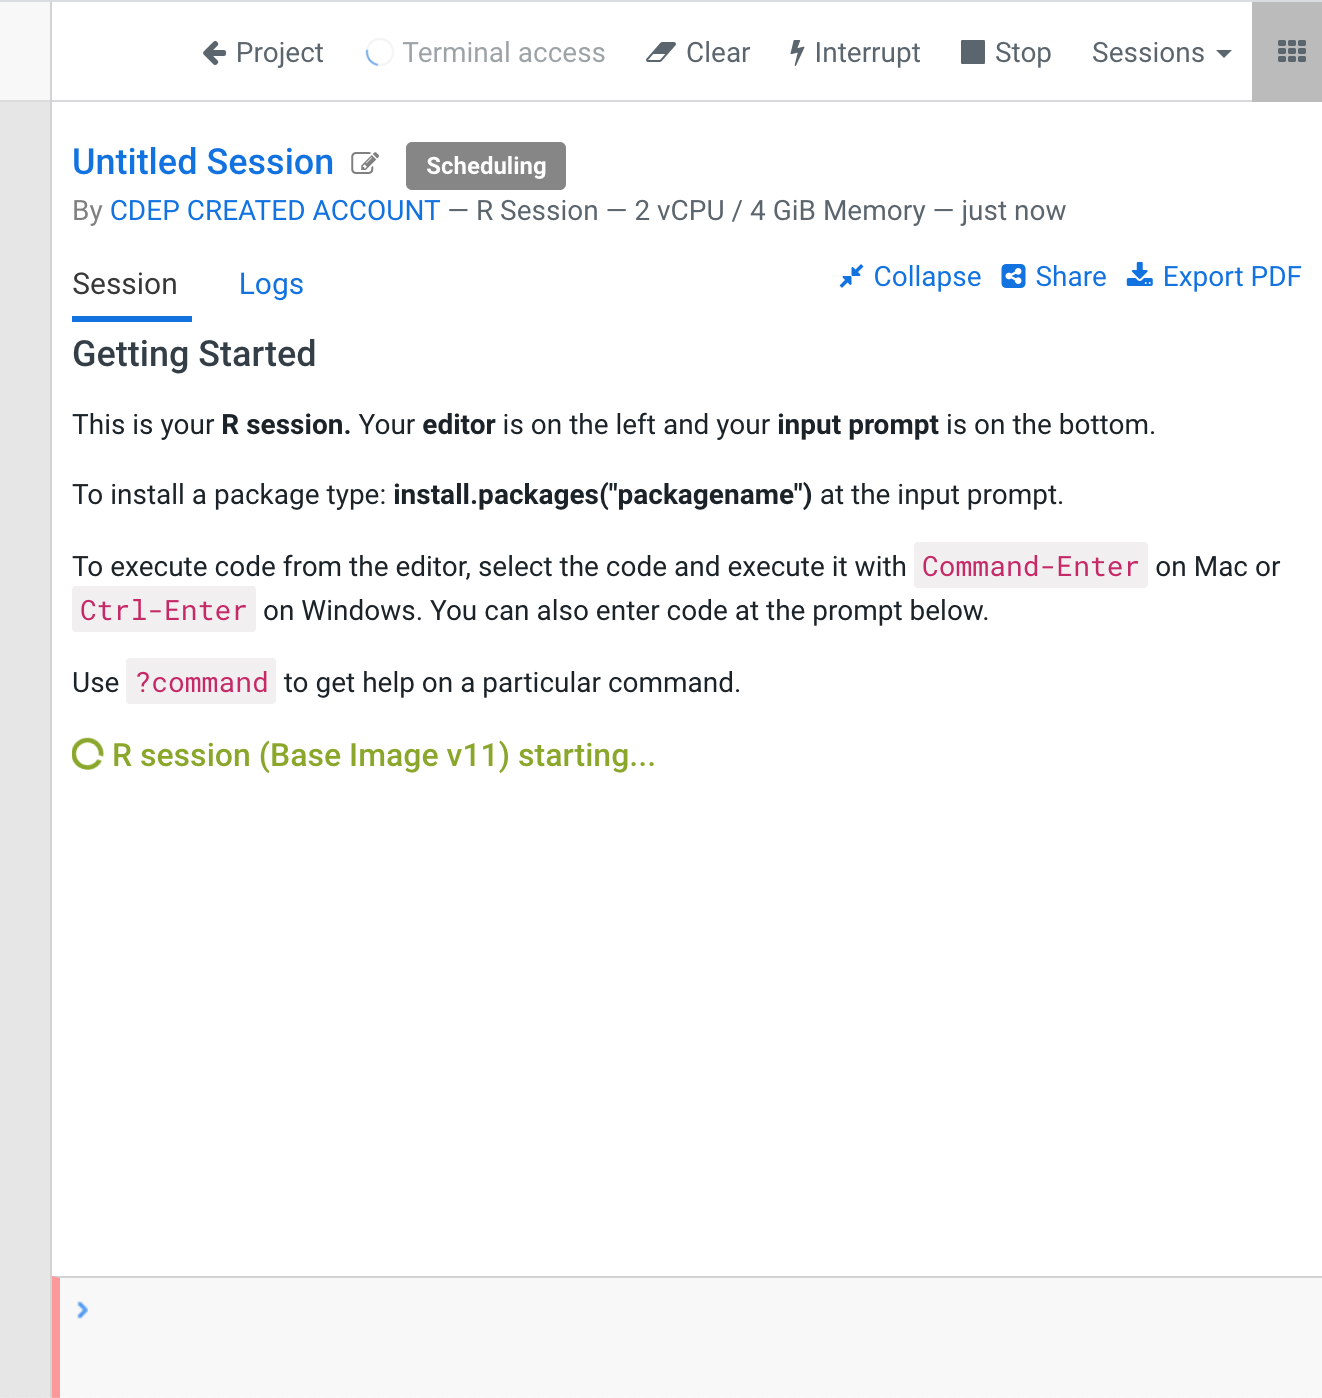 When the session is ready, the prompt command is green and we can type commands or launch the Terminal Access in the upper bar menu.
The session is ready. We are going to open a "Terminal Access". In the terminal we have direct access to the project files. So we will run the setup.sh bash script in the command line.
 This script will download all the required files in CSV and Parquet format. After download them, it will upload them to the HDFS in the /tmp folder to be analyzed with the R scripts.
 After the script finishes, you can check if the files are in the HDFS folder.
To do that, you can run the in the terminal
hadoop fs -ls /tmp
If we see in the result list two folders: airlines and airports, the script has been successful.
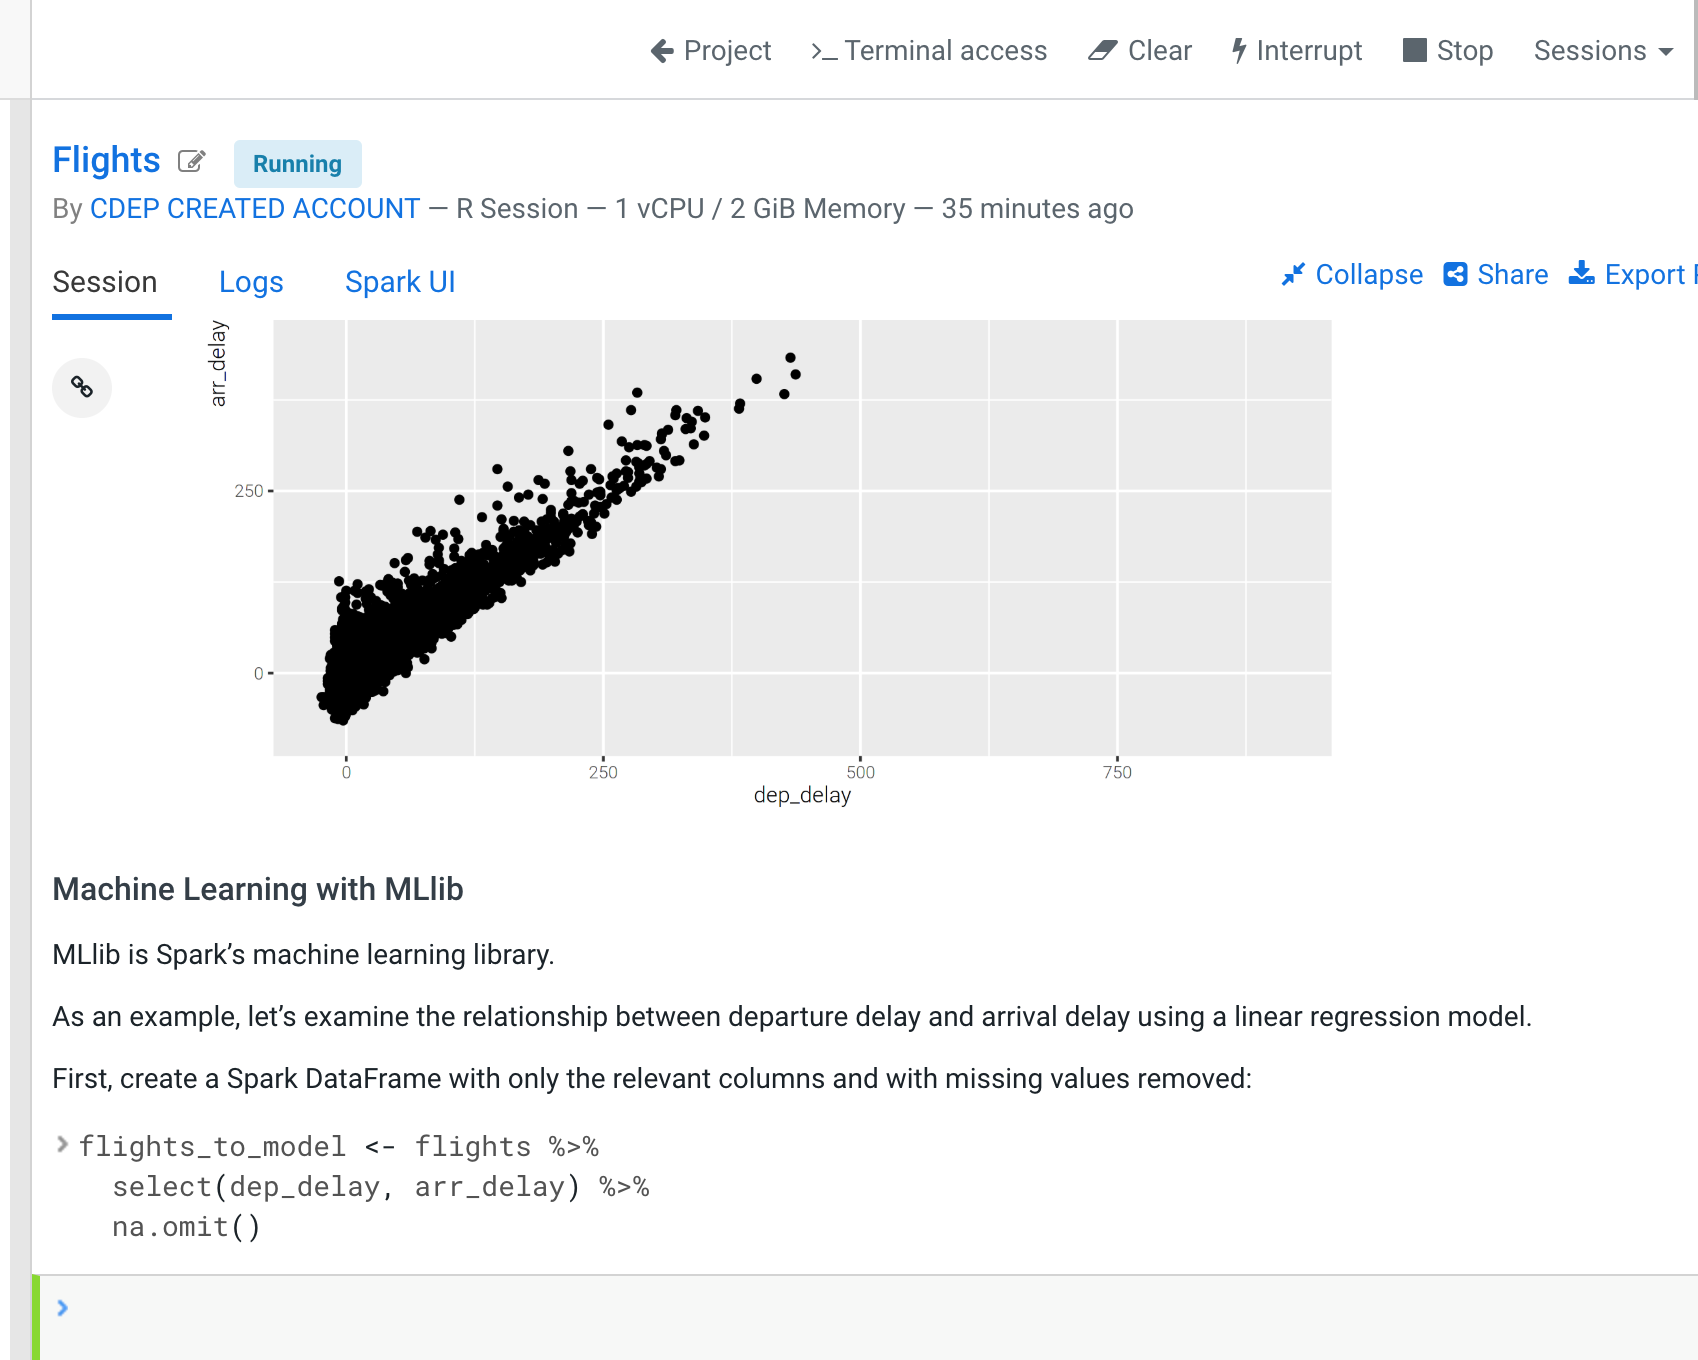
You can run each script line by line or entirely to test the code and the cluster.
CDSW is a complete platform to do open data science with a datalake in a complete environment of governance and security. Others solutions seems to offer the same but they forget that a data driven organization with multiple personas roles and business units will need to access the source of truth under a complete data life cycle with security.
In CDSW you can spawn sessions from projects over a type of engine. An engine is only a type of machine that will be launch from a docker image. In our case, we will generate a bigger type of engine so we can run with more compute power our analytics. To do so, we will go to Admin in the left side menu.
 In the platform administration we will go to "Engines". We have several options here to review our configuration.
 In the Engines page, we can see the list of engine profiles. So we will add a new type of 4 cores and 8 GB RAM.
 After adding our new type of engine, we will see it in the list.
If you see an image like the below, you have reach your resource limits in the CDSW cluster. Try to kill other opened sessions and try again.
First, you need to create it in the local linux system. Pick up a node with HDFS services on. After you sucessfully created, you need to add to the HDFS filesystem with the hdfs superuser and add a home directory to the new user. That's all. Below an example script.
useradd admin
echo -e "admin\nadmin" | passwd admin
sudo -u hdfs hadoop fs -mkdir /user/admin
sudo -u hdfs hadoop fs -chown admin:hadoop /user/admin


