This blog will take you through the basics of creating a local blockchain, deploying a smart contract and interacting with it. (MacOS)
This tutorial is meant for those with a basic knowledge of Ethereum and smart contracts, who have some knowledge of HTML and JavaScript, but who are new to dApps. The purpose of building this blog is to write down the detailed operation history and my memo for learning the dApps. If you are also interested and want to get hands dirty, just follow these steps below and have fun!~
- MacOS
- CLI with Homebrew installed
- Coding IDE e.g. VS Code.
- Truffle
- Ganache UI
- MetaMask (optional)
In this tutorial we will be covering:
- Create a truffle project
- Test the smart contract
- Compile and deploy the smart contract
- Interact with the smart contract
NOTE: All commands should be run in the root directory of this project
Truffle is a world-class development environment, testing framework and asset pipeline for blockchains using the Ethereum Virtual Machine (EVM), aiming to make life as a developer easier. With Truffle, you get:
- Built-in smart contract compilation
- Automated contract testing
- extensible deployment & migrations framework
- Network management for deploying to public & private networks
- Package management using the ERC190 standard
- Interactive console for direct contract communication
- Configurable build pipeline
- External script runner
Ganache is a personal blockchain for rapid Ethereum and Corda distributed application development. You can use Ganache across the entire development cycle; enabling you to develop, deploy, and test your dApps in a safe and deterministic environment. Ganache comes in two flavours: a UI and CLI. In this blog, we choose to use Ganache UI.
Project structure:
contracts/: Directory for Solidity contracts
migrations/: Directory for scriptable deployment files
test/: Directory for test files for testing your application and contracts
truffle-config.js: Truffle configuration file
LICENSE: License for your project
We need first connect to a blockchain. Truffle has a built-in personal blockchain that can be used. This blockchain is local to your system and does not interact with the main Ethereum network.
We have two options to connect to a local blockchain: Option 1: using command
truffle developOption 2: using Ganache UI to visualize. In this tutorial we use option2 to demonstrate.
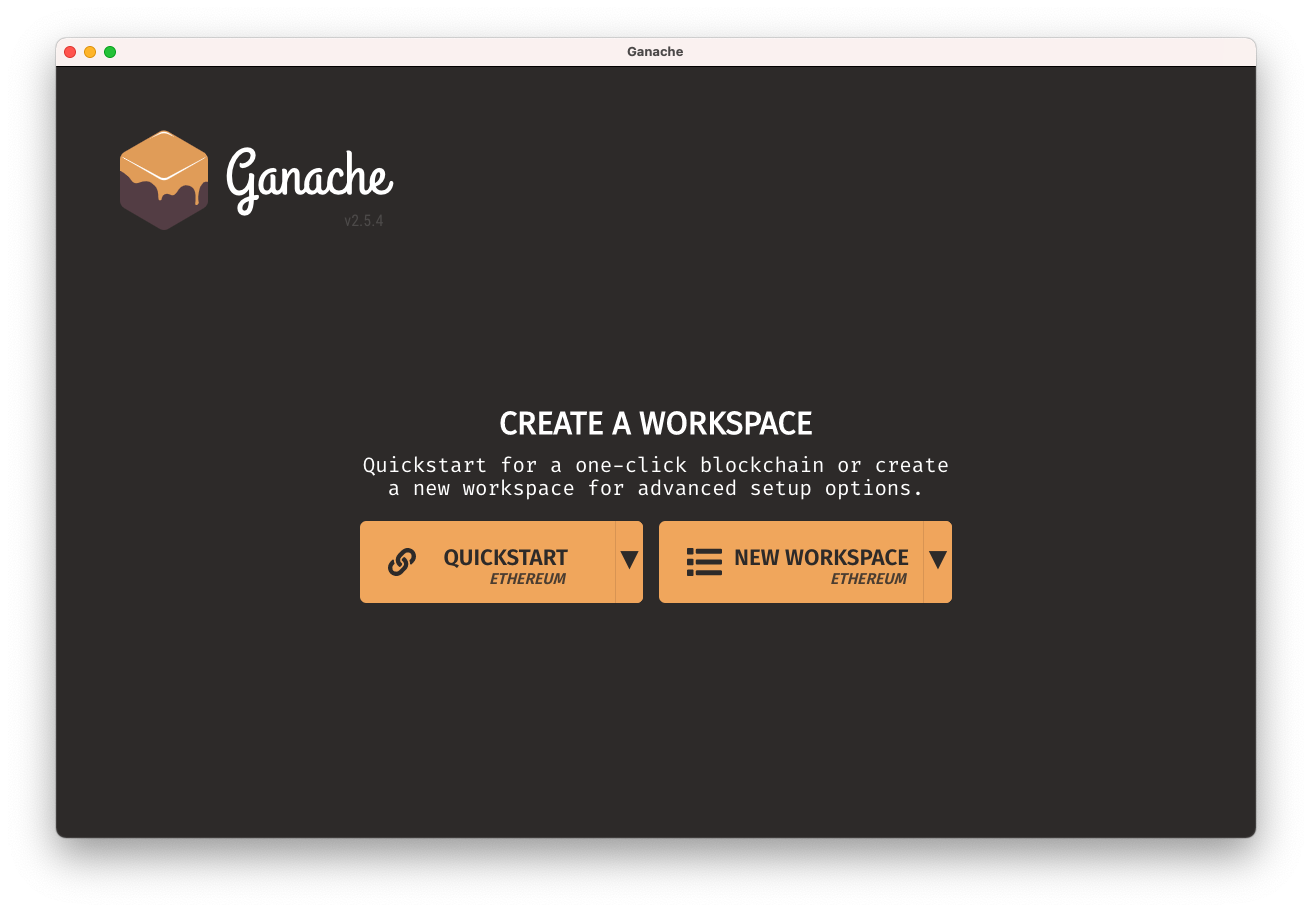
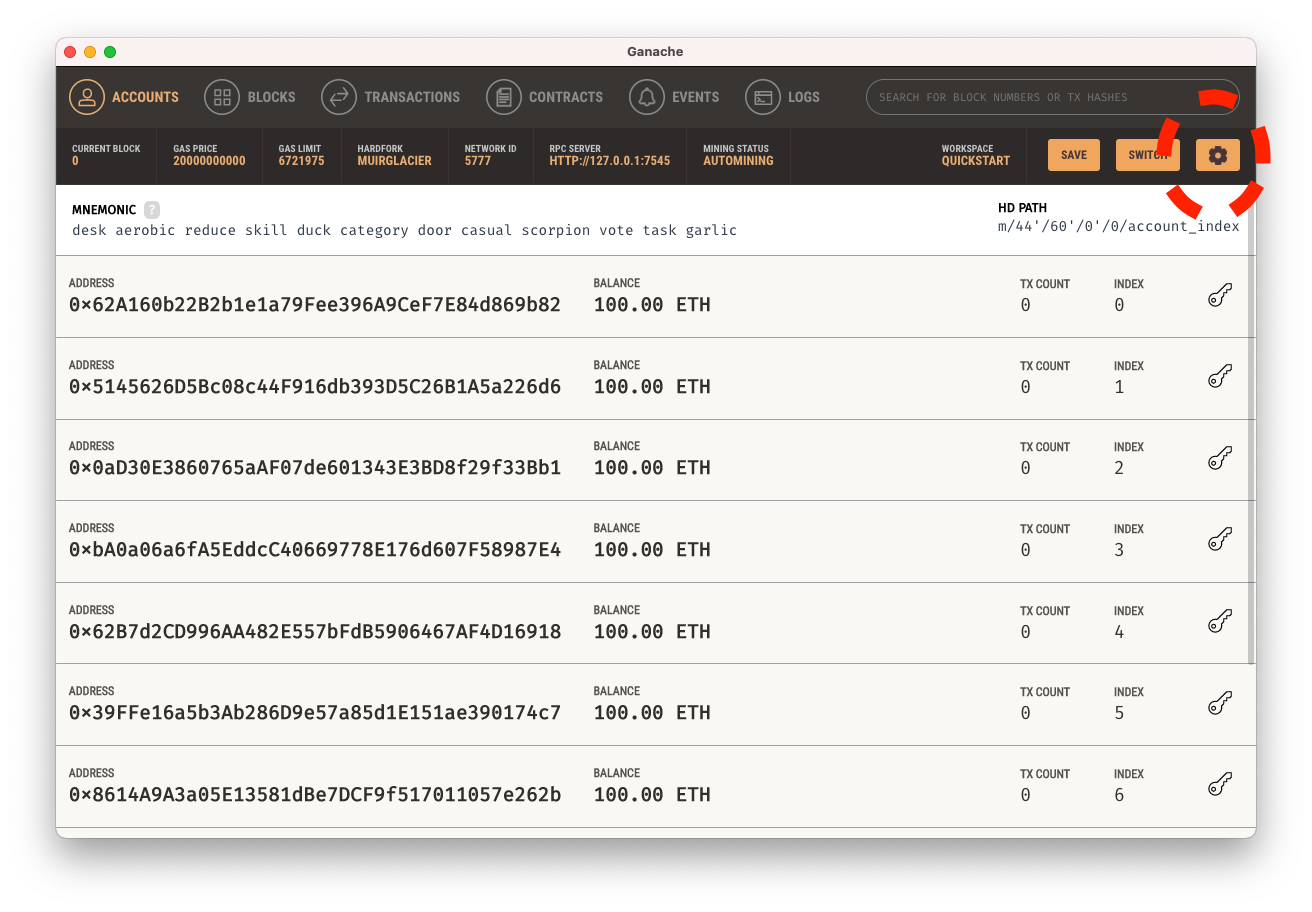
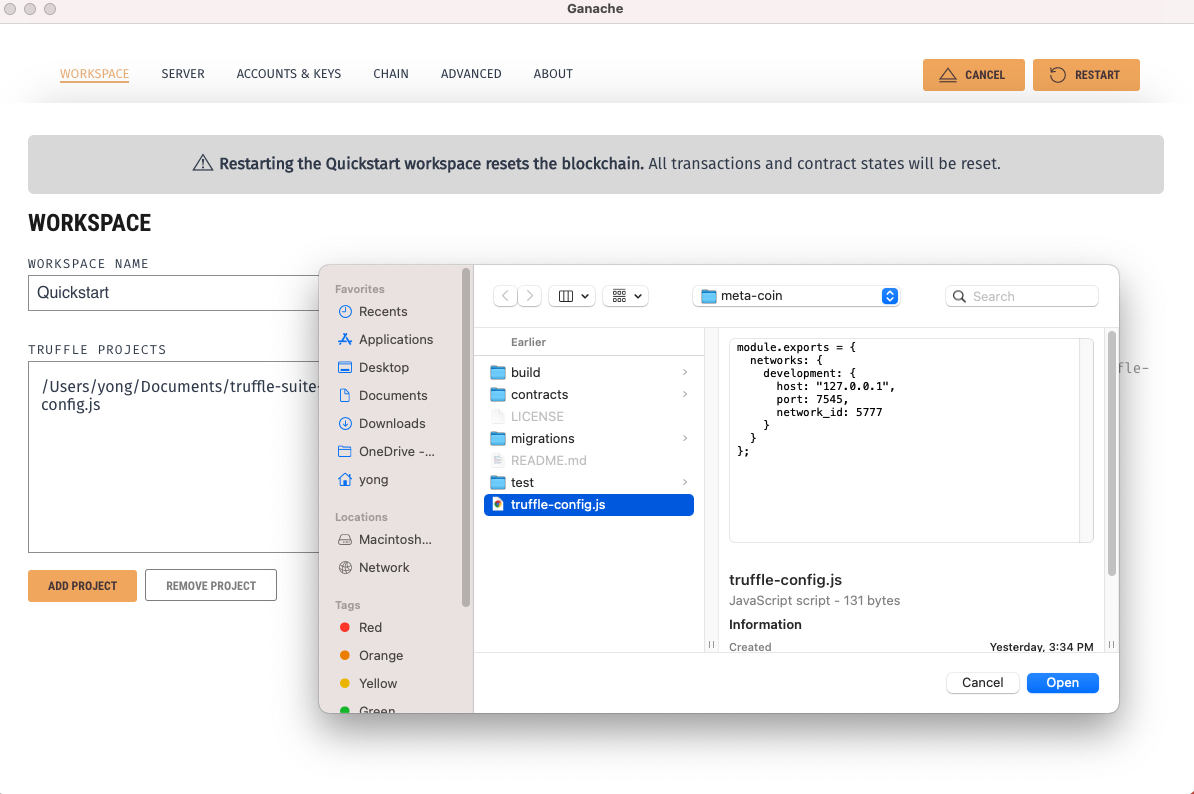
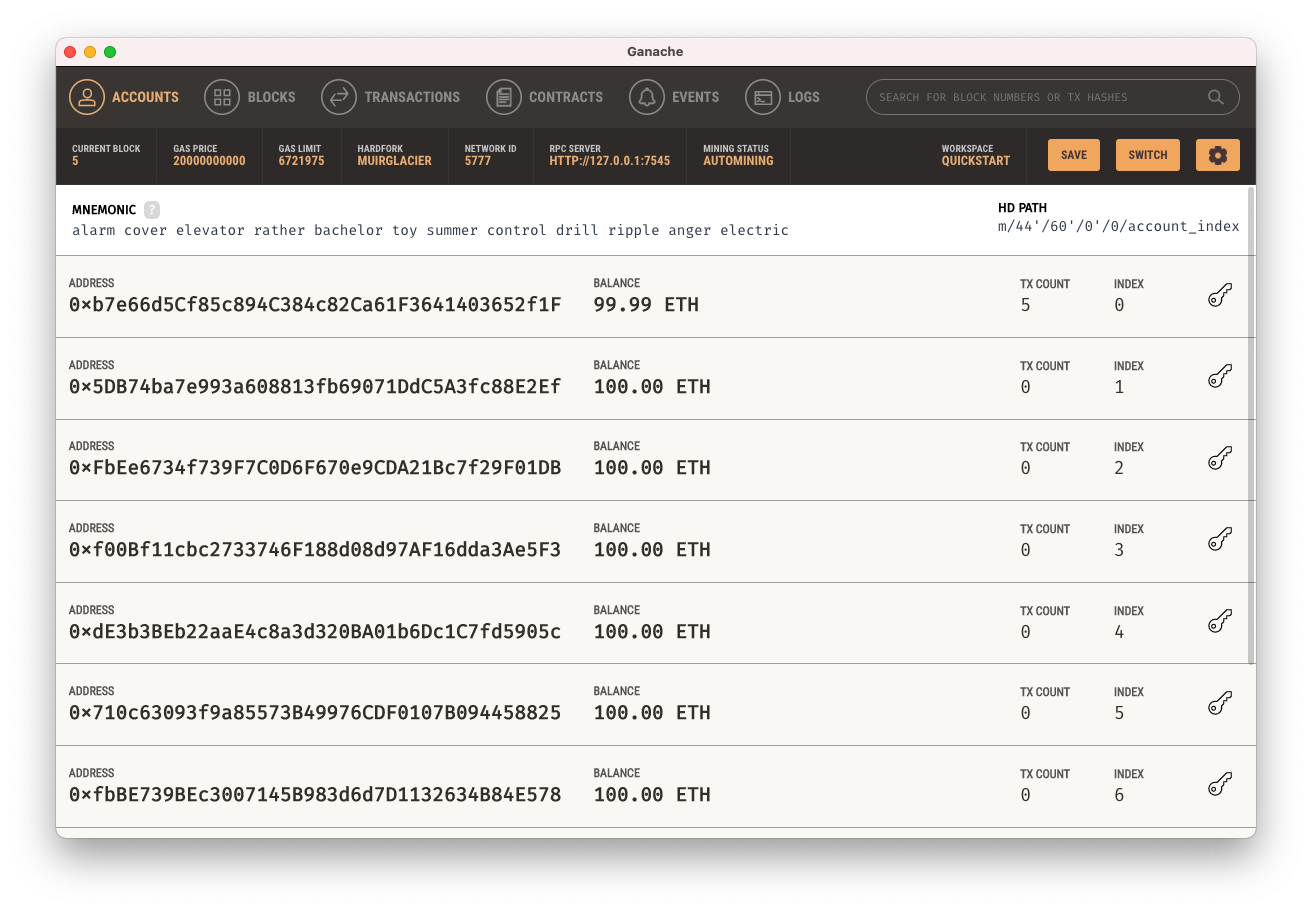
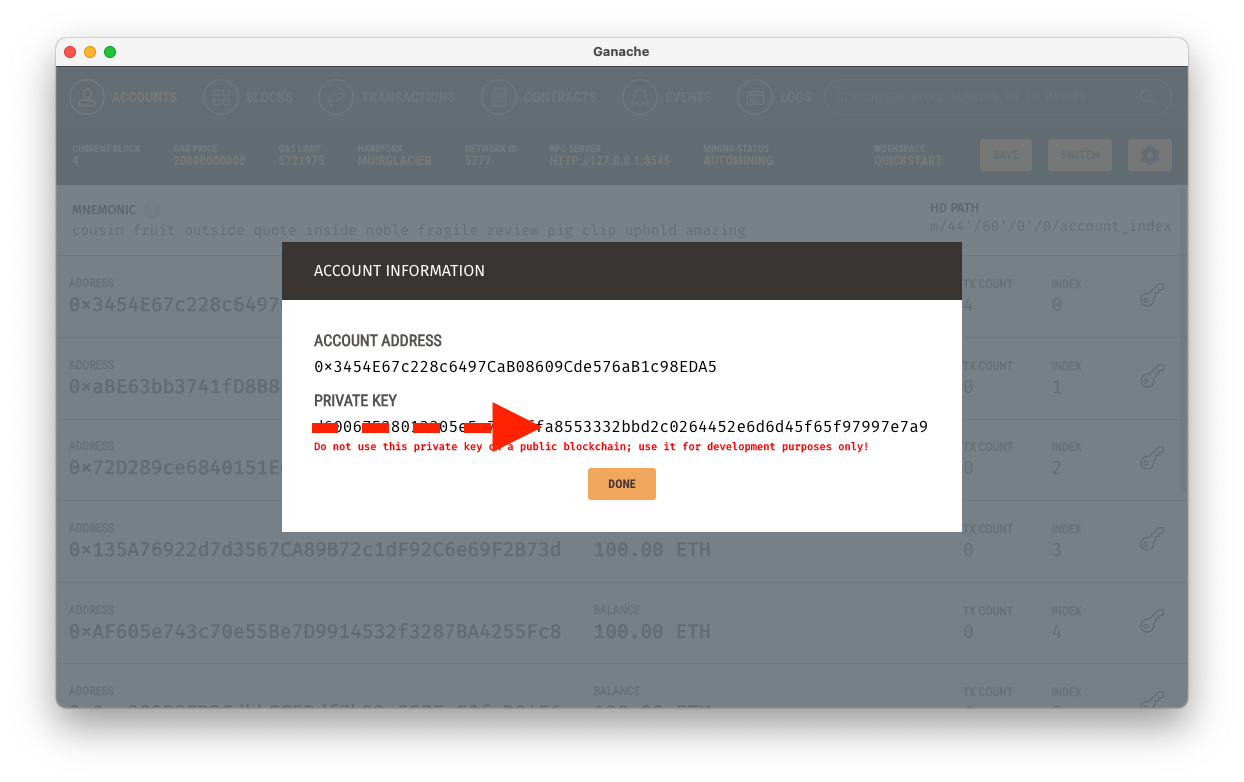
We open Ganache UI, click QUICKSTART, and ADD PROJECT by selecting truffle-config.js, and click restart:
By finishing the previous step, we have launched a local blockchain.
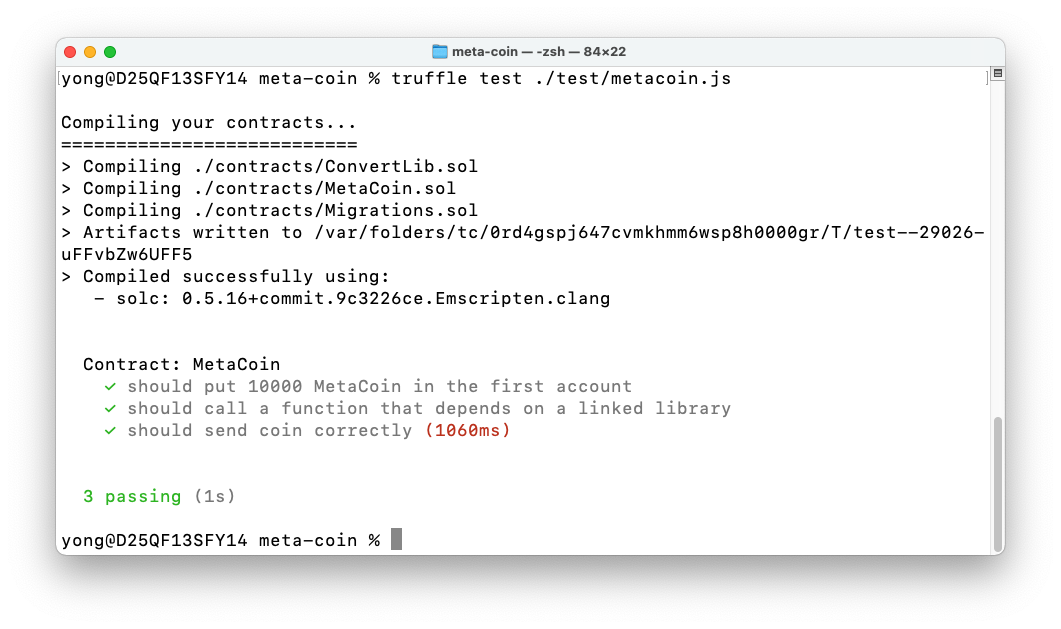
We will find the test code has already been done for us at /meta-coin/test.
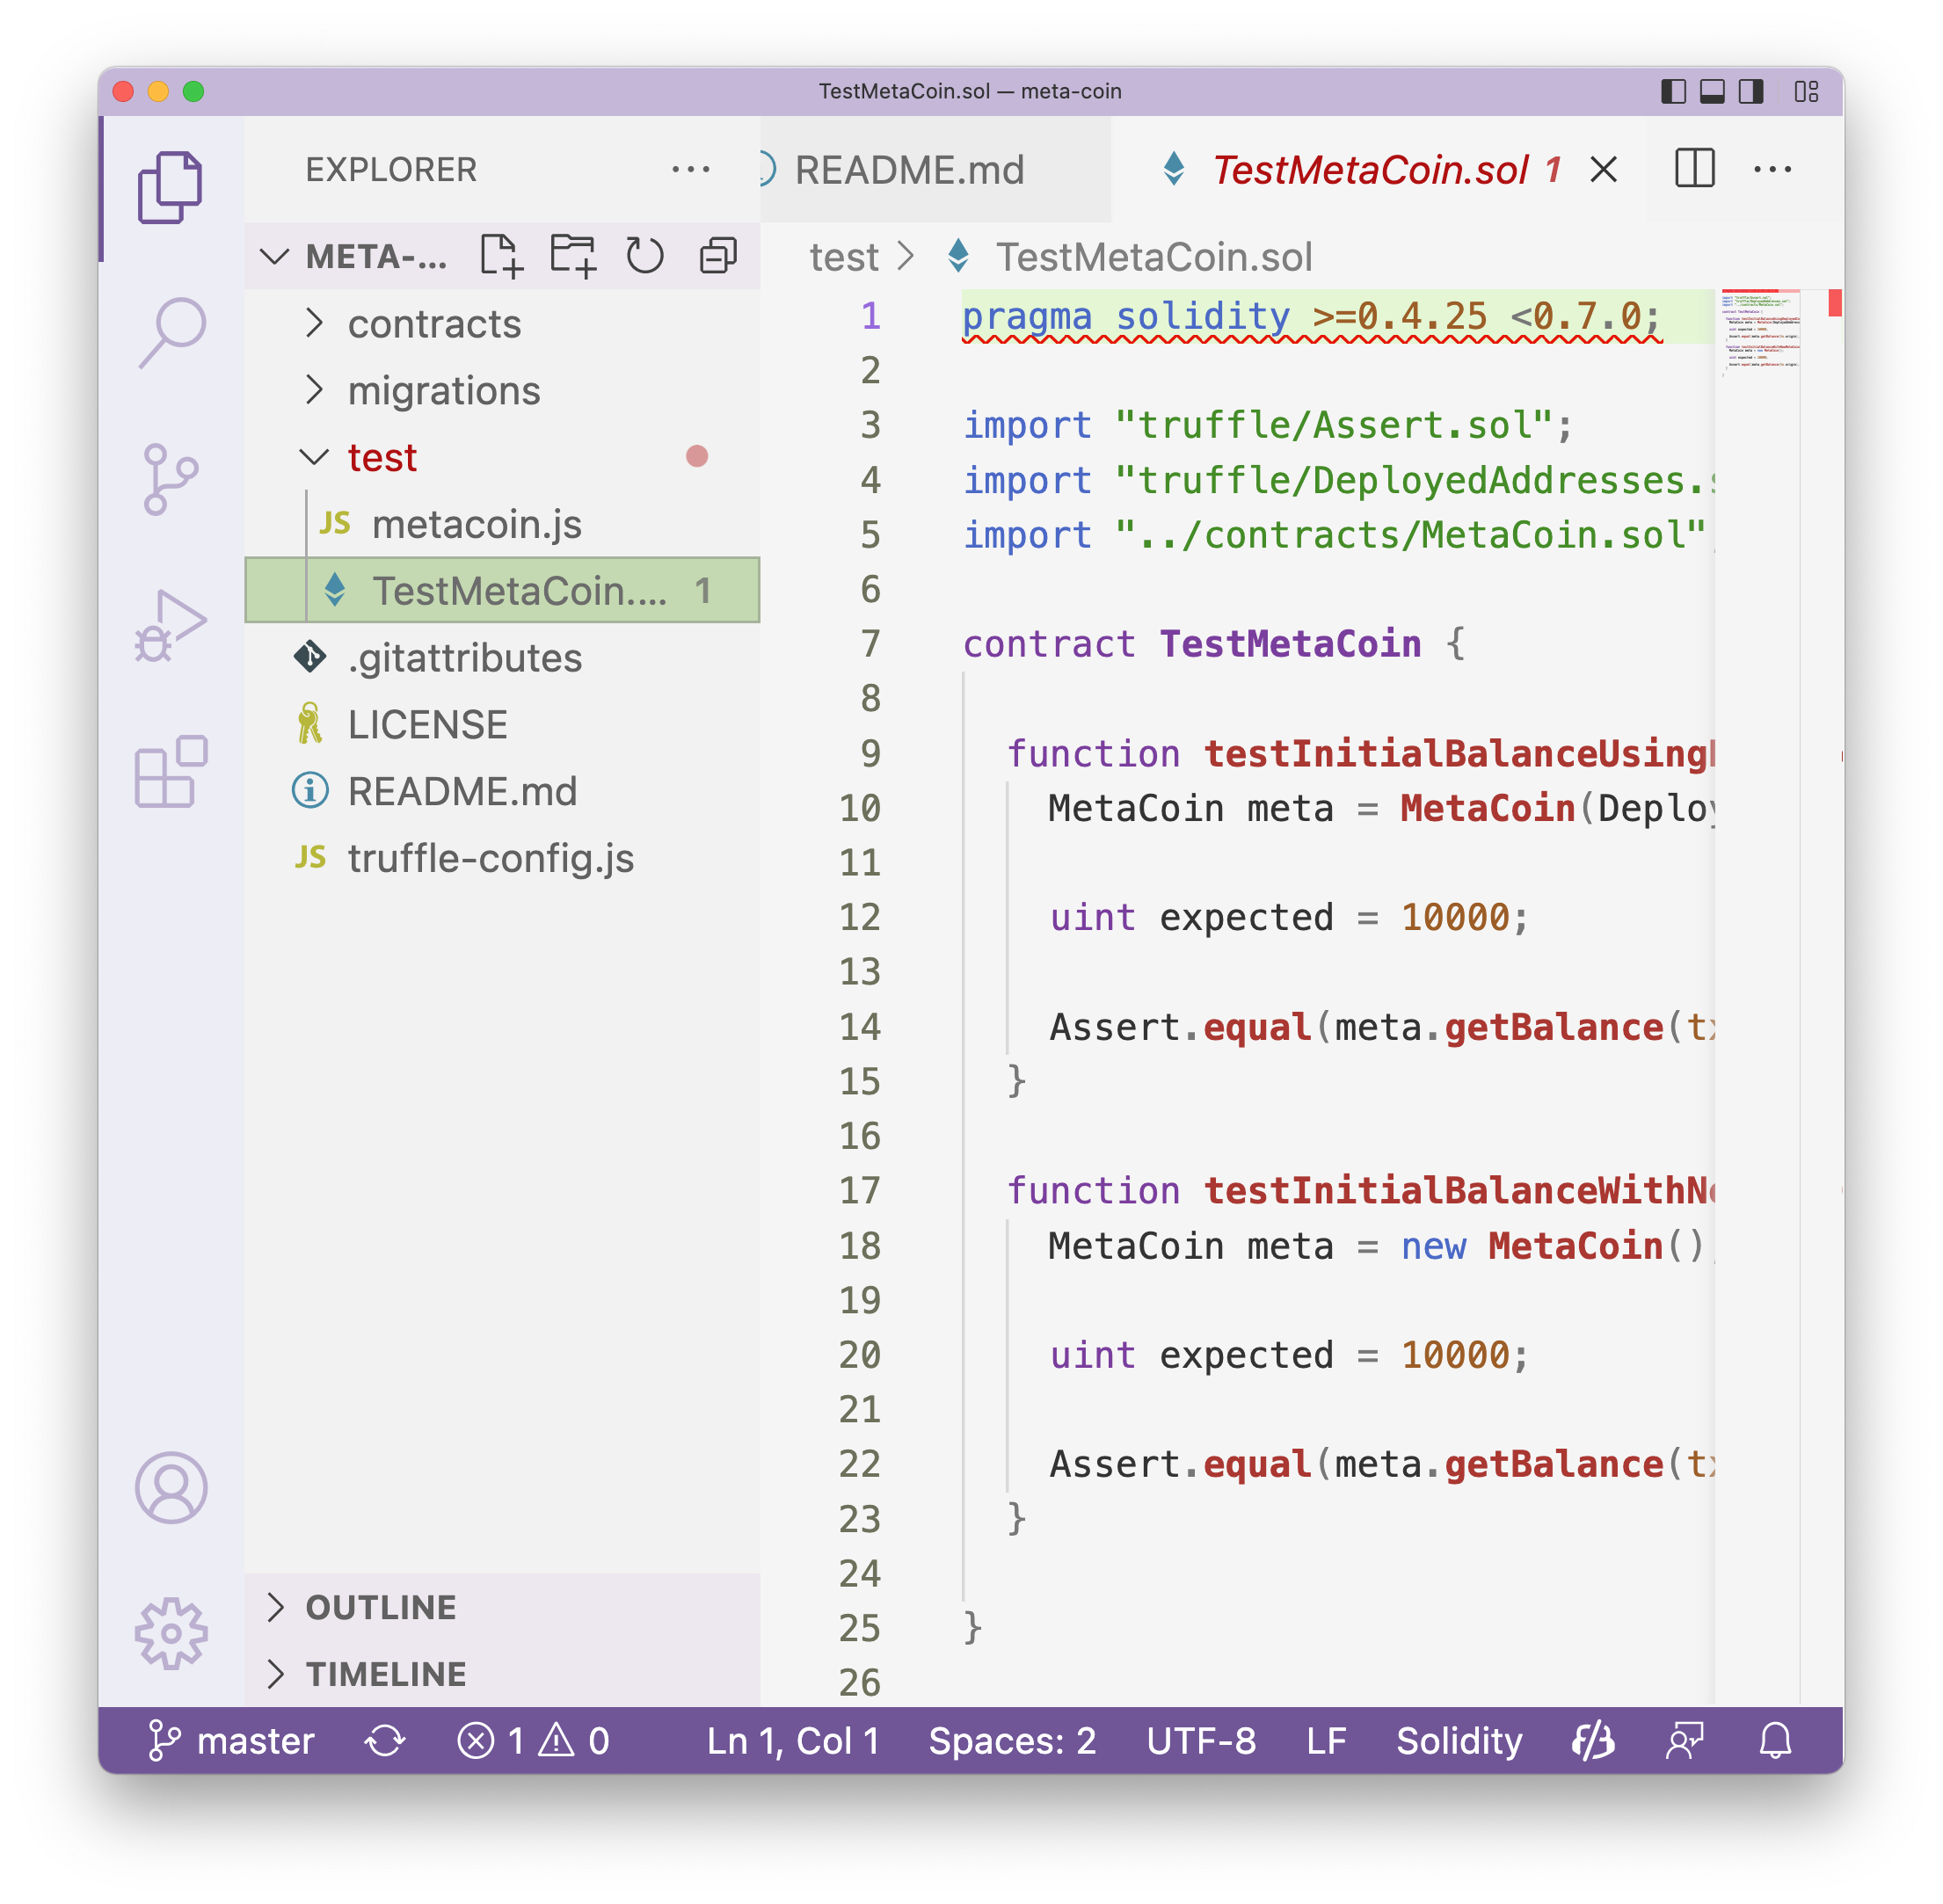
truffle test ./test/metacoin.js
Now we compile our smart contract:
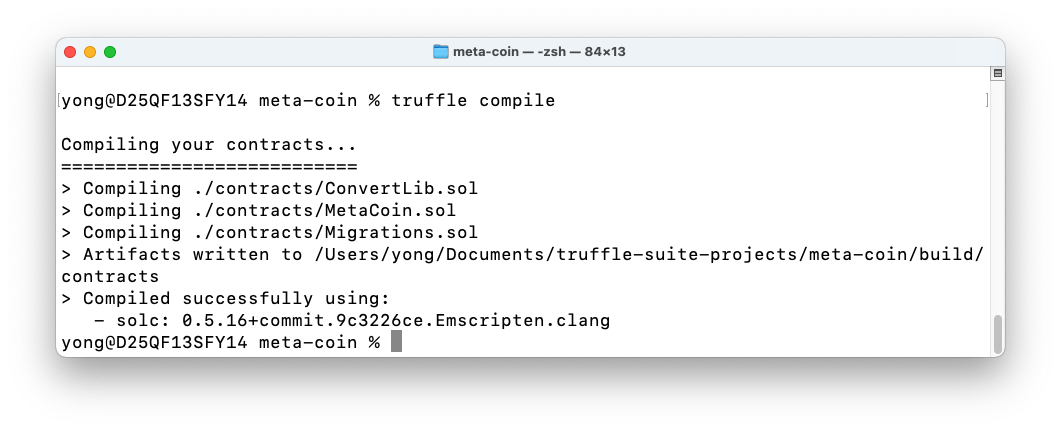
truffle compile
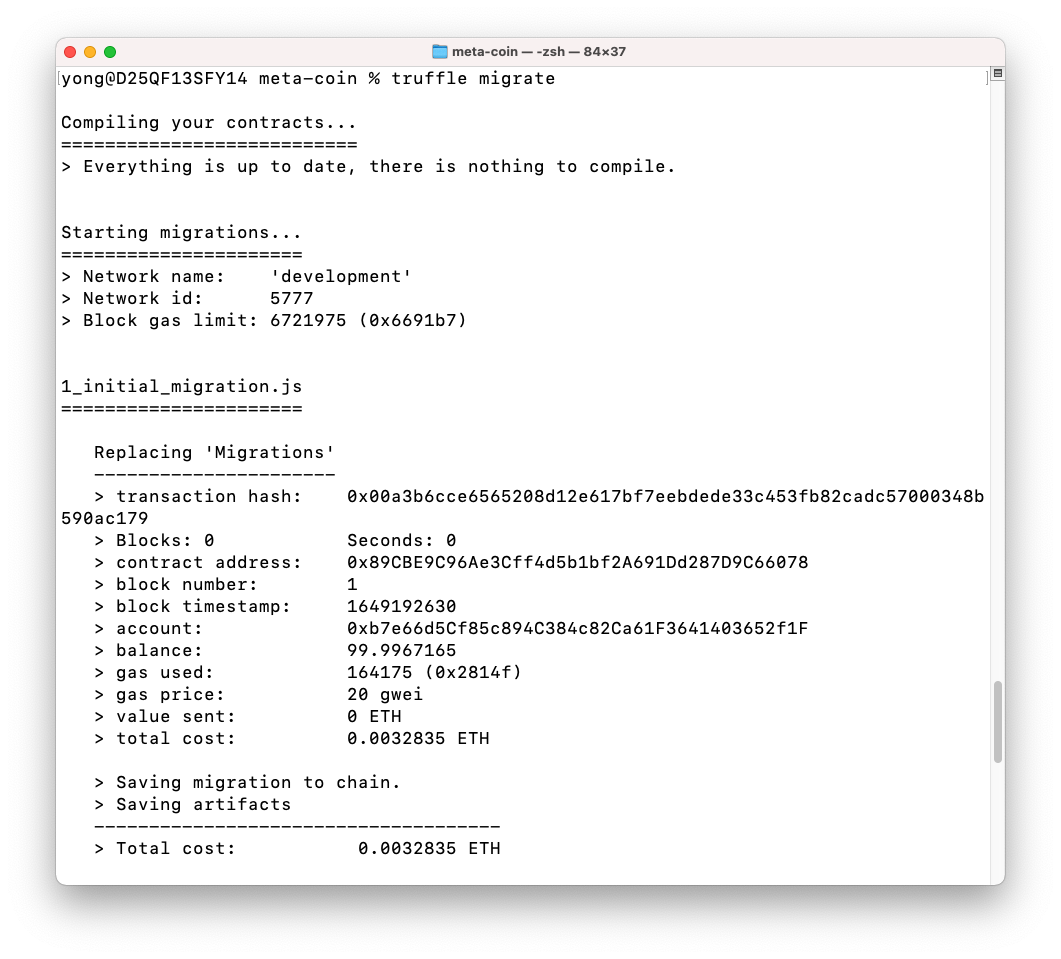
We can now migrate and deploy our smart contracts to the blockchain using the following command:
truffle migrate
This shows the transaction IDs and addresses of the deployed contracts. It also includes a cost summary and real-time status updates.
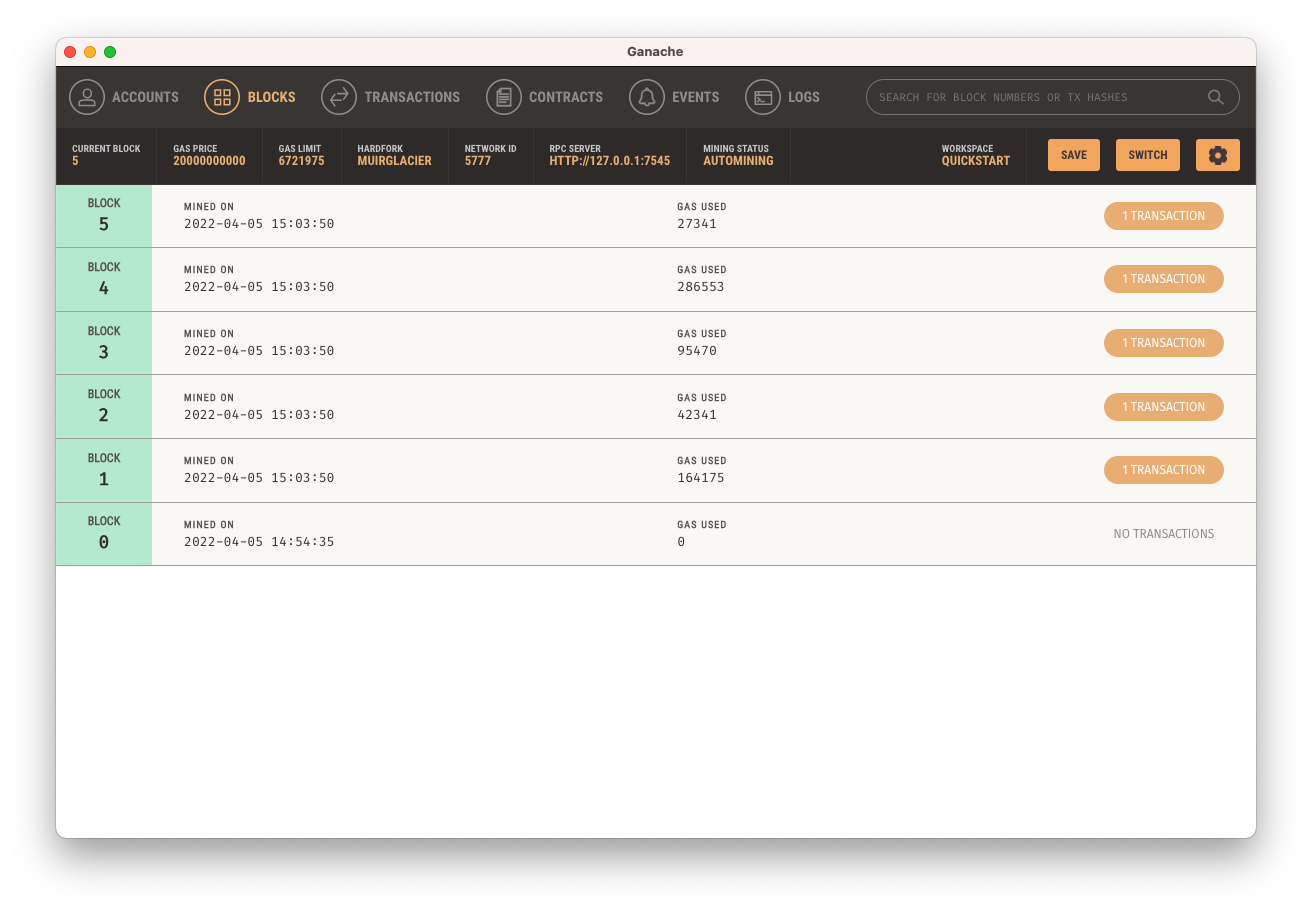
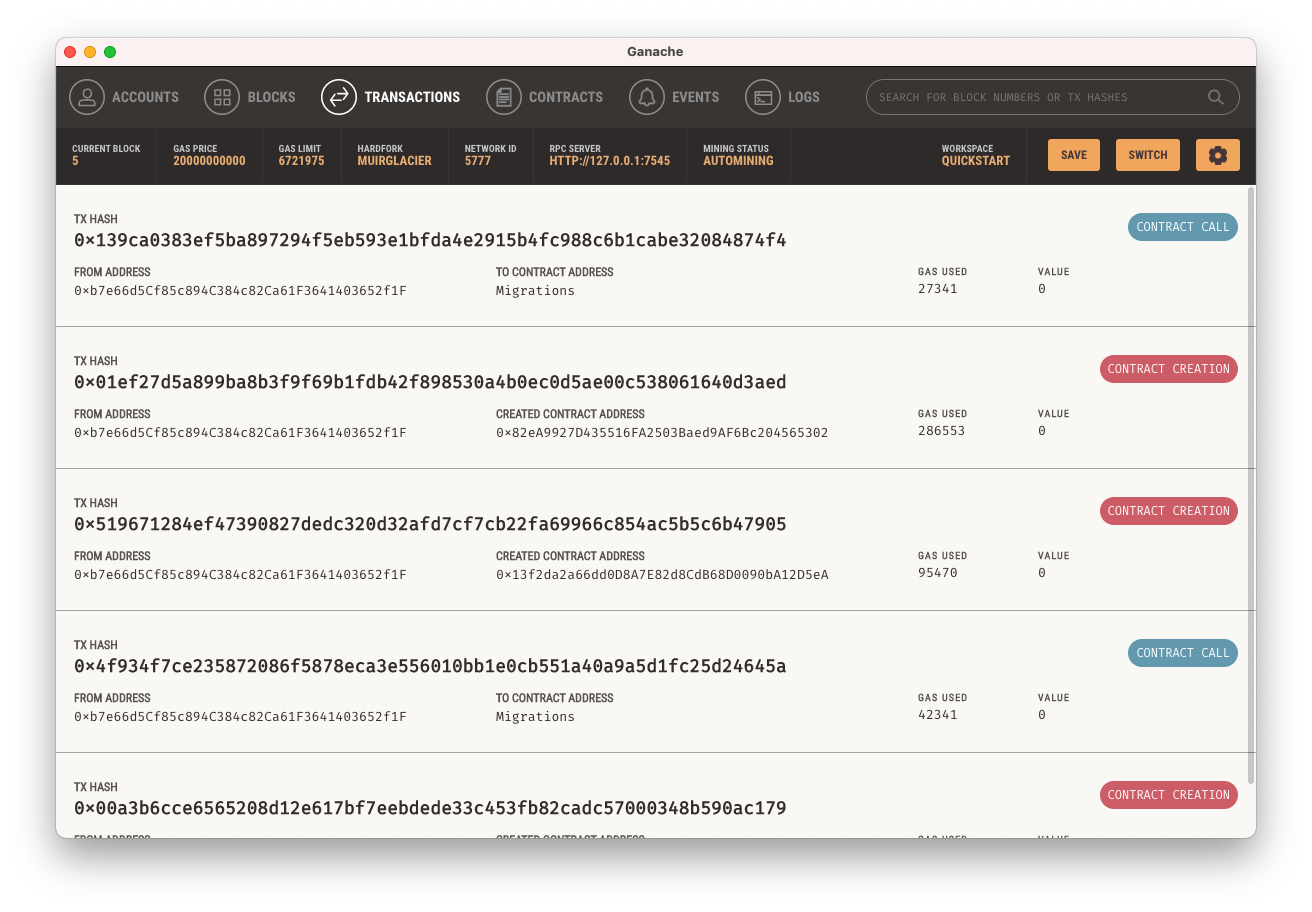
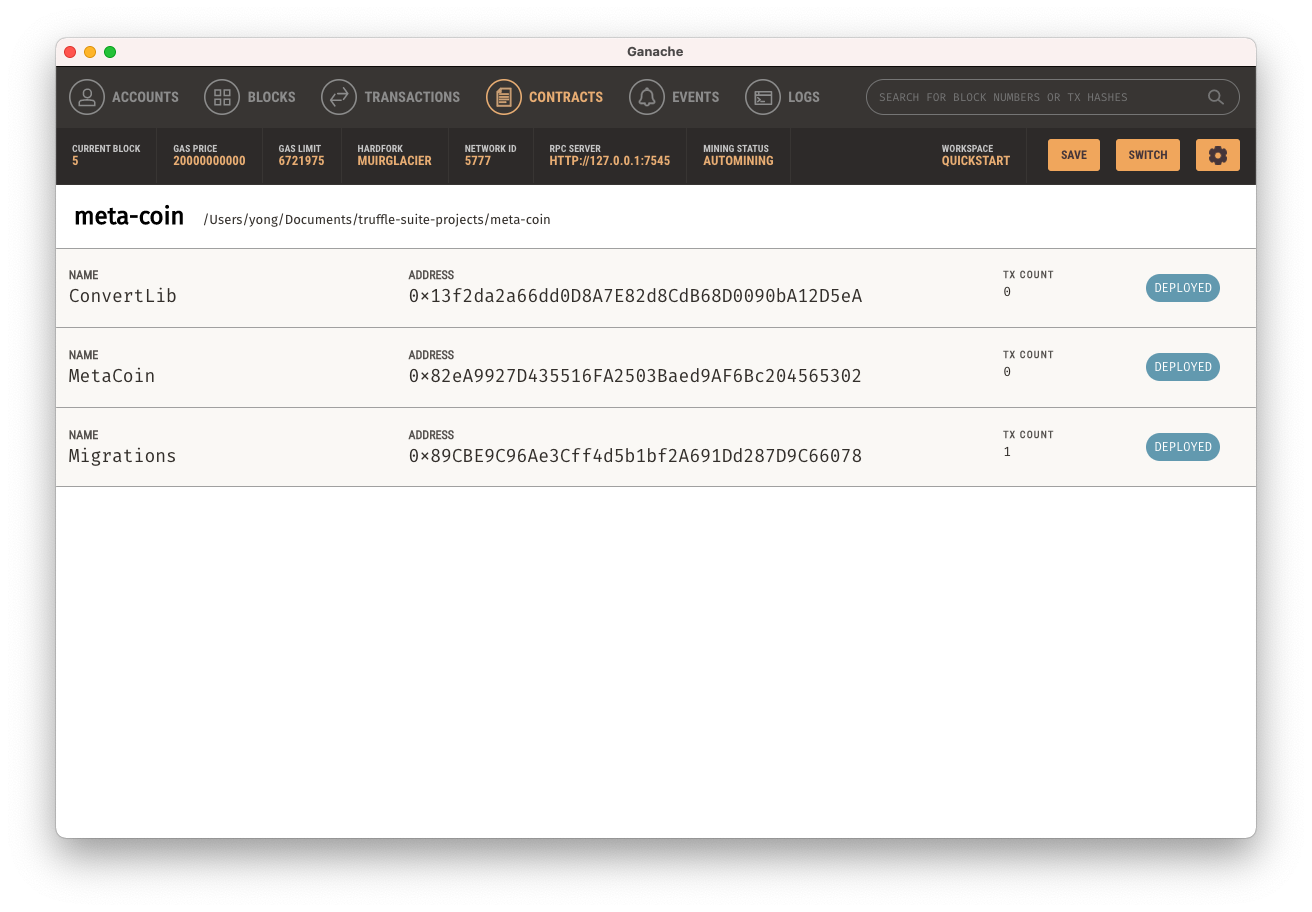
In Ganache, click the “BLOCKS”, “TRANSACTIONS”, and “CONTRACTS” to see the transactions that have been processed.
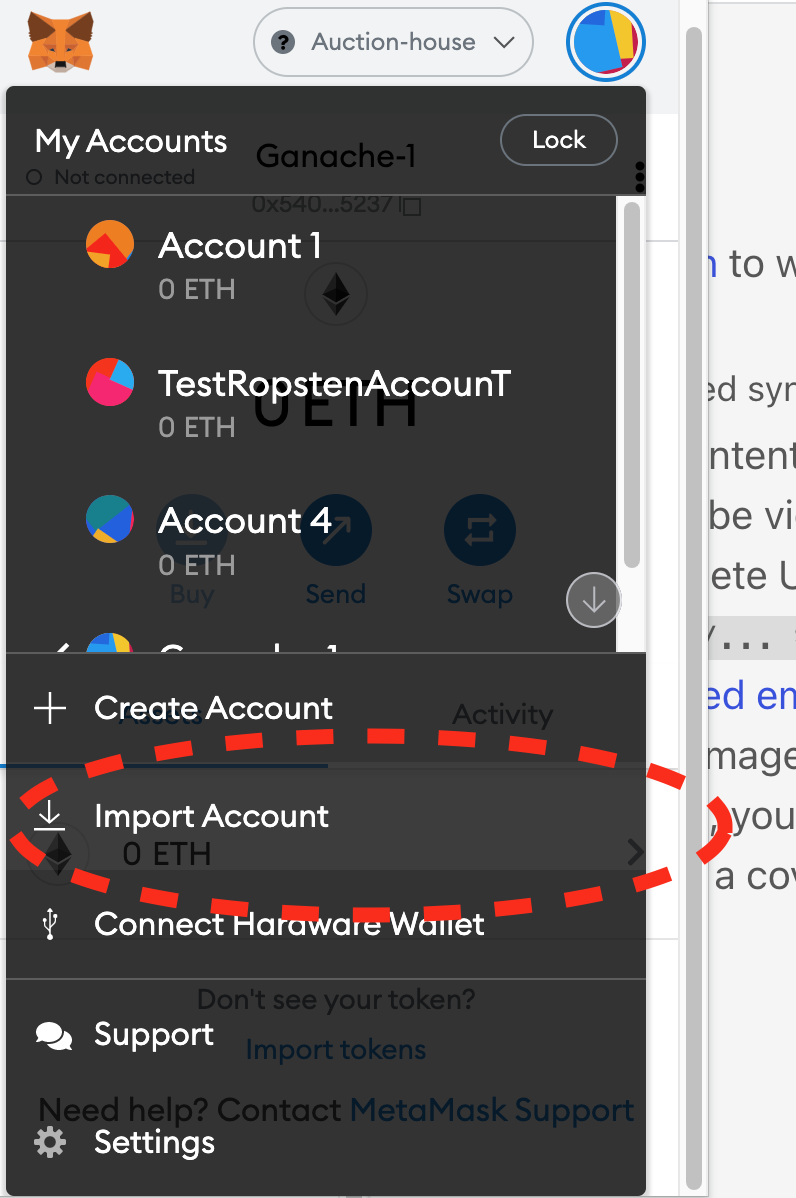
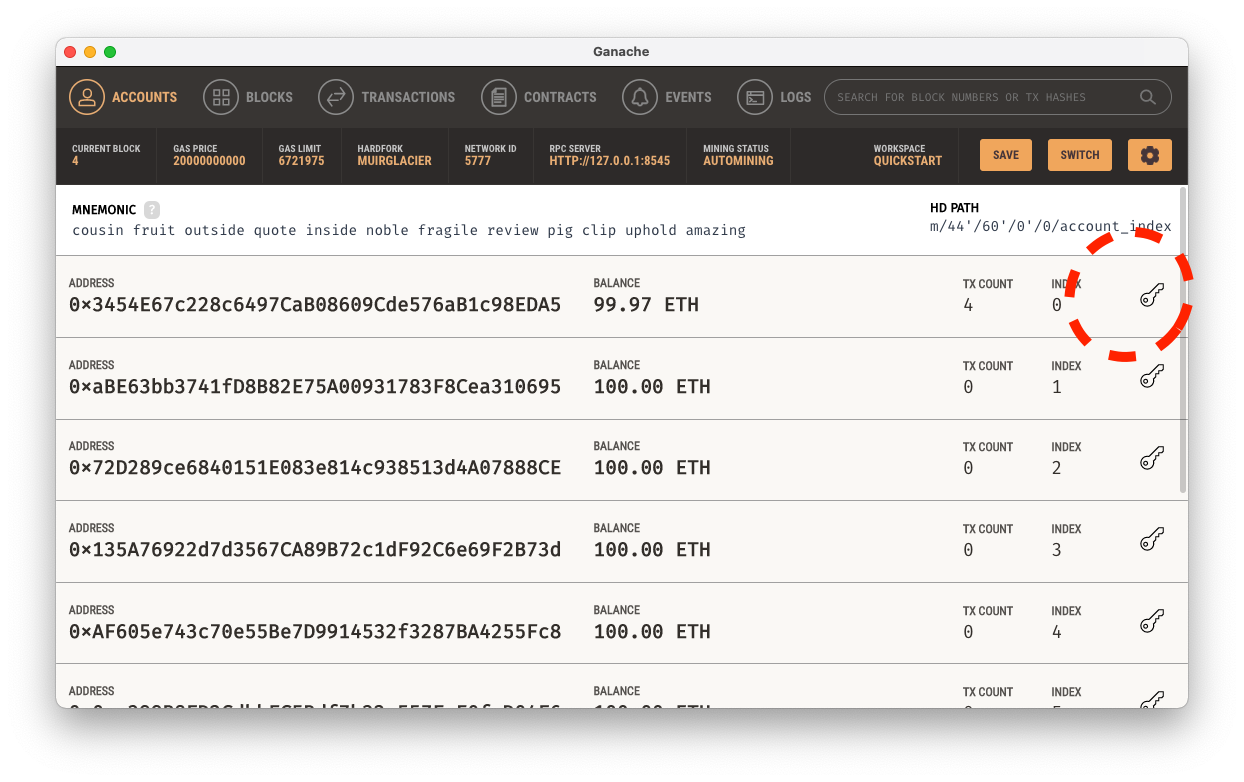
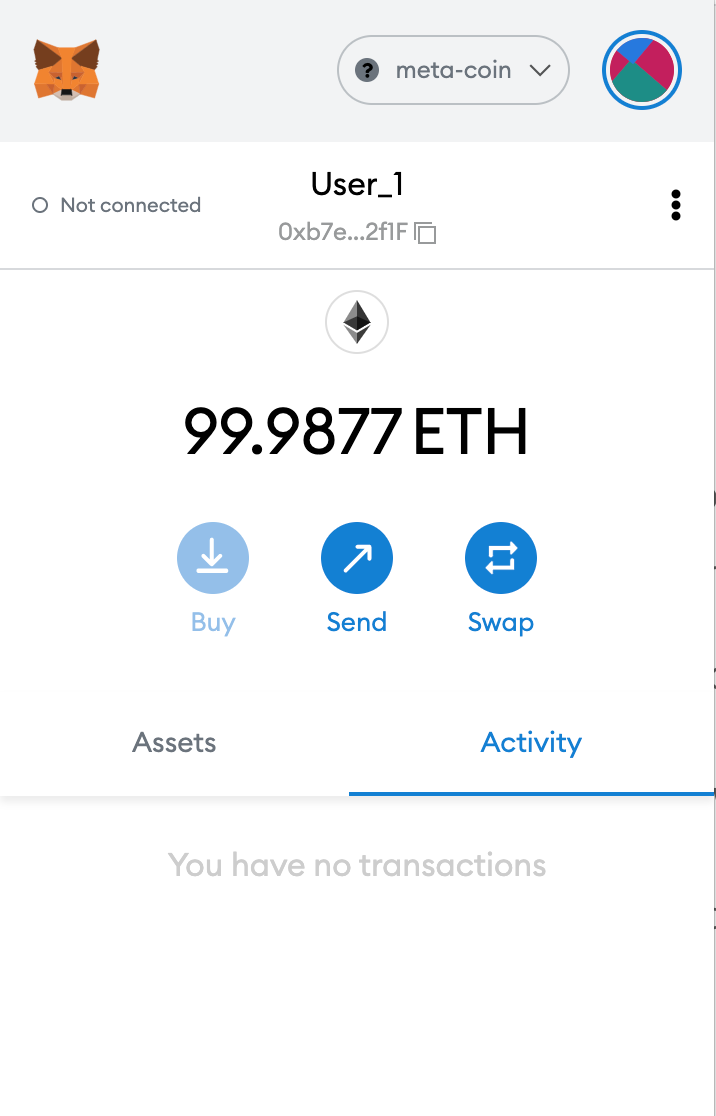
The MetaMask extension also provides us ETH balance if the first account in Ganache is imported.
We use the Truffle Console to interact with the smart contract. Let's run the following command to launch the console:
truffle console
First, we establish the deployed meta-coin instance and the accounts created by Ganache:
NOTE:
>means we are currently working in Truffle Console
> let instance = await MetaCoin.deployed()
> let accounts = await web3.eth.getAccounts()
We can check the meta-coin balance of the account which has deployed the contract:
> let balance = await instance.getBalance(accounts[0])
> balance.toNumber()
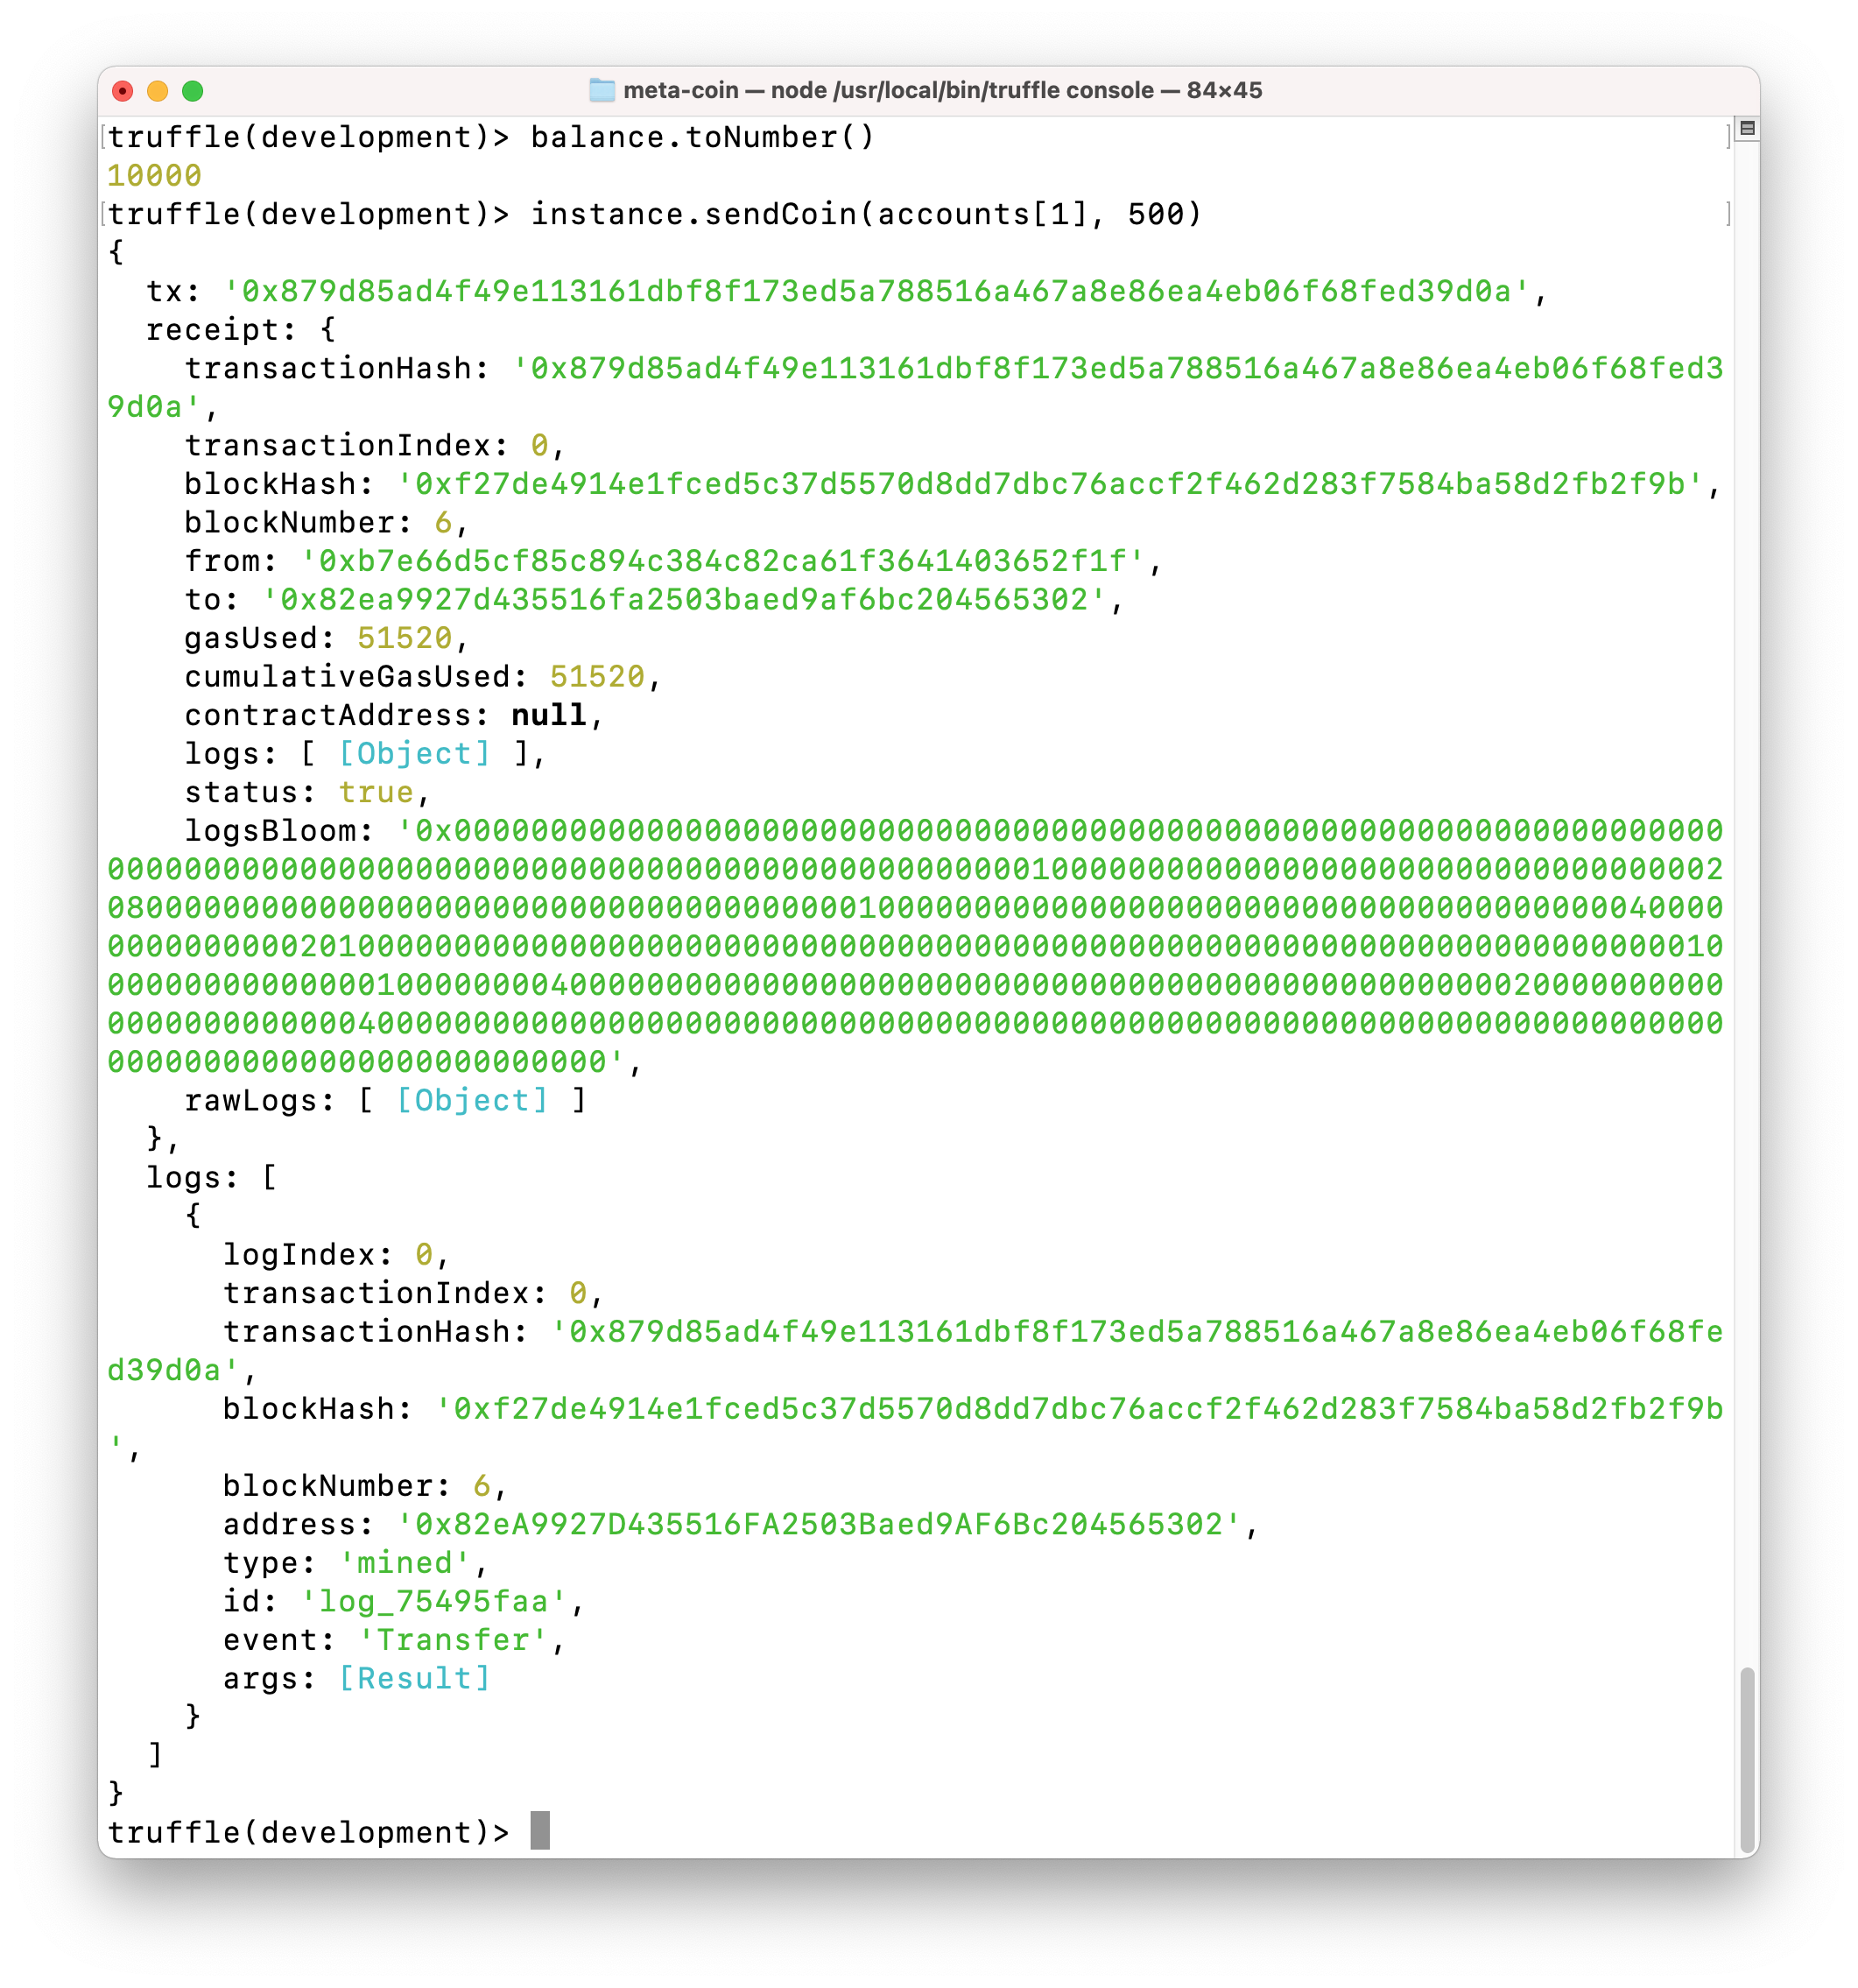
We can transfer some meta-coin from one account to another:
> instance.sendCoin(accounts[1], 500)
Check the balance of the meta-coin receiving account:
> let received = await instance.getBalance(accounts[1])
> received.toNumber()
Check the balance of the meta-coin sending account:
> let newBalance = await instance.getBalance(accounts[0])
> newBalance.toNumber()
Really COOL isn't it!
