Part 4. Initial State
We want to stream all of our sensor data to a cloud service and have that service turn our data into a nice dashboard that we can access from our laptop or mobile device. Our data needs a destination. We will use Initial State as that destination.
Go to https://api.init.st/auth/#/register/ and create a new account.
We need a way to associate the data we're going to send with your account. Initial State does this with access keys.
Go to your Initial State account in your web browser, click on your username in the top right, then go to “my account”, you will find your access key at the bottom of the page under “Streaming Access Keys”.
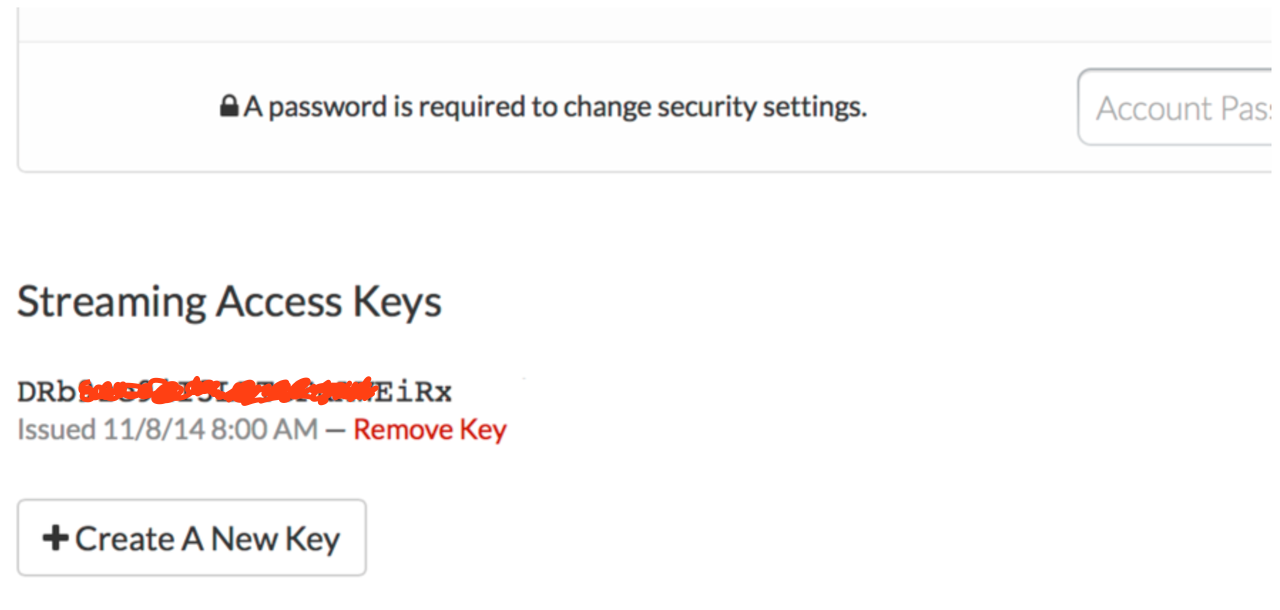
Every time you create a data stream, that access key will direct that data stream to your account (so don’t share your key with anyone).
Copy this key because we need it for our test and our final script.
Run the test sketch to make sure we can create a data stream to your Initial State account. Replace Your_Access_Key on line 14 with your access key and run the following: https://github.com/InitialState/arduino_streamers/blob/master/arduinoyunstream.ino
Go back to your Initial State account in your web browser. A new data bucket called “Arduino Stream” should have shown up on the left in your log shelf (you may have to refresh the page). Click on this bucket and then click on the Waves icon to view the test data.

You will want to step through the Waves tutorial to familiarize yourself with how to use this data visualization tool. Next, view the data in Tiles to see this same data in dashboard form.

You are now ready to start streaming real data from your sensor box.
<< Part 4: Putting it All Together - Part 4: The Final Sketch >>