| title | published | description | tags | cover_image | published_at |
|---|---|---|---|---|---|
Creating a Web Thermometer |
true |
Learn how to build a web thermometer with Web Bluetooth and Web Components |
WebComponents, WebBluetooth, Fugu |
2023-08-11 00:15 +0000 |
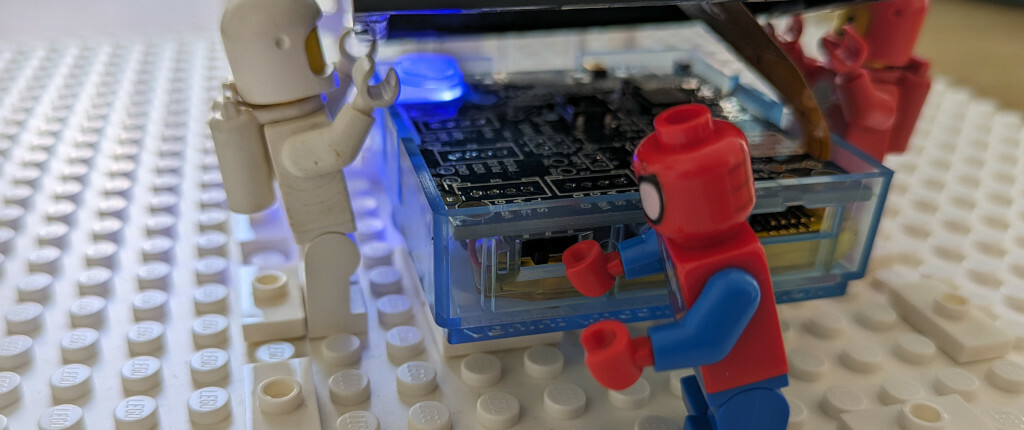
Spiderman has joined some LEGO spacemen in a quest to web enable a BLE GATT temperature sensor and display the readings on their 1x1cm brick display...
While they're working on that, I'll share what's under the hood :)
The Thingy:52 by Nordic Semiconductor has a lot of built-in sensors (temperature, humidity, pressure, air quality, color, accelerometer, gyroscope, and more).
First, switch it on:
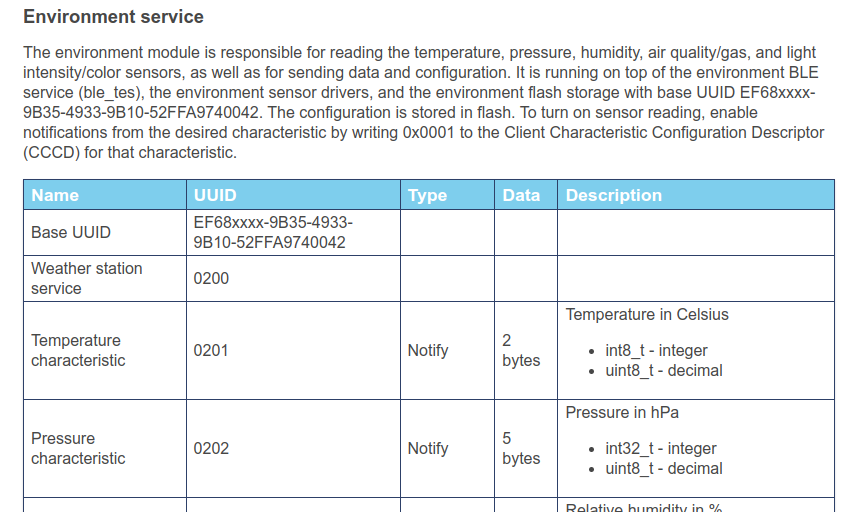
In our case, we are interested in reading values from the temperature sensor, so let's take a look in the documentation for the device:
Note: The xxxx in the base UUID should be replaced with numbers from the same column for service and characteristic(s).
From this, we can see two 128bit UUIDs we need:
ef680200-9b35-4933-9b10-52ffa9740042- the "Weather station service"ef680201-9b35-4933-9b10-52ffa9740042- the "Temperature characteristic"
It's also a good idea to fetch the battery level, which follows the officially assigned 16bit UUID for battery service:
Connecting to the Thingy:52 from a web application is quite easy, just remember to list the services that might be required for your app in the list of optionalServices:
const THINGY_CONFIGURATION_SERVICE_UUID = 'ef680100-9b35-4933-9b10-52ffa9740042';
const WEATHER_STATION_SERVICE_UUID      = 'ef680200-9b35-4933-9b10-52ffa9740042';
...
const device = await navigator.bluetooth.requestDevice({
    filters: [{ services: [THINGY_CONFIGURATION_SERVICE_UUID] }],
    optionalServices: [
        'battery_service',
        WEATHER_STATION_SERVICE_UUID
    ]
});The temperature data is made available under the Weather Station Service and in order to read the data, you'll need to subscribe to the temperature updates on the Temperature Characteristic:
const TEMPERATURE_CHARACTERISTIC_UUID   = 'ef680201-9b35-4933-9b10-52ffa9740042';
...
async #startThermometerNotifications(server) {
    const service = await server.getPrimaryService(WEATHER_STATION_SERVICE_UUID);
    const characteristic = await service.getCharacteristic(TEMPERATURE_CHARACTERISTIC_UUID);
    characteristic.addEventListener('characteristicvaluechanged', this.#onThermometerChange.bind(this));
    return characteristic.startNotifications();
}
Whenever there is an update, read out the values:
_onThermometerChange(event) {
    const target = event.target;

    const integer = target.value.getInt8(0);
    const decimal = target.value.getUint8(1);

    const celsius = Number.parseFloat(`${integer}.${decimal}`);

    const temperature = {
        celsius,
        fahrenheit: celsius * 9 / 5 + 32,
        kelvin: celsius + 273.15
    }

    this.dispatchEvent(new CustomEvent('thermometer', {
        detail: temperature
    }));
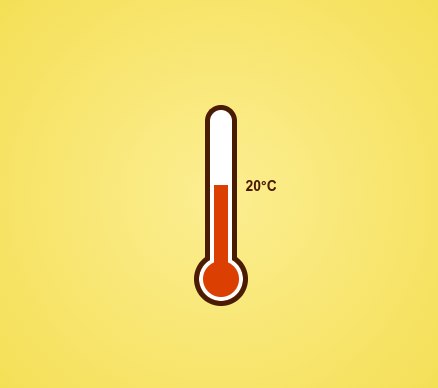
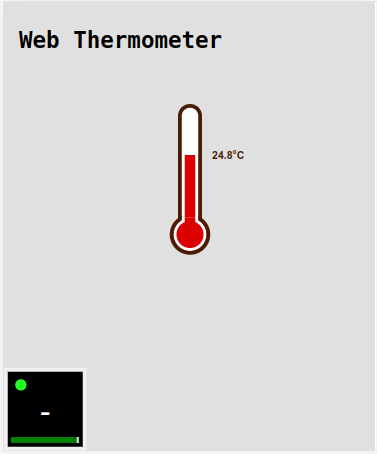
}We'll need some visualization for the thermometer, and I found a very nice thermometer made in pure css by Mircea Georgescu, which will be a good base for a simple thermometer web component.
Disclaimer: I am definitely not a CSS expert, so sorry Mircea for the hacks I made :)
For the purpose of this demo, I have hacked the linear-gradient used for the positioning of the level and the position of the temperature reading:
_handleTemperature({detail}) {
    this.#celsius.innerHTML = `${detail.celsius.toFixed(1)}°C`;
    this.#celsius.style.transform = `translateY(${-detail.celsius/2}px)`;

    const perc = 50 - (detail.celsius * 0.32);
    this.#thermometer.style.background = `linear-gradient(#fff 0%, #fff ${perc}%, #d00 ${perc}%, #d00 100%)`
}
The full source of the component is here.
Handling the connection to the Thingy:52 will be done with a scaled down variant what I did in another post: Generic Sensors and Thingy:52. It injects a small widget in the page that handles connectivity and shows battery levels.
Besides that (the thingy52-widget), the application only consists of the new thermometer UI component:
<body>
    <thingy52-widget></thingy52-widget>
    <div class="flex-container">
        <div class="content">
            <div class="col">
                <h2>Web Thermometer</h2>
                <thermometer-ui></thermometer-ui>
            </div>
        </div>
    </div>
</body>Repo: https://github.com/larsgk/web-thermometer Demo: https://larsgk.github.io/web-thermometer
Feedback, requests, issue reports and PRs are very welcome!
Enjoy ;)
