Wizard Getting Started
Note: examples are based on Microsoft Windows 7 with Visual Studio 2008. Please review the release notes for installation on other OS/compiler environments
- Make sure you have a compiler installed that supports UDK2014
- Download the UDK2014 Driver Developer Release
- Unzip UDK2014.IHV.zip into a workspace directory (example: C:\FW\UDK2014.IHV)
- Download and install the UEFI Driver Wizard .msi
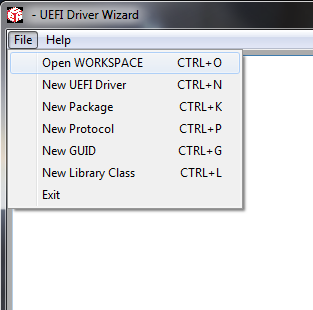
- Open the UEFI Driver Wizard, select 'File -> Open Workspace' and select the UDK2014.IHV workspace directory
The UEFI Driver Wizard requires a subset of UDK2014 or EDK II setup before running the wizard. The UDK2014.IHV.zip Driver Developer Release contains the minimal set of components needed to create UEFI drivers. Please refer to the UDK2014.IHV-Setup-Guide for more information.
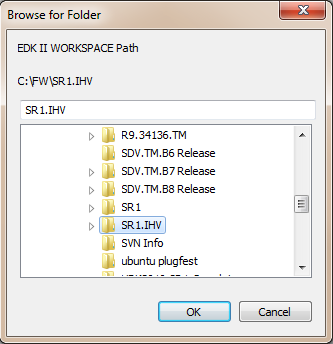
After starting the UEFI Driver Wizard, use the 'File -> Open Workspace' option to select the workspace directory (example: C:\FW\SR1.IHV).
Note that edksetup.bat or edksetup.sh must be run in the workspace directory prior to using the UEFI Driver Wizard. The EDK II configuration files in the Conf directory are used by the UEFI Driver Wizard to detect a valid workspace. If edksetup has not been run in the workspace directory the UEFI Driver Wizard will return an error.
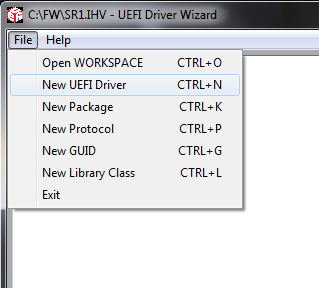
Once the workspace directory has been configured, use the 'New UEFI Driver' dialog to create a blank driver in the workspace directory.
Note that the wizard may return an error at the end of the process if required fields are left blank (example: UEFI Driver Name). For details on this dialog, please refer to the New UEFI Driver Dialog page.