Skip to content
New issue

Have a question about this project? Sign up for a free GitHub account to open an issue and contact its maintainers and the community.

By clicking “Sign up for GitHub”, you agree to our terms of service and privacy statement. We’ll occasionally send you account related emails.

Already on GitHub? Sign in to your account

🔒免费开启HTTPS #5

Open
levy9527 opened this issue Jun 3, 2019 · 2 comments
Open

🔒免费开启HTTPS #5

levy9527 opened this issue Jun 3, 2019 · 2 comments

Comments

@levy9527
Copy link
Owner

levy9527 commented Jun 3, 2019

前言

本文将分享几种为站点启用HTTPS的方法,内容包括:

  1. 免费证书的获取及安装
  2. 为Node.js应用开启HTTPS
  3. 为Nginx开启HTTPS

前提准备

  1. 一台拥有外网IP的服务器(假设操作系统为: CentOS 7.4)
  2. 一个域名(解析到上述服务器的IP)(假设域名为: www.example.com)
  3. SSL证书

证书

Symantec

阿里云可以购买有效期一年的免费证书,审核时间大概10分钟,优点是域名不用备案。强烈推荐。
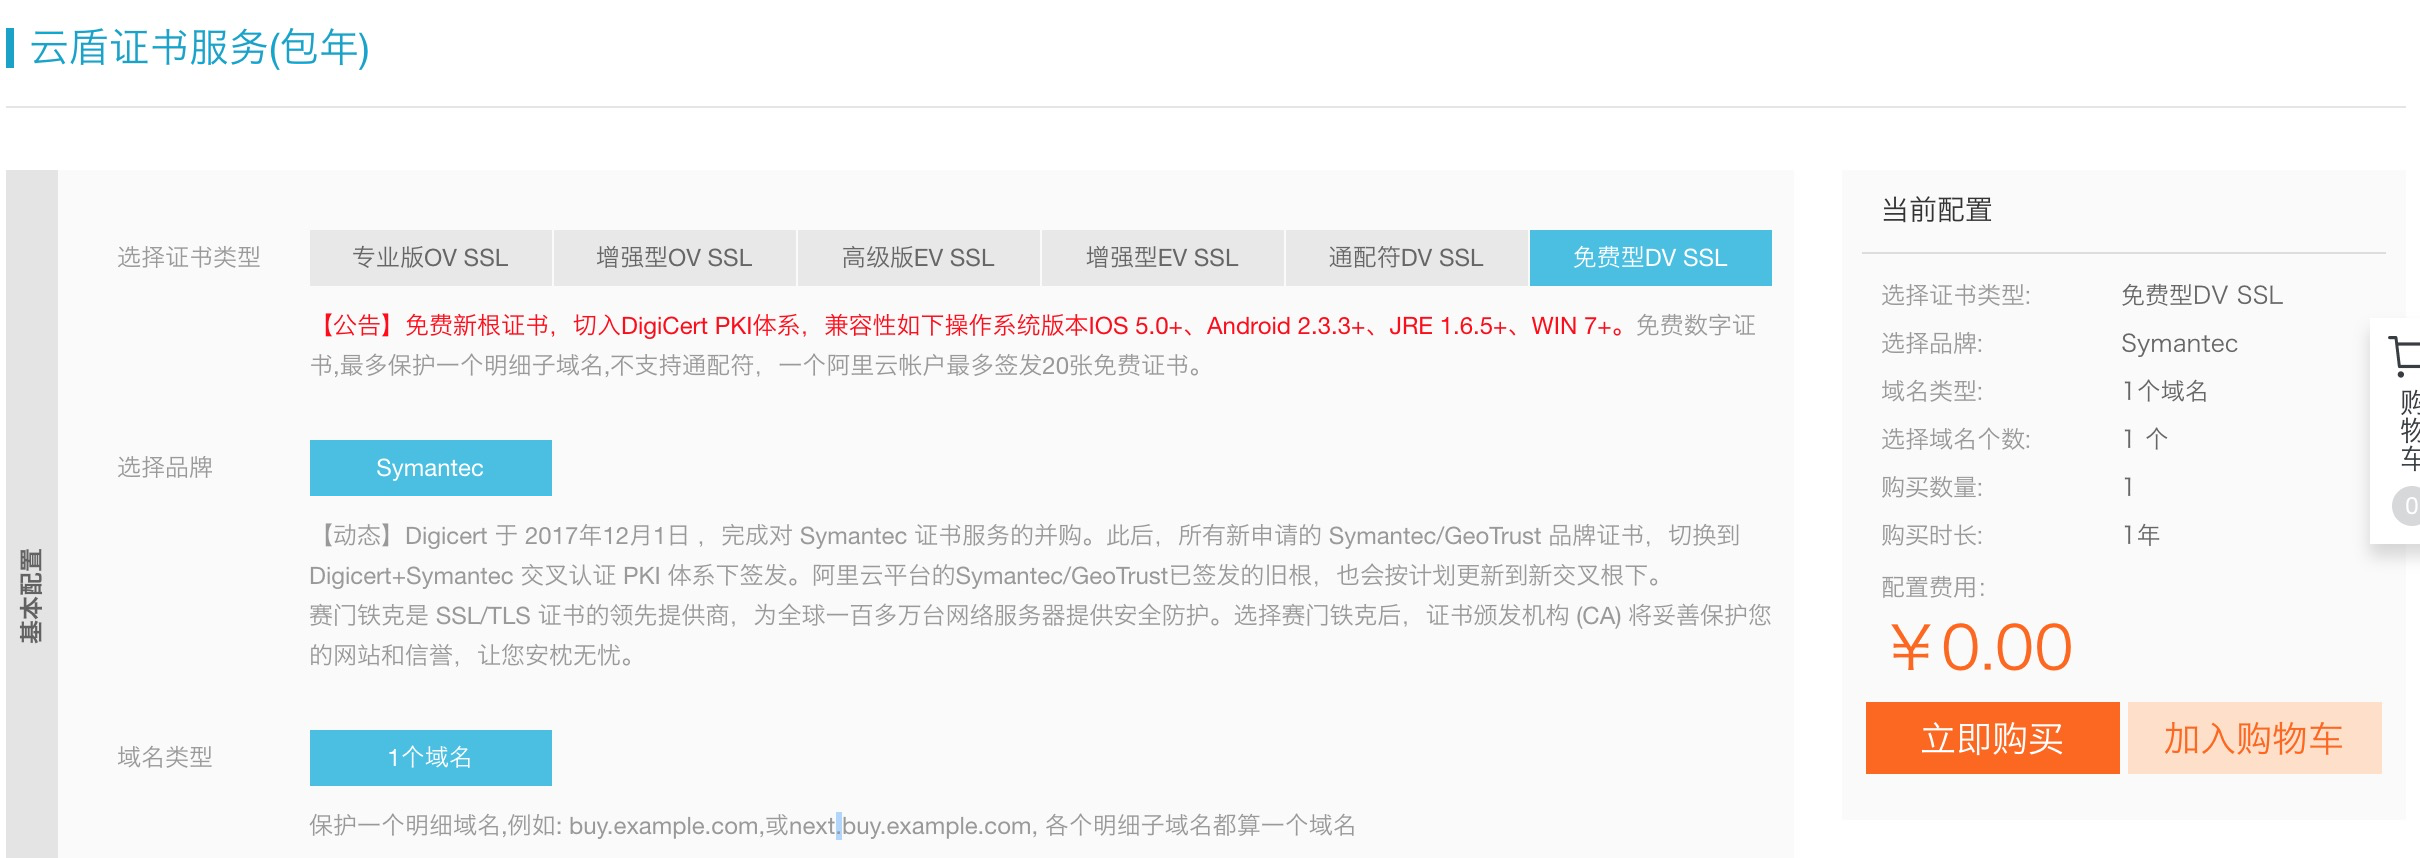
image.png

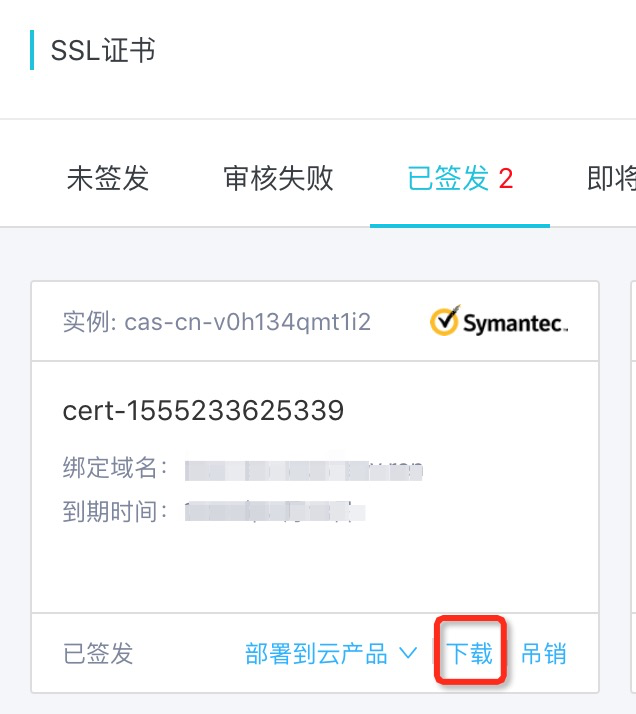
购买后,点击下载
image.png
即可获得证书

letsencrypt

虽然是免费的,但安装比较费时间,如果网络不太好,会很捉急。

其证书获取方式后文会讲。

Node.js应用

下面以koa2构建node.js应用 + Symantec为例,说明如何为接口开启https。

在项目根目录新建文件夹

mkdir ssh

把Symantec的证书文件放到该目录下。

假设两个文件的名称分别为: server.key  server.pem 

新建index.js文件

touch index.js

编写以下代码

const koa = require('koa');
const app = new koa();
const port = process.env.PORT || 3000

const https = require('https')
const fs = require('fs')
const sslOptions = {
  key: fs.readFileSync('./ssl/server.key'),
  cert: fs.readFileSync('./ssl/server.pem')
}

https.createServer(sslOptions, app.callback()).listen(port, () => {
  console.log('server start up at https://localhost:' + port)
})

启动应用即可看到效果。

node index.js

Nginx代理静态资源

下面讲解如何在CentOS机器上,使用Nginx + letsencrypt为静态网站开启HTTPS。

注: Ubuntu版本参考这里

1.首先更新yum仓库(需要等待一段时间)

yum update

2.安装Nginx

yum install nginx

可以先跑一下Nginx

nginx

然后在浏览器访问www.example.com, 如果看到Nginx的欢迎页, 说明安装成功

3.安装letsencrypt以获取免费证书

yum install letsencrypt

修改Nginx配置:

vi /etc/nginx/nginx.conf

找到80关键字,强制对80端口的请求重定向到HTTPS协议

server {
  listen 80;
  location / {
    # 补充下面一行
	  return 302 https://$host$request_uri;
   }
}

找到443关键字, 把注释打开, 即把#去掉

# HTTPS server
# 把下面的注释全部打开
server {
  listen       443 ssl http2 default_server;
  server_name  localhost;

  ssl_certificate      cert.pem;
  ssl_certificate_key  cert.key;

  ssl_session_cache    shared:SSL:1m;
  ssl_session_timeout  5m;

  ssl_ciphers  HIGH:!aNULL:!MD5;
  ssl_prefer_server_ciphers  on;

  location / {
    root   html;
    index  index.html index.htm;
  }
}

假设静态文件的根路径为 /path/dir, 把它写在Nginx配置文件里

location / {
  # 修改下面一行
  root   /path/dir;
  index  index.html index.htm;
}

根据路径以及域名,生成证书及密钥

sudo letsencrypt certonly -a webroot --webroot-path=/path/dir -d www.example.com

成功后, 控制后会打印出生成文件的路径, 把它们写在Nginx配置文件里

ssl_certificate "/etc/letsencrypt/live/www.example.com/fullchain.pem";
ssl_certificate_key "/etc/letsencrypt/live/www.example.com/privkey.pem";

4.查检openssl版本

openssl version

如果版本大于等于1.02, 那就是ok的, 否则, 需要升级openssl.

如何升级? 如果使用最新内核的Linux操作系统, 是不会遇到这种问题的, 真的遇到了, 自己google吧😄

5.重启Nginx

nginx -s reload

重新访问你的站点, 发现地址栏多了一把绿色的锁, 恭喜, 这正是使用HTTPS协议的标志!

6.定期更新证书

因为Let’s Encrypt 的证书90天就过期了, 所以可以写个定时任务

crontab -e
0 0 * * 1 /usr/bin/letsencrypt renew >> /var/log/letsencrypt-renew.log
5 0 * * 1 /bin/systemctl reload nginx

每星期1的0点0分执行更新操作,0点5分执行Nginx 重启

@zqWu
Copy link

zqWu commented Jun 3, 2019

我来letsencrypt 实践一波

@donhac
Copy link

donhac commented Jun 11, 2019

Thanks @levy9527 , you save my day 💯

add the way I am doing it on Kong, if you use docker, change the listening ports like this :

-p 80:8000 -p 443:8443

then, configure Certs with Konga :

image

@levy9527 levy9527 changed the title 🔒免费开启HTTPS 🔒免费开启HTTPS Jun 12, 2019
Sign up for free to join this conversation on GitHub. Already have an account? Sign in to comment
Labels
None yet
Projects
None yet
Development

No branches or pull requests

3 participants