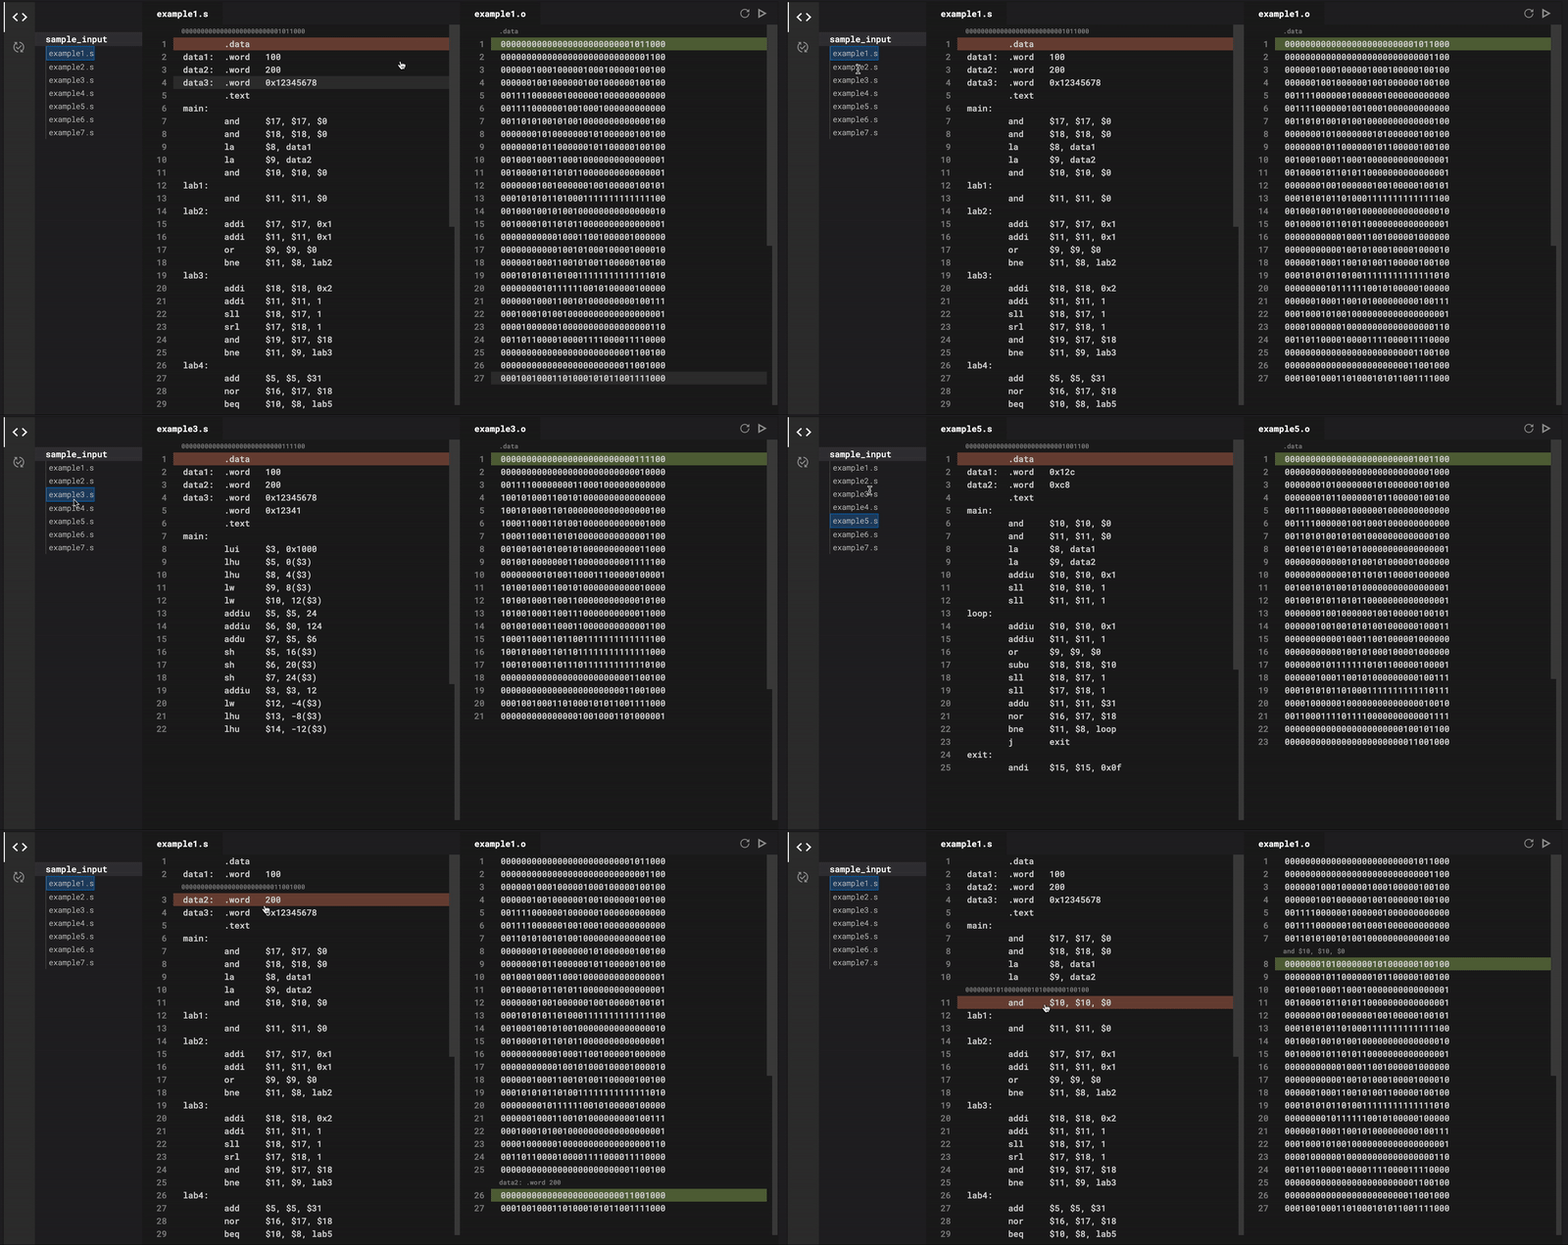
You can use Node.js MIPS Simulator with npm
⚠️ ChangesExample code in this document is working in
>= version 2.1.5if you are using previous version, please read
⚠️ Changes
This open source provides functions to implement MIPS simulation in node.js environment.
We currently support functions that assembler - convert an assembly file to a binary file and simulator - simulate actual assembly files.
$ npm install --save mips-simulator-jsassemble provides some functions for making binary file to assembly file.
function for parsing binary file to string array.
export function makeInput(inputFolderName: string, inputFileName : string) {
    return assemblyInput : string[]
}function for making file from string array to binary file.
export function makeObjectFile(
  outputFolderPath: string,
  outputFileName: string,
  content: string[],
) {
  return;
  // make .o file to outputFolderPath
}function for convert assembly instructions to binary instructions.
arrayOutputTypehas deleted, assemble function only return string[] as output.
arrayOutputType: if you want to get output with string, it should be false (default : true (string array))
mappingDetailRequest: if you want to get mapping data (which assembly instruction map into specific binary instruction), it should be true (default : false)
interface IAssemble {
  output: string[];
  mappingDetail: IMapDetail[] | null;
}

export function assemble = (
  assemblyInstructions: string[],
  mappingDetailRequest = false
) {
  ...
  return {output, mappingDetail} : IAssemble
};
Mapping Detail Sample
const mappingDetailOutput: IMapDetail[] = [
 {
    key: 0,
    assembly: "\t.data",
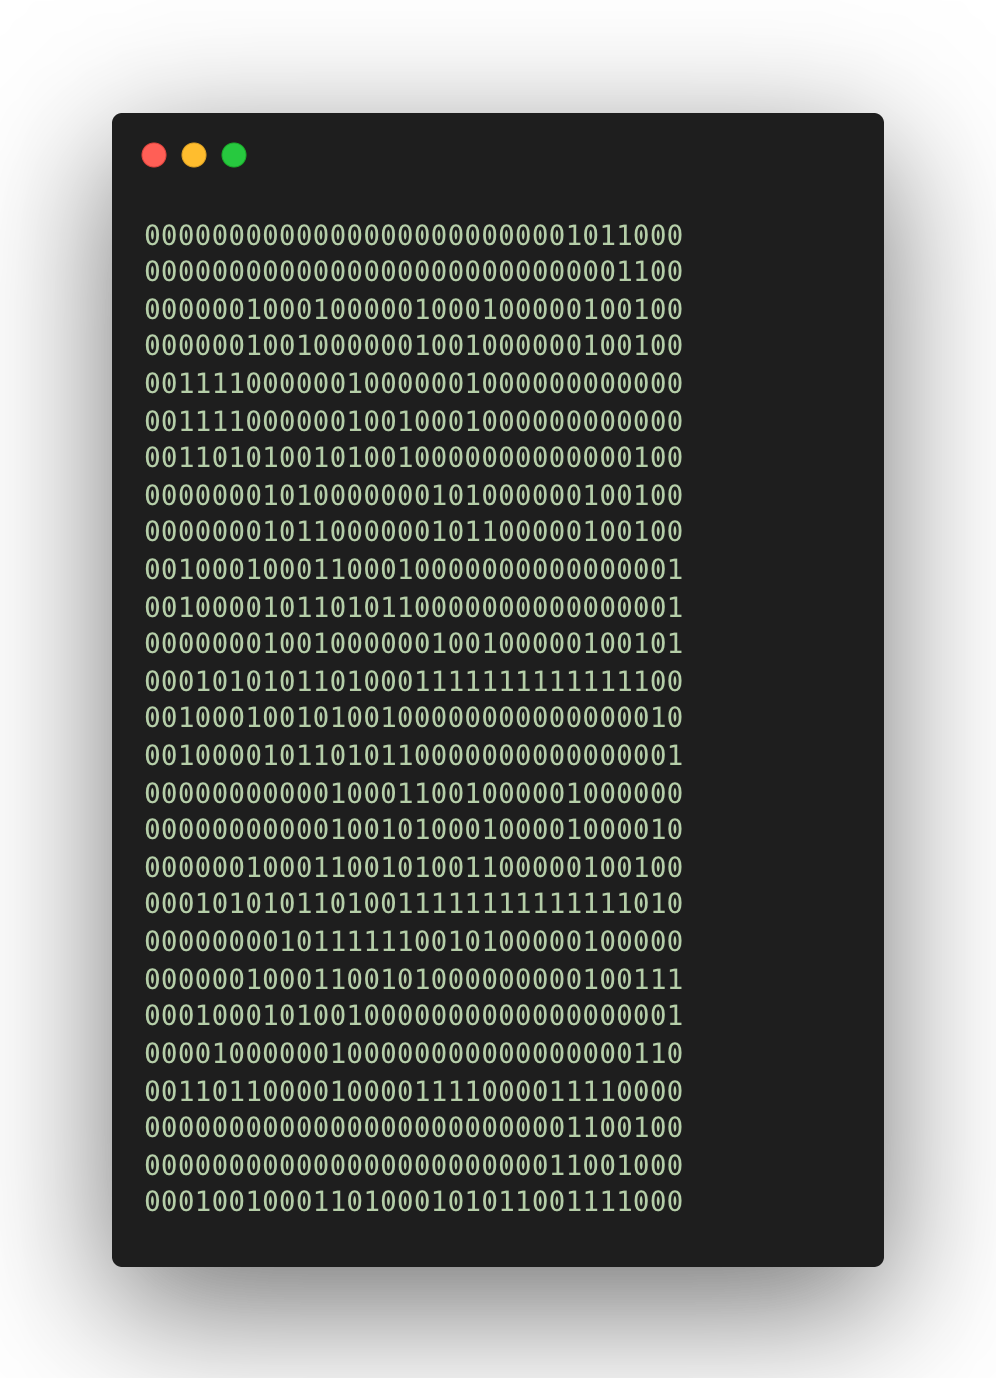
    binary: [{ lineNumber: 0, data: "00000000000000000000000001011000" }],
  },
    {
    key: 1,
    assembly: "data1:\t.word\t100",
    binary: [{ lineNumber: 24, data: "00000000000000000000000001100100" }],
  },
  ...{
    key: 6,
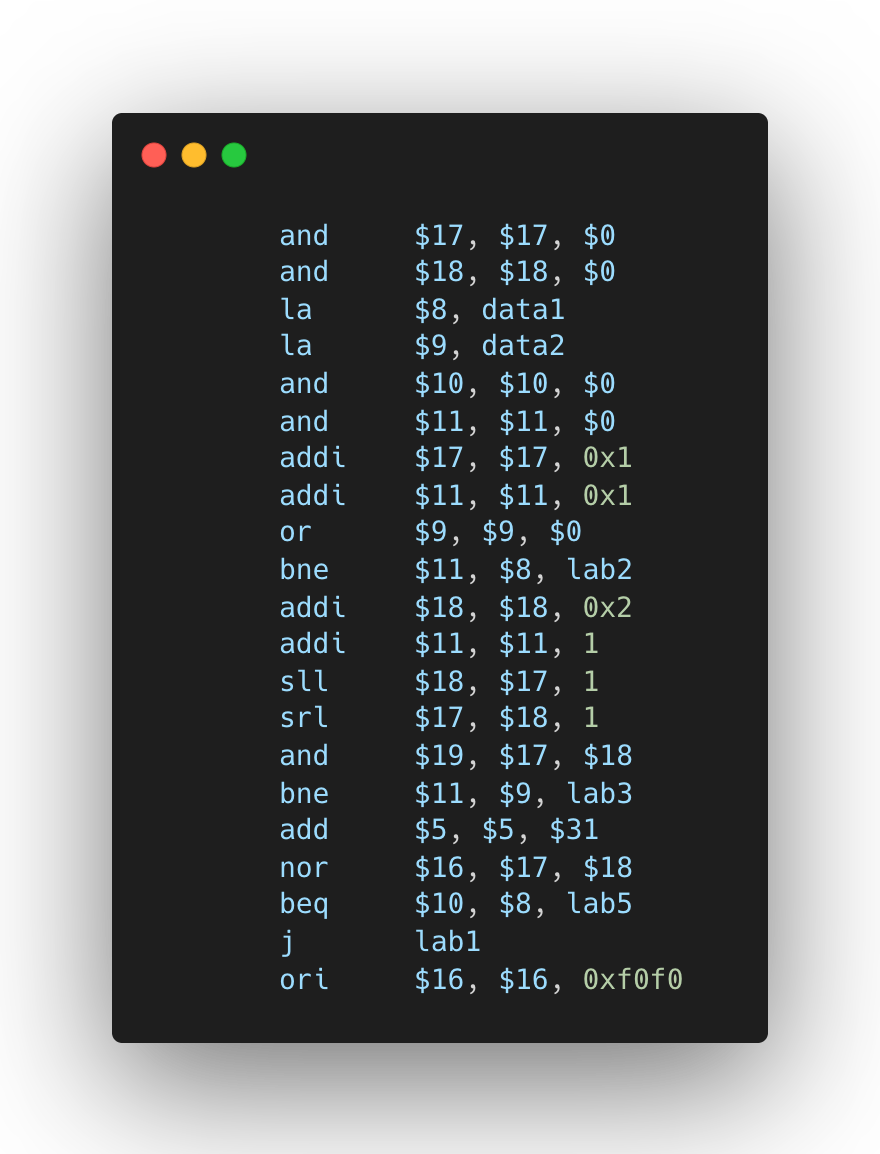
    assembly: '\tand\t$17, $17, $0',
    binary: [{lineNumber: 2, data: '00000010001000001000100000100100'}],
  },
  {
    key: 7,
    assembly: '\tand\t$18, $18, $0',
    binary: [{lineNumber: 3, data: '00000010010000001001000000100100'}],
  },
  ...{
    key: 9,
    assembly: '\tla\t$9, data2',
    binary: [
      {lineNumber: 5, data: '00111100000010010001000000000000'},
      {lineNumber: 6, data: '00110101001010010000000000000100'},
    ],
  },
  ...{
    key: 29,
    assembly: '\tj\tlab1',
    binary: [{lineNumber: 22, data: '00001000000100000000000000000110'}],
  },
  {key: 30, assembly: 'lab5:', binary: []},
  {
    key: 31,
    assembly: '\tori\t$16, $16, 0xf0f0',
    binary: [{lineNumber: 23, data: '00110110000100001111000011110000'}],
  },
];
function for getting
simulating dataas result or process
cycle: the number of step requested by user for instructions
returnCycles: if user want to get process data, returnCycles should be True. (default : false)
export interface simulatorOutputType {
  PC: string;
  registers: {[key: string]: string};
  dataSection: {[key: string]: string} | Record<string, never>;
  stackSection: {[key: string]: string} | Record<string, never>;
}

export interface ISimulatorOutput {
  result: simulatorOutputType;
  history: simulatorOutputType[] | null;
}

export function simulator(
  assemblyInstructions: string[],
  cycleNum: number,
  returnHistory = false,
): Promise<ISimulatorOutput> {
  ...
  return  returnHistory ? {result, history: CYCLES} : {result, history: null};
};
output (after number of cycle)
{
     PC: '0x00400058',
     registers: {
       R0: '0x00000000',
       R1: '0x00000000',
       R2: '0x00000000',
       R3: '0x0000000a',
       R4: '0x10000000',
       R5: '0x00000000',
       R6: '0x00000000',
       R7: '0x00000000',
       R8: '0x00000000',
       R9: '0x00000000',
       R10: '0x00000000',
       R11: '0x00000000',
       R12: '0x00000000',
       R13: '0x00000000',
       R14: '0x00000000',
       R15: '0x00000000',
       R16: '0x00000000',
       R17: '0x00000000',
       R18: '0x00000000',
       R19: '0x00000000',
       R20: '0x00000000',
       R21: '0x00000000',
       R22: '0x00000000',
       R23: '0x00000000',
       R24: '0x00000000',
       R25: '0x00000000',
       R26: '0x00000000',
       R27: '0x00000000',
       R28: '0x00000000',
       R29: '0x80000000',
       R30: '0x00000000',
       R31: '0x00000000'
     },
     dataSection: {
       '0x10000000': '0x00000001',
       '0x10000004': '0x0000000a',
       '0x10000008': '0x00000000'
     },
     stackSection: {
       '0x7ffffff4': '0x0000000a',
       '0x7ffffff8': '0x00000000',
       '0x7ffffffc': '0x00000000'
     }
   }
// import functions
import { assemble } from "mips-simulator-js";

/*
 *   if the inputFilePath is '/Users/user/simulator/sample_input/sample/example1.s',
 *   currDirectory : '/Users/user/simulator'
 *   inputFolderPath : 'sample_input/sample'
 *   inputFileName: 'example1.s'
 */
const inputFolderName = 'sample_input/sample';
const inputFileName = 'example1.s';
/*
 *   if the outputFilePath is '/Users/user/simulator/sample_input/sample/example1.s',
 *   currDirectory : '/Users/user/simulator'
 *   outputFolderPath : 'sample_input/sample'
 *   outputFileName: 'example1.o'
 *   content : ['01010', '01010']
 */
const outputFolderPath = 'sample_input/sample';
const outputFileName = 'example1.o';

const assemblyInstructions = makeInput(inputFolderName, inputFileName);
const { output, mappingDetail } = assemble(assemblyInstructions);

makeObjectFile(outputFolderPath, outputFileName, output);// import functions
import { simulator } from "mips-simulator-js";
const inputFolderName = 'sample_input/sample';
const inputFileName = 'example1.s';
/*
* input : assemblyInstructions: string[], cycle: number, returnCycles: boolean
* assemblyInstructions is same as assemblyInstructions in assemble function above.
* cycle is the number of cycles you want to execute.
* Executing one cycle means that executing one instruction.
* returnCycles determines the type of return.
* If returnCycles = false (default), Returns only the final form of the result.
* If returnCycles = true, Returns an object containing information of all cycles.
ex) returnCycles = false, you can use this function as below form.
const result = simulator(makeInput('sample_input', 'example1.s'), 10000, false)
ex) returnCycles = true, you can use this function as below form.
interface SimulatorResult {
output: simulatorOutputType;
cycles: simulatorOutputType[];
}
*/
const assemblyInstructions = makeInput(inputFolderName, inputFileName);
const fetchSimulator = async (fileContent: string[] | null) => {
const output = await simulator(fileContent, 1000, true);
return output;
};
const {result, history} = fetchSimulator(assemblyInstructions);You can check out the code and example from mips-react-example-ts
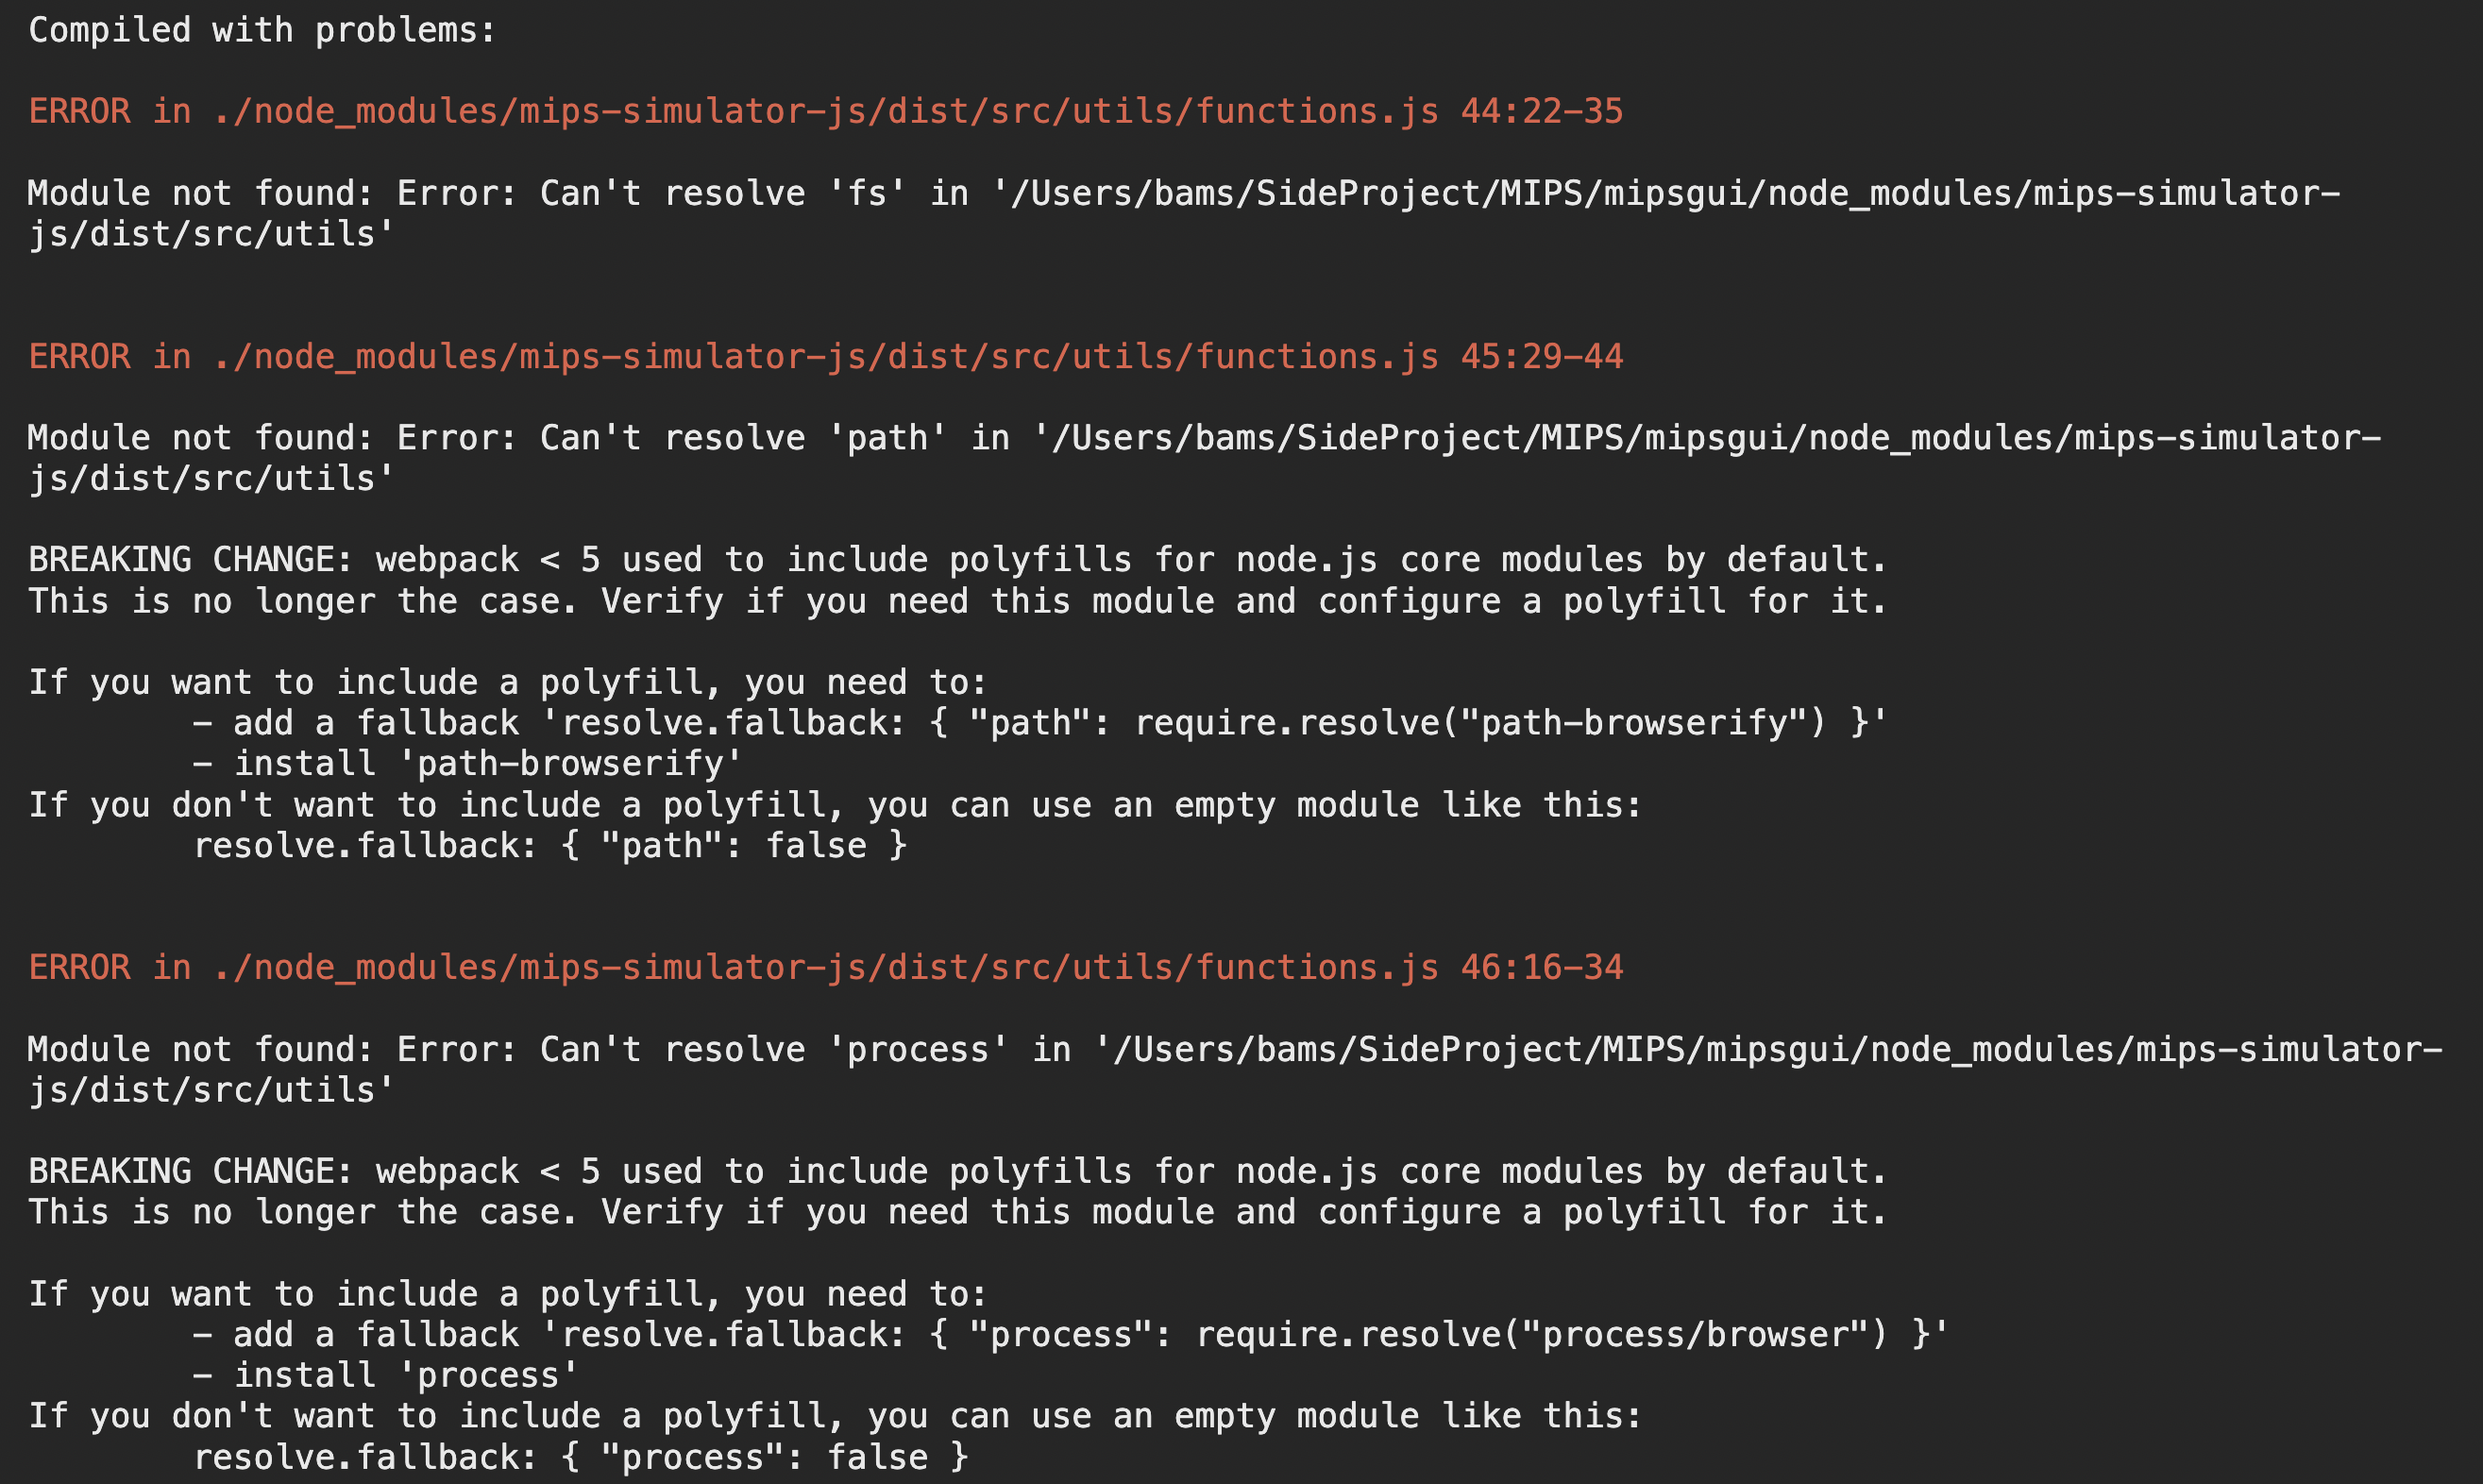
If you use this npm package in your react or next project, problems will occur in the 'fs', 'path', and 'process' parts that load files.
This problem is caused by the webpack version. For details, refer to the webpack official documentation.
The solution is to change the webpack configuration to false as shown below and import the file using fetch.
- Change webpack config and package settings
// node_modules/react-scripts/config/webpack.config.json
module.exports = function (webpackEnv) {
  // ...
  return {
    // ...
    resolve: {
      // ...
      // Add This!👇
      fallback: {
        "fs": false,
        "path": false,
        "process": false,
      },
      // ...
    }
  }
}
// package.json
{
	// ...
  "dependencies": {},
  "devDependencies": {},

  // Add This👇️
  "browser": {
    "fs": false,
    "os": false,
    "path": false
  }
}- Creating a file calling function using fetch (This function is a replacement for 'makeInput' provided by the library for use in
React/Next.)
const fetchFile = async (filePath: string) => {
  await fetch(filePath)
    .then(response => response.text())
    .then(text => {
      // Create a function to use and put it here!
    });
};

// Example

const [fileContent, setFileContent] = useState('');
const [binaryInstruction, setBinaryInstruction] = useState<string[] | null>(
    null
  );

useEffect(() => {
  const fetchFile = async (filePath: string) => {
    await fetch(filePath)
      .then(response => response.text())
      .then(text => {
        setFileContent(text.split('\n'));
      });
  };
  const filePath = `sample_input/example01.s`;
  fetchFile(filePath);
}, [setFileContent]);

useEffect(() => {
  if (fileContent)
    setBinaryInstruction(assemble(fileContent).split("\n"));
}, [fileContent]);In the browser, unlike in the local environment, only files or documents in the public path can be used, and the default path is automatically designated as public. Therefore, the assembly file to be converted into an object file using assembler must be stored in the public folder.
arrayOutputType has deleted, assemble function only return string[] as output.
Add data section, text section size, binary value of data segment and PC to the mapping table.
arrayOutputType : if you want to get output with string, it should be false (default : true (string array))
mappingDetailRequest: if you want to get mapping data (which assembly instruction map into specific binary instruction), it should be true (default : false)
assemblerFile=>assemblyInstructions(inassemble,simulator)cycle=>cycleNum(insimulator)returnCycles=>returnHistory(insimulator)
>= version 2.1.3
ISimulatorOutput=>Promise<ISimulatorOutput>(insimulator)
>= version 2.1.1
output=>{output, mappingDetail}(inassemble)ISimulatorOutput | simulatorOutputType=>ISimulatorOutput(insimulator)
you can check MIPS Reference å In this library, we support below instructions
| Instruction | Format | opcode | funct |
|---|---|---|---|
| SLL | R | 000000 | 000000 |
| SRL | R | 000000 | 000010 |
| JR | R | 000000 | 001000 |
| ADD | R | 000000 | 100000 |
| ADDU | R | 000000 | 100001 |
| AND | R | 000000 | 100100 |
| NOR | R | 000000 | 100111 |
| OR | R | 000000 | 100101 |
| SLT | R | 000000 | 101010 |
| SLTU | R | 000000 | 101011 |
| SUB | R | 000000 | 100010 |
| SUBU | R | 000000 | 100011 |
| LUI | I | 001111 | null |
| BEQ | I | 000100 | null |
| BNE | I | 000101 | null |
| LW | I | 100011 | null |
| LHU | I | 100101 | null |
| SW | I | 101011 | null |
| SH | I | 101001 | null |
| ADDI | I | 001000 | null |
| ADDIU | I | 001001 | null |
| ANDI | I | 001100 | null |
| ORI | I | 001101 | null |
| SLTI | I | 001010 | null |
| SLTIU | I | 001011 | null |
| J | J | 000010 | null |
| JAL | J | 000011 | null |
la $2, VAR1
-
VAR1is a label in the data section. It should be converted to lui and ori instructions. -
lui $register, upper 16bit address ori $register, lower 16bit address If the lower 16bit address is 0x0000, the ori instruction is useless.
-
Case1) load address is 0x1000 0000
lui $2, 0x1000 -
Case2) load address is 0x1000 0004
lui $2, 0x1000
ori $2, $2, 0x0004
-
move $1, $2
It should be converted to add instruction with $0 as a target register(rt).
If you want to contribute to mips-simulator-js, please come in Git Repository and clone!
We have completed building CI, and test automation is also ready.
We are using testing library with jest
All work on Mips-simulator-js happens directly on Github. Both core team members and external contributors send pull requests which go through the same review process.
Thank you for your interest in contributing to Mips-simulator-js. Before you begin writing code, it is important that you share your intention to contribute with the team, based on the type of contribution
-
You want to propose a new feature and implement it.
- Post about your intended feature in an issue, then implement it.
- We suggest that the branch name that you implement is better to be {type}/{issue number}/{issue name}. ex) feature/118/githubAction, bugfix/120/typo
-
You want to implement a feature or bug-fix for an outstanding issue.
- Search for your issue in the Mips-simulator-js issue list.
- Pick an issue and comment that you'd like to work on the feature or bug-fix.
- If you need more context on a particular issue, please ask and we shall provide.
-
Open pull request
- You implement and test your feature or bug-fix, please submit a Pull Request to https://github.com/mipsSimulatorUNIST/simulator/pulls with some test case.
- Once a pull request is accepted and CI is passing, there is nothing else you need to do. we will check and merge the PR for you.
Always opening to join this project for developing this library.
❗️ISSUE →
$ npm install typescript -gLicensed under the MIT License, Copyright © 2023-present MIPS-Simulator-UNIST


