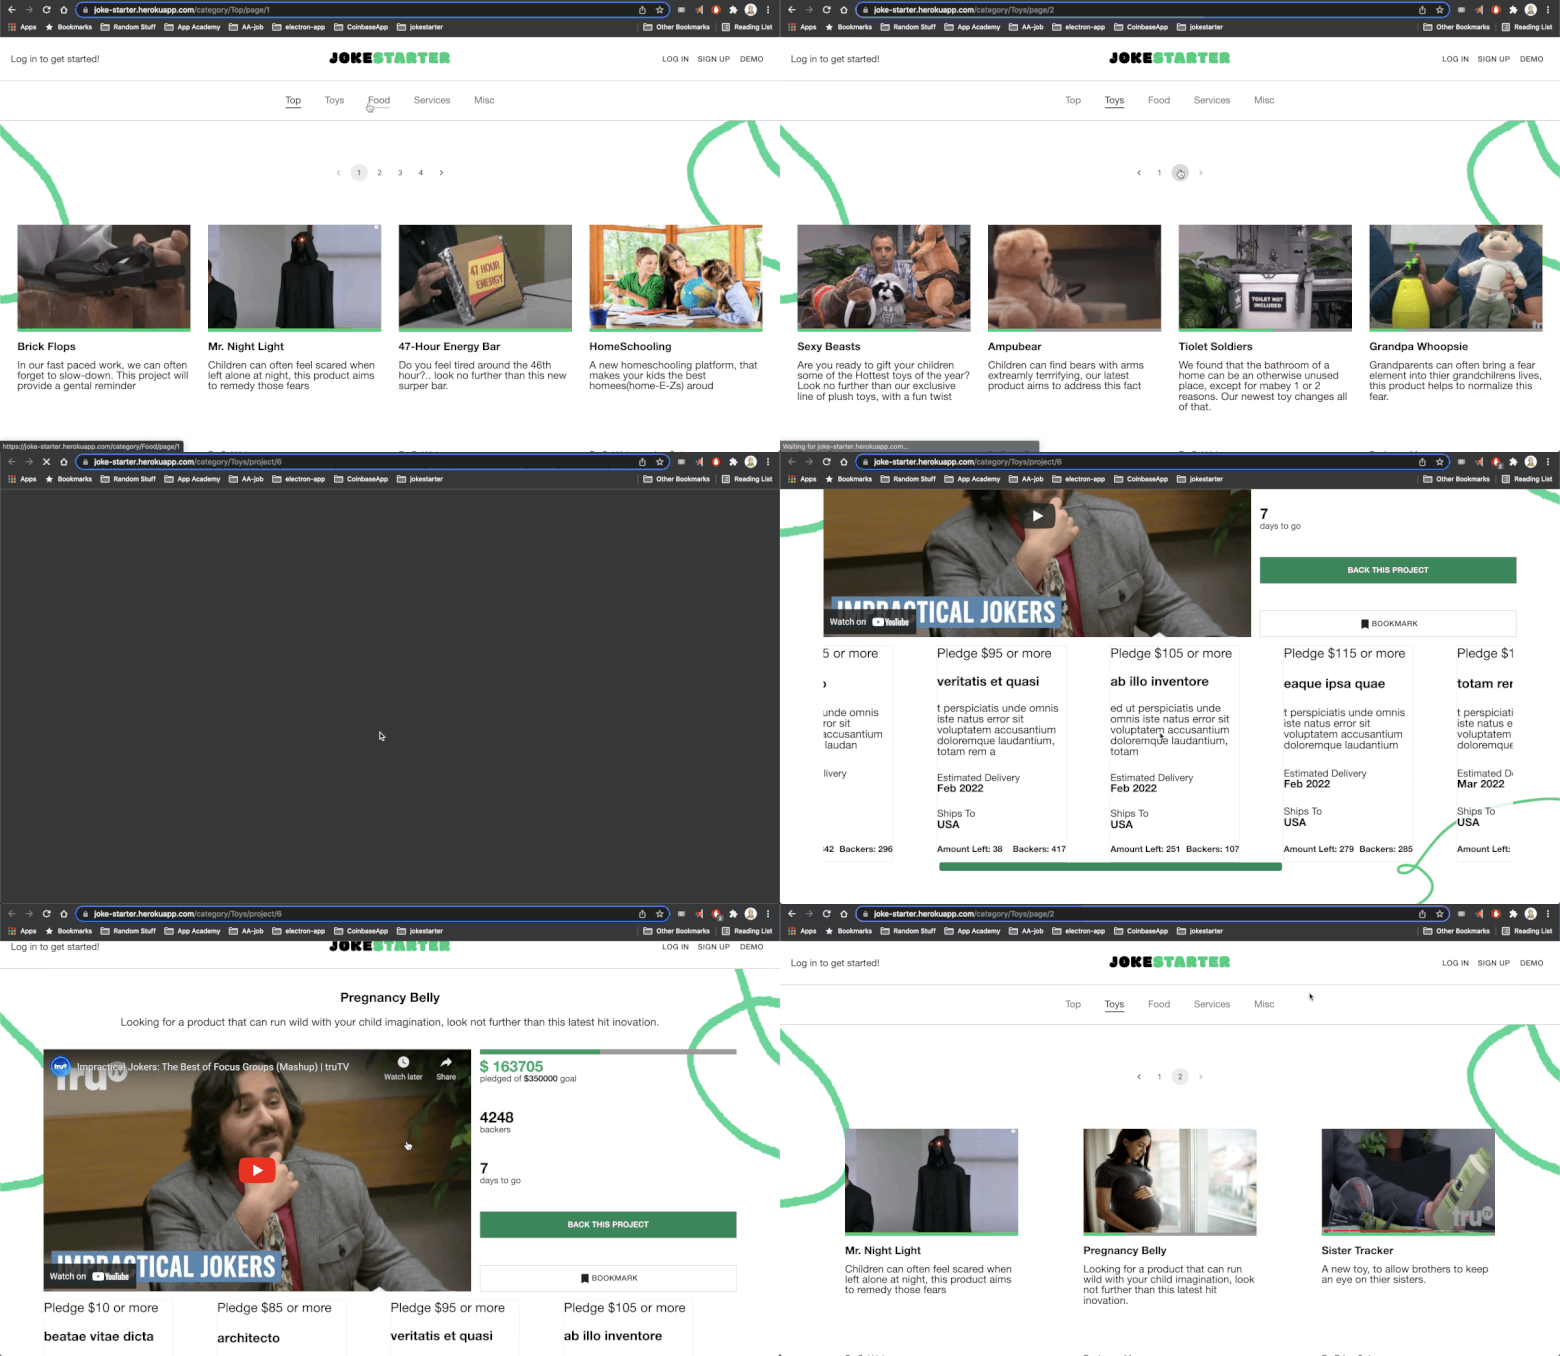
Jokestarter is a human driven, crowd-sourcing platform that allows people to bring to the market the greatest products from the hit TV show, Impractical Jokers.
Wiki: Jokestarter Application Details
-
Use a modern JS Library/Framework like React, Angular, etc. We suggest using React.js.
- The Jokestarter application uses React for the frontend. -
Create an application that can be interacted within a minimum of three different ways by the user.
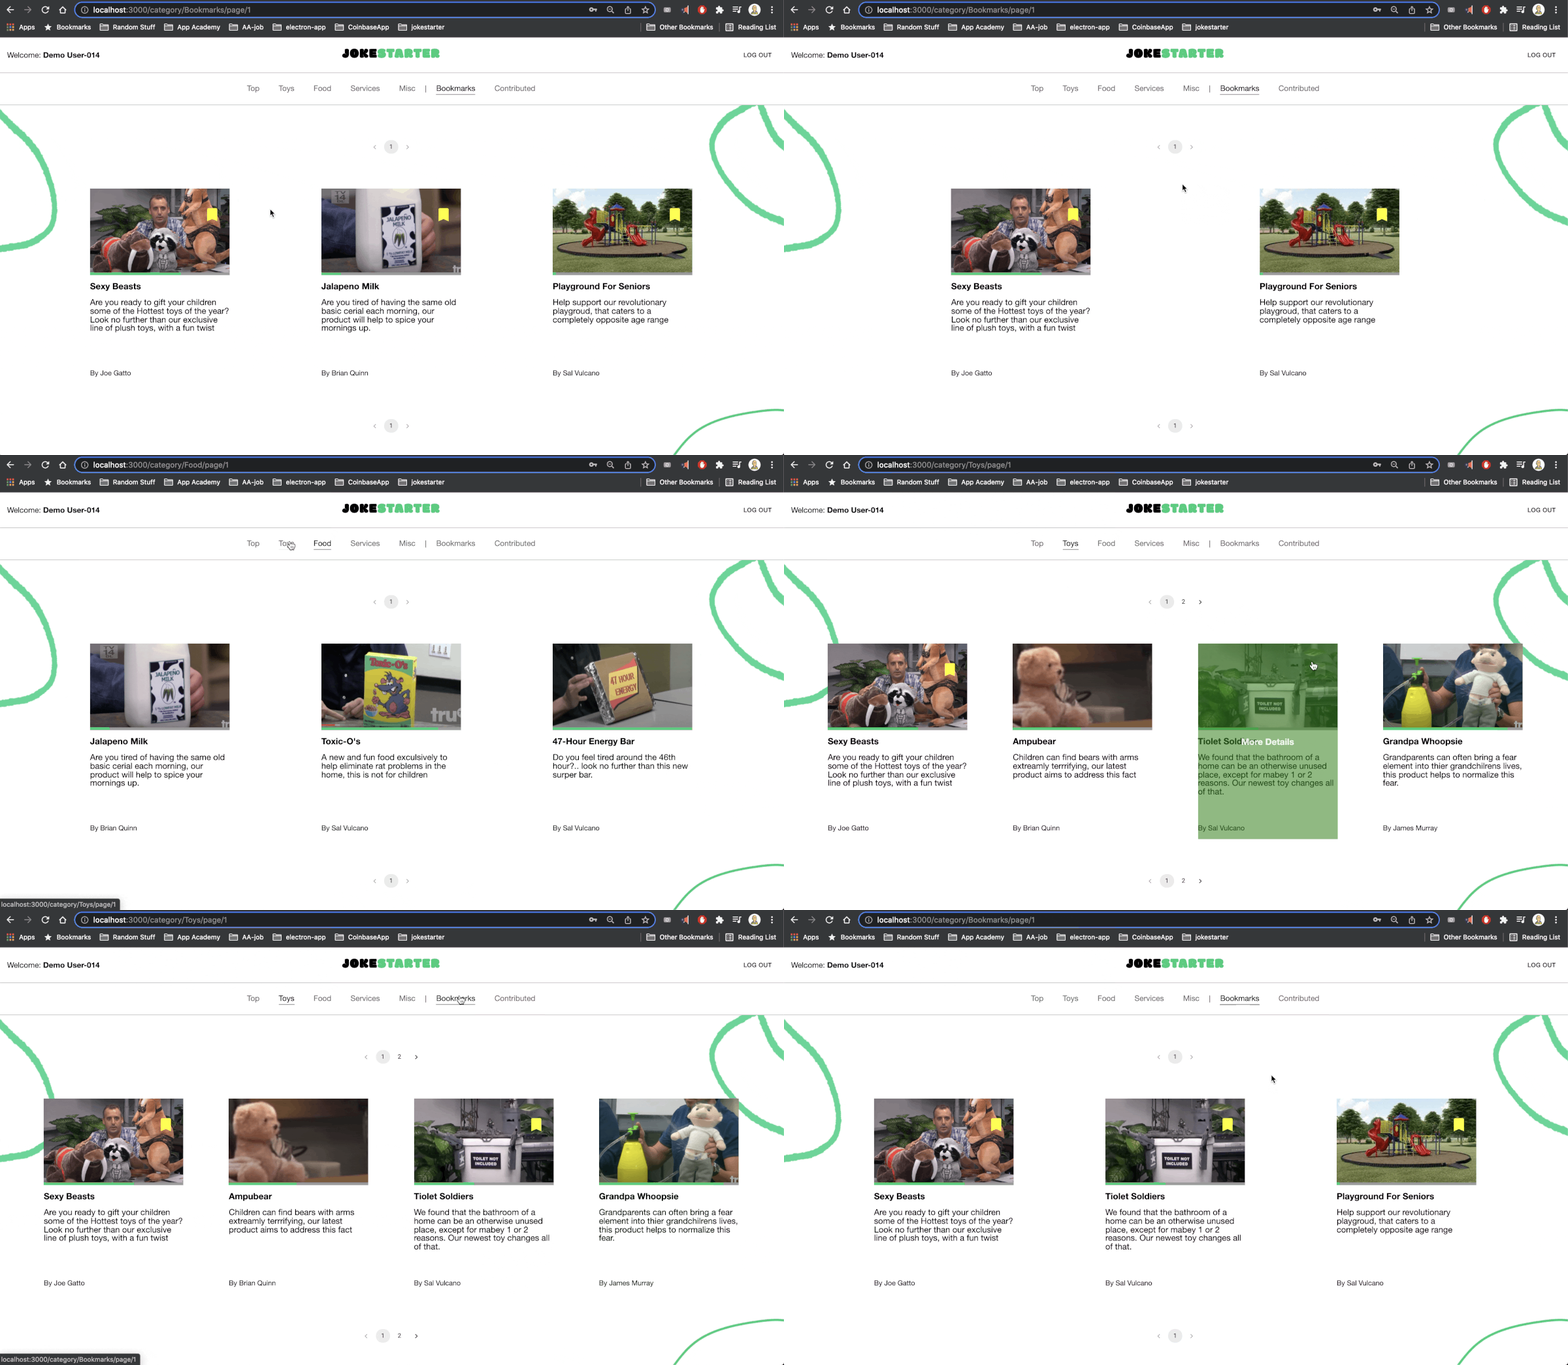
- The Jokestarter application consists of 4 features: User Profile, Projects, Bookmarks, and Contributions.- Further details on these features can be found in the Wiki/Feature List and the Wiki/User Stories.
-
Integration with a backend service developed by you, integrated with a PostgreSQL database, with CRUD (create, read, update, delete) operations.
- The Jokestarter application uses a custom-made API that utilizes the Sequelize ORM to interact with the PostgreSQL database in order to perform CRUD operations for the 4 site features.- Further details on the API and CRUD functionality can be found in the Wiki/API Documentation & Routes and the Wiki/Application Architecture.
-
The usage of a specified architectural pattern (MVC, MVP, MVVM, etc.).
- The Jokestarter application is designed with an MVC architecture.- Further details on the mapping of the architecture to the application can be found in the Wiki/Application Architecture.
-
Integration of a third party RESTful API.
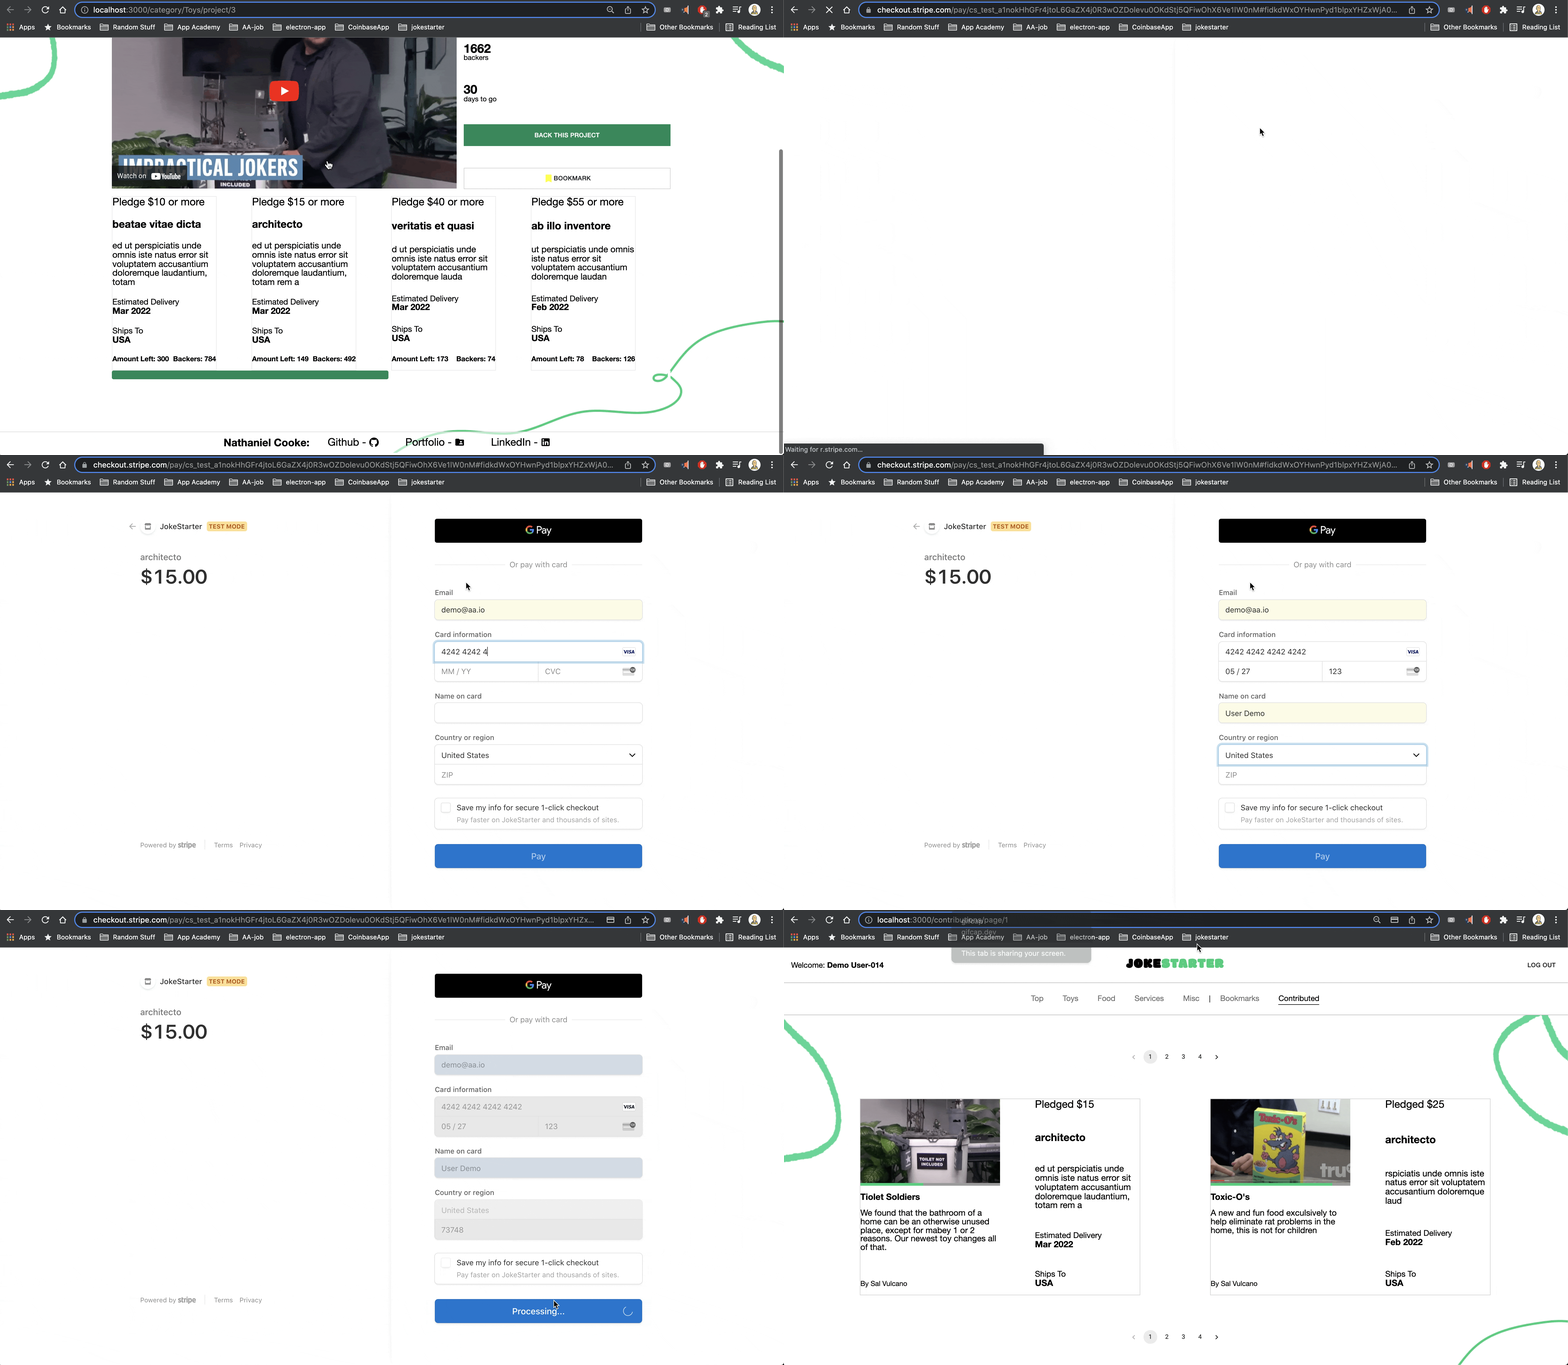
- The Jokestarter application uses the Stripe API to process payments.- Note: The current state of the app uses a test key, further details on how to make payments can be found below.
-
Usage of at least 5 UI components from the
material-ui/@core library.
-
Modal
@mui/material/Modal -
Icon
@mui/icons-material/GitHub- Bookmark - Dislike Thumb - Github - Folder - LinkedIn -
Pagination
@mui/material -
LinearProgress
@mui/material/LinearProgress -
Snackbar
@mui/material/Snackbarand MuiALert@mui/material/Alert -
Button
@material-ui/core/Button- DEMO - SIGN UP - BACK THIS PROJECT - BOOKMARK - CONTINUE
- An example of a reusable component that you have created and used in the app.
-ProjectTileis one example of a custom component that is used throughout the application.- The
ProjectTile.tsxcomponent can be see, being used by both theContributions.tsxandProjects.tsxcomponents.
- The
-
-
-
-
- Note: Test API key requirements to simulate making successful payment:
- Card Number: 4242 4242 4242 4242
- Expiration Date: any future date (i.e. 04/27)
- Note: Test API key requirements to simulate making successful payment:
- On the terminal, run
git clone https://github.com/nathanieldcooke/jokestarter.gitto download the project repo.- This will create a new directory on your local machine named
jokestarter.
- This will create a new directory on your local machine named
- Then create a user in the psql shell
- in the terminal, run
psql - in the terminal, run
CREATE USER <name_of_user> WITH CREATEDB PASSWORD '<password>'- the name_of_user and password can be whatever you want, just be sure to take note of them for later steps.
- exit the psql shell
\q
- in the terminal, run
cdintojokestarter/dist/backendand create a.envfile based on the.env.examplefile.PORT=5000- You can make the
PORTanything that's available, generally3000and5000are popular options and3000is taken by the react app.
- You can make the
DB_USERNAME=<name_of_user>- this will be the name of the user you set-up in earlier
psql
- this will be the name of the user you set-up in earlier
DB_PASSWORD=<password>- this will be the name of the user you set-up in earlier
psql
- this will be the name of the user you set-up in earlier
DB_DATABASE=<db_name><db_name>can be set equal to whatever name you want for the applications database.
DB_HOST=<db_host><db_host>is generally set tolocalhost
JWT_SECRET=<string>- the secret can be as simple a string as
passwordfor local demo purposes, production deployment should have a much stronger secret. UUID is a great way to generate a strong secret.
- the secret can be as simple a string as
- This will involve creating an account with the Stripe API, in order to generate the API key for payment processing.
cdintodist/backend, run:npm installnpx dotenv sequelize-cli db:createnpx dotenv sequelize-cli db:migratenpx dotenv sequelize-cli db:seed:allnpm start- This will install all backend dependencies, set-up the database, and start the backend server.
- On a separate terminal,
cdintodist/frontendrun:npm installnpm start.- This will install all frontend dependencies and start the frontend server.
Going beyond what has been noted in the project Wiki, here are the few additional design decisions that were made:
-
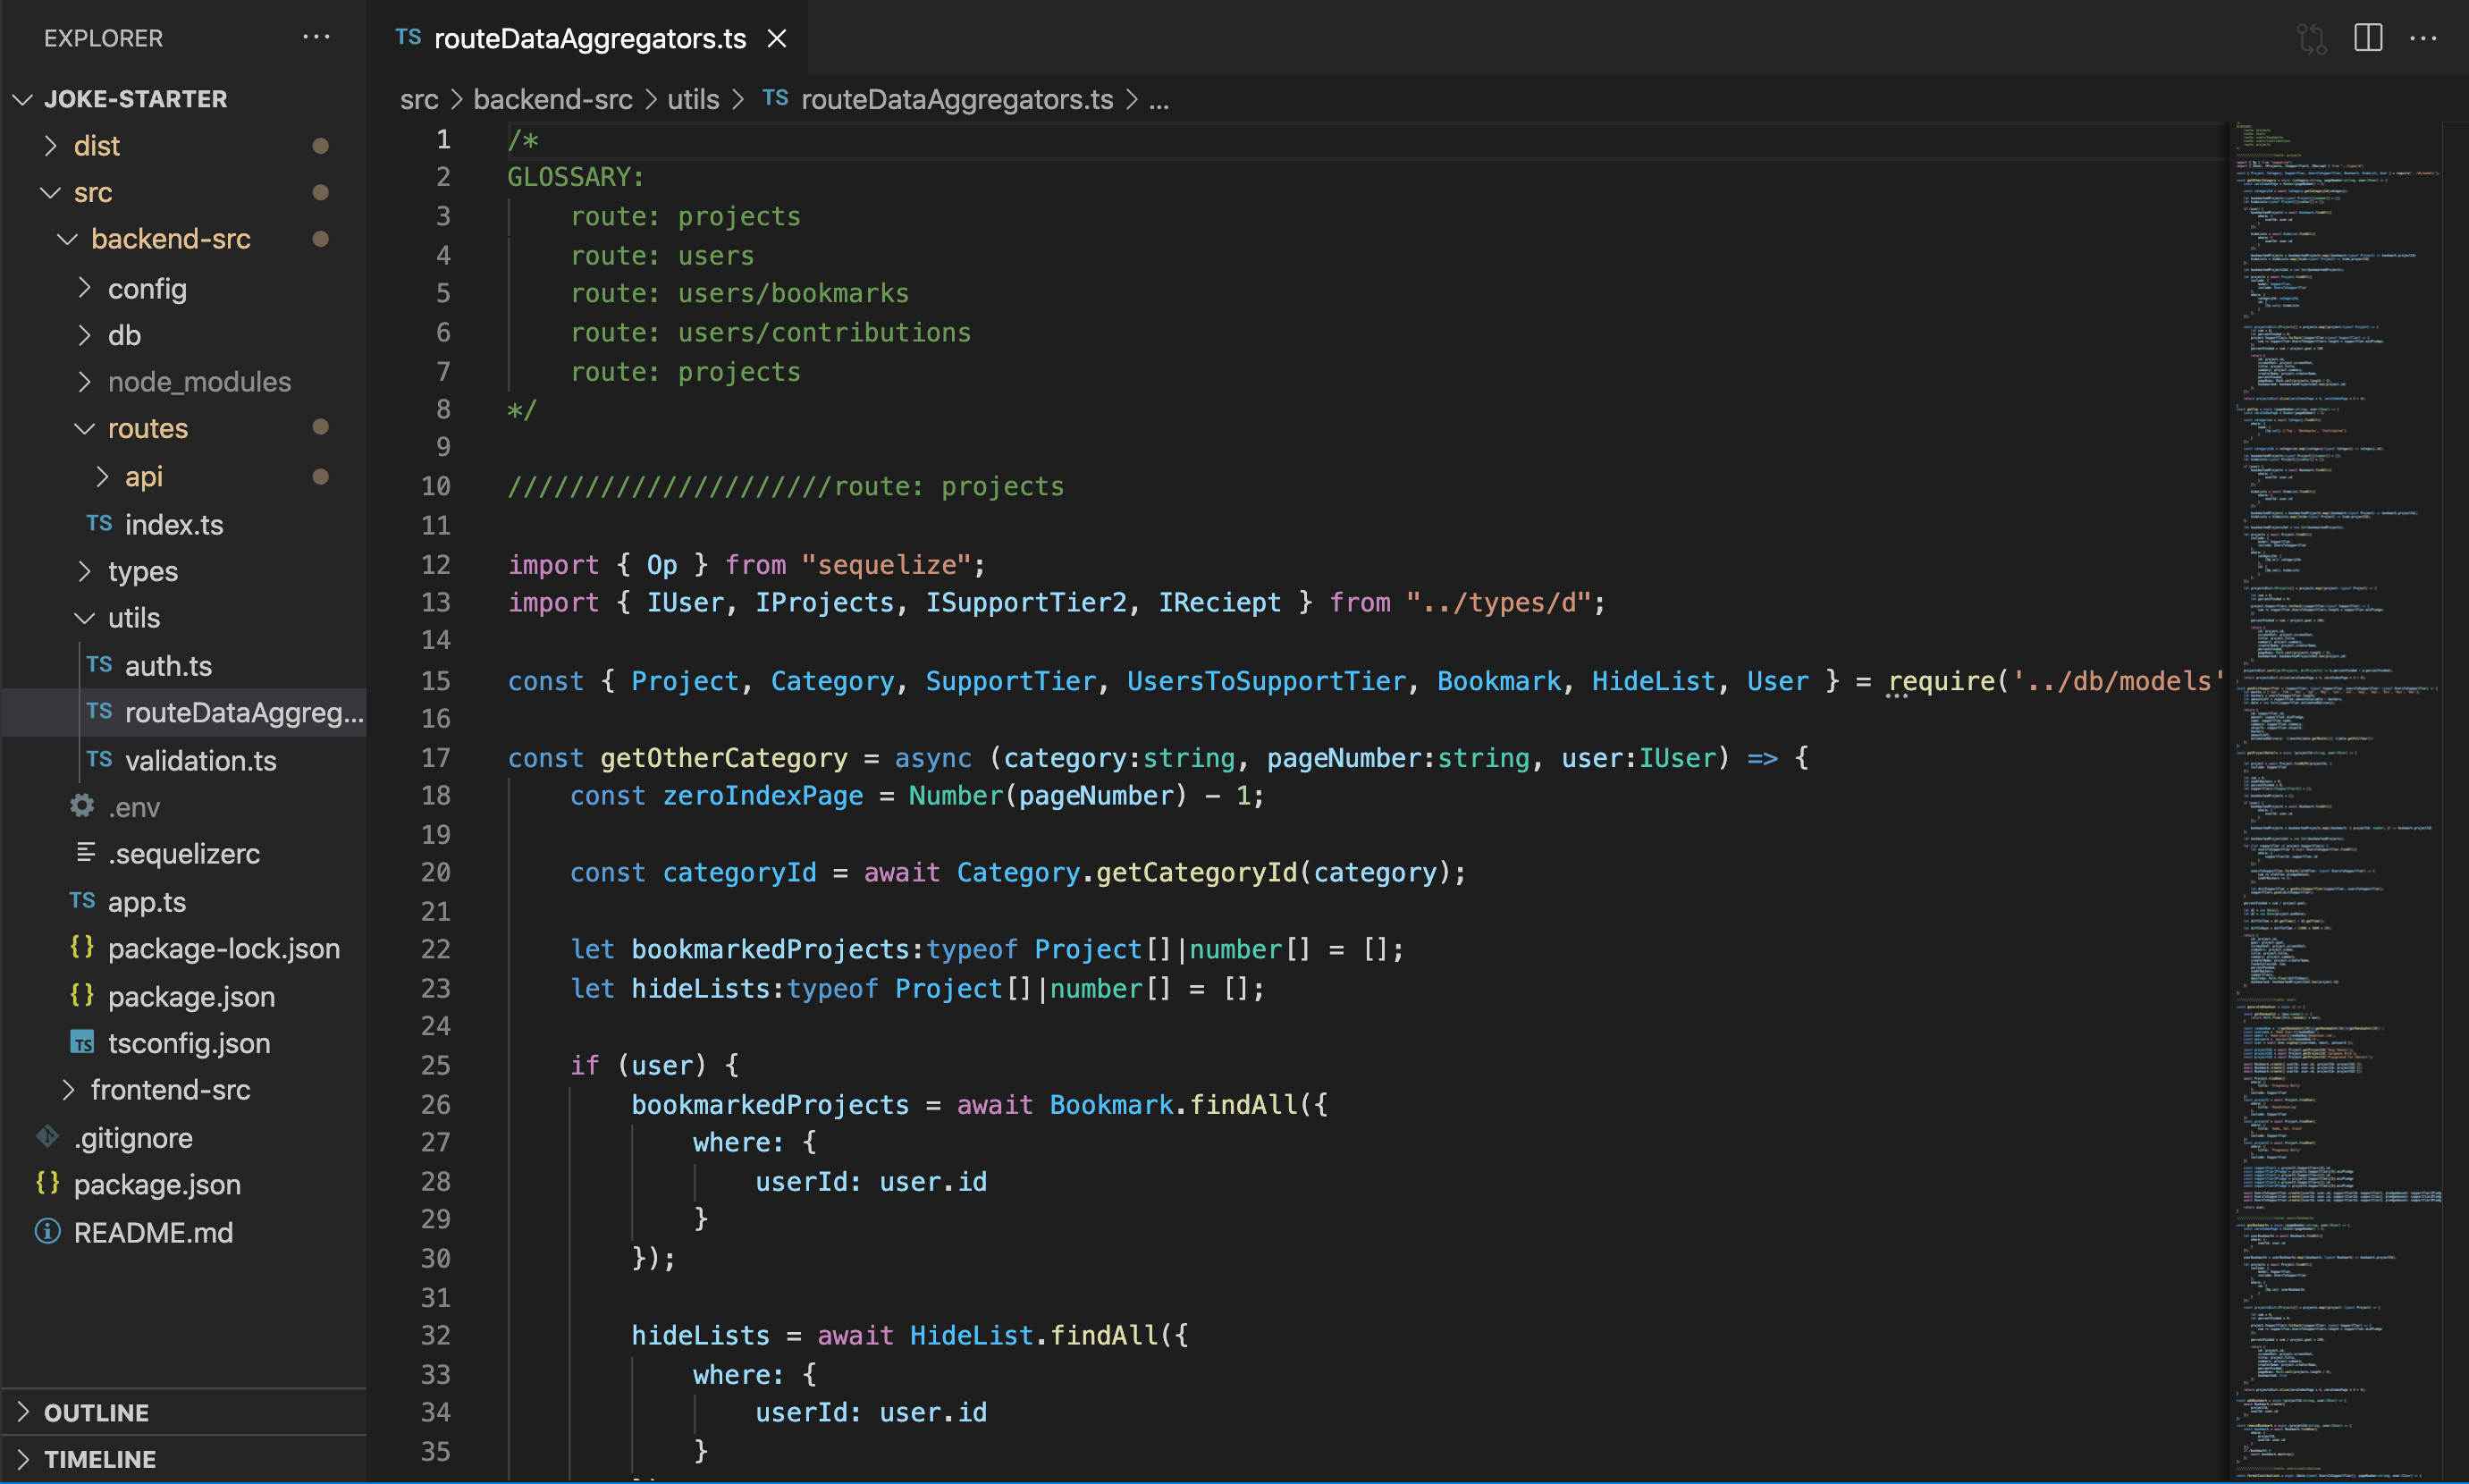
Separation and Vertical Orientation of route helper functions.
-
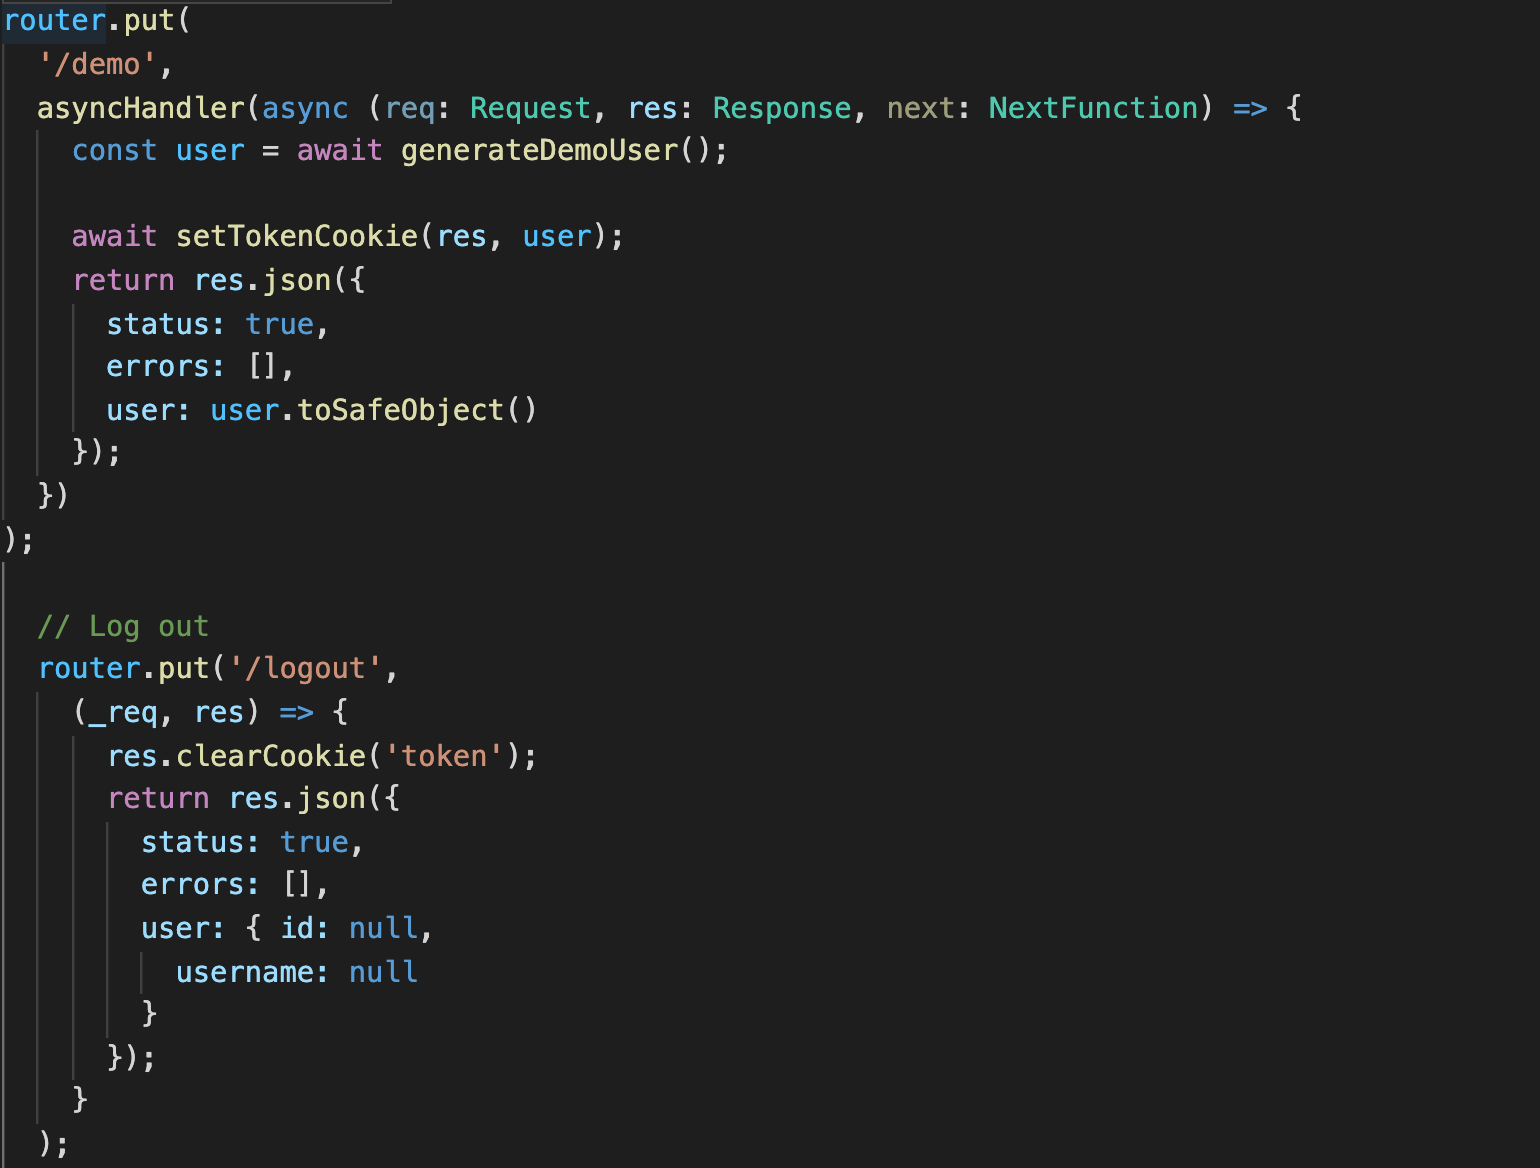
Generating and seeding a unique demo user upon clicking the
DEMObutton. -
Minimalist router design.


