There are two methods for doing inference/predicting voice activity in audio data.
Since it's difficult to get this to work in TF2.0, I decided to host it locally as a Docker/Flask server running TF1.15. You just need to build the docker image, start the server, then you can query it with np arrays of audio data using requests. To do this:
- Clone this repo, then cd into the root:
cd /path/to/vadnet - Build the docker image
docker build -t vadnet . - Start the Flask server in the Docker container
docker run -p 5001:5001 vadnet - Install the vadnet package locally
pip install -e vadnet-pkg/(this is optional - you could just extract 48khz audio arrays usinglibrosaor similar). - Run
python example_server_usage.py(or similar code) to query the server with your audio data.
- Clone the repo
cd /path/to/repo/vadnet-pkg- Make a virtualenv and
pip install -r requirements.txt(WARNING: this will install tensorflow==1.15, which may overwrite an existing installation of TF) - Install the
vadnetpackagepip install -e . - Run
python predict_audio.py /path/to/wavfile.wav
You can use the other checkpoints to predict gender or laughter if you like, e.g. usage:
python predict_audio.py /path/to/wavfile.wav --ckpt models/gender/model.ckpt-675023
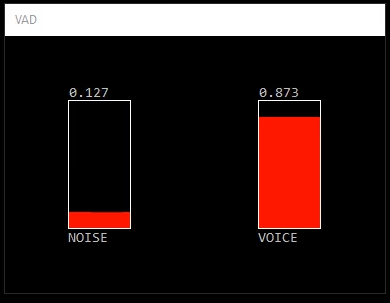
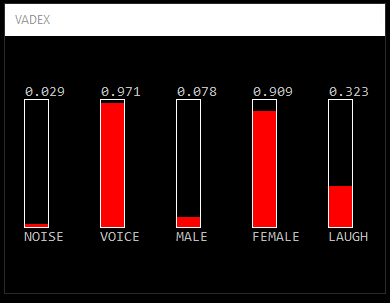
VadNet is a real-time voice activity detector for noisy enviroments. It implements an end-to-end learning approach based on Deep Neural Networks. In the extended version, gender and laughter detection are added. To see a demonstration click on the images below.
Windows
Visual Studio 2015 Redistributable (https://www.microsoft.com/en-us/download/details.aspx?id=52685)
do_bin.cmd - Installs embedded Python and downloads SSI interpreter. During the installation the script tries to detect if a GPU is available and possibly installs the GPU version of tensorflow. This requires that a NVIDIA graphic card is detected and CUDA has been installed. Nevertheless, VadNet does fine on a CPU.
do_vad[ex].cmd - Demo on pre-recorded files (requires 48k mono wav files)
do_vad[ex]_live.cmd - Capture from microphone and stream results to a socket
do_vad[ex]_loopback.cmd - Instead of a microphone capture from soundcard (loopback mode, see comments below)
do_vad_extract.cmd - Separates audio file into noisy and voiced parts (supports any audio format)
train\do_all.cmd - Performs a fresh training (downloads media files, creates annotations and trains a new network)
VadNet is implemented using the Social Signal Interpretation (SSI) framework. The processing pipeline is defined in vad[ex].pipeline and can be configured by editing vad[ex].pipeline-config. Available options are:
audio:live = false                   # $(bool) use live input (otherwise read from file)
audio:live:mic = true                # $(bool) if live input is selected use microphone (otherwise use soundcard)
model:path=models\vad                # path to model folder
send:do = false                      # $(bool) stream detection results to a socket
send:url = upd://localhost:1234      # socket address in format <protocol://host:port>
record:do = false                    # $(bool) capture screen and audio
record:path = capture                # capture path
If the option send:do is turned on, an XML string with the detection results is streamed to a socket (see send:url). You can change the format of the XML string by editing vad.xml. To run SSI in the background, click on the tray icon and select 'Hide windows'. For more information about SSI pipelines please consult the documentation of SSI.
The Python script vad_extract.py can be used to separate noisy and voiced parts of an audio file. For each input file <name>.<ext> two new files <name>.speech.wav and <name>.noise.wav will be generated. The script should handle all common audio formats. You can run the script from the command line by calling > bin\python.exe vad_extract.py <arguments>:
usage: vad_extract.py [-h] [--model MODEL] [--files FILES [FILES ...]] [--n_batch N_BATCH]

optional arguments:
  -h, --help            		show this help message and exit
  --model MODEL         		path to model
  --files FILES [FILES ...]		list of files
  --n_batch N_BATCH     		number of batches
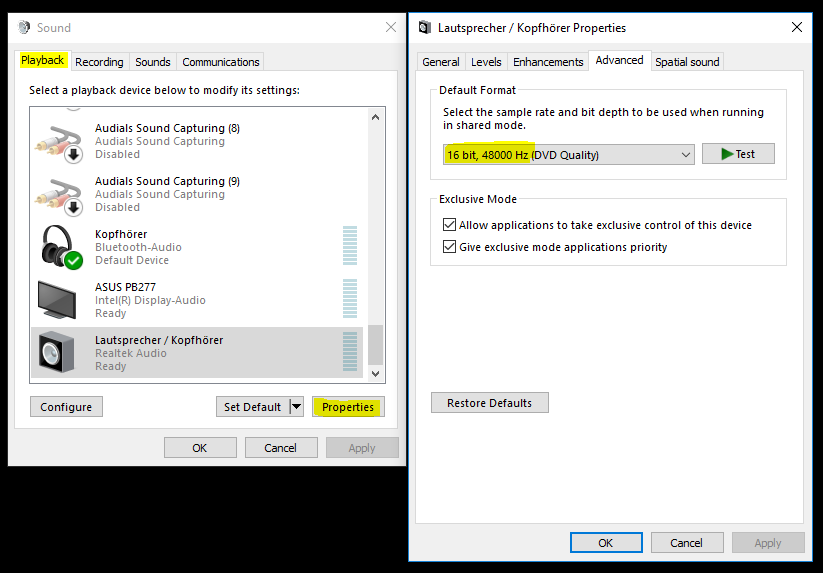
In loopback mode, whatever you playback through your soundcard will be analysed. Before using it please set the right output format for your soundcard. To do so, go to the Sound settings in the control panel, select your default playback device and click on Properties. Most devices will now allow you to set a default format. Choose 16 bit, 48000 Hz and press OK.
The model we are using has been trained with Tensorflow. It takes as input the raw audio input and feeds it into a 3-layer Convolutional Network. The result of this filter operation is then processed by a 2-layer Recurrent Network containing 64 RLU cells. The final bit is a fully-connected layer, which applies a softmax and maps the input to a tuple <noise, voice> in the range [0..1].
Network architecture:
We have trained the network on roughly 134 h of audio data (5.6 days) and run training for 25 epochs (381024 steps) using a batch size of 128.
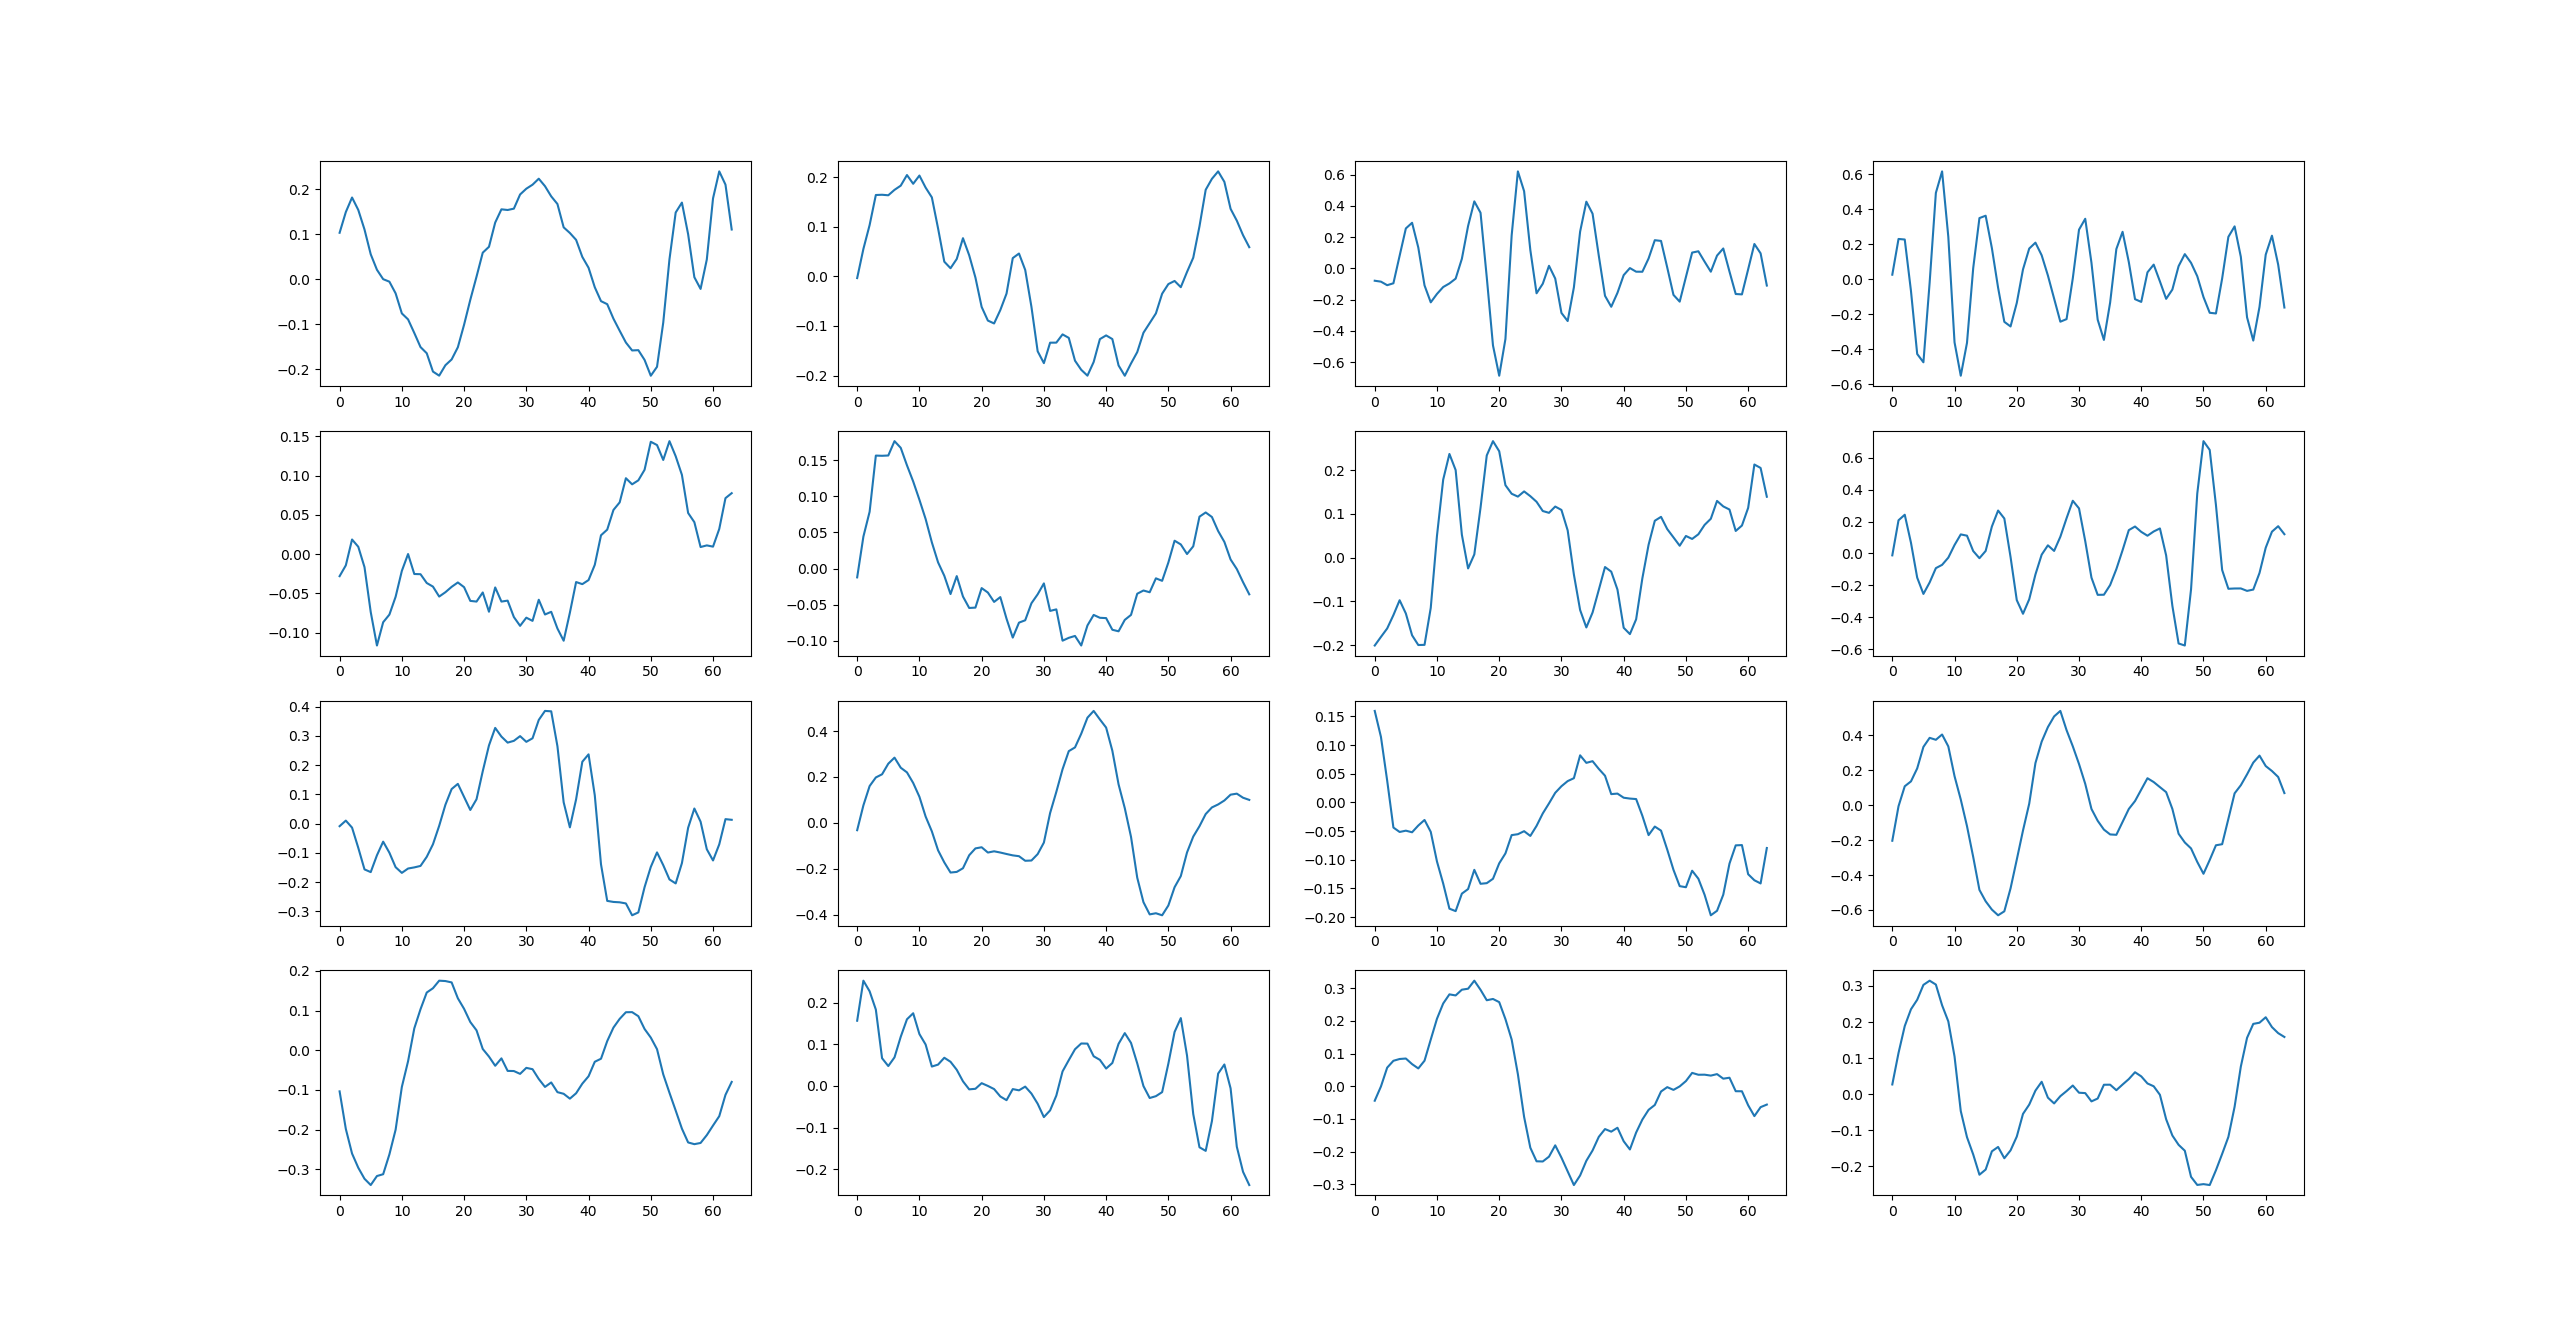
Filter weights learned in the first CNN layer:
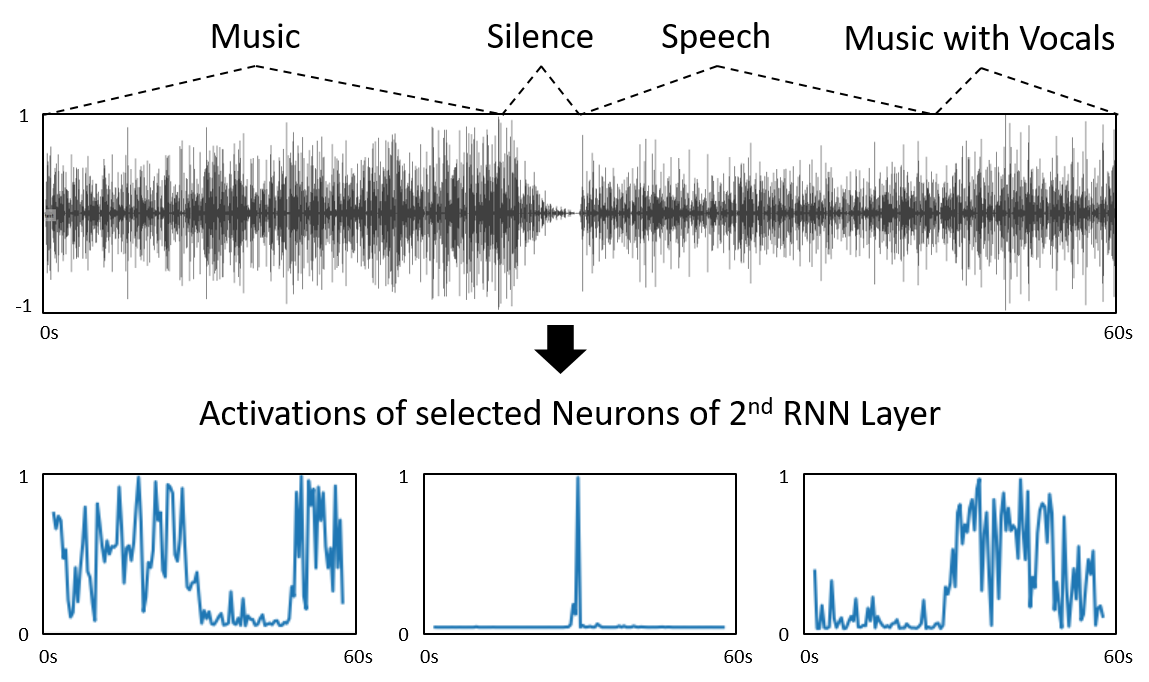
Some selected activations of the last RNN layer for an audio sample containing music and speech:
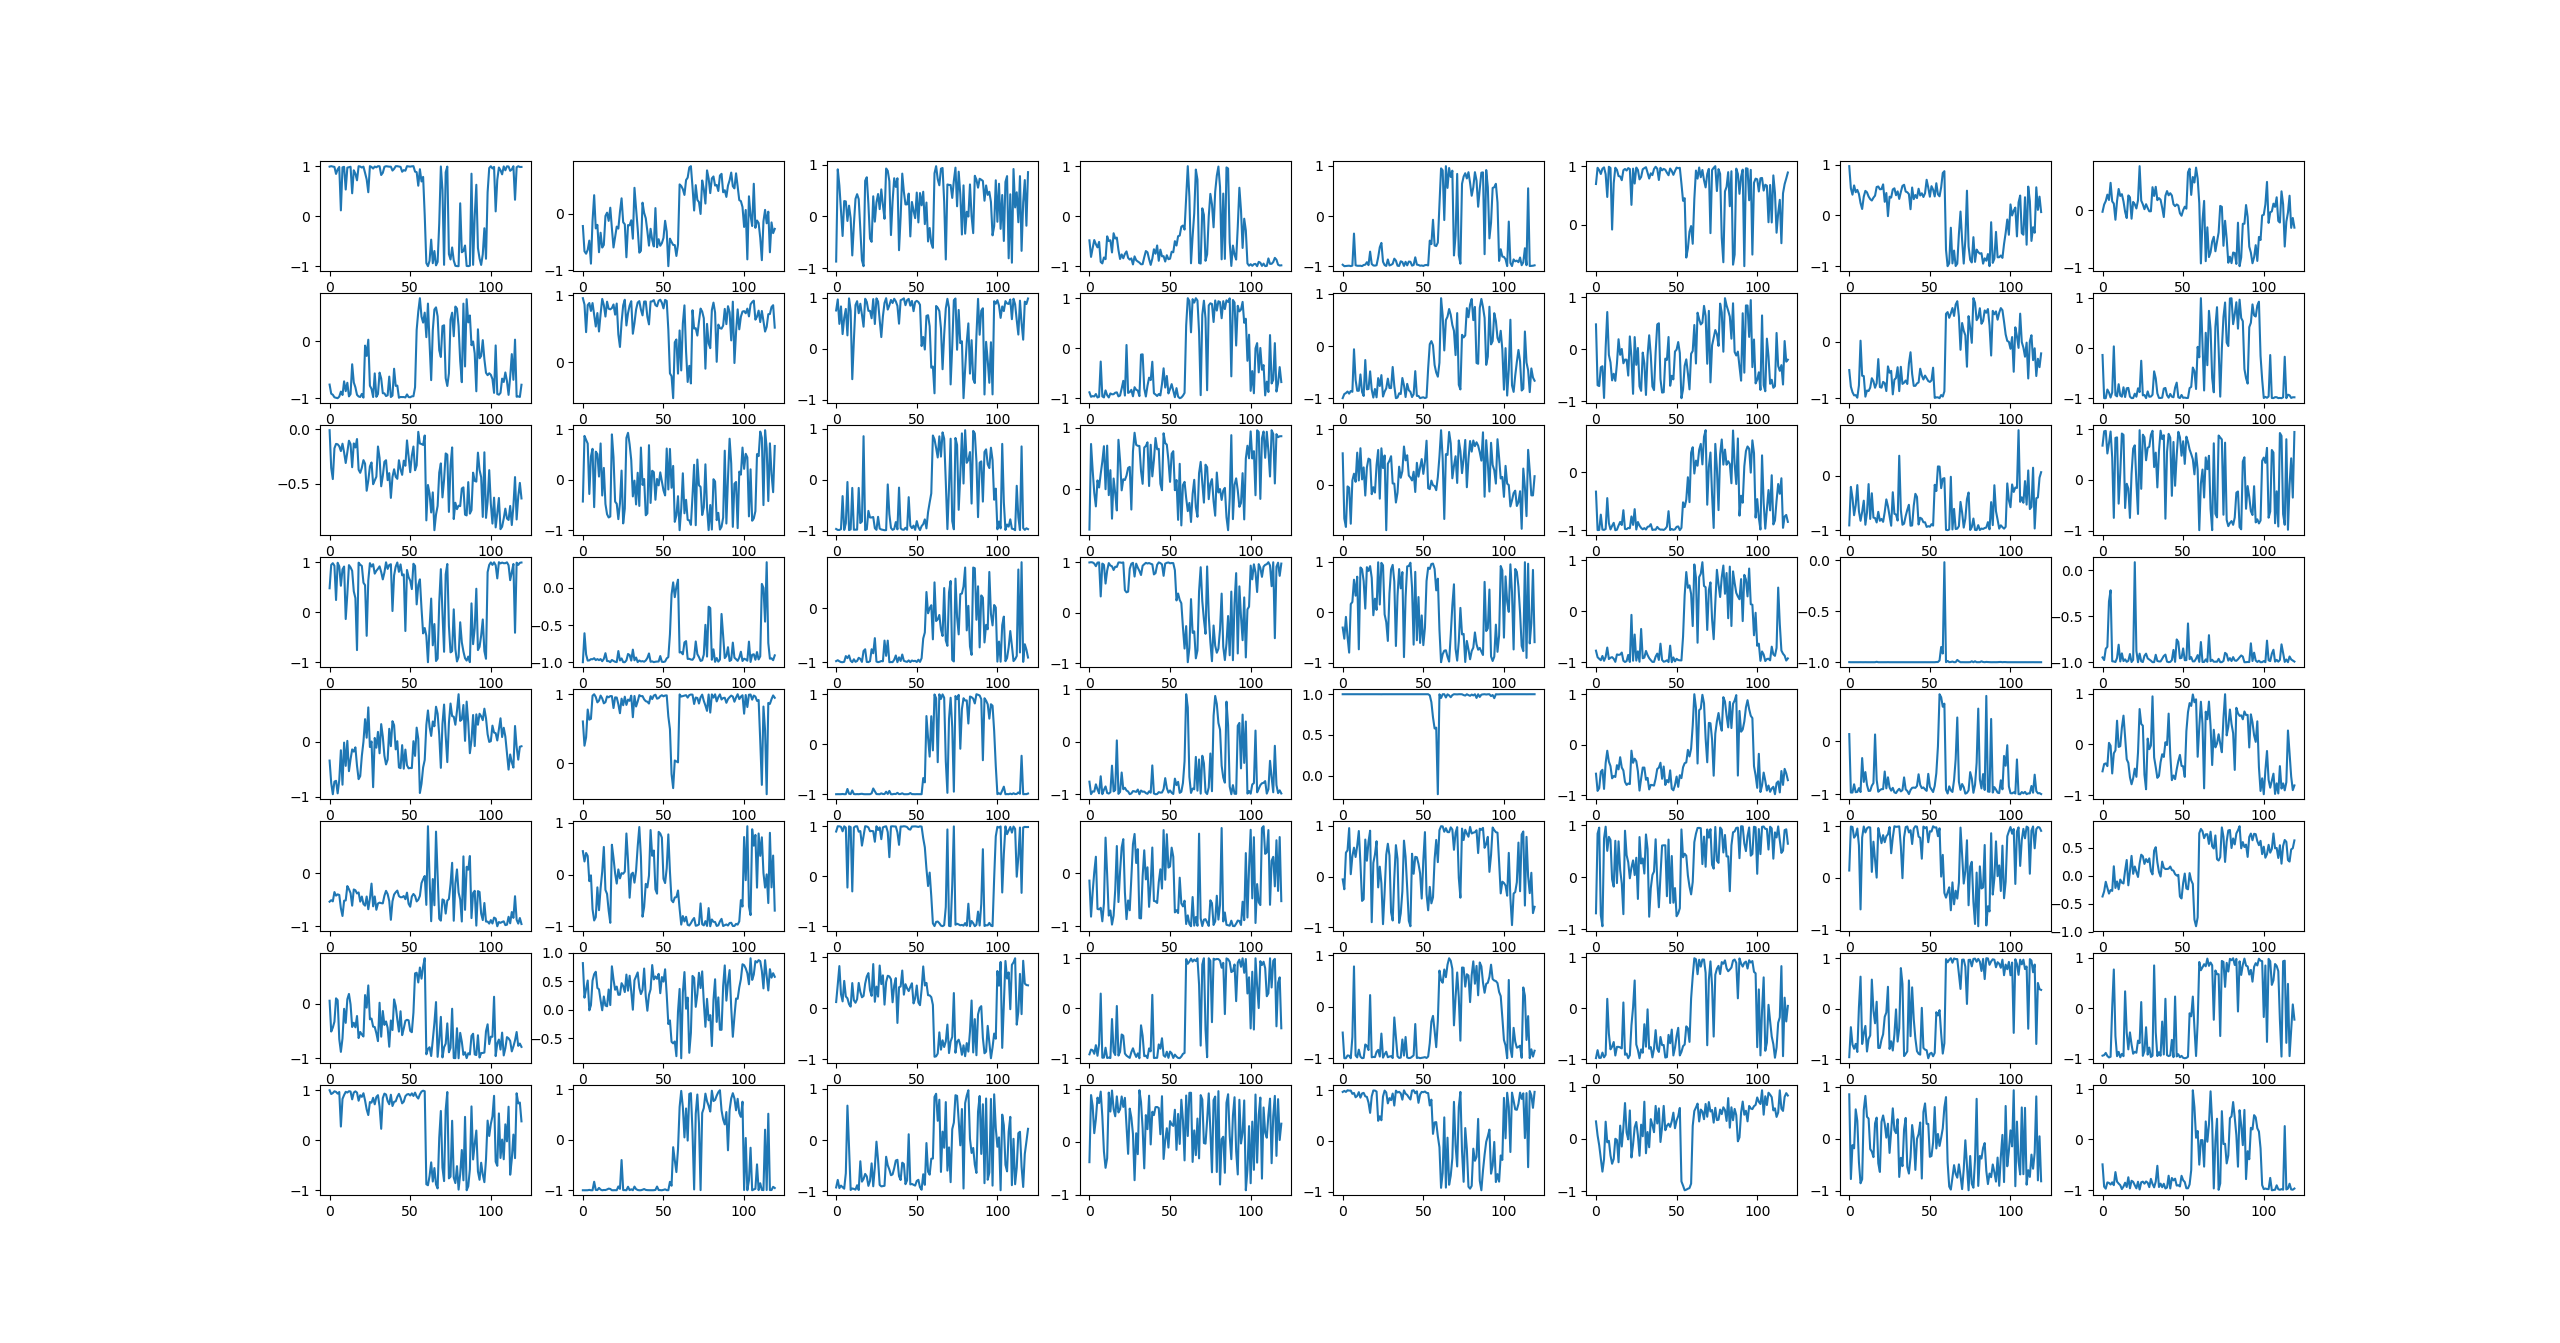
Activations for all cells in the last RNN layer for the same sample:
- SSI -- Social Signal Interpretation Framework - http://openssi.net
- Tensorflow -- An open source machine learning framework for everyone - https://www.tensorflow.org/
VadNet is released under LGPL (see LICENSE).
If you use VadNet in your work please cite the following paper:
@InProceedings{Wagner2018,
  author =    {Johannes Wagner and Dominik Schiller and Andreas Seiderer and Elisabeth Andr\'e},
  title =     {Deep Learning in Paralinguistic Recognition Tasks: Are Hand-crafted Features Still Relevant?},
  booktitle = {Proceedings of Interspeech},
  address =   {Hyderabad, India},
  year =      {2018},
  pages =     {147--151}
}
Johannes Wagner, Lab for Human Centered Multimedia, 2018
