Using the Projector Arena
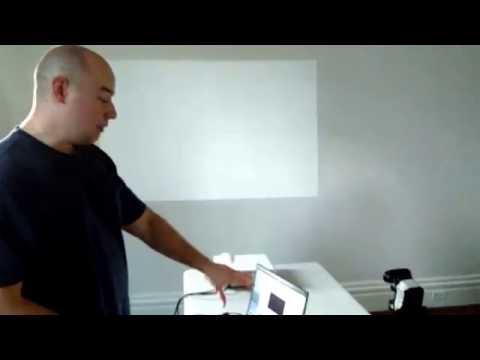
Click the preview above for a brief video tutorial
The Projector Arena is used for animated targets and can be accessed under the Projector menu on the main ShootOFF window.
If you would like to buy a projector, we recommend selecting one where the brightness can be configured and whose native resolution is at least 800x600 to ensure the arena has enough space. Smaller resolutions will work too, they just aren't as convenient. At the time of this writing, projectors with resolutions of 800x600 start at about $200. This is quite an investment for dry fire practice: ensure you have another use for the projector (e.g. gaming, watching movies, etc.).
To use a projector:
- Connect the projector to your computer and turn it on
- Point your webcam at the projection. ensure the webcam tab that is showing the projection feed is selected
- Click Projector -> Start Arena to open the Projector Arena.
When the arena is opened it will try to automatically find the projector, full screen on the projector, and auto-calibrate. If everything goes well, you are ready to add targets and start shooting as soon as you open the arena. The checkered grid shown here is how ShootOFF finds the arena and its bounds automatically, it will disappear as soon as auto-calibration completes:

Click the preview above for a brief video troubleshooting guide
If the arena opens on the wrong display you can hit ESC or F11 (CONTROL + COMMAND + F on Mac) to exit fullscreen. Move the arena to your projector and hit F11 (CONTROL + COMMAND + F on Mac) to put the arena back in fullscreen mode. This will teach ShootOFF which screen is your projector to ensure the arena is opened in the correct place in the future.
Auto-calibration may fail in several conditions, all of which can and should be resolved by the user:
- The checkerboard pattern is not fully visible in the camera feed.
- The projector is projecting upside-down.
- The checkerboard pattern is being cropped by the overscan settings of the projector. If the pattern does not look exactly like it does in the screenshot above, this is likely the cause.
- The projection is not bright enough or have enough contrast for the checkerboard to be detected.
- The projection and webcam are not square to each other. The projection should be as close as possible to a perfect rectangle in the camera feed. ShootOFF can correct slightly distorted projection areas, however auto-calibration will fail if the corrected projection does not fit in the camera view.
For overscan issues (item #3 above), please see this Engadget article: Overscan. Scroll down to see two examples of overscan adjustment. A "1:1 pixel perfect" mode is preferable, but for projectors that do not support it, overscan adjustment on either the projector or by the computer's graphics card is recommended. There is no universal solution to overscan adjustment that can be described here.
If auto-calibration remains unusable, scroll to the "Manual Calibration" section of this page to learn how to manually calibrate.
Please see this video for a brief overview of using the arena tab: Using The Arena Tab
The arena tab works much like the camera tab does for standard non-projection mode. You can add targets, resize targets, etc. With the arena tab, these changes will be reflected on the projection arena.
At any point you can set calibration options to one of the three options under Projector -> Calibration Options:
- Detect everywhere: continue detecting shots on the entire feed.
- Only detect in projector bounds: do not attempt to detect shots that fall outside of the projection bounds (as detected by autocalibration or set manually -- see below)
- Crop feed to projector bounds: this crops frames to the bounds of the projection as soon as it comes of the camera, thus it is a superset of only detecting in the projector bounds.
We recommend you use one of the latter two options because they allow shot detection filters to tune themselves to the projection area. These settings improve performance by stopping ShootOFF from searching for shots in regions that aren't of interest. You should only use "Detect everywhere" if you need to detect shots outside of the projection.
Add targets to the Projector Arena under Projector -> Add Targets and use training exercises as normal. Training exercises that require the projector arena are disabled unless the arena is open. Shoot at the arena on the projection.
You can add a background image by clicking Projector -> Background and selecting either one of the default backgrounds or an image from your own computer.
If auto calibration fails, you must manually calibrate the arena. We suggest trying the autocalibration troubleshooting above before resorting to manual calibration. The basic manual calibration process is:
- Adjust your webcam so that the projection is as large as possible in the camera feed.

- Ensure the camera and the projection are square with each other. The projection should be a perfect rectangle in the camera feed.

- Align the purple region over the projection by moving and resizing it the same way you would a target and hit Projector -> Stop Calibrating.

You can hit Projector -> Calibrate if you need to calibrate again in the same session.
(Optional) To verify alignment, you can enable shot markers with Projector -> Show shot markers. If you then take shots at the projection and look at the ShootOFF camera feed, the dots from the shot markers in the arena should be covered by the shot markers in ShootOFF. In the example below, the alignment is not perfect as most evident in the left two shots being off-center.
