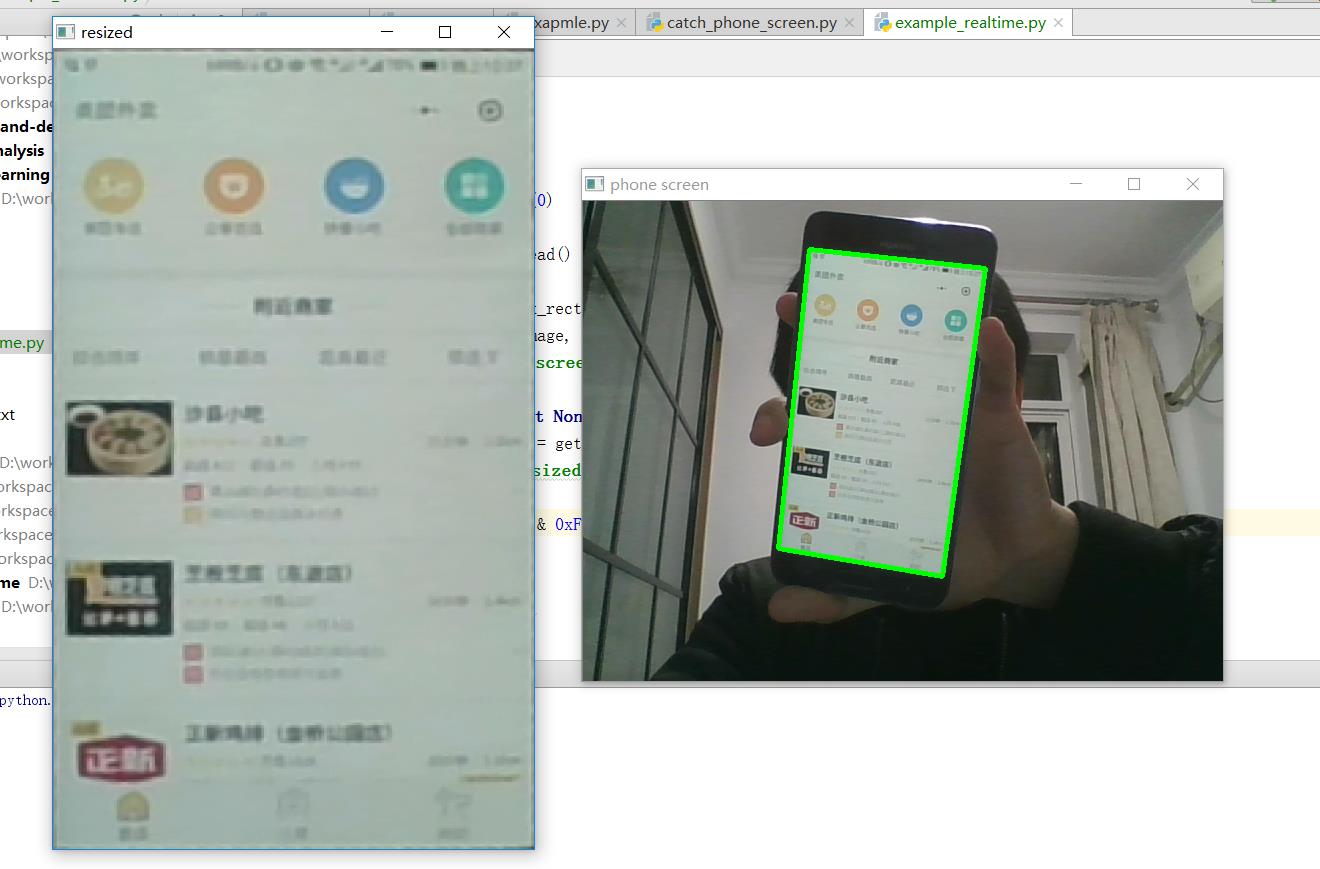
In some cases, we need to use a phone to photo another phone's screen, in order to detect the quality of the screen. So there several problems need to be solved.
-
basic functions
get_sharp_index(image, contour=None)how sharp of an image, region only is supportedget_normalized_3_color_distribution(image)return tuple with 3 normalized number, refer to Blue/Green/Redget_color_spectrum(image)
-
cut out contour region from an image
get_max_rectangle_contour(image, unpefect_ratio=0.1, area_ratio=0.02, debug=False)get_region_by_contour(image, contour)get_resized_region_by_contour(image, contour, height=800, width=480)
-
whether the camera is out of focus
is_clear(image, sharp_index=0.01, contour=None)
-
how the colur is shifted from image A to B in channel BGR
BGR_shift_A_2_B(image_a, image_b)
-
compare two photos, return a similarity index
compare_images_ssim(image_a, image_b)this is fucking fromfrom skimage.measure import compare_ssim, but this need the two images have the same shape, it's so fucking bad. so we need a more awsome function, judge them by the color spectrum
run the example_realtime.py you can get this

- 3 color distribution:
[ 0.56661608 0.58174488 0.58354015] - sharp:
0.043625642481, this value is more than 0.01, that means the image is clear, the camera is not out of focus when shooting
by catch the max rectangle (similar) in the image, we have the image blow

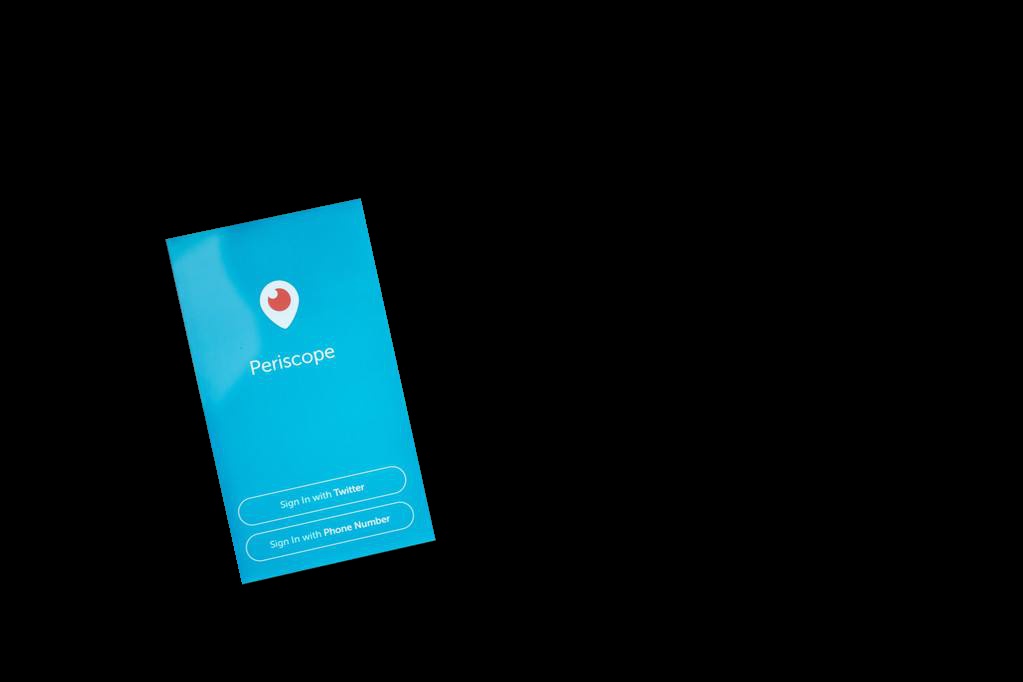
if we fill the contour, then we get a mask, by apply the mask to the original image, we have the region.jpg

- region.jpg sharp with black backgroud:
0.00546950920615, we can see the value is very smaller then the orignal image sharp, cuz the details except the screen are all lost, and the sharp caculation algrathm isedges_pixels/image_pixels, so to get a more availabe sharp index, we need to minimize the image_pixels, only contain the contour area. luckily, the function is already exists. - region.jpg sharp within contour:
0.0388608524458
in real case, we wanna the resized screen of the phone, this can be called "rebuild", by using the function I mentioned upper. we get the resized screen below

- 3 color distribution:
[ 0.76739759 0.63802456 0.06344758], we can easily find that compare to the original image, the B channel shift more, and the R channel is almost disappear - resized_region sharp:
0.0228776041667
so how the color shift from the orignal image to resized region image, we can use the funtion BGR_shift_A_2_B,positive channel means color increased, the bigger, the more increased
- color shift:
[ 0.20078152 0.05627968 -0.52009258], just like we have ananlysised upper
