Getting Started
This page will guide you through making your first minimal profile. This guide assumes that you have downloaded UCR and installed the required providers before proceeding.
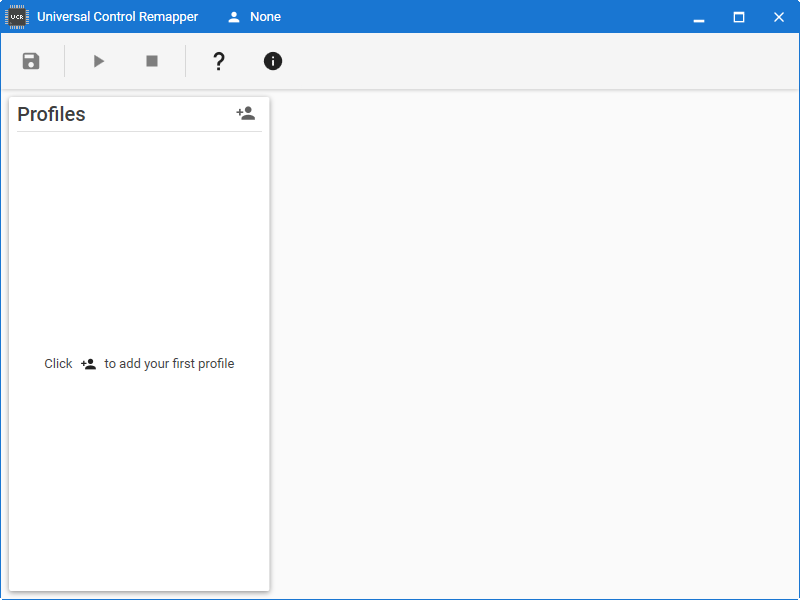
You are presented with the Dashboard the when you launch UCR as seen below. This is where you will manage all of your profiles.
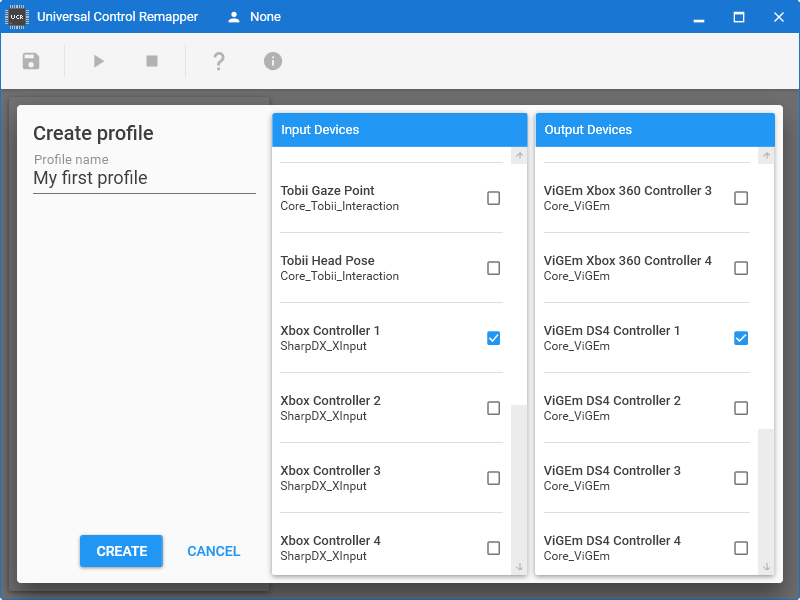
Create your first profile by clicking the "Add profile" button. You are now presented with a dialog to create a profile. You need to write a name for your profile and select input and output devices for your profile. Available devices depends on your installed providers and what you have physically plugged into your computer. One or more input and output devices can be selected by clicking on them. This example will use and Xbox 360 controller as input and a DualShock 4 controller as output (ViGEm provider).
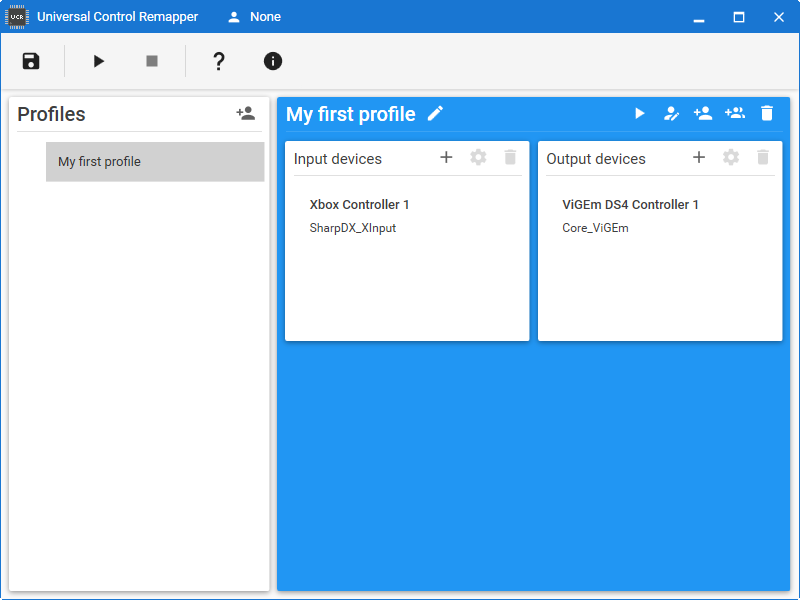
You can select your new profile in the dashboard after creating it. This allows you to manage the configuration of the profile including name, devices and other actions. Each action has a tooltip by hovering the buttons. Click the "Edit profile" or double click the profile to the left to start editing the mappings of it.
You should see an empty profile with the plugin toolbox when you open your profile, as seen below.
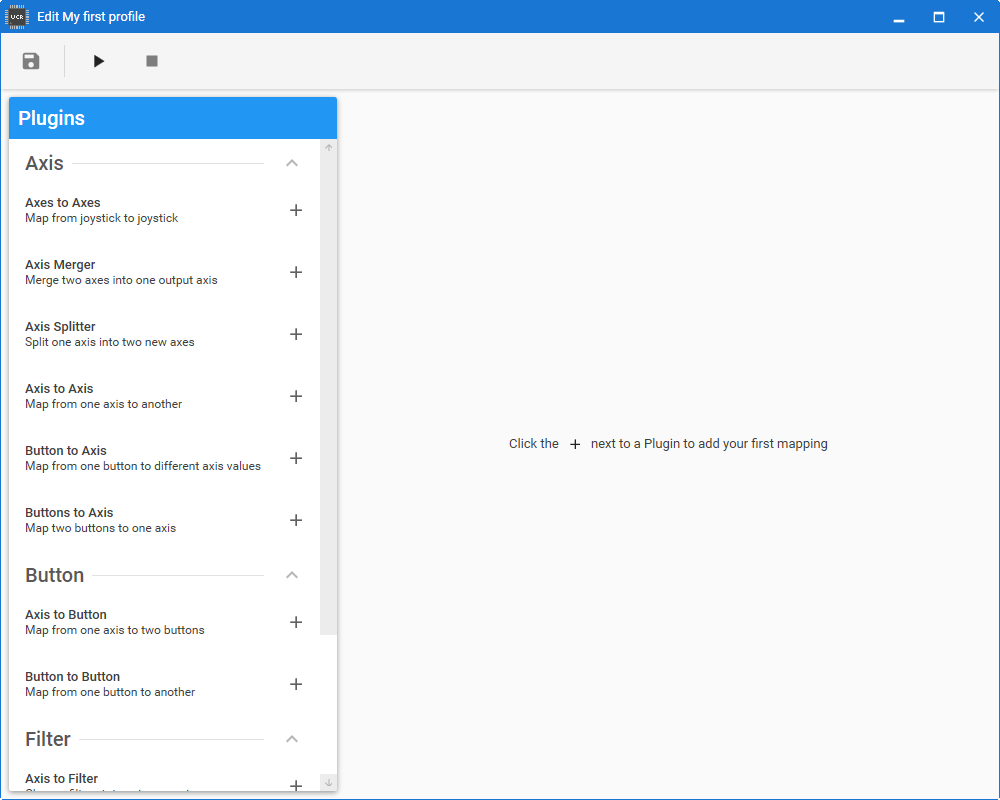
The plugin toolbox, on the left hand side, contains different types of plugins sorted by category and the category determines the output of a plugin. The different types of input and output is described in the table below.
| Type | Description |
|---|---|
| Axis | An analog input or output, typically a stick on joystick or an analog trigger |
| Button | A button which can be pressed |
| Delta | A continuous input or output, typically used for mice and eye trackers |
| Event | An input or output, without state, such as the scroll wheel on a mouse |
| Filter | Used by UCR, see Filters for more information |
Create a mapping by adding the Button to Button plugin from the toolbox and name it. You should now see your first mapping with the Button to Button plugin as below.
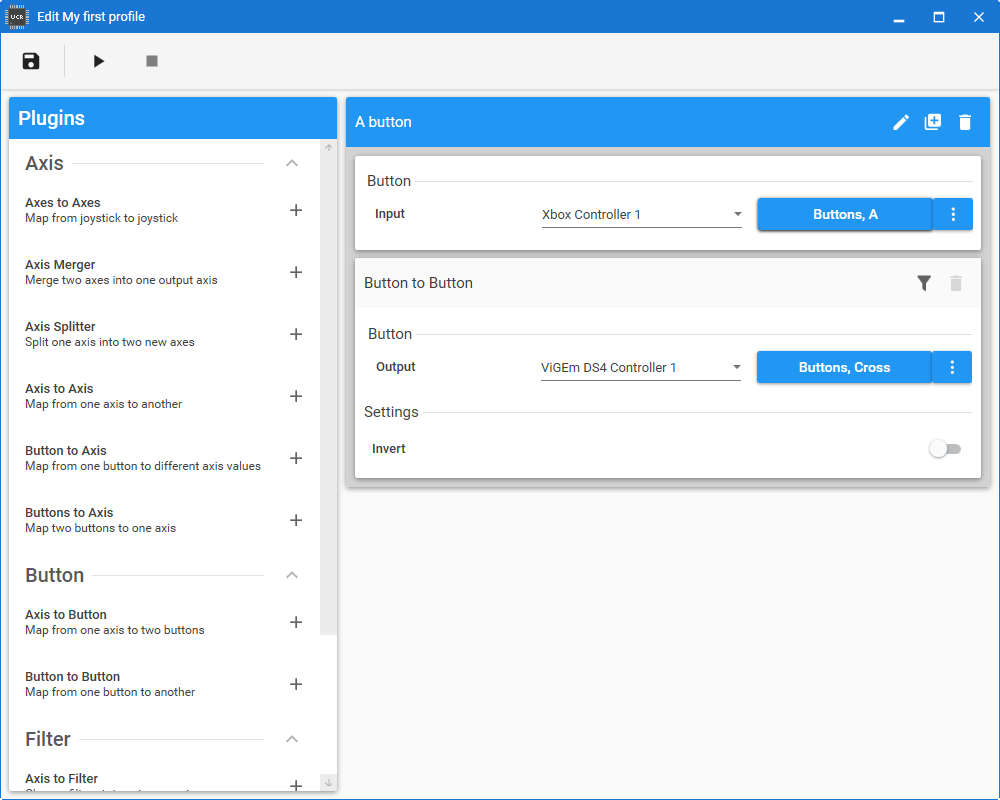
You might notice that your input and output is not bound yet. This can be done in two ways: Click "Click to bind" or use the three dots. The "Click to bind" allows you to press your input device to automatically detect the button or you can use the menu from the three dots to manually select the input/output. Automatic binding is not available for output as you have nothing to physically interact with.
You should now save your progress in the upper left hand corner. This can be done whenever you change something in the configuration. However, your current configuration is not yet active even though you have mapped a button. You need to Activate your profile using the Play button before any output appears.
The input and output buttons acts as previews while your profile is active, so you can see what is currently happening when you press your mapped input. This preview is only active while the profile window is active. Stop your profile again on the Stop button. The active profile can be seen in the top menu bar of the dashboard at all times.
You have now successfully mapped a single button from an input to an output! Now you can go ahead and add more mappings for the rest of your controller(s) and just how you see fit. Map one controller to another, map one to many controllers or many controllers to one, you decide.
Go ahead to Advanced features if you need more control.