Export/Import/Sample Generator for HealthKit Data (Swift + UI)
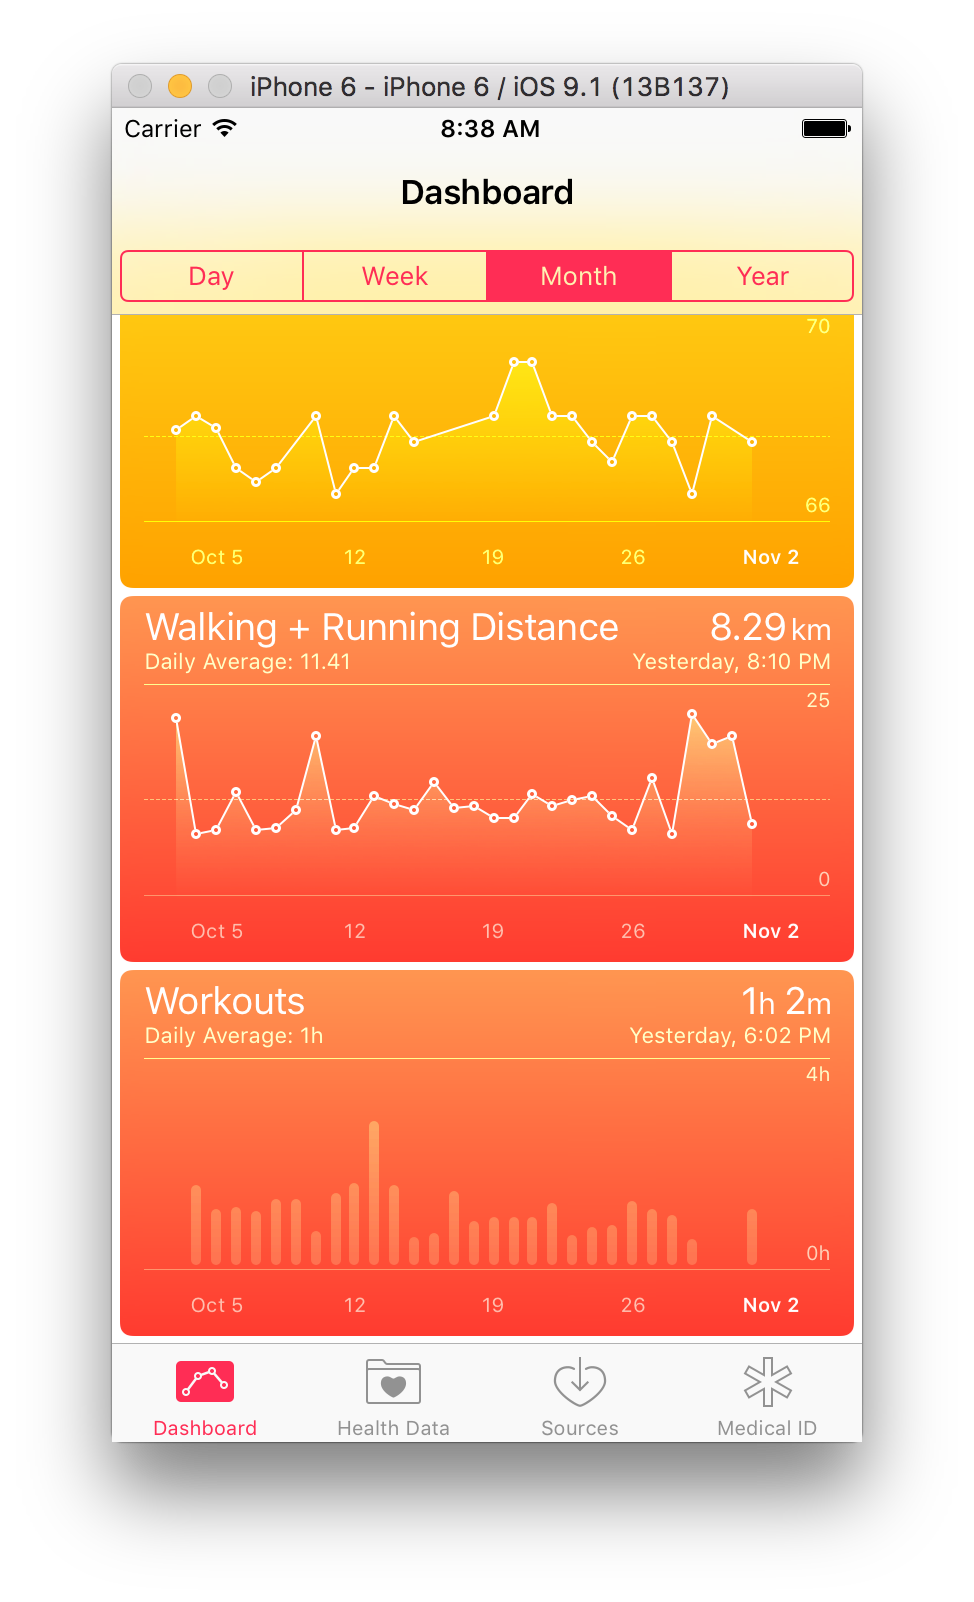
Easy to use generator for HealthKit Sample Data that can be used in code and in the simulator. It supports you by exporting the current health data into a json profile, recreates the profile from a json file and is able to create a complete health data profile randomly. So you have reproducable test data to test your code and your ui of your amazing Health-App. For sure you can export the health kit data of a real device.
Status:
- Export of HealthData 100%
- Import HealthData 100%
- Generate HealthData 0% (-> version 2.0.0)
Next Steps:
- Generator for HealthKit Data
###The Example-App Just build and run the App. Tap on the button "Export HealthKit Data". This will create a JSON file in the App documents folder. If you are using the simulator you may access the export file on your mac - the path to the file is visibe in the UI of the App. To access the exported data on a real device you need to open iTunes, go to the device App section and have a look at the shared documents section. From there you are able to save the file on your mac.
To import the data go to the Profile Tab of the App. There you will see all profiles that are stored in the App documents folder. Select one and tap on the button "Import HealthKit Data". If you want you can delete all previously imported data from the healthkit store. Keep in mind that the App can only delete those data that were stored by the App.
The HealthKit Store is obviously not designed to process/write a huge amount of data. You will notice that the App will use a lot of mem during the import. Also you will see a heavy processor load after the import. It looks like heakthkit process all data to create summaries for the diagrams.
If you don't want to use the example app or need to integrate the export and import in you own App you can use the Export/Import-API.
import Foundation
import HealthKit
import HealthKitSampleGenerator


// setup an output file name
let fm              = NSFileManager.defaultManager()
let documentsUrl    = fm.URLsForDirectory(.DocumentDirectory, inDomains: .UserDomainMask)[0]
let outputFileName  = documentsUrl.URLByAppendingPathComponent("export.json").path!

// create a target for the export - all goes in a single json file
let target          = JsonSingleDocAsFileExportTarget(outputFileName: outputFileName, overwriteIfExist:true)

// configure the export
var configuration   = HealthDataFullExportConfiguration(profileName: "Profilname", exportType: HealthDataToExportType.ALL)
configuration.exportUuids = false //false is default - if true, all uuids will be exported too

// create your instance of HKHeakthStore
let healthStore     = HKHealthStore()
// and pass it to the HealthKitDataExporter
let exporter        = HealthKitDataExporter(healthStore: healthStore)

// now start the import.
exporter.export(

    exportTargets: [target],

    exportConfiguration: configuration,

    onProgress: {
        (message: String, progressInPercent: NSNumber?) -> Void in
        // output progress messages
        dispatch_async(dispatch_get_main_queue(), {
            print(message)
        })
    },

    onCompletion: {
        (error: ErrorType?)-> Void in
        // output the result - if error is nil. everything went well
        dispatch_async(dispatch_get_main_queue(), {
            if let exportError = error {
                print(exportError)
            }
        })
    }
)// create a profile from an output file
let profile = HealthKitProfile(fileAtPath:outputUrl)
// or read the profiles from disk
let profiles = HealthKitProfileReader.readProfilesFromDisk(documentsUrl)
if profiles.count > 0 {
let importer = HealthKitProfileImporter(healthStore: healthStore)
importer.importProfile(
profiles[0],
deleteExistingData: true,
onProgress: {
(message: String, progressInPercent: NSNumber?)->Void in
NSOperationQueue.mainQueue().addOperationWithBlock(){
// output progress information
}
},
onCompletion: {
(error: ErrorType?)-> Void in
NSOperationQueue.mainQueue().addOperationWithBlock(){
if let exportError = error {
print(exportError)
} else {
//everything went well
}
}
}
)
}The output format in both cases is json. See the following example:
{
    "metaData": {
        "creationDate": 1446486924969.1,
        "profileName": "output20151102185522",
        "version": "1.0.0",
        "type": "JsonSingleDocExportTarget"
    },
    "userData": {
        "bloodType": 1,
        "fitzpatrickSkinType": 1,
        "biologicalSex": 2,
        "dateOfBirth": 341967600000
    },
    "HKQuantityTypeIdentifierStepCount": [
        {
            "unit": "count",
            "sdate": 1446486720000,
            "value": 200
        }
    ],
    "HKQuantityTypeIdentifierHeartRate": [
        {
            "unit": "count/min",
            "sdate": 1446486720000,
            "value": 62
        }
    ],
    "HKQuantityTypeIdentifierFlightsClimbed": [
        {
            "unit": "count",
            "sdate": 1446486600000,
            "value": 1
        }
    ],
    "HKQuantityTypeIdentifierBodyMass": [
        {
            "unit": "kg",
            "sdate": 1446486600000,
            "value": 80
        }
    ],
    "HKWorkoutTypeIdentifier": [
        {
            "workoutActivityType": 37,
            "totalEnergyBurned": 90,
            "edate": 1446486660000,
            "duration": 840,
            "workoutEvents": [],
            "totalDistance": 3218.688,
            "sdate": 1446485820000
        }
    ]
}
Some notes about the export/import format:
- Every HKSample in heakthkit has a start date and an end date. The end date is only exported if it is different from the start date.
- You can configure the export to include the uuid of every HKSample. This will increase the export file size!
- Samples that are part of a correlation are not exported under their own type if they are part of a correlation. For example: the HKCorrelationTypeIdentifierBloodPressure type is a correlation of a HKQuantityTypeIdentifierBloodPressureSystolic and a HKQuantityTypeIdentifierBloodPressureDiastolic type. That's why they are not exported as quantity types but they are exported as sub objects under the HKCorrelationTypeIdentifierBloodPressure. The same way HKCorrelationTypeIdentifierFood is handled.
- Keep in mind that there are some restrictions about the data that can be written or deleted from the healthkit store. It is not possible to write characteristics data (e.g. date of birth, blood type,...). Also you can't write HKCategoryTypeIdentifierAppleStandHour and HKQuantityTypeIdentifierNikeFuel samples.
- If you want to exclude some data from the export just do not allow the example app to access those data.
iOS 9.0, Xcode 7
HealthKitSampleGenerator is available through CocoaPods. To install it, simply add the following line to your Podfile:
pod "HealthKitSampleGenerator"Michael Seemann, pods@mseemann.de
HealthKitSampleGenerator is available under the MIT license. See the LICENSE file for more info.


