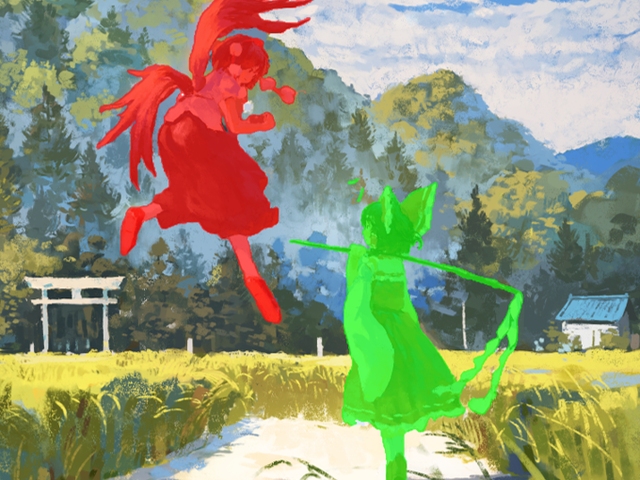
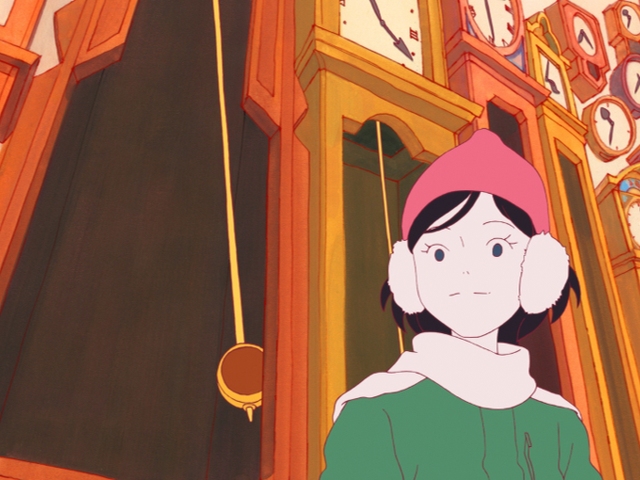
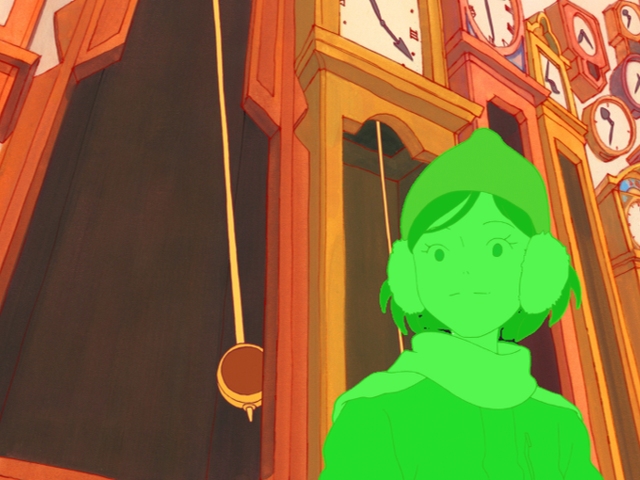
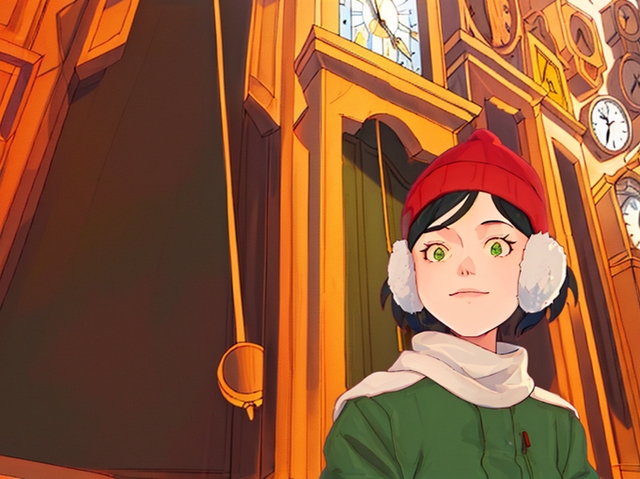
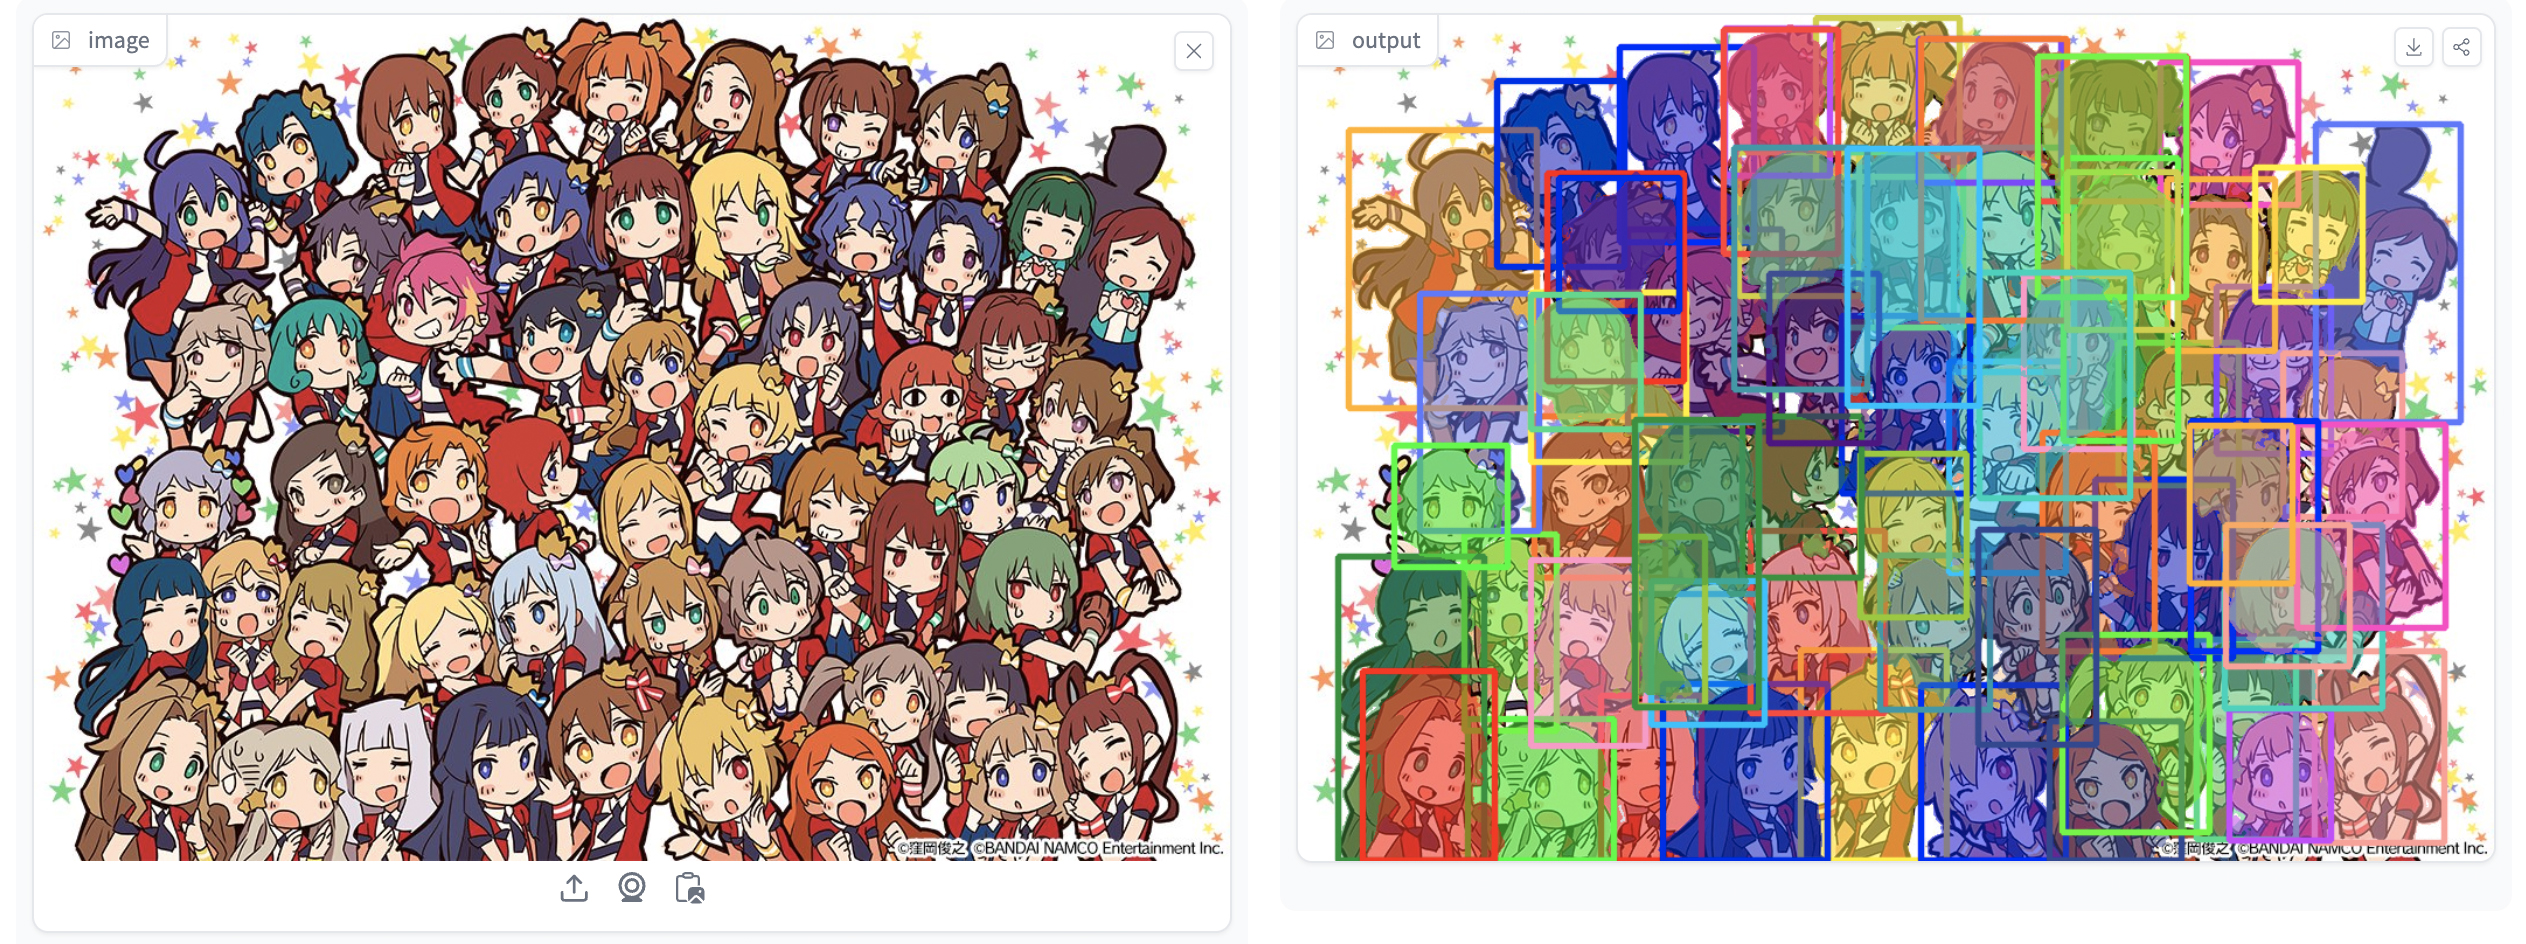
This repository is a React frontend for segmentation and subject extraction using CartoonSegmentation.
It is based on this GitHub repository
Please check the original repository for more information.
sincerely thanks to the authors for their work.
git clone https://github.com/teftef6220/CartoonSegmentation_React.git
cd CartoonSegmentation_React
create a pip environment and install the requirements
python -m venv .venv
# Windows
.\.venv\Scripts\activate
# Linux
source .venv/bin/activate
install the requirements
# python requirements
pip install torch torchvision torchaudio --index-url https://download.pytorch.org/whl/cu118
pip install -U openmim
mim install mmengine
mim install "mmcv>=2.0.0"
mim install mmdet
pip install -r requirements.txt
pip install pytoshop -I --no-cache-dir
# node requirements
npm installhuggingface-cli lfs-enable-largefiles .
mkdir models
git clone https://huggingface.co/dreMaz/AnimeInstanceSegmentation models/AnimeInstanceSegmentationrun the backend server
python fast_api.pyrun the frontend server
cd react-app
npm start
or run start_ui.bat (Windows) or start_ui.sh (Linux)
you can use the output of the backend server as a layer mask in photoshop.
Implementations of the paper Instance-guided Cartoon Editing with a Large-scale Dataset, including an instance segmentation for cartoon/anime characters and some visual techniques built around it.
Install Python 3.10 and pytorch:
conda create -n anime-seg python=3.10
conda install pytorch torchvision torchaudio pytorch-cuda=11.8 -c pytorch -c nvidia
conda activate anime-seg
Install mmdet:
pip install -U openmim
mim install mmengine
mim install "mmcv>=2.0.0"
mim install mmdet
pip install -r requirements.txthuggingface-cli lfs-enable-largefiles .
mkdir models
git clone https://huggingface.co/dreMaz/AnimeInstanceSegmentation models/AnimeInstanceSegmentation
See `run_segmentation.ipynb``.
Besides, we have prepared a simple Huggingface Space for you to test with the segmentation on the browser.
local_kenburns.mp4
Install cupy following https://docs.cupy.dev/en/stable/install.html
Run
python run_kenburns.py --cfg configs/3dkenburns.yaml --input-img examples/kenburns_lion.pngor with the interactive interface:
python naive_interface.py --cfg configs/3dkenburns.yamland open http://localhost:8080 in your browser.
Please read configs/3dkenburns.yaml for more advanced settings.
To get better inpainting results with Stable-diffusion, you need to install stable-diffusion-webui first, and download the tagger:
git clone https://huggingface.co/SmilingWolf/wd-v1-4-swinv2-tagger-v2 models/wd-v1-4-swinv2-tagger-v2If you're on Windows, download compiled libs from https://github.com/AnimeIns/PyPatchMatch/releases/tag/v1.0 and save them to data/libs, otherwise, you need to compile patchmatch in order to run 3dkenburns or style editing:
mkdir -P data/libs
apt install build-essential libopencv-dev -y
git clone https://github.com/AnimeIns/PyPatchMatch && cd PyPatchMatch

mkdir release && cd release
cmake -DCMAKE_BUILD_TYPE=Release ..
make

cd ../..
mv PyPatchMatch/release/libpatchmatch_inpaint.so ./data/libs
rm -rf PyPatchMatch
If you have activated conda and encountered `GLIBCXX_3.4.30' not found or libpatchmatch_inpaint.so: cannot open shared object file: No such file or directory, follow the solution here https://askubuntu.com/a/1445330
Launch the stable-diffusion-webui with argument --api and set the base model to sd-v1-5-inpainting, modify inpaint_type: default to inpaint_type: ldm in configs/3dkenburns.yaml.
Finally, run 3dkenburns with pre-mentioned commands.
It also requires stable-diffusion-webui, patchmatch, and the danbooru tagger, so please follow the Run 3d Kenburns and download/install these first.
Download sd_xl_base_1.0_0.9vae, style lora and diffusers_xl_canny_mid and save them to corresponding directory in stable-diffusion-webui, launch stable-diffusion-webui with argument --argment and set sd_xl_base_1.0_0.9vae as base model, then run
python run_style.py --img_path examples/kenburns_lion.png --cfg configs/3d_pixar.yaml
set onebyone to False in configs/3d_pixar.yaml to disable instance-aware style editing.
All required libraries and configurations have been included, now we just need to execute the Web UI from its Launcher:
python Web_UI/Launcher.py
In default configurations, you can find the Web UI here:
- http://localhost:1234 in local
- A random temporary public URL generated by Gradio, such like this: https://1ec9f82dc15633683e.gradio.live


