Getting Started Tutorial
| ✅ Launch your first self-hosted runner in: | 5 minutes |
|---|
This tutorial will guide you on how to use the github-hetzner-runners program to provide autoscaling GitHub Actions runners for a GitHub repository and a Hetzner Cloud project that you'll create.
❶ Before we get started, you will need to install testflows.github.hetzner.runners Python package. See the Installation section for more details.
pip3 install testflows.github.hetzner.runners❷ Check that the github-hetzner-runners utility was installed correctly by executing the github-hetzner-runners -v command.
github-hetzner-runners -v1.3.230731.1173142
| ✋ Note: |
The github-hetzner-runners utility is installed in to the ~/.local/bin/ folder. Please make sure that this folder is part of the PATH. which github-hetzner-runners~/.local/bin/github-hetzner-runners If your PATH is missing this folder, on Ubuntu, you can modify your ~/.profile and add the following section:
|
|---|
In order to launch the github-hetzner-runners program, we'll need to specify the GitHub repository as well as GitHub and Hetzner Cloud tokens. So, let's create these.
Before using the github-hetzner-runners, you need a GitHub repository with a GitHub Actions workflow set up.
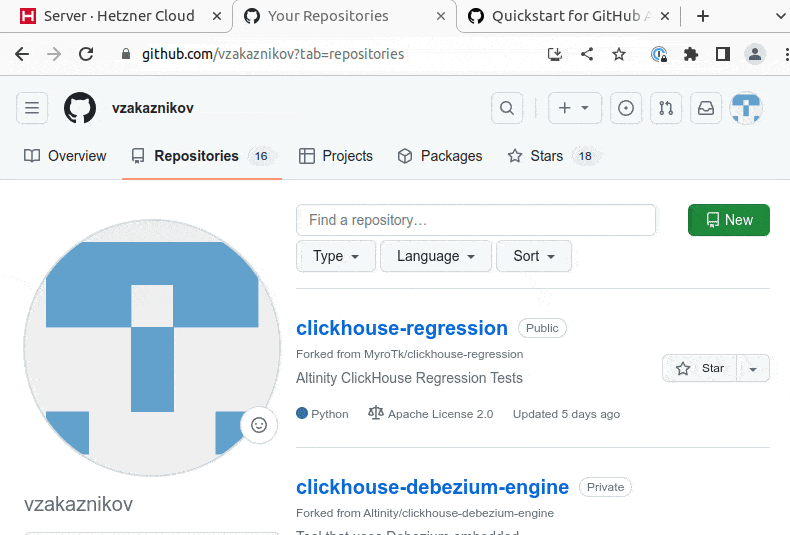
❶ First, create a GitHub repository named demo-testflows-github-hetzner-runners and note the repository name.
The repository name will have the following format:
<username>/demo-testflows-github-hetzner-runners
For me, my GitHub repository is:
vzakaznikov/demo-testflows-github-hetzner-runners
❷ Now, create an example GitHub Actions workflow as described in the Quickstart for GitHub Actions article. Note that we need to modify the example YAML configuration and specify that our job will run on a runner with the self-hosted and the type-cpx21 labels.
Explore-GitHub-Actions:
  runs-on: [self-hosted, type-cpx21]
So, the complete demo.yml that uses a self-hosted runner is as follows:
| demo.yml: |
name: GitHub Actions Demo
run-name: ${{ github.actor }} is testing out GitHub Actions 🚀
on: [push]
jobs:
  Explore-GitHub-Actions:
    runs-on: [self-hosted, type-cpx21]
    steps:
      - run: echo "🎉 The job was automatically triggered by a ${{ github.event_name }} event."
      - run: echo "🐧 This job is now running on a ${{ runner.os }} server hosted by GitHub!"
      - run: echo "🔎 The name of your branch is ${{ github.ref }} and your repository is ${{ github.repository }}."
      - name: Check out repository code
        uses: actions/checkout@v3
      - run: echo "💡 The ${{ github.repository }} repository has been cloned to the runner."
      - run: echo "🖥️ The workflow is now ready to test your code on the runner."
      - name: List files in the repository
        run: |
          ls ${{ github.workspace }}
- run: echo "🍏 This job's status is ${{ job.status }}." |
|---|
❸ Finally, you will need to create a GitHub API token with the workflow privileges. Make sure to save the token!
| ❗Warning: | You must use a classic token. Fine-grained tokens are not supported. |
|---|
For me, my demo GitHub token is:
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
You should now have your GitHub repository ready.
See these steps in action:
Next, you will need to create a Hetzner Cloud project and an API token that we can use to create and manage Hetzner Cloud server instances.
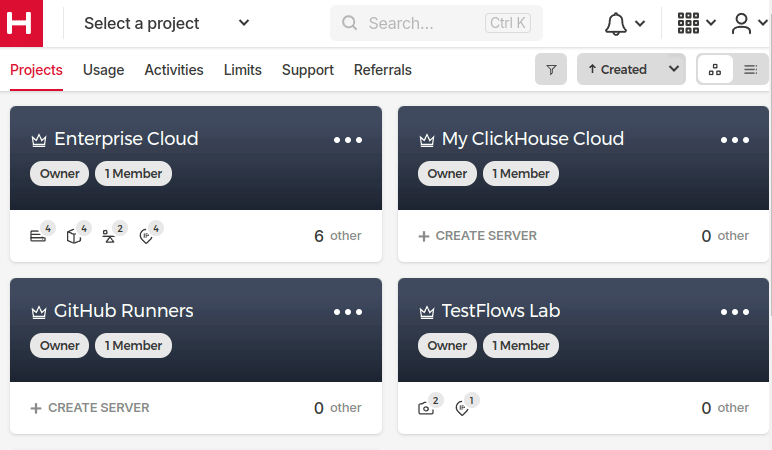
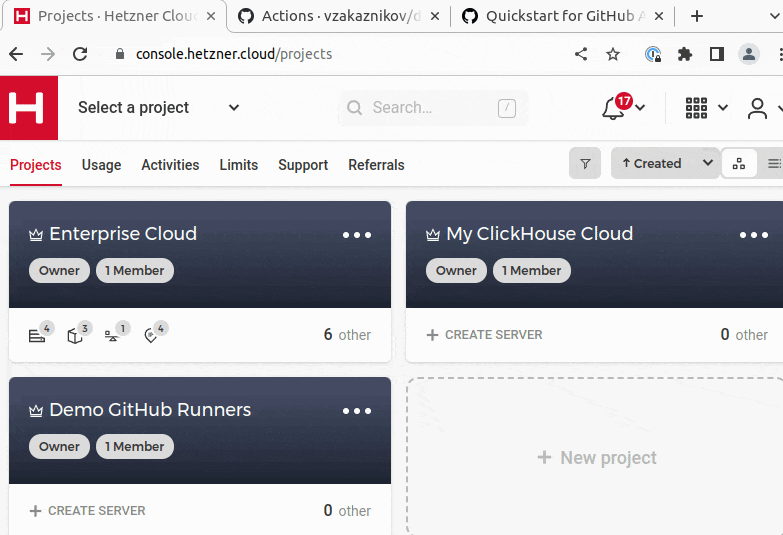
❶ Create a new Hetzner Cloud project Demo GitHub Runners.
❷ Now, create an API token and save it.
For me, the Hetzner Cloud token for my Demo GitHub Runners project is:
5Up04IHuY8mC7l0JxKwh3Aps4ghGIyL0NJ9rGlhyAmmkddzuRreR1YstTSTFCG0N
You should now have your Hetzner Cloud project ready.
See these steps in action:
With the GitHub repository and GitHub and Hetzner Cloud tokens in hand, we can deploy the github-hetzner-runners service to the Hetzner Cloud instance. This way, the service is not running on your local machine.
During the deployment, we'll create a github-hetzner-runners instance in your Hetzner Cloud project on which the service will be running. See the Running as a Cloud Service section for details.
❶ To deploy the service run the github-hetzner-runners cloud deploy command and specify your GitHub repository, GitHub, and Hetzner Cloud tokens using GITHUB_REPOSITORY, GITHUB_TOKEN, and HETZNER_TOKEN environment variables.
export GITHUB_REPOSITORY=
export HETZNER_TOKEN=
export GITHUB_TOKEN=
github-hetzner-runners cloud deploy
You should now have the cloud service up and running.
See these steps in action:
❶ The github-hetzner-runners cloud service is now running. So, now you can just sit back and wait until github-hetzner-runners spins up a new runner to complete any queued-up GitHub Actions jobs in your GitHub repository.
See this step in action:
As you can see, our job was executed and completed using our own self-hosted runner!
| ✋ Note: |
If you run into any issues, you can check the cloud service log using the github-hetzner-runners cloud log -f command. For other cloud service commands, see the Running as a Cloud Service section. github-hetzner-runners cloud log -f |
|---|