Using ToplingDB By Example
-
server environment
Operating system: CentOS Linux release 8.4.2105
g++ version: g++ (GCC) 8.4.1 20200928 (Red Hat 8.4.1-1)
-
Install related dependencies
ToplingDB is built on RocksDB, we need to use the compression library snappy and the command line parameter parsing tool gflags. In addition, during the compilation process, libaio's development package is also needed.
-
Install snappy:
sudo yum install snappy snappy-devel
-
Install gflags:
-
For CentOS 8:
sudo dnf --enablerepo=powertools install gflags-devel -
For CentOS 7 (need EPEL):
sudo yum install gflags-devel
-
-
Install libaio-devel :
sudo yum install libaio-devel
-
-
Install ToplingDB
-
Get the project's source code
cd ~
git clone https://github.com/topling/toplingdb.git
-
Update dependent subprojects:
cd toplingdb git submodule update --init --recursive -
Compile and install the dynamic library:
make shared_lib
sudo make install
-
Set environment variables:
In addition to librocksdb.so, we will also use dynamic libraries such as libterark-zbs-r.so compiled by topling-zip. In the make process just now, topling-zip has been cloned to the
toplingdb/sideplugindirectory, and the dynamic library it compiles is located attopling-zip/build/Linux-x86_64-g++-8.4-bmi2-1/lib_shared.Open the file
~/.bashrcand add the following two lines at the end of the file:export LD_LIBRARY_PATH=/usr/local/lib:$LD_LIBRARY_PATH export LD_LIBRARY_PATH=~/toplingdb/sideplugin/topling-zip/build/Linux-x86_64-g++-8.4-bmi2-1/lib_shared:$LD_LIBRARY_PATH
After saving, execute the following command to update our settings:
source ~/.bashrc
It should be noted that the directory name
Linux-x86_64-g++-8.4-bmi2-1is automatically named according to the compilation environment. If your compilation environment is different from the environment of this article, you need to check the specific directory by yourself and adjust the environment variable path set before.
-
ToplingDB is an embedded database. The library files of the database are directly linked to the application, and the application reads and writes the database by calling the API.
In all the examples in this article, we place the database under the path /home/topling/db/, which is the db folder in the user's home directory. All written code and configuration files are also placed under the user's home directory /home/topling/.
-
Create configuration files and database directories
- Execute the following command to create a folder for storing the database.
cd ~
mkdir -p db
mkdir -p db/db_mcf
Create a configuration file
toplingconf.jsonin the same directory, then find our sample configuration file, and copy the configuration information in it.Next, modify the database
pathinformation path in the configuration information, which is located in the lastdb_mcffield. Change it todb_mcfunder thedbfolder in your own user home directory."path": "/home/topling/db/db_mcf"For more information on configuration files, see Introduction to the configuration system.
-
Create .cc/.cpp/.cxx files that manipulate the database
In the user's main space, create a file
sample.cppcontaining the main function, load the header file we will usetopling/side_plugin_repo.h, and the header fileiostreamof the standard input and output stream.#include "topling/side_plugin_factory.h" #include <iostream>
In the main function, create an instance
repoof therocksdb::SidePluginRepoclass. Call its member functionImportAutoFileto load configuration information from the configuration file we just wrote.rocksdb::SidePluginRepo repo; // Repo represents of ConfigRepository repo.ImportAutoFile("/home/topling/toplingconf.json");
In the configuration information of the example, the opened database is
db_mcf, which is a DB containing multiple ColumnFamily , corresponding to the typerocksdb::DB_MultiCF. Create a pointerdbmof this type to receive the opened database, and print out the information in the returnedrocksdb::Status. If OK is returned, it means the opening is successful.#include "topling/side_plugin_factory.h" #include <iostream> int main() { rocksdb::SidePluginRepo repo; repo.ImportAutoFile("/home/topling/toplingconf.json"); rocksdb::DB_MultiCF *dbm; auto status = repo.OpenDB(&dbm); std::cout << status.ToString() << std::endl; return 0; }
-
Compile
Compile with the following instructions and output the executable file
sample.out.g++ sample.cpp -I ~/toplingdb/sideplugin/rockside/src -I ~/toplingdb -I ~/toplingdb/sideplugin/topling-zip/src -I ~/toplingdb/sideplugin/topling-zip/boost-include -l:librocksdb.so -DSIDE_PLUGIN_WITH_YAML=1 -DROCKSDB_NO_DYNAMIC_EXTENSION=1 -o sample.outExecute the resulting binary with the command
./sample.out. Not surprisingly, we will see the terminal print OK , which means we opened the database correctly. -
Simple read and write operations to the database
After opening the database, there are two important member variables in
dbm: the pointerdbpointing to the database instance and the vector containercf_handlesstoring all ColumnFamilyHandles.auto db = dbm -> db; auto handles = dbm -> cf_handles;
Through them, you can read and write ToplingDB just like operating RocksDB. If we add the analysis of input commands on this basis, it becomes a simple service-style KV database program.
// write
db -> Put(rocksdb::WriteOptions(), handles[0], rocksdb::Slice("test"), rocksdb::Slice("default_cf");
db -> Put(rocksdb::WriteOptions(), handles[1], rocksdb::Slice("test"), rocksdb::Slice("custom_cf");

//read
std::string value1 , value2;
db -> Get(rocksdb::ReadOptions(), handles[0], rocksdb::Slice("test"), &value1);
db -> Get(rocksdb::ReadOptions(), handles[1], rocksdb::Slice("test"), &value2);
std::cout << value1 << std::endl;
std::cout << value2 << std::endl;

//delete
status = db -> Delete(rocksdb::WriteOptions(), handles[0], rocksdb::Slice("test"));
std::cout << status.ToString() << std::endl;
status = db -> Delete(rocksdb::WriteOptions(), handles[0], rocksdb::Slice("not exist"));
std::cout << status.ToString() << std::endl;
ToplingDB supports side plugin, and the TableFactory of the SST file can be replaced only by changing the configuration file without modifying the code.
-
Using RocksDB's built-in SST
Modify the TableFactory part in the configuration file to add configurations of different Table types.
"TableFactory": {
    "block_based": {
        "class": "BlockBasedTable",
        "params": {

        }
    },
    "cuckoo": {
        "class": "CuckooTable",
        "params": {

        }
    },
    "plain": {
        "class": "PlainTable",
        "params": {

        }
    }
},
Then in the database section, use our newly set table:
"SliceTransform": {
    "default": {
        "class" : "FixedPrefixTransform",
        "params" :{
            "prefix_len" : 10
        }
    }
},
"database": {
    ...

    "column_families": {
        "default": "$default",
        "custom_cf" : {
            "max_write_buffer_number": 4,
            "target_file_size_base": "16M",
            "target_file_size_multiplier": 2,
            "table_factory": "block_based",
            "ttl": 0
        },
        "cuckoo_cf" : {
            "table_factory": "cuckoo"
        },
        "plain_cf" : {
            "table_factory": "plain",
            "prefix_extractor" : "$default"
        }
    },
}
Run our previous program directly. In the opened database, the two ColumnFamilies,
cuckoo_cfandplain_cf, have used the new Table instead of the default BlockBasedTable.If you encounter problems at this step, you can also refer to 2-1-toplingconf.json.
-
Use third-party SST files
You only need to register the third-party Factory through the
ROCKSDB_FACTORY_REGmacro, and you can use third-party SST files just like using RocksDB built-in types.For a simple demonstration, we wrap BlockBasedTable a little bit and treat it as a third-party SST file.
-
Create mysst.h
// mysst.h

#define ROCKSDB_PLATFORM_POSIX
#include "table/block_based/block_based_table_factory.h"
namespace rocksdb
{
struct MyBlockBasedTableOptions : public BlockBasedTableOptions {};

class MyBlockBasedTableFactory : public BlockBasedTableFactory
{
public:
explicit MyBlockBasedTableFactory(
      const MyBlockBasedTableOptions& table_options = MyBlockBasedTableOptions());
      const char* Name() const;
~MyBlockBasedTableFactory() {};
};

}
-
Create mysst.cpp
// mysst.cpp

#include "mysst.h"
#include <iostream>

namespace rocksdb
{

MyBlockBasedTableFactory::MyBlockBasedTableFactory(const MyBlockBasedTableOptions& _table_options)
     : BlockBasedTableFactory(_table_options)
     {
         std::cout << "Using MyBlockBasedTableFactory" << std::endl;
     }

const char* MyBlockBasedTableFactory::Name() const
{
    return "MyBlockBasedTableFactory";
};

}
It can be seen that MyBlockBasedTable only inherits BlockBasedTable, and there are no other changes. It's just that when we use MyBlockBasedTable, executing its constructor will print "Using MyBlockBasedTableFactory".
-
Register MyBlockBasedTable
In the
mysst.cppfile, add the following section:#include "topling/side_plugin_factory.h" namespace rocksdb { std::shared_ptr<TableFactory> ThirdSSTExample(const json& js , const SidePluginRepo& repo) { return std::make_shared<MyBlockBasedTableFactory>(MyBlockBasedTableOptions()); } ROCKSDB_FACTORY_REG("MyBlockBased", ThirdSSTExample); }
Yout can refer to 2-2-3-mysst.cpp for the modified code.
For convenience here, we always use the default configuration items to construct MyBlockBasedTable . In actual use, you should use the json information saved in
jsto construct the TableFactory you use, which looks like this:std::shared_ptr<TableFactory> ThirdSSTExample(const json& js , const SidePluginRepo& repo) { ThirdTableOptions table_options; // some code for modifying table_options by json ... ... return std::make_shared<ThirdTableFactory>(table_options); } ROCKSDB_FACTORY_REG("MyBlockBased", ThirdSSTExample);
-
Compile and generate libmysst.so
Execute the following commands to compile and generate the dynamic library libmysst.so of the custom plug-in MyBlockBasedTable:
g++ mysst.cpp -I ~/toplingdb -I ~/toplingdb/sideplugin/rockside/src -I ~/toplingdb/sideplugin/topling-zip/src -I ~/toplingdb/sideplugin/topling-zip/boost-include -l:librocksdb.so -fPIC -shared -o libmysst.so
-
Dynamically load libmysst.so:
After setting the environment variable
LD_PRELOAD, run our previous executable programsample.outdirectly:LD_PRELOAD=./libmysst.so ./sample.out
At this point, MyBlockBasedTable has been registered in ToplingDB, and now you can directly enable MyBlockBasedTable in the configuration item, just like using RocksDB’s built-in PlainTable and CuckooTable before.
Make the following modifications in the configuration file, changing the built-in type
BlockBasedTableto the name "MyBlockBased" registered with theROCKSDB_FACTORY_REGmacro in step 3."TableFactory": { "block_based": { "class": "MyBlockBased", "params": { } }, ... }
Run
sample.outagain (don't forget to setLD_PRELOAD!), you can see the prompt message printed by MyBlockBasedTable in the constructor.
-
For convenience, this example is directly modified on the basis of sample.cpp, without separately compiling the HTML display plug-in into a dynamic library.
-
Register AnyPlugin plugin
In the
rocksdbnamespace, define the derived classHtmlShowExampleofAnyPluginand modify itsToStringfunction andNamefunction.namespace rocksdb { class HtmlShowExample : public AnyPlugin { public: void Update(const json&, const SidePluginRepo&) {} std::string ToString(const json& dump_options, const SidePluginRepo&) const { return "This is an example of HTML show."; } const char* Name() const { return "HtmlShowExample"; } }; }
The return value of the
ToStringfunction is std::string type, and the returned string string will be printed in the browser without distinction. If the return value is a serialized json object, AnyPlugin can also display the data in the form of a table.After defining the derived class
HtmlShowExample, still in therocksdbnamespace, use the following macro to register itROCKSDB_REG_DEFAULT_CONS(HtmlShowExample, AnyPlugin); ROCKSDB_REG_AnyPluginManip("HtmlShowExample");
-
Start http service
After loading the configuration file, call the member function
StartHttpServerof repo to start the http service. Similar to opening DB, we can also print out the returnedrocksdb::Statusrelated information for reference.auto http_status = repo.StartHttpServer(); std::cout << http_status.ToString() << std::endl;The modified source program is 3-2-sample.cpp.
-
Modify the configuration file
In the outermost layer of the configuration file, add our display plugin information.
{ "AnyPlugin": { "html-show-example": "HtmlShowExample" }, ... } -
compile and run the project
Compile the modified
sample.cppusing our previous pragma and execute the program.The listening port we set in the example configuration file is 8081 , visit
127.0.0.1:8081/AnyPlugin/html-show-example, you can see the display information.If you are not executing the program locally, change
127.0.0.1to the access ip of your machine. If the information printed by the program is OK, but the page cannot be opened, please check the firewall settings. -
Other information display
ToplingDB integrates a WebService to display internal information externally, such as the currently configured parameter options, the status of the LSM tree, or the execution of distributed compact, etc. In addition, the monitoring indicators displayed under
Statisticscan also be imported into Prometheus + Grafana for monitoring.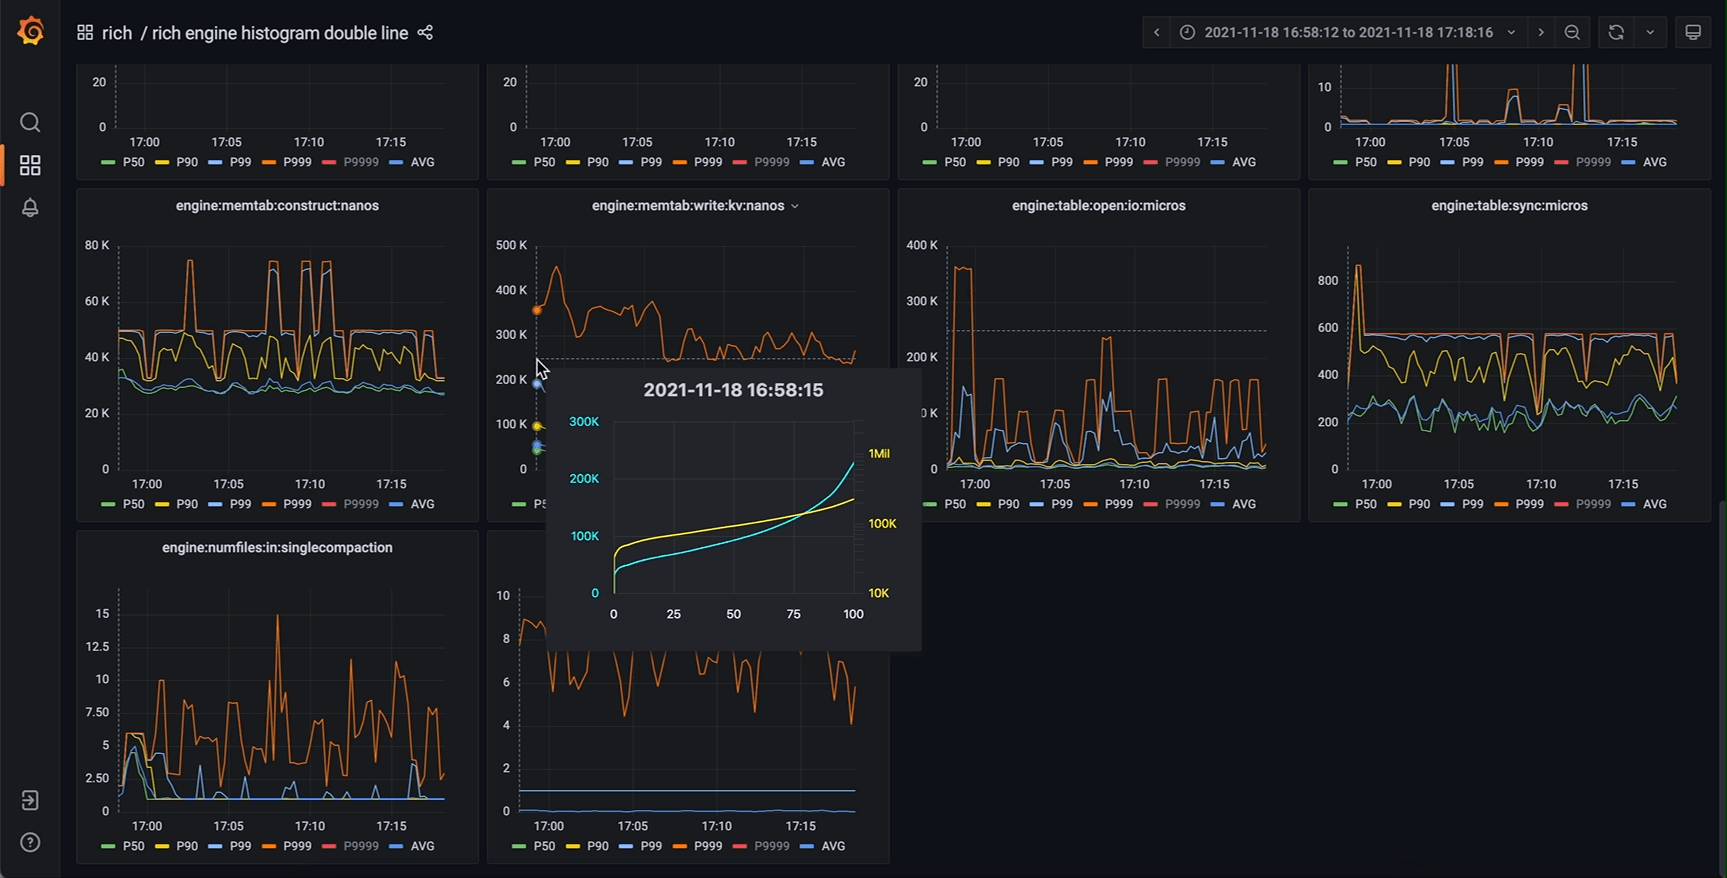
If you also use a third-party plug-in, after implementing and registering the corresponding PluginManipFunc template class, you can see the serialization information returned by the
ToStringmember function on the corresponding web page.