A one-page personal website project template.
Live Demo: https://manny-mcmannerton.firebaseapp.com/

Me is the codebase for a one-page personal website that is static and simple. Use it to brand yourself on the internet, similar to an about.me page. It is responsive, very fast, and easy to customize. The design is loosely based on an about.me template, and it uses the best web practices and technologies and top-tier free hosting.
So, why not just use About.me or a similar service to create your site? Boring! More important than saving yourself the monthly or annual price (all you'll need to buy is your custom domain name), you get to add your personal touch to your brand. Plus you'll show off some technical competency.
Requirements: You need to know how to 1) open the terminal and paste a few commands and 2) open source files in a text editor.
(Skip straight to the setup instructions.)
The goal is to have a high-performance, lean static site that uses up-to-date web standards and guidelines. To this end we use these kits from Google:
Google's Web Starter Kit
Web Starter Kit is an opinionated boilerplate for web development. Tools for building a great experience across many devices and performance oriented. Helping you to stay productive following the best practices outlined in Google's Web Fundamentals. A solid starting point for both professionals and newcomers to the industry.
Google's Material Design Lite Front-end Framework
Material Design Lite components are created with CSS, JavaScript, and HTML. You can use the components to construct web pages and web apps that are attractive, consistent, and functional. Pages developed with MDL will adhere to modern web design principles like browser portability, device independence, and graceful degradation.
The site should load minimal or no third party resources, be static, be fully responsive for any device type, and benefit from upstream development in the tooling and front-end framework. WSK includes tooling for minifying and concatenating code, removing unused styles, and optimizing images.
Since this is a simple site without too many components, we won't need most of the MDL framework. Instead of requiring the whole framework externally and unnecessarily bloating our site, the CSS version of Material Design Lite has been swapped out for the Sass version and localized, so that we can eliminate the components we aren't using (such as menus, dialogs, sliders, tables, ripple effects). This has the added benefit of allowing for greater customization, such as using colors and fonts (set in app/styles/src/_variables.scss) outside of the official Material color palette. Ideally user styles should still be kept in app/styles/main.scss to allow for easy upgrading of the MDL framework without overwriting customizations or requiring manual merging. If you need any components that aren't included, they have been commented out (see app/index.html, gulpfile.babel.js, app/styles/src/material-design-lite.scss, further info). Other unnecessary components such as service workers have also been removed.
Below are the instructions to set up your site. Some of the install instructions will come from the relevant parts of Google Web Starter Kit. Here is an overview of what you'll do:
- Get a copy of the code.
- Install the dependencies if you don't already have them.
- Customize it.
- Deploy your site on your custom domain.
To get started, download or clone the code to a directory on your computer.
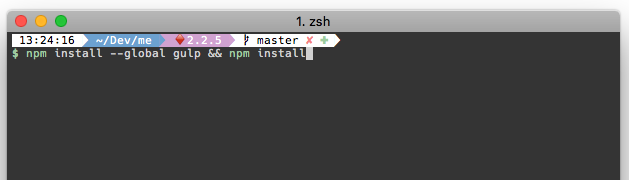
If you already have node.js installed, just open your terminal and run $ npm install --global gulp && npm install in that directory to get started.
If you need help getting node and gulp set up, go here first and follow the instructions.
From your project directory, run
gulp serve
And your site should open in the browser, running locally at http://localhost:3000/


Check out commands for more things you can do with gulp and WSK.
The site content is in the app folder, basically in two files: index.html and main.scss.
In order to start making changes to your site, just open your favorite text editor and load up those two files. With your site still running locally in the browser (from gulp serve), you can now make changes to your site and they will update automatically in the browser each time you save. This is because Web Starter Kit comes with browser-sync built in.

All of the custom styles for the site are in /app/styles/main.scss except a few variable settings such as font and colors. Since we're using the Material Design Lite framework locally, we can set custom variables in app/styles/src/variables.scss. Open it up and look for these two sections near the top:
/* ==========  TYPOGRAPHY  ========== */

$preferred_font: 'Lato', 'Helvetica', 'Arial', sans-serif !default;
$performance_font: 'Helvetica', 'Arial', sans-serif !default;
/* ========== Color & Themes ========== */
$color-primary: $palette-teal-400 !default;
$color-primary-accented: $palette-teal-A400 !default;
$color-primary-dark: $palette-teal-700 !default;
$color-accent: $palette-blue-A400 !default;For a large selection of free fonts, check out Google Fonts and find a couple of good ones. Replace 'lato' after preferred_font with your choice. The headline name font is set in a different file, /app/styles/main.scss in h1. Open /app/index.html and replace these stylesheet <link>s with the embed code from Google Fonts. If you know which font weights you want to use, specify that to slim the download.
<!-- Material Design Fonts -->
<link rel="stylesheet" href="https://fonts.googleapis.com/css?family=Lato:300,400,500" type="text/css">
<link rel="stylesheet" href='https://fonts.googleapis.com/css?family=Droid+Serif:700' type="text/css">
For color options look at Google's Color Palette. If you need help with the color variable names you can look them up here: /app/styles/src/_color-definitions.scss
To add icons such as social icons, use Material Icons, find your icon, and copy the svg code directly into index.html.
This method inlines the SVG into our markup, saving the space of downloading the entire MDL set of hundreds of icons.
![]()
You can use Real Favicon Generator to generate your favicons (the little icon in the browser tab and bookmarks). Create a square icon (500x500px) in a photo editor and save as a PNG. Upload that to generate your icons.
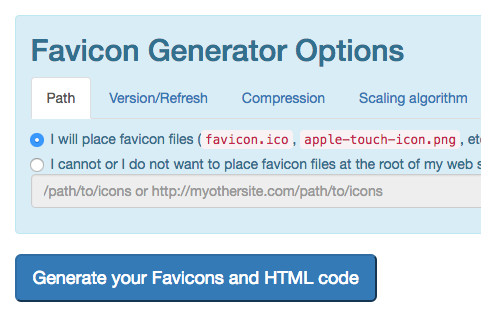
Ignore the instructions (even though there is an option for Google Web Starter Kit - they're working on their own favicon solution). Just Download your favicon package (Step 1). Open /app/images/touch folder and copy and paste your new favicon files, overwriting the existing files by making sure the names match exactly. Also replace the favicon.ico file in the root app directory with your new image.

If you want to conceal your email address so it doesn't get scraped, you can use Google's Mailhide service. Follow the instructions to get a link that you can paste into your button's href.
TODO:
- Replace Mailhide with Google reCaptcha v2
You can host your site anywhere you can deliver static files (Github Pages, Amazon S3). We'll use Firebase, a Google app hosting platform that recently announced a pricing update as part of their big platform update in May, 2016. The free tier was bumped up to 1GB file storage, 10GB transferred, and a custom domain, which is all we need for a static one-page website. Plus, you get a global CDN and an SSL certificate included by default (so you get your 🔒 and https://).

It's easy to deploy your app to Firebase. Head to https://firebase.google.com/ and follow the instructions to Get Started.
You can use your existing Google account and it will take you straight to the dashboard where you can Create a New Project.

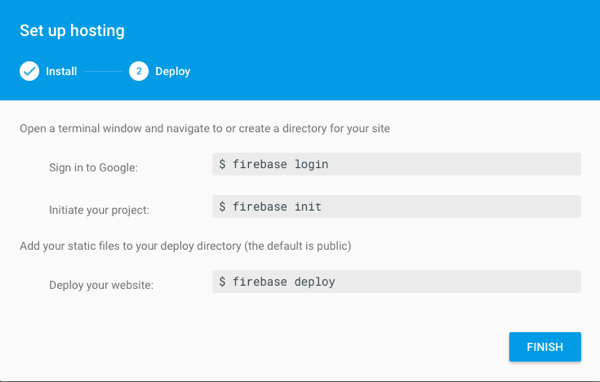
You'll need to install node.js in order to use npm on the command line. (It should be installed already from the Install step.) The instructions will walk you through running a few commands in the terminal to initiate your project with Firebase.

-
Skip the second step,
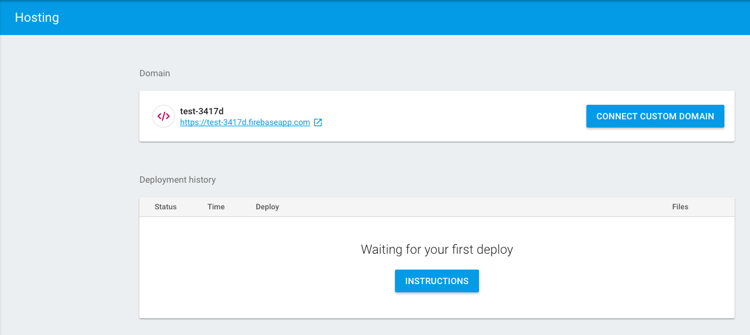
firebase init, because that will overwrite some of our custom deployment settings. Instead, go to your Firebase console and copy your app id (in the image below the app id is test-3417d) and paste that in your/.firebasercfile where it saysyour firebase app id goes here(keep the quotes).


-
Before we run
firebase deploy, we need to run thegulpcommand by itself in order to build the final site. Once that's finished (around 20 seconds), then runfirebase deploy.


Now your site is live on your default firebase app domain name.

On Mobile:

All that's left is to connect your custom domain name from the Firebase app dashboard. If you want to stay on the Google train, head to Google Domains to buy one. (Hint: check out https://domainr.com and https://en.wikipedia.org/wiki/List_of_Internet_top-level_domains to come up with something unique.)
To update your site again you can just 1) make your changes to the appropriate app files - run gulp serve to preview the changes if you want, 2) run gulp, 3) run firebase deploy! 💥
Licensed under the Apache License, Version 2.0
Cheers,
Daniel