Verifying the Bundle
Once you've generated a bundle, you should test that it works.
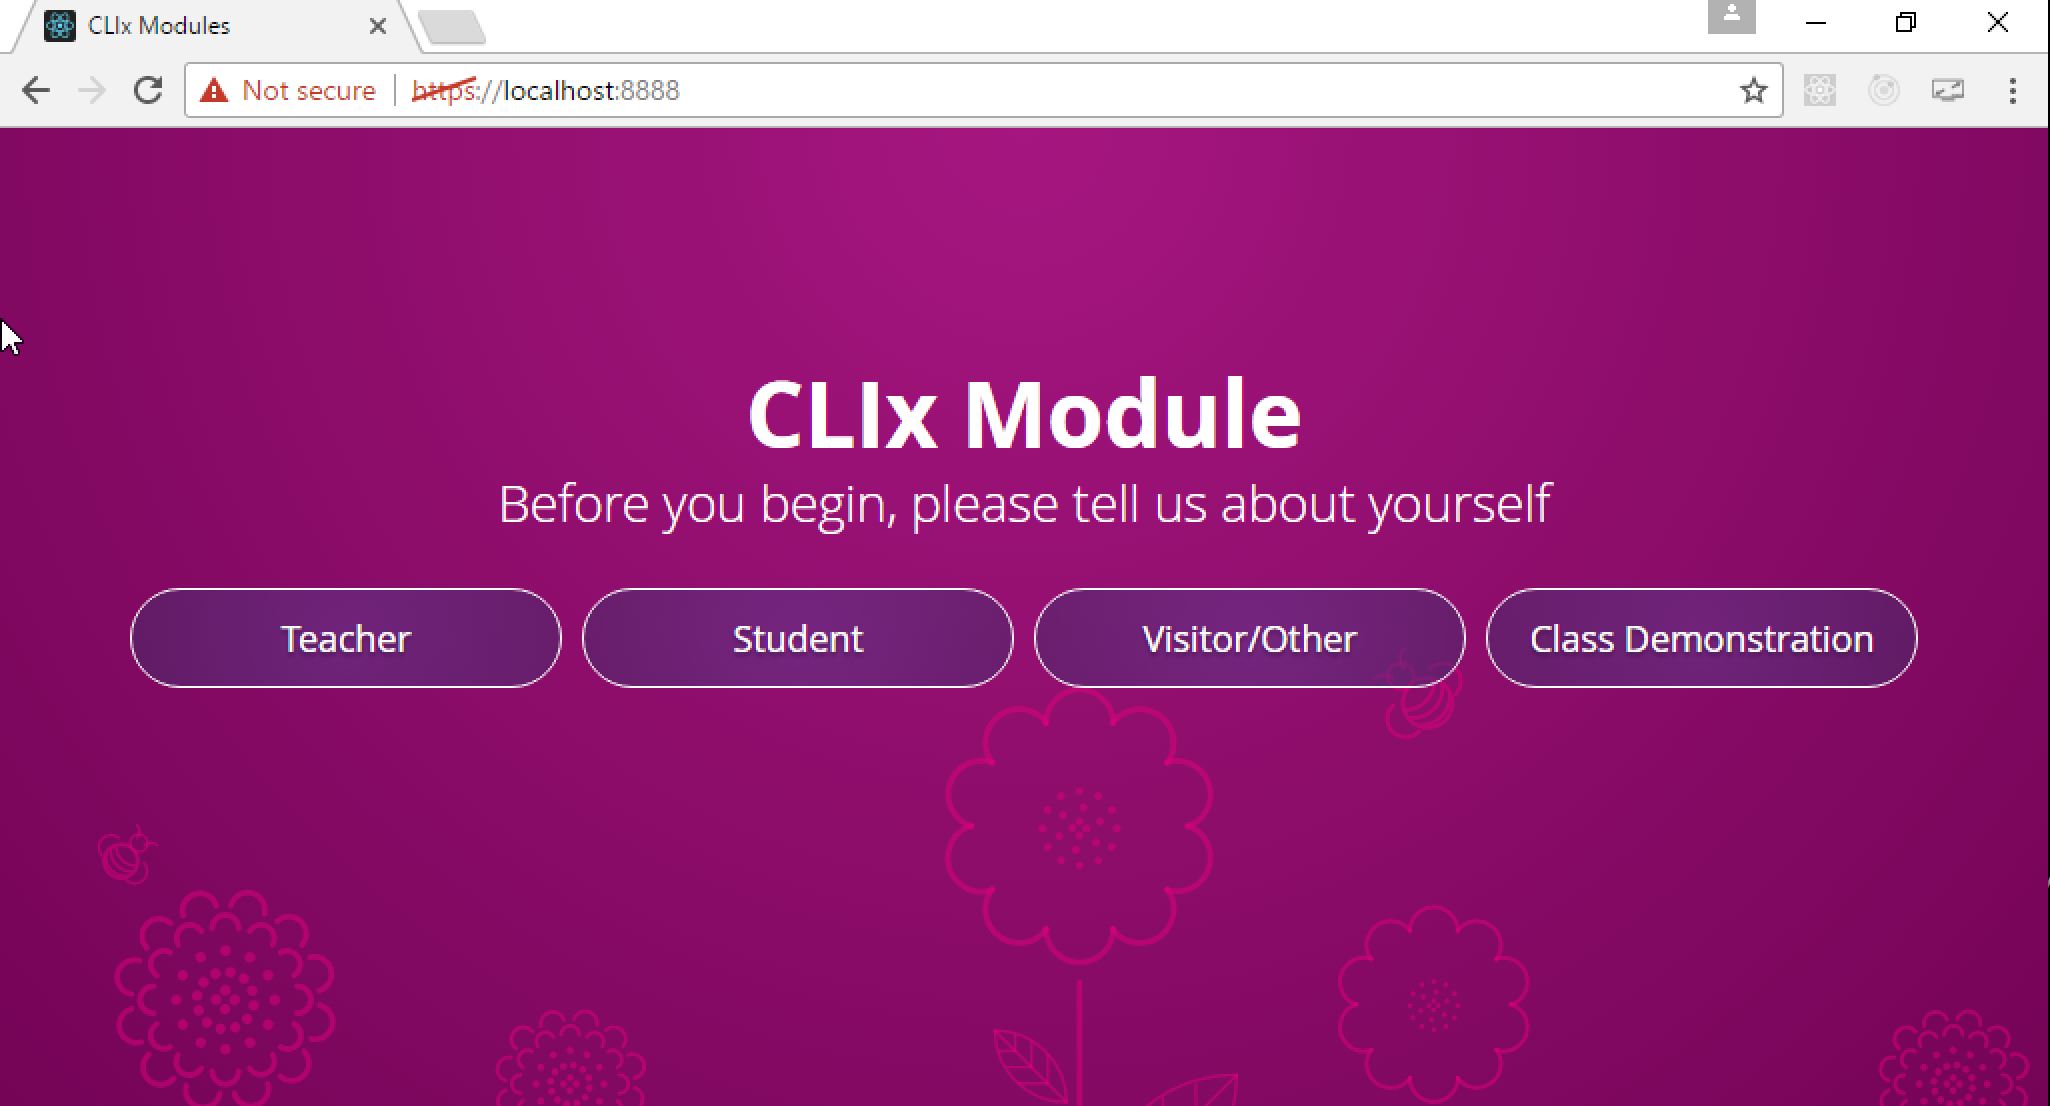
If the initial page (after configuring the school) does not look like
Then the CSS was not included in the build process. One common error is that node-sass was not linked properly. You can try npm rebuild node-sass or even just deleting the entire ui/node_modules folder and re-running the build script.
The following test steps and screenshots apply specifically to the Windows build, but similar results should appear for any platform.
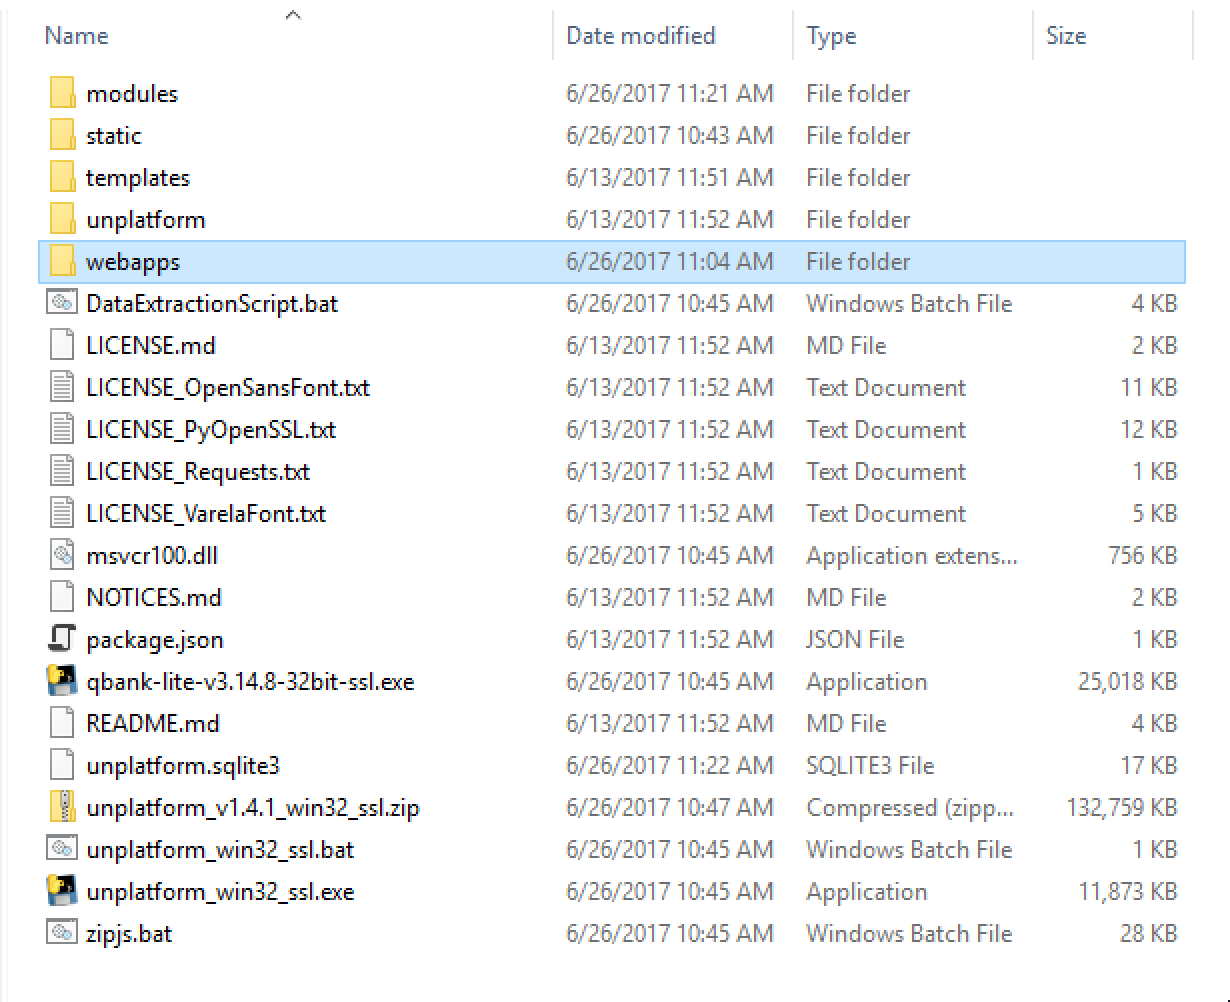
After you unzip the bundled .zip file, you should see the following files and directories.
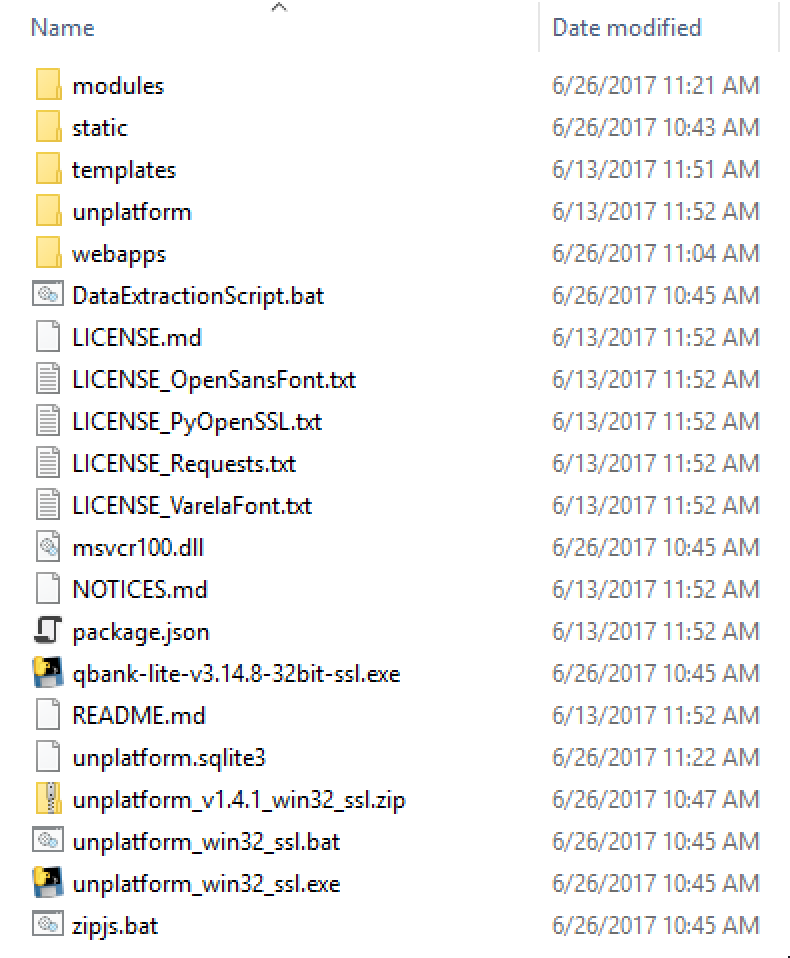
At a minimum, you should see a qbank executable, and unplatform executable, a .bat launch script, and (on Windows) DataExtractionScript.bat and zipjs.bat. You should also see directories unplatform, static, and modules.
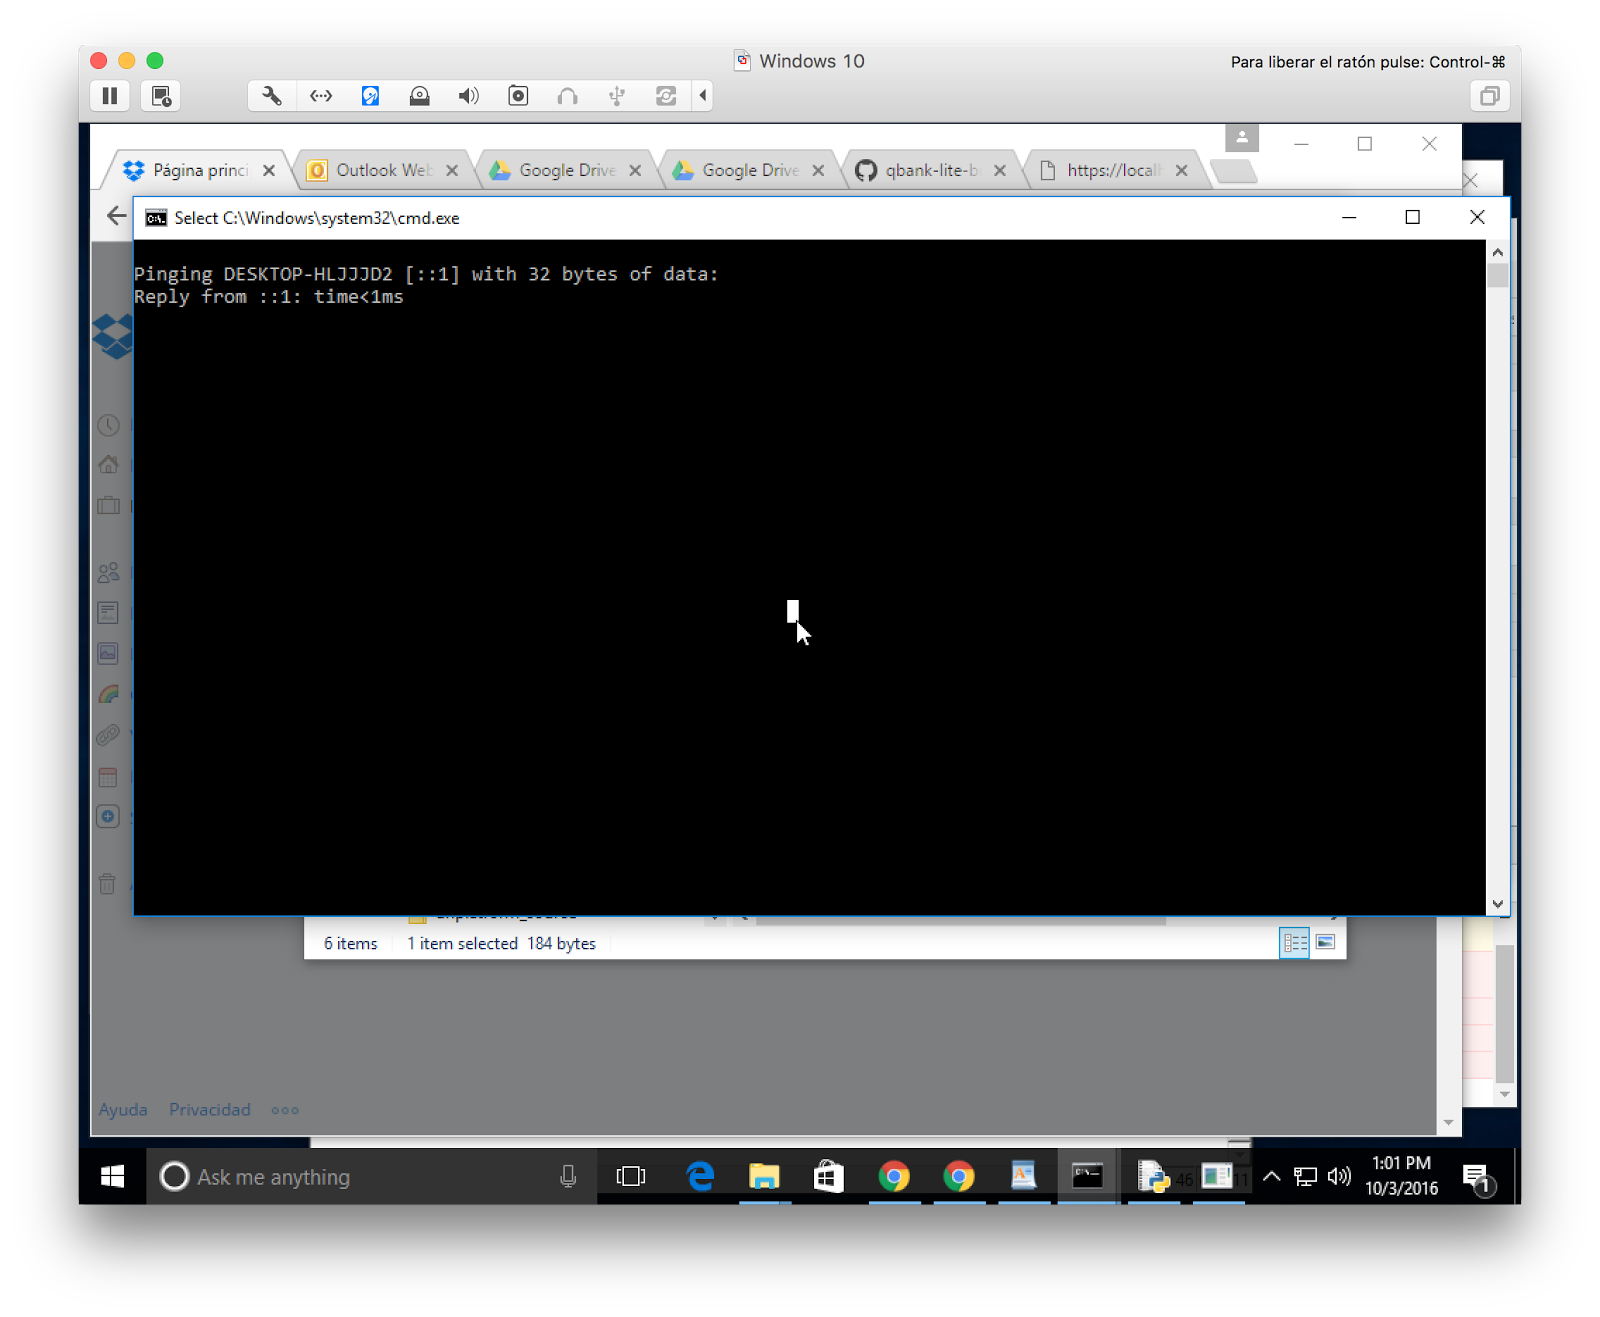
Click on the unplatform_win32_ssl.bat file to start the unplatform process. You should see a console window counting down 4 seconds, then three minimized applications appear in the Windows dock.
![]()
Chrome should automatically open to an Unplatform screen, as seen in the field installation page.
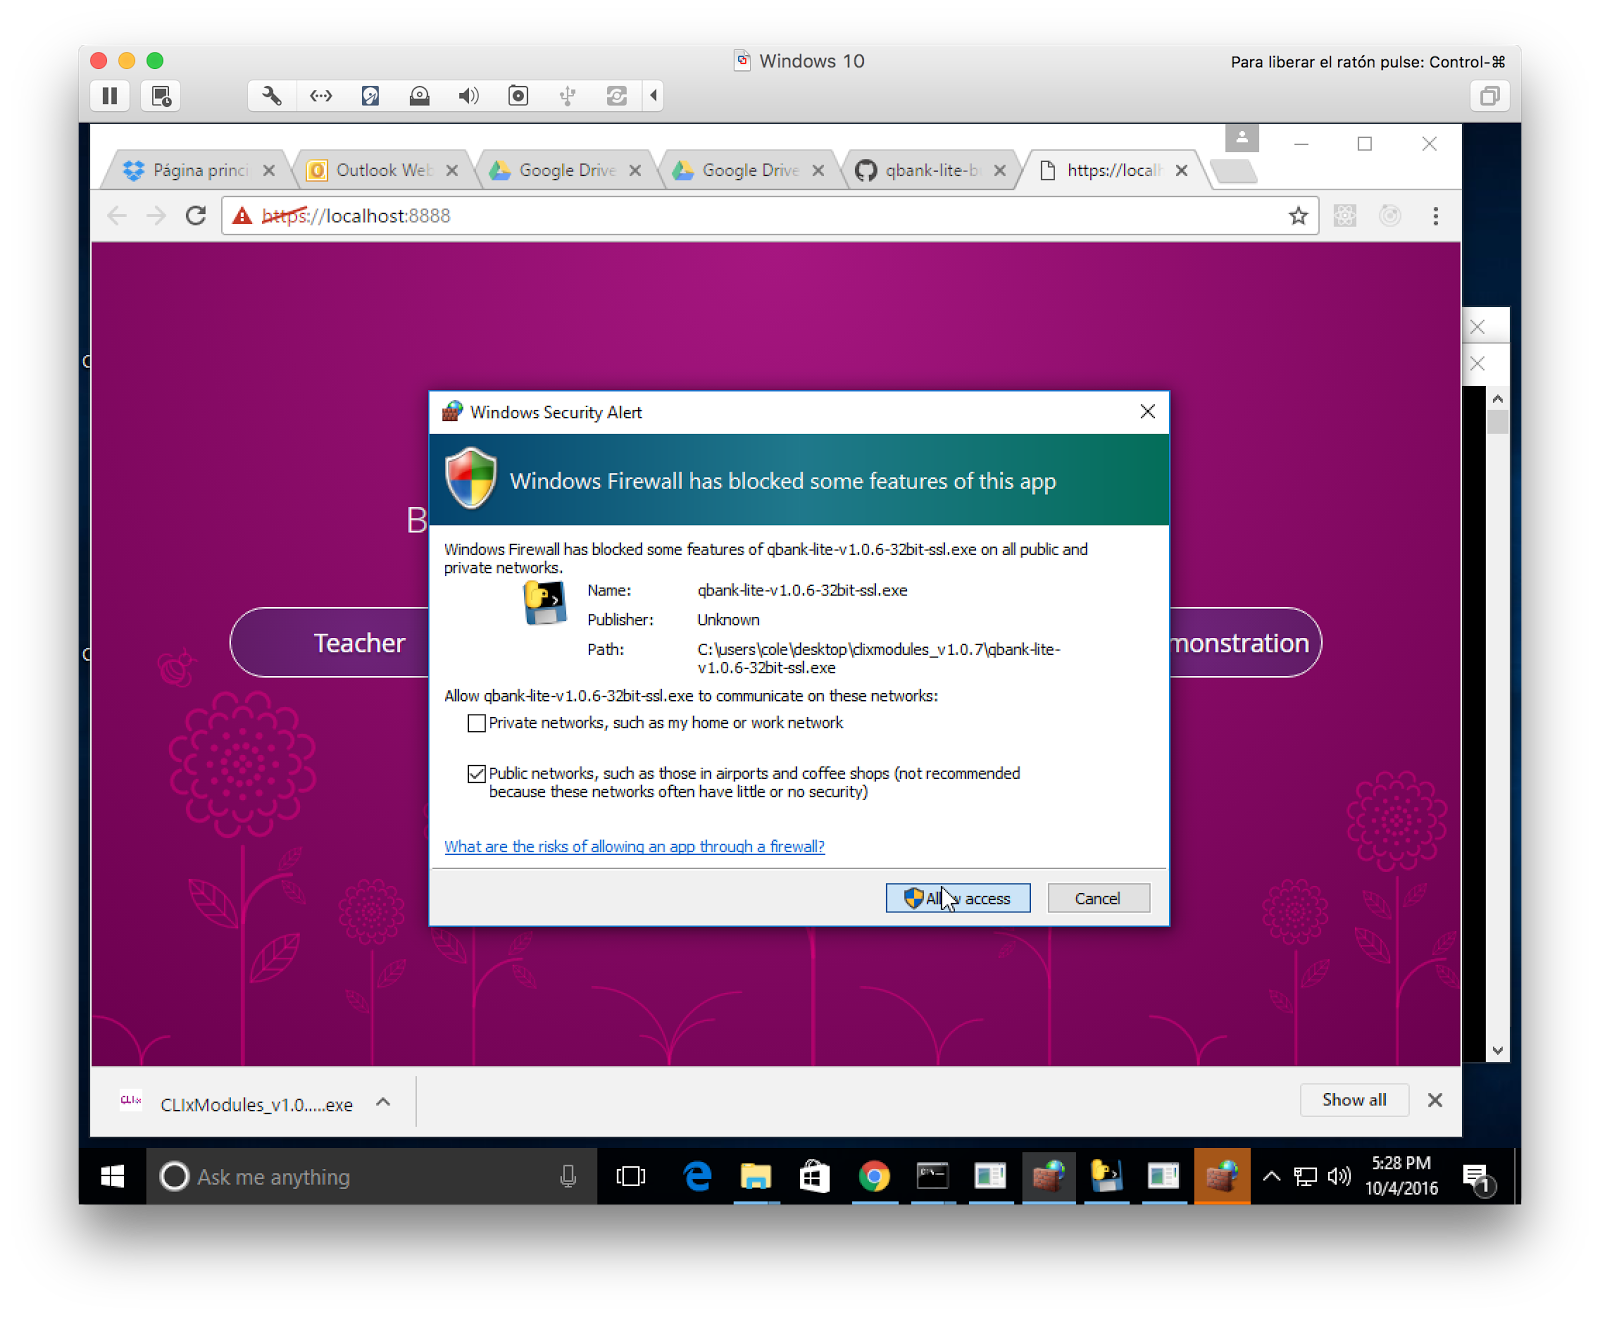
If this is the first time you've launched the specific version of unplatform, you may get a firewall warning for both unplatform and qbank. You'll need to grant both applications access to the Public network.
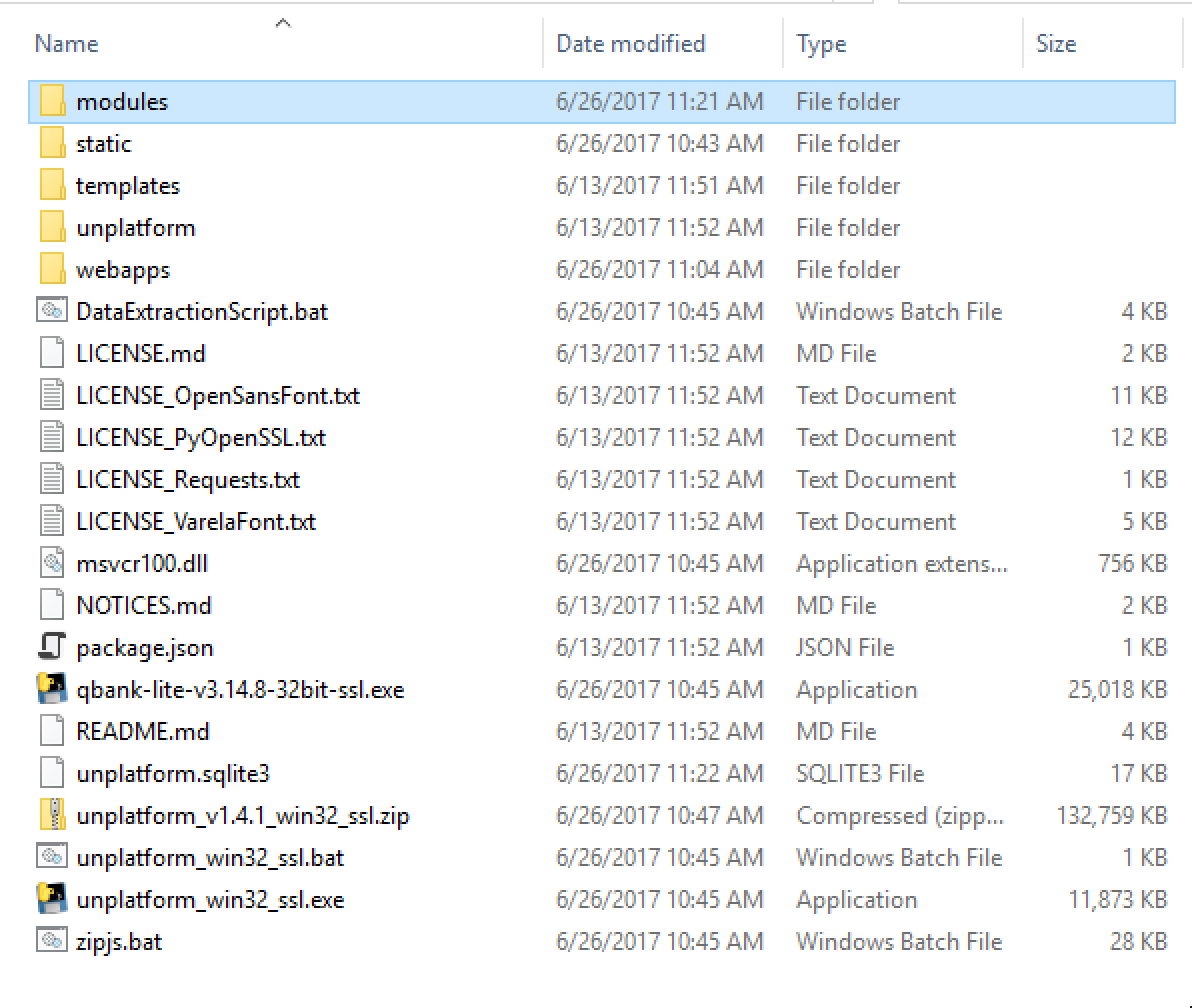
- Download this qbank data dump
- Unzip it and drag the resulting
webappsfolder into theunplatformfolder, so that it is sibling to theqbankexecutable, like below.
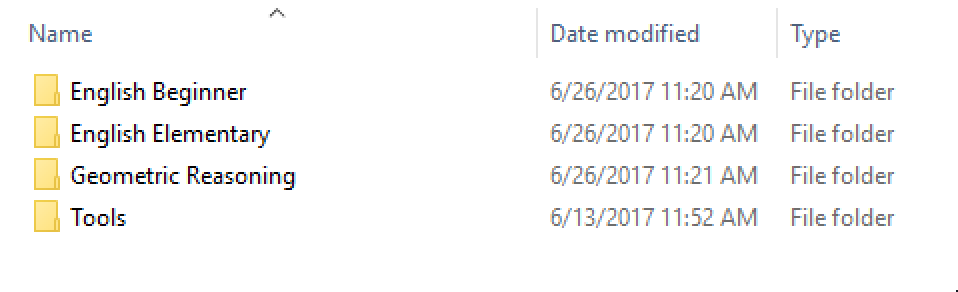
- Download this set of unplatform modules
- Unzip it and drag the
modulesfolder into the existingmodulesfolder. Do not overwrite the existingToolsfolder (the format of the tools has changed over time, and may not be compatible with older data).
If this is the first time running the bundle, you may have to configure the school settings, as shown in the field installation page.
In Chrome, navigate to Teacher -> 1 -> Select Subject -> English Beginner -> Class 9 -> Unit 1. It should look like the page below. If the subject English Beginner isn’t displayed, you haven’t successfully downloaded and installed the qbank data described in the section above.
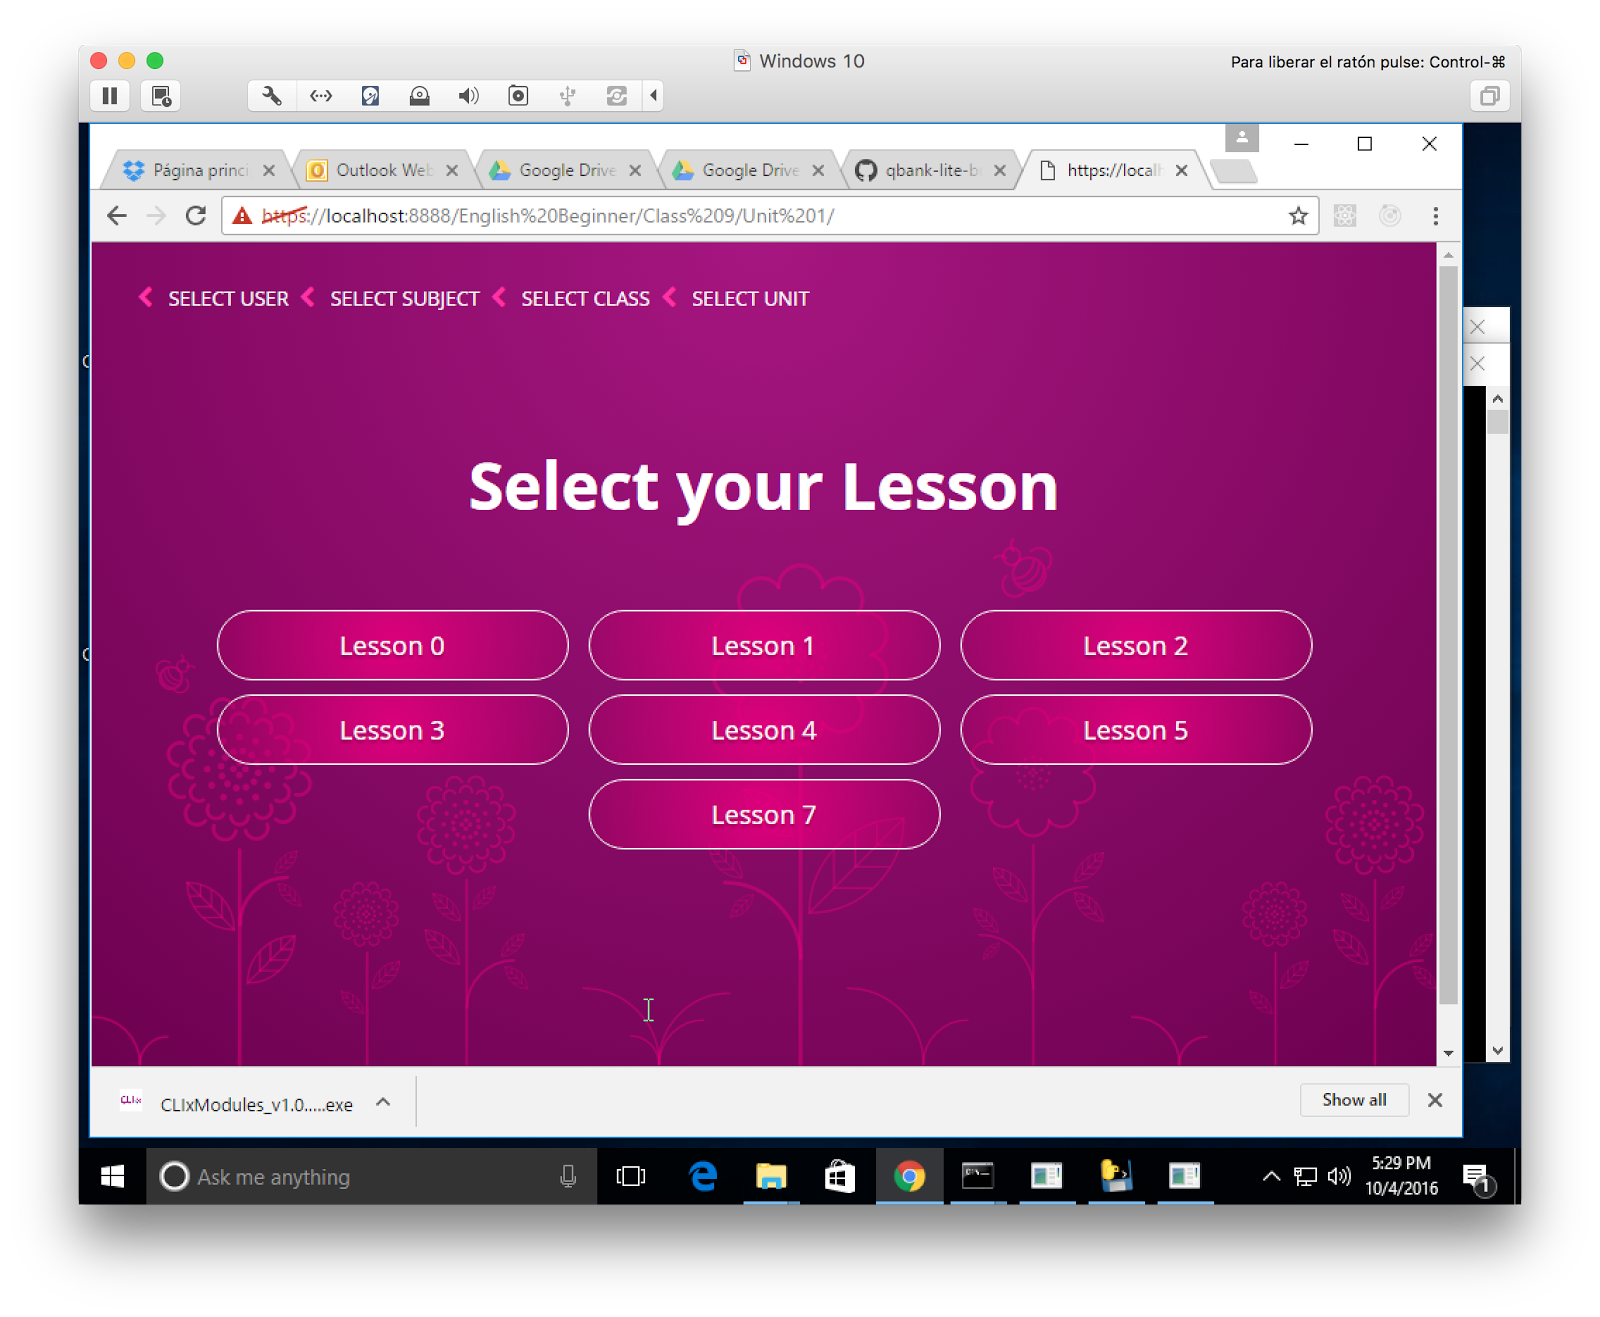
Select Lesson 0. You should now see a list of activities.
Click Story Time in the left-hand activity navigation menu. You should be able to play / pause / seek the video.
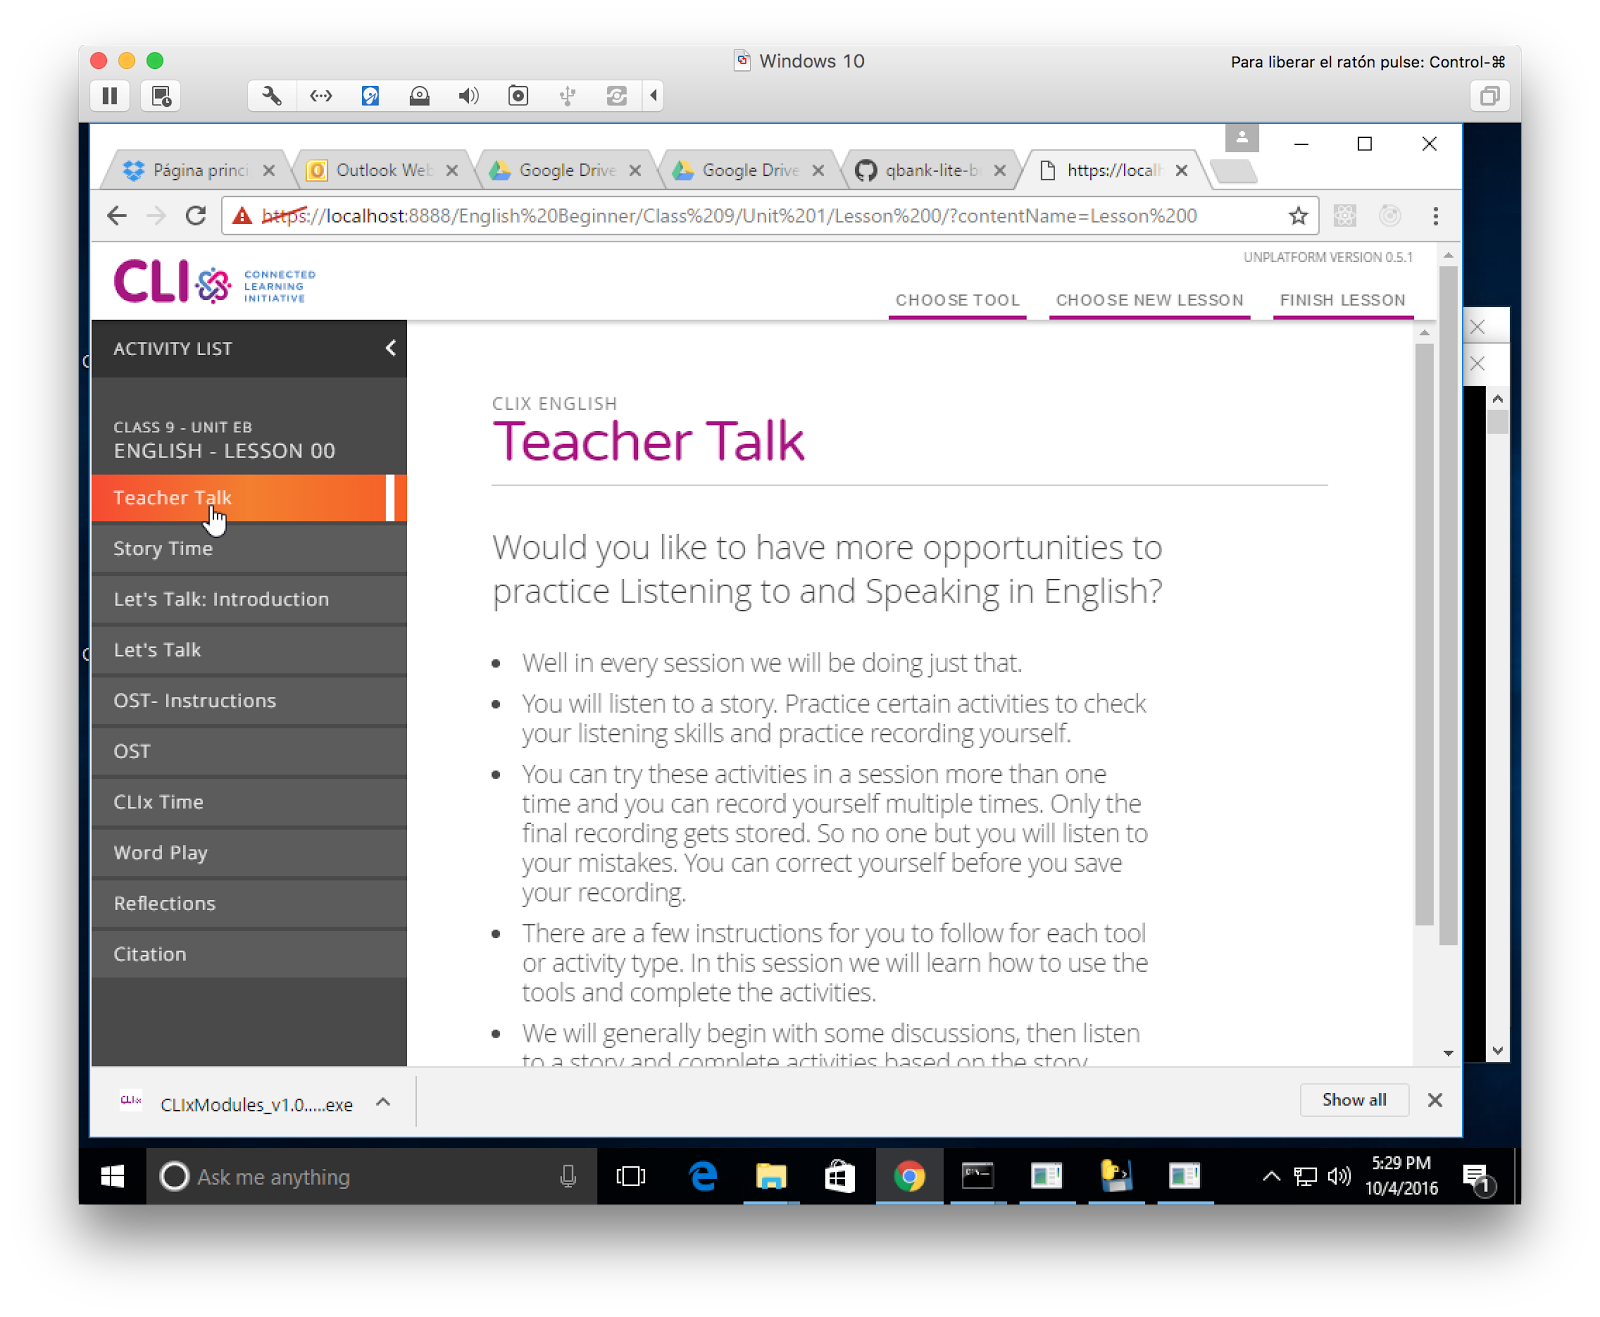
Click Let's Talk in the left-hand activity navigation menu.
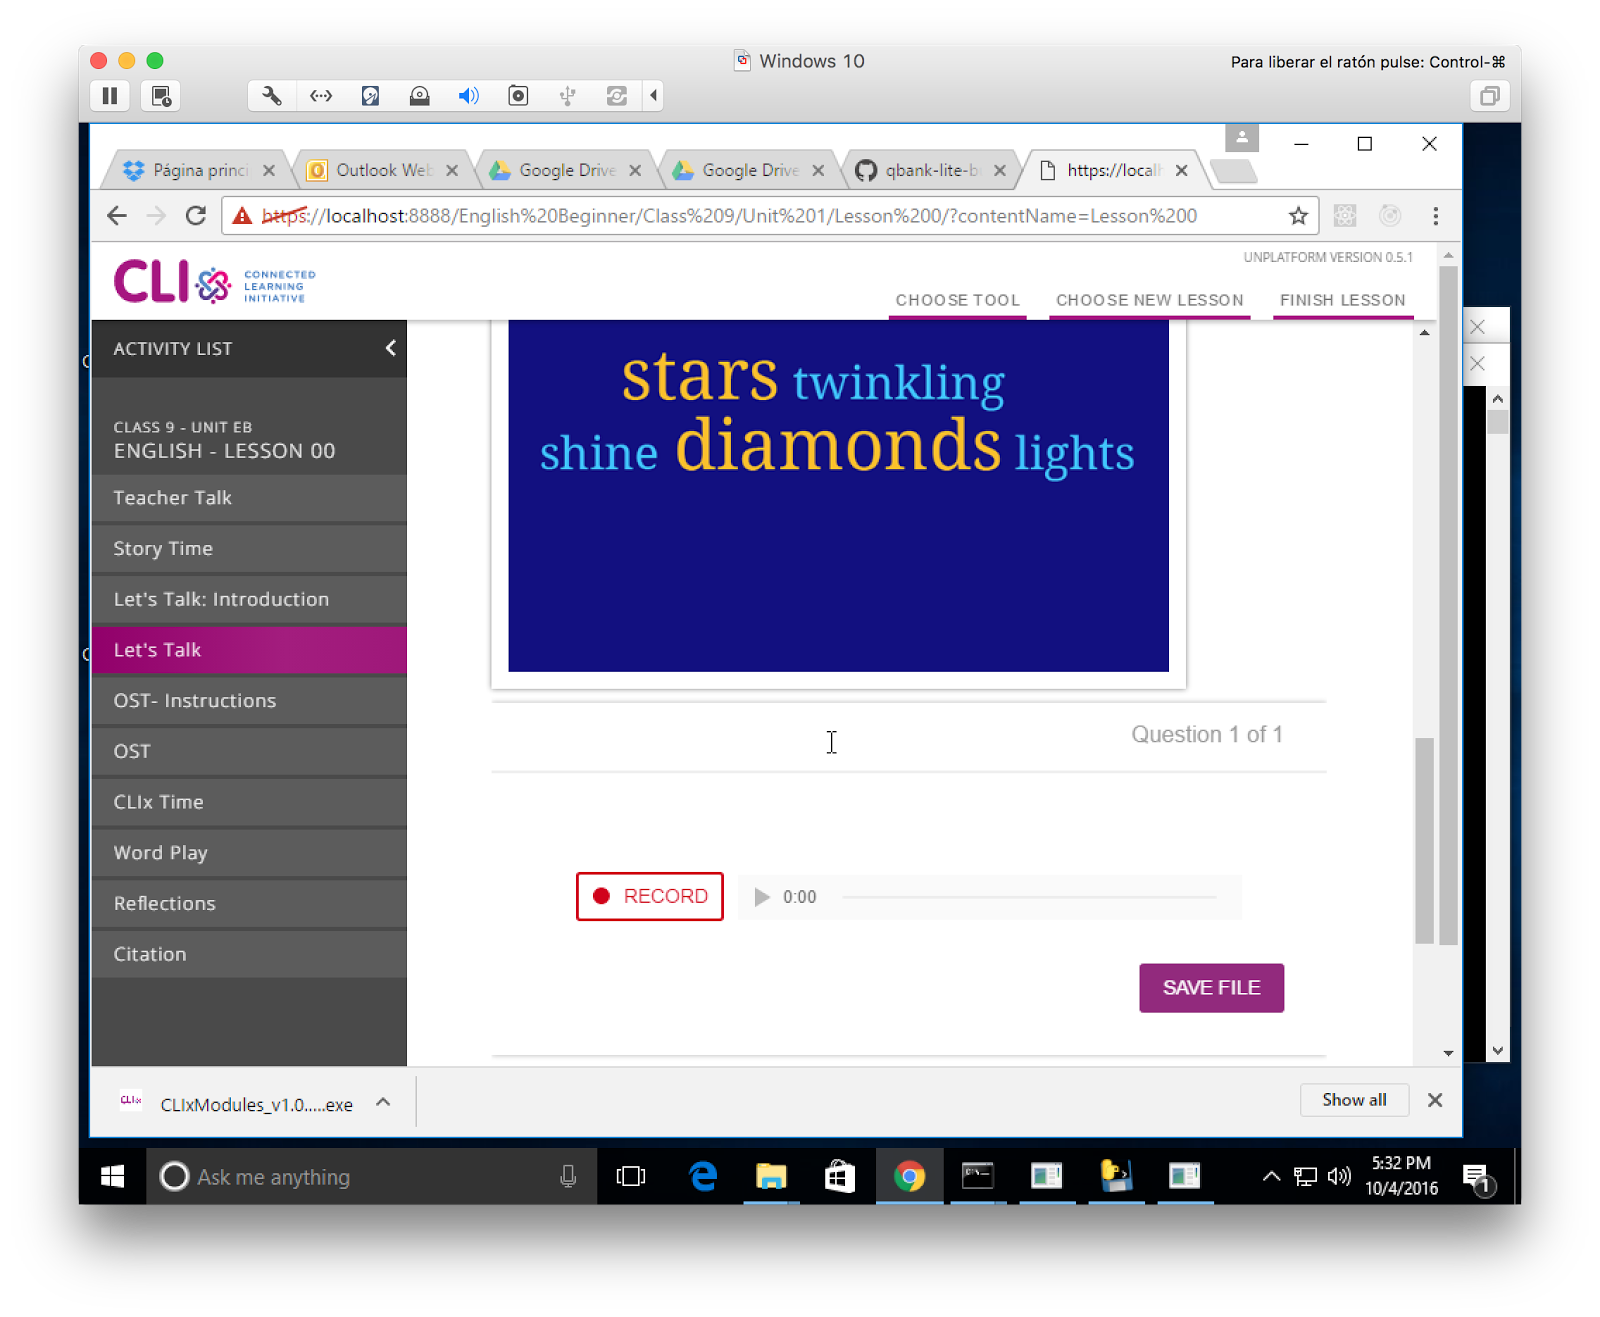
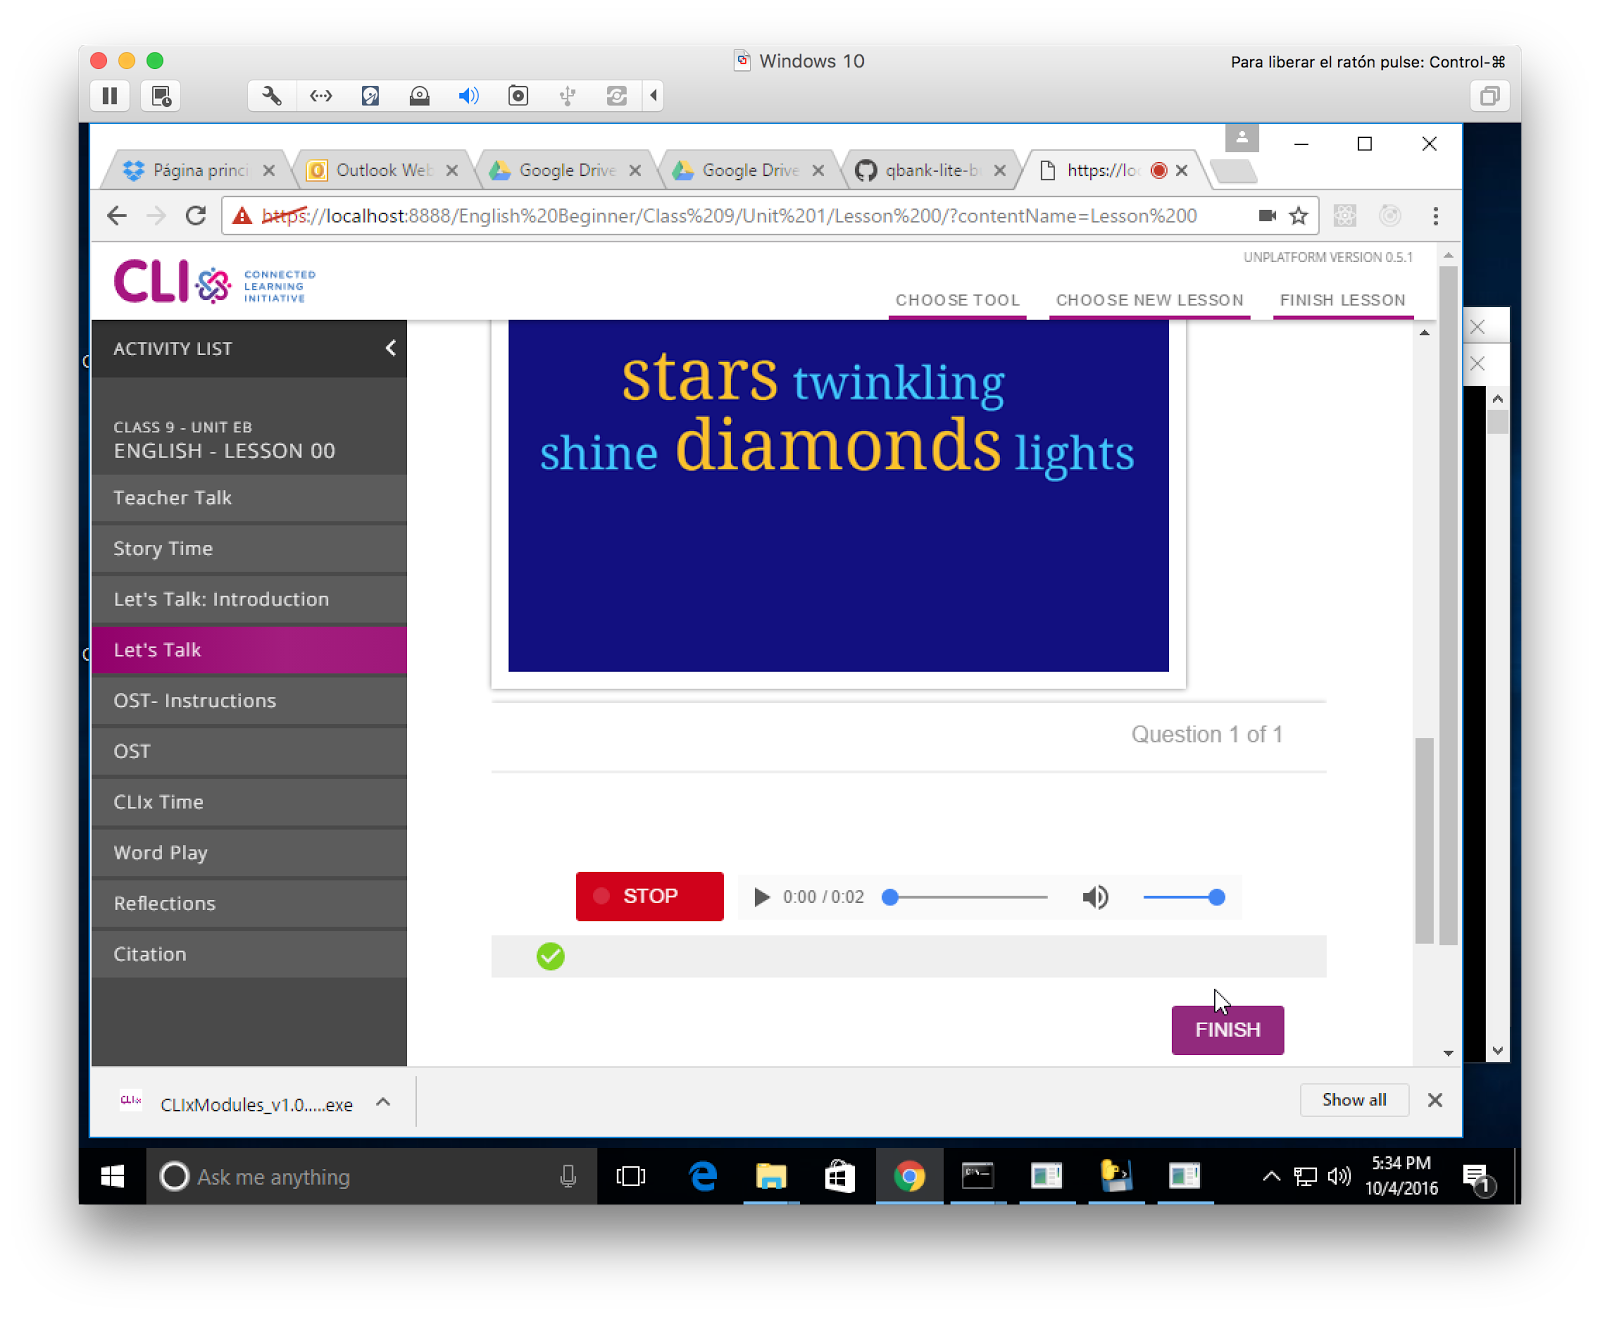
Clicking Option A should take you to a new page, where you should be able to play / pause / seek the audio element. Scroll down. At the bottom of the page there should be a Record assessment. If it does not look styled, there was an issue with the build.
Press Record and say something into your microphone. After you hit Stop, you should be able to listen to your recording and the UI should update to show the length of your recording. Clicking Save File should spin for awhile, then show a green checkbox.
Clicking Option B should take you to a different page. Reload the page, navigate back to Let's Talk, and select Option B.
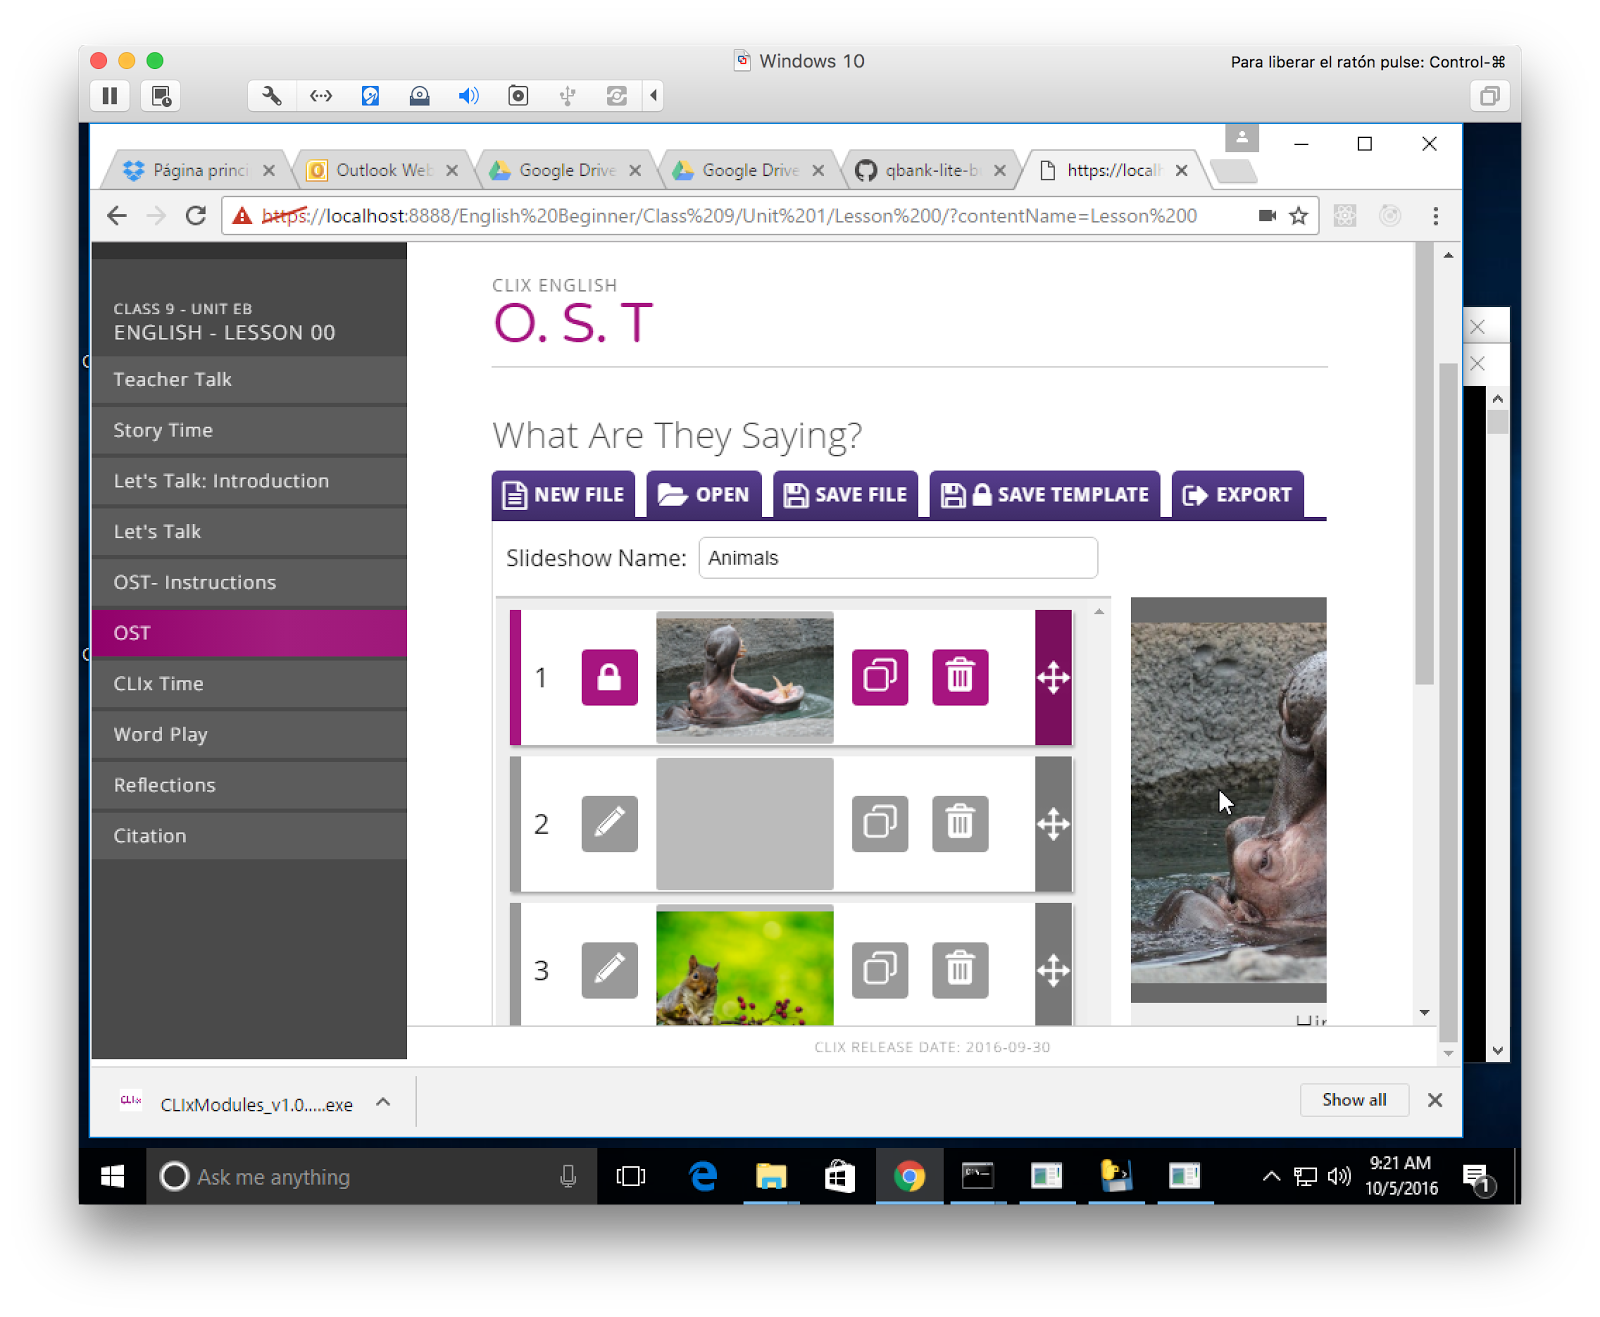
Click OST in the left-hand activity navigation menu. The screen should look like below, if not, the build did not work.
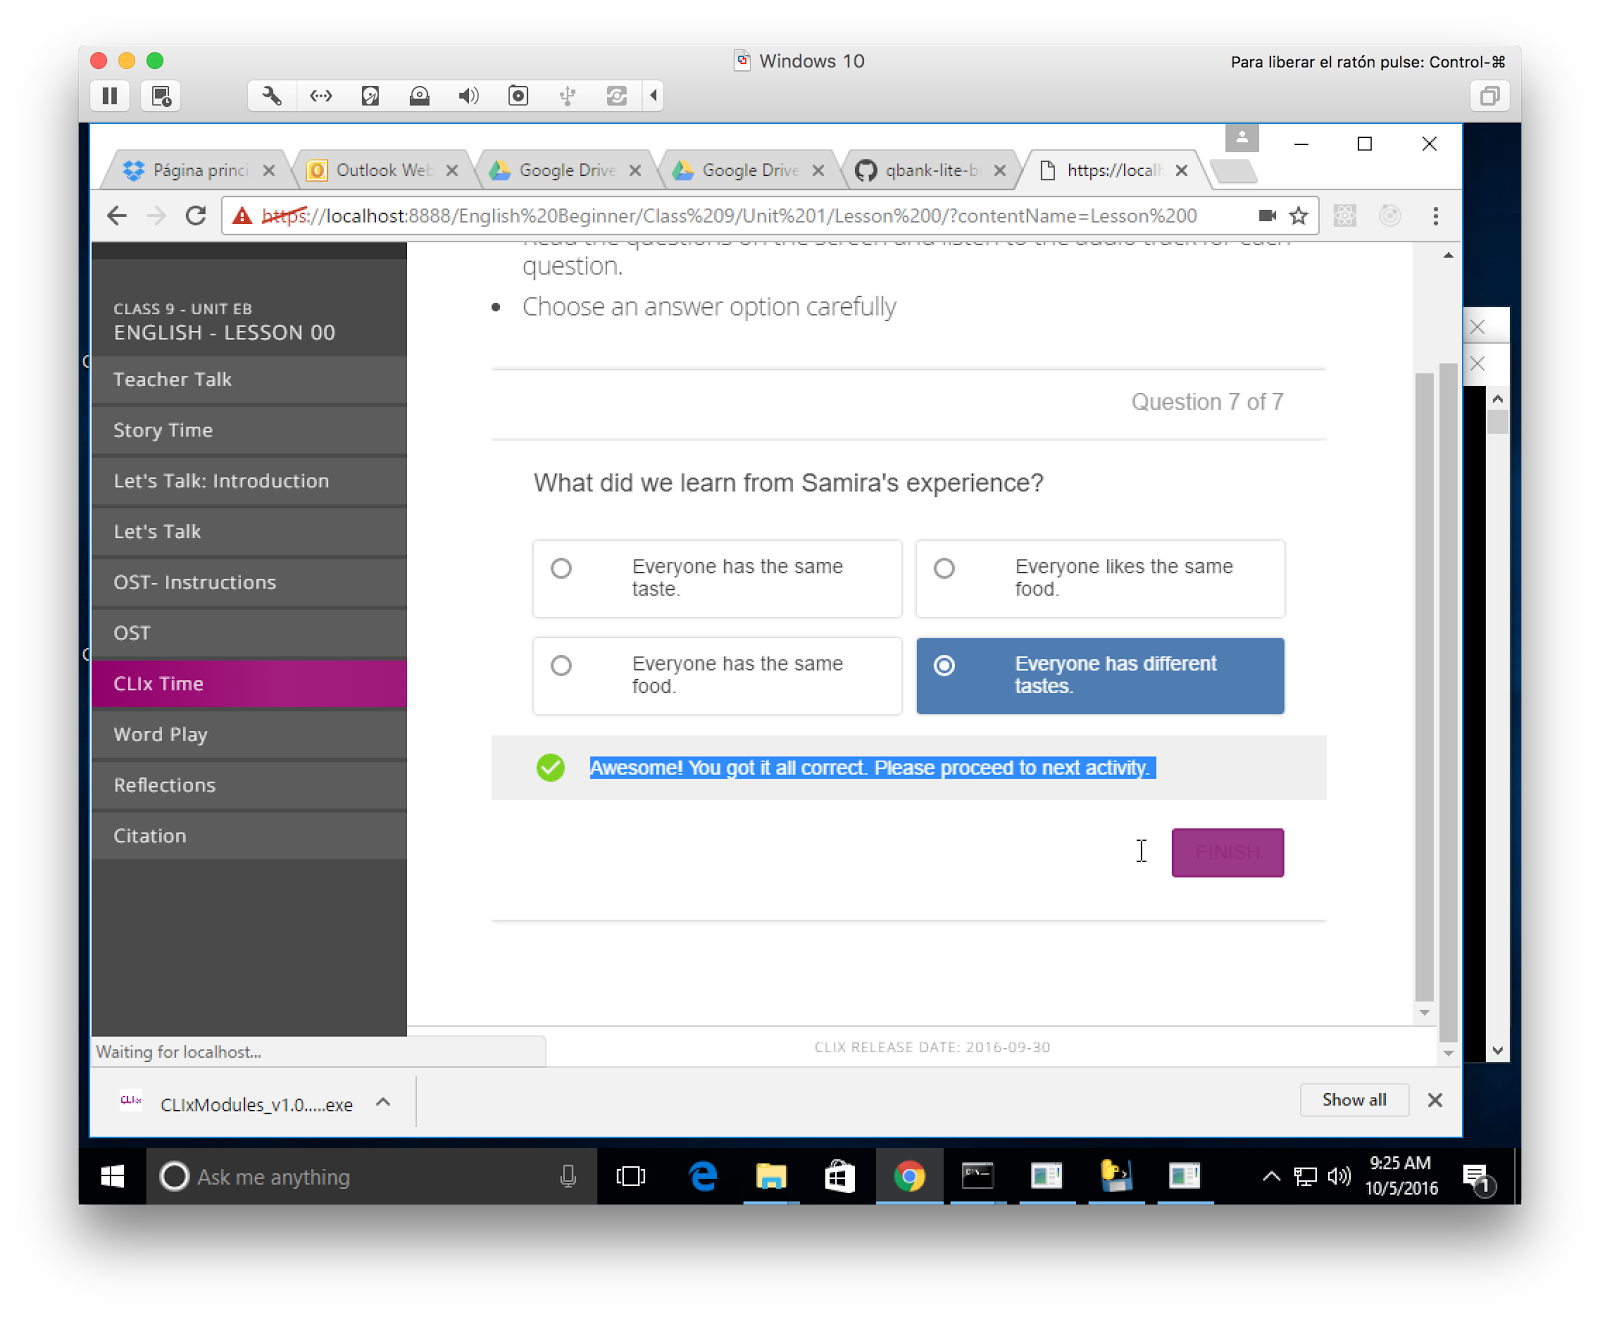
Click CLIx Time in the left-hand activity navigation menu. There should be a series of 7 questions.
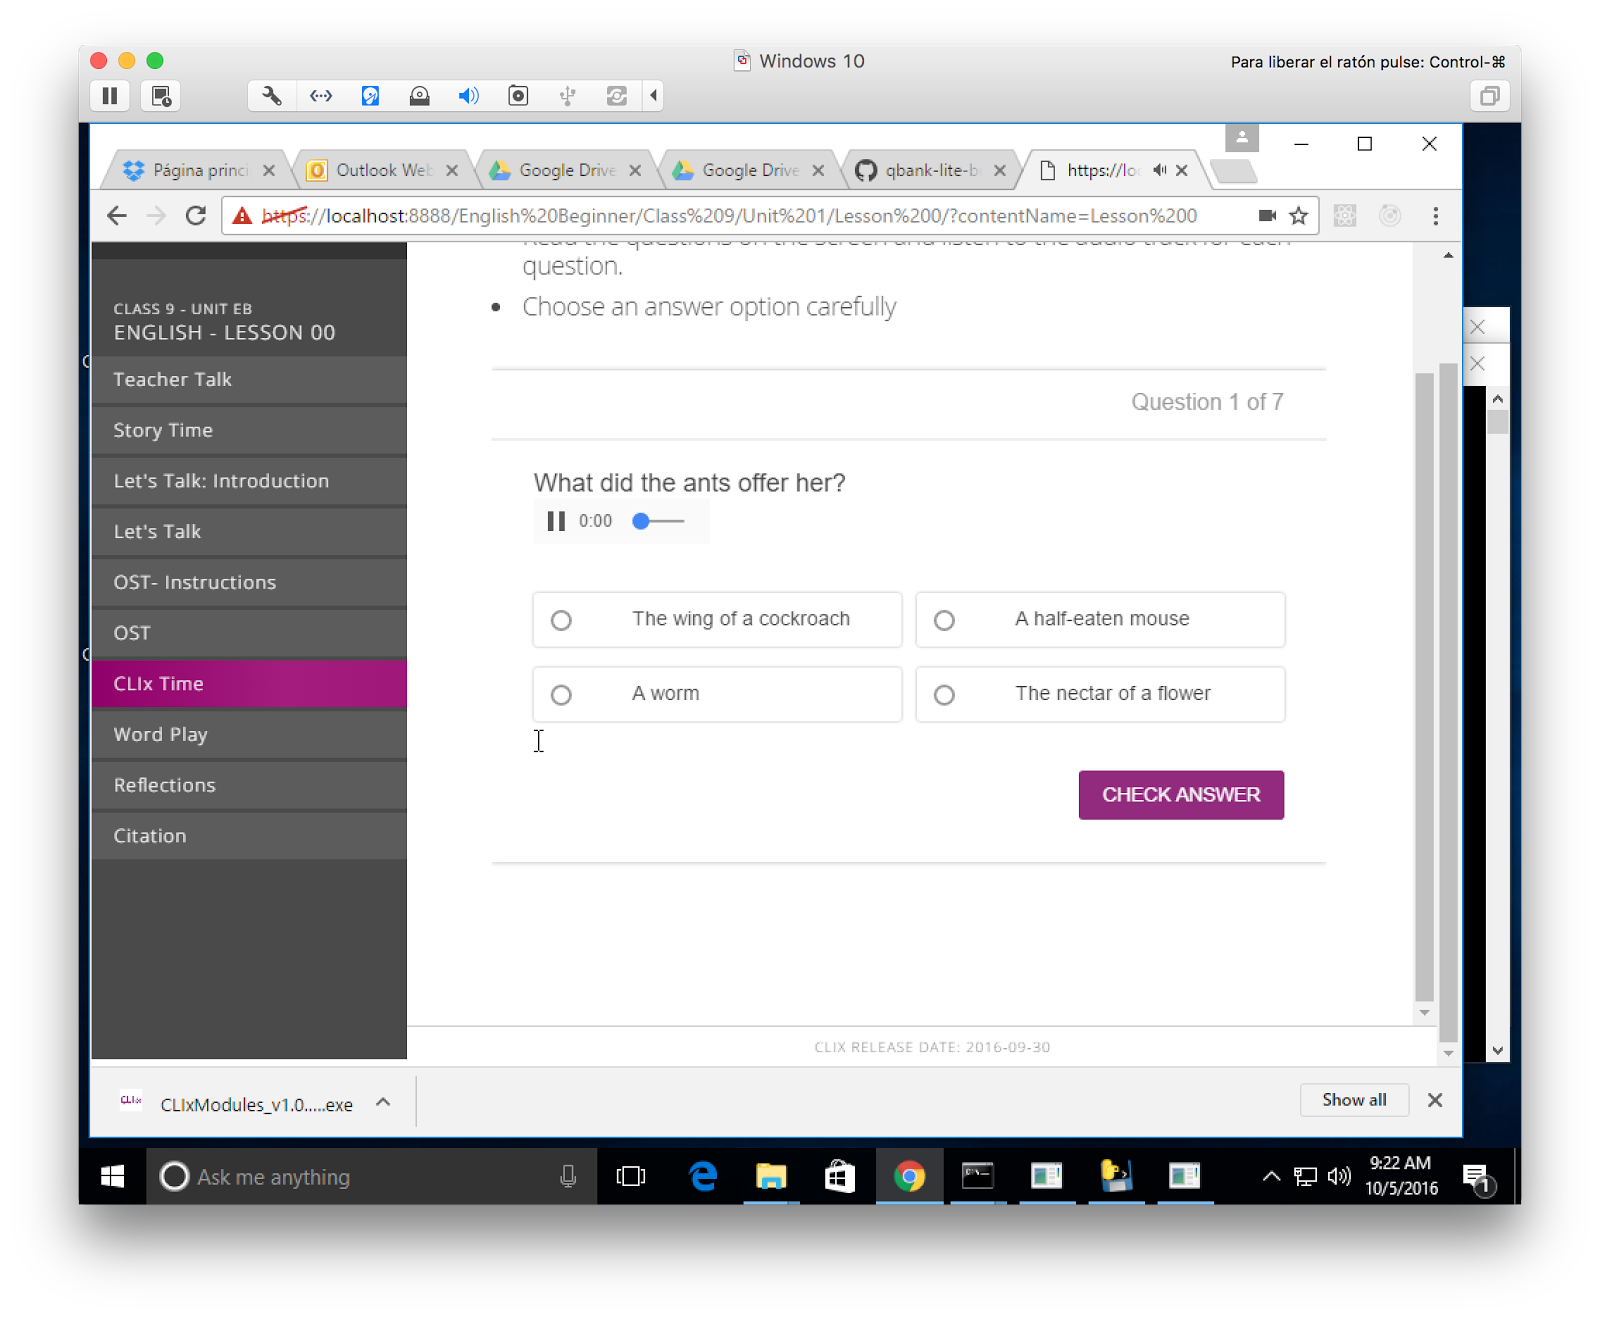
Try clicking Check Answer without selecting a response. You should be prompted to select a choice, first. Go through the questions and answer some correctly, some incorrectly. For both results, you should get relevant feedback.


Right answers should let you move on to the next question.
Make sure the audio plays for each question.
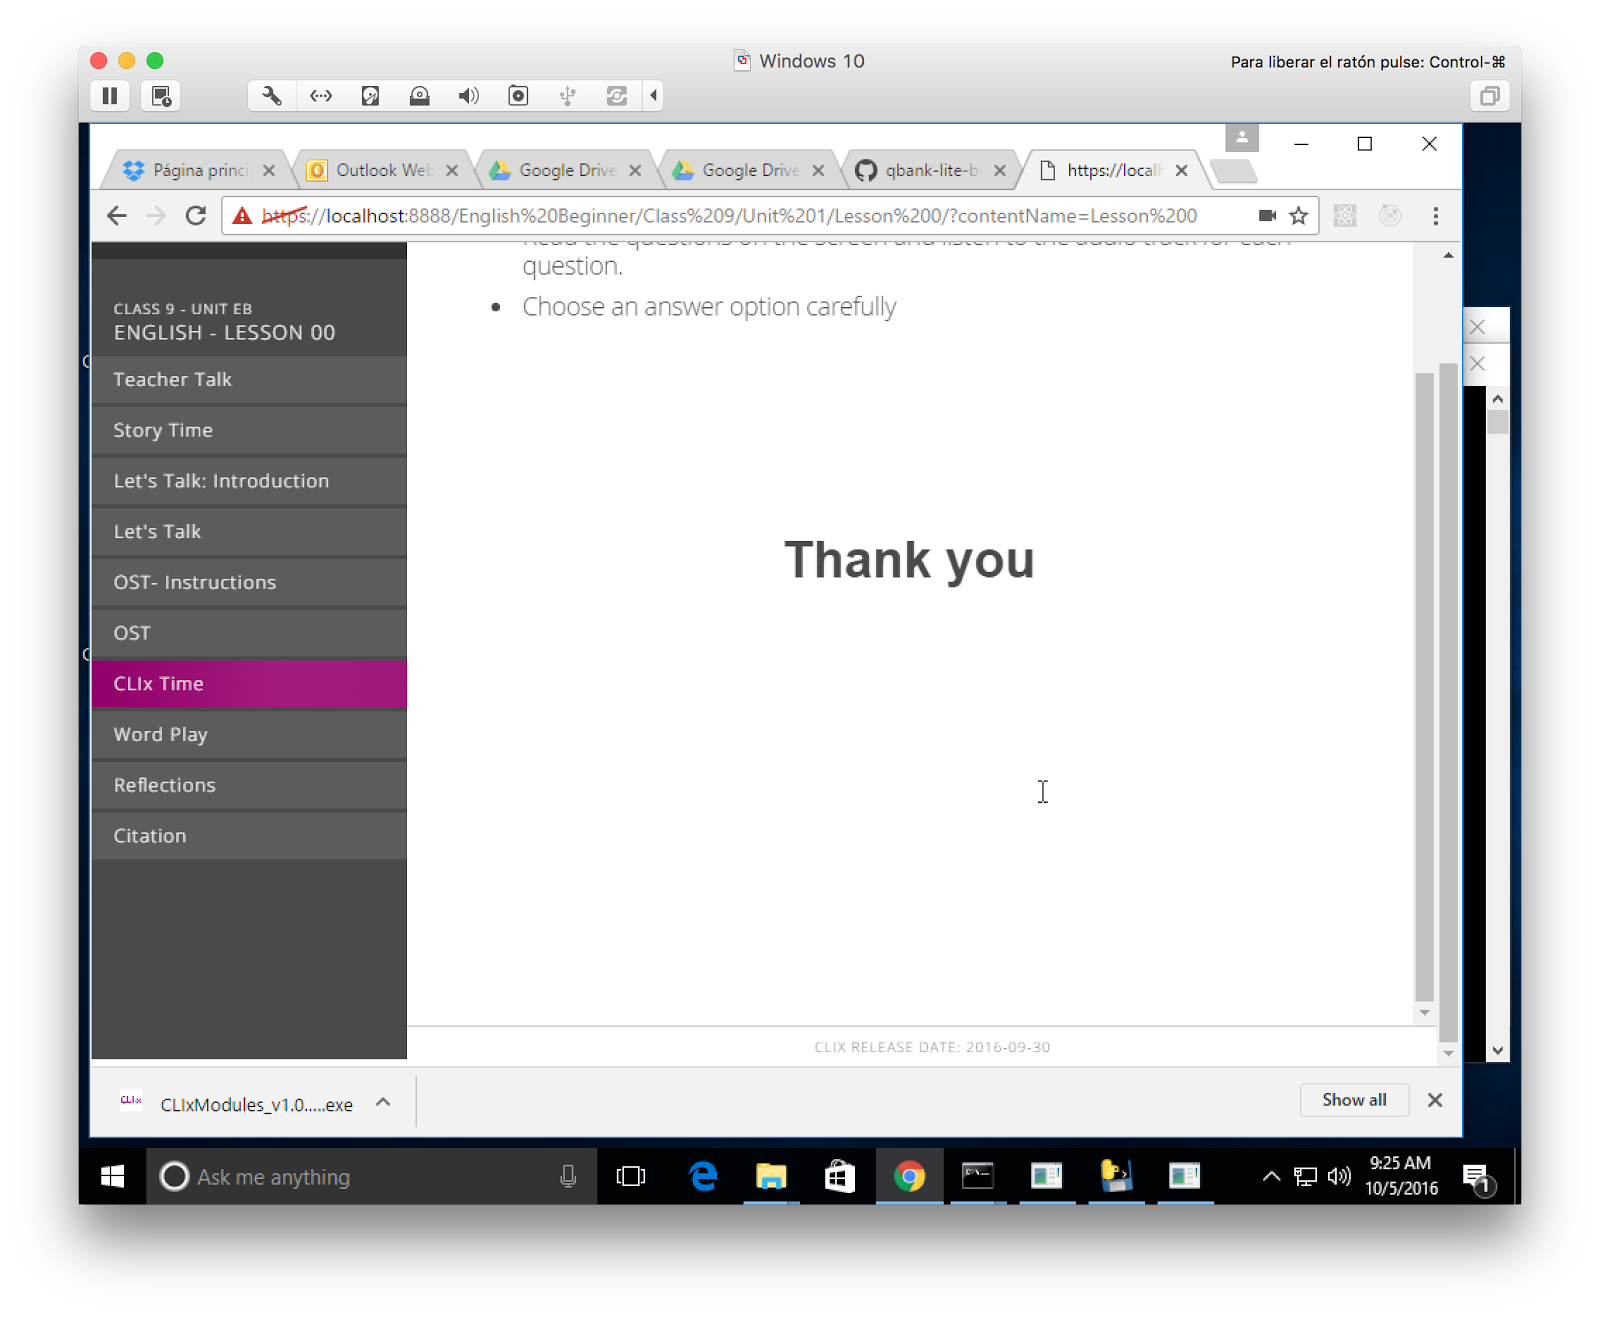
At the end of the assessment, click the Finish button. Doing so should bring up a Thank You screen.
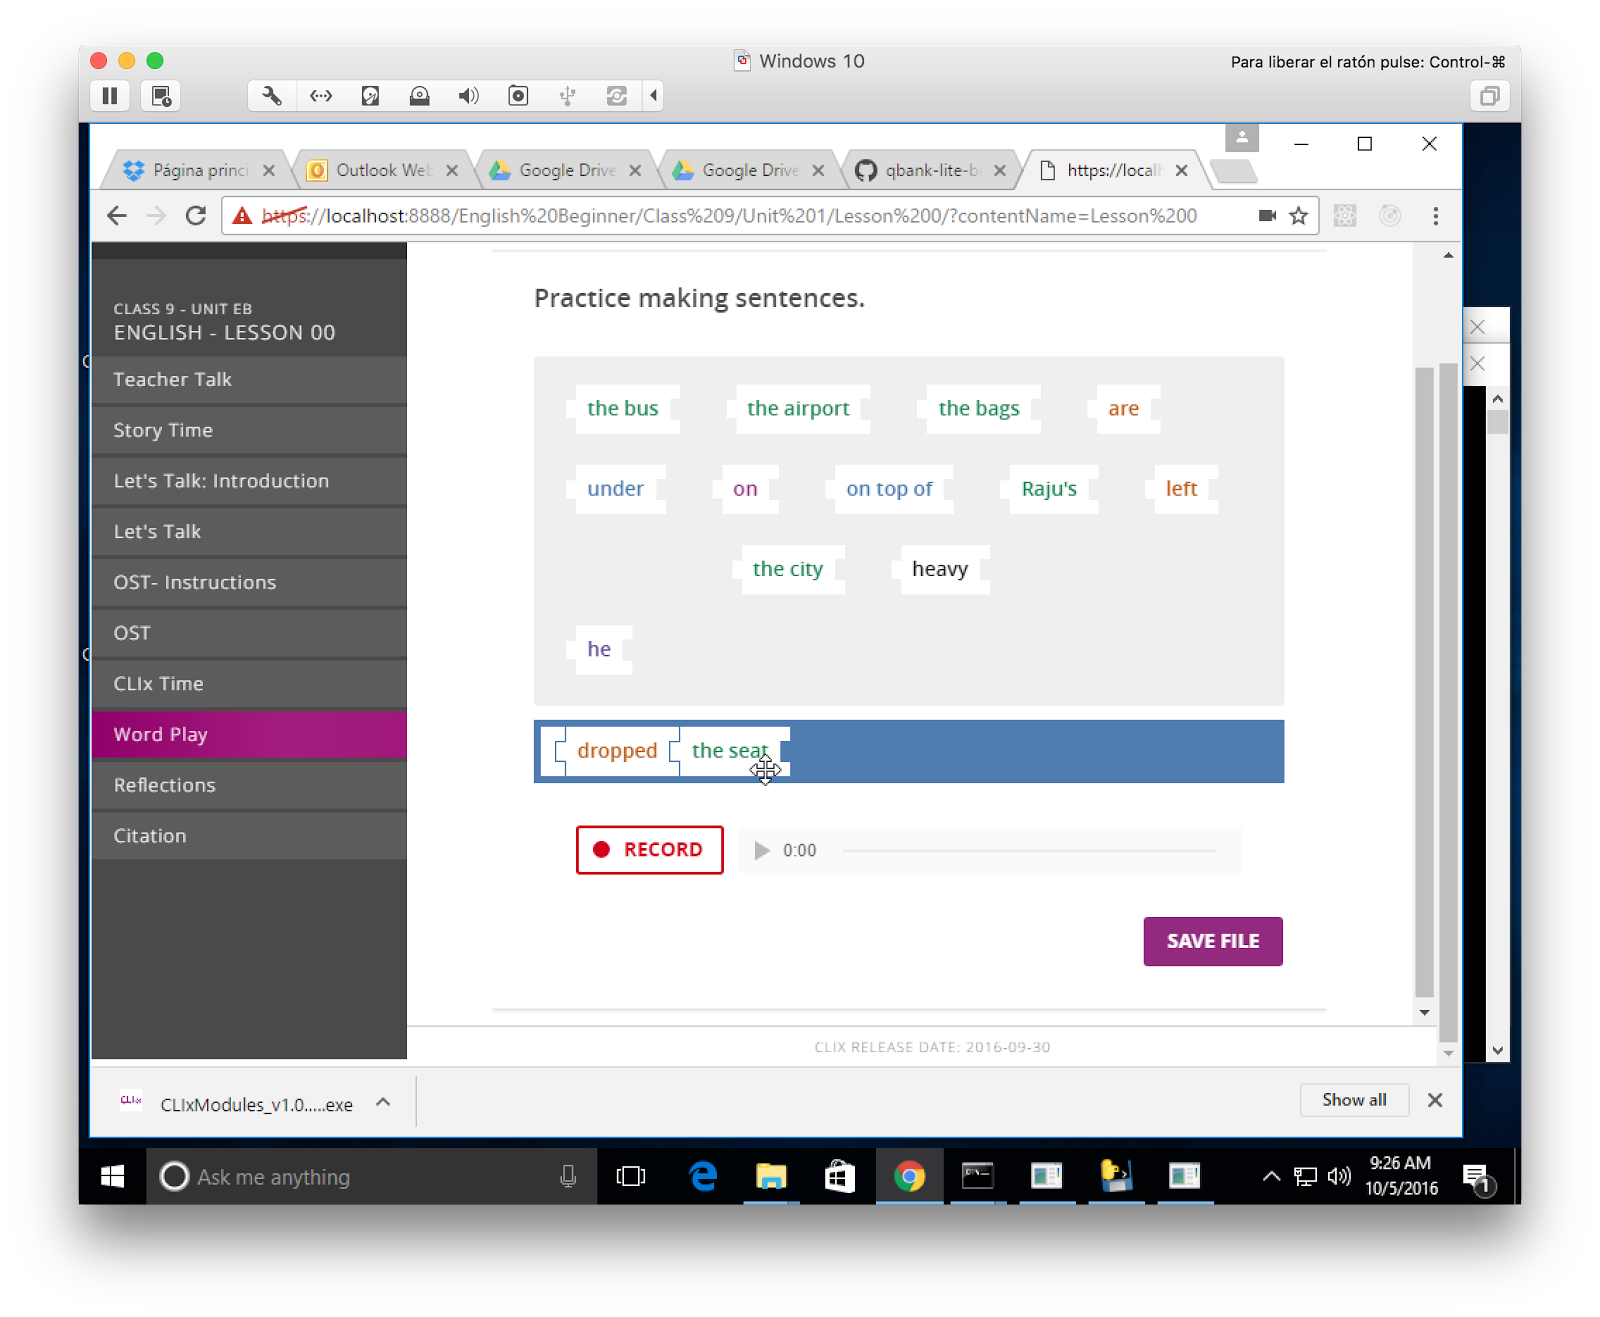
Now we can try the Word Play activity, in the left-hand activity navigation menu. The words should drag and snap together once you drag them onto the blue bar. You should also be able to record / save an audio file of you reading the sentence out load.
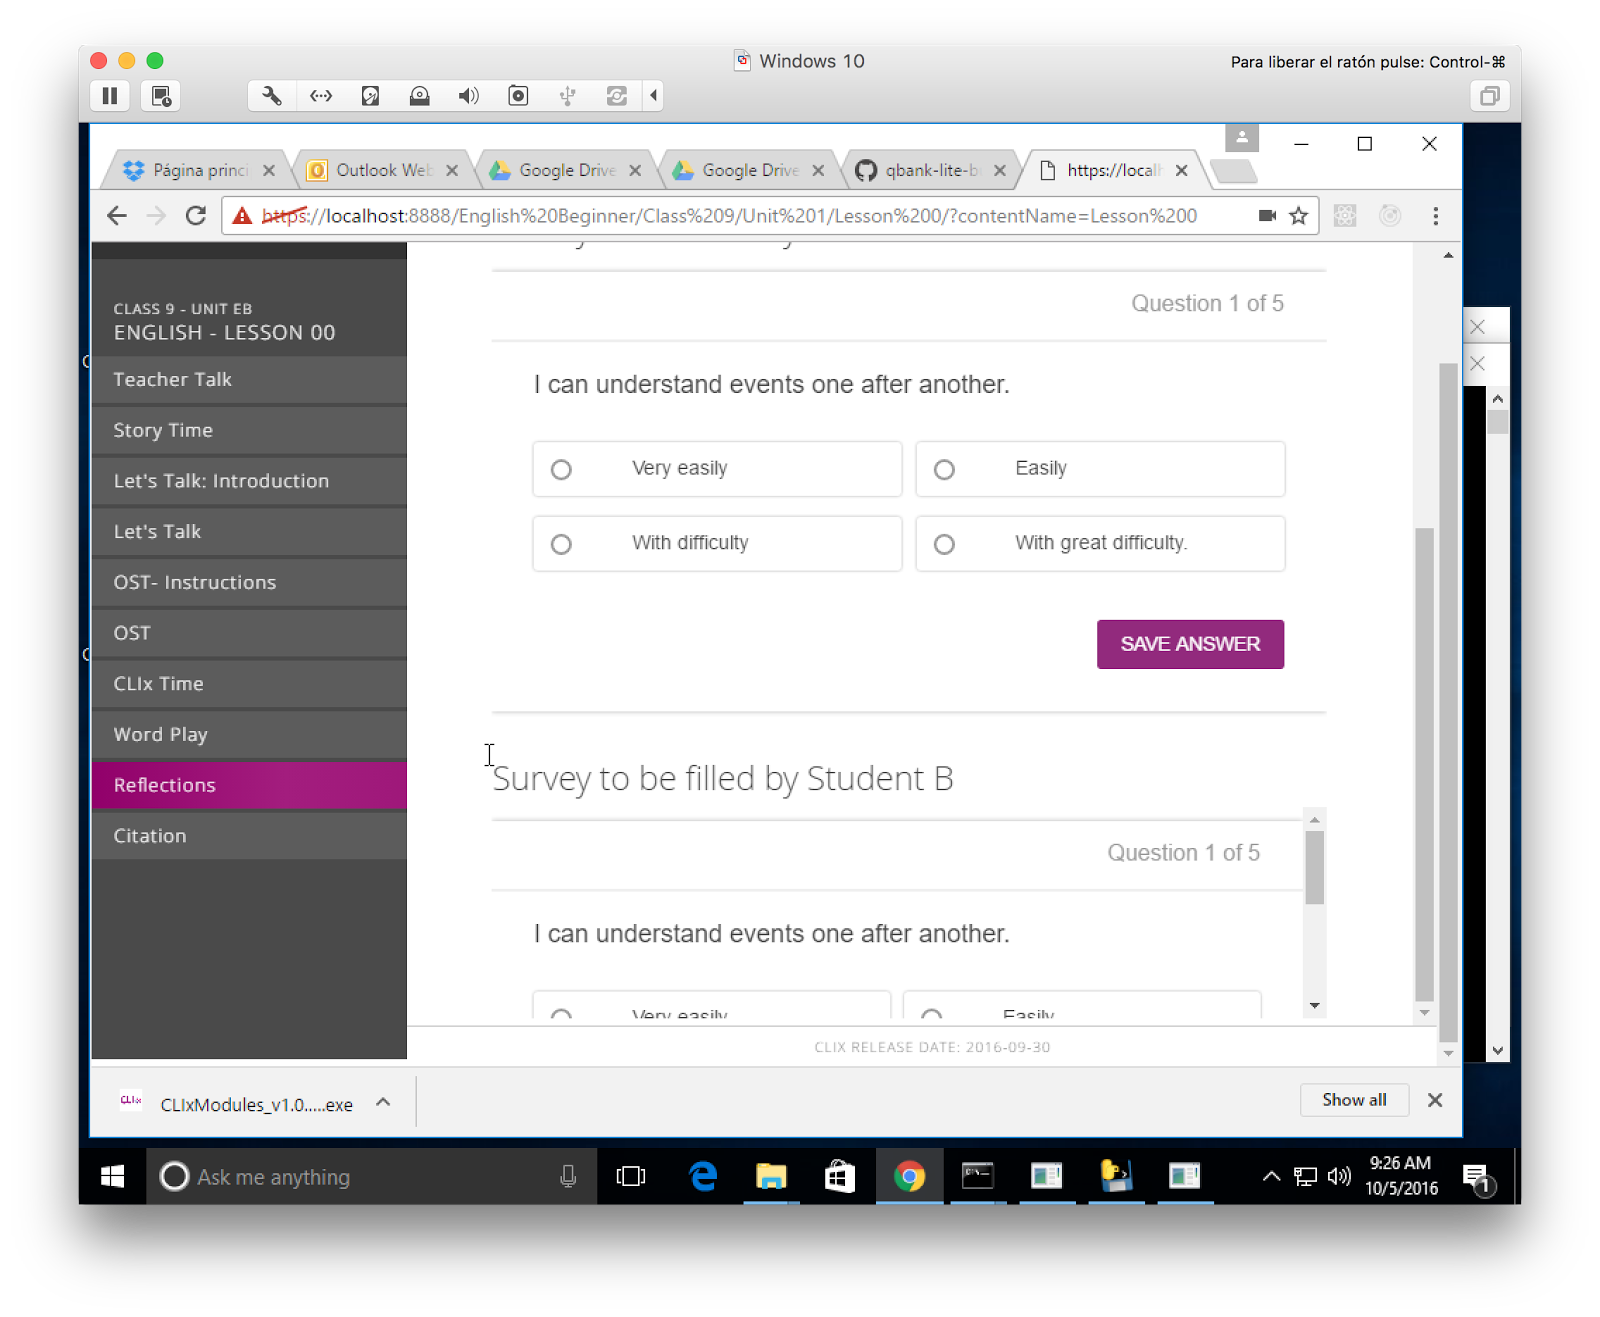
Now click the Reflections activity, in the left-hand navigation menu. You should get two identical sets of questions, one for Student A and another for Student B. For each of the questions, you should be able to select and submit any answer.
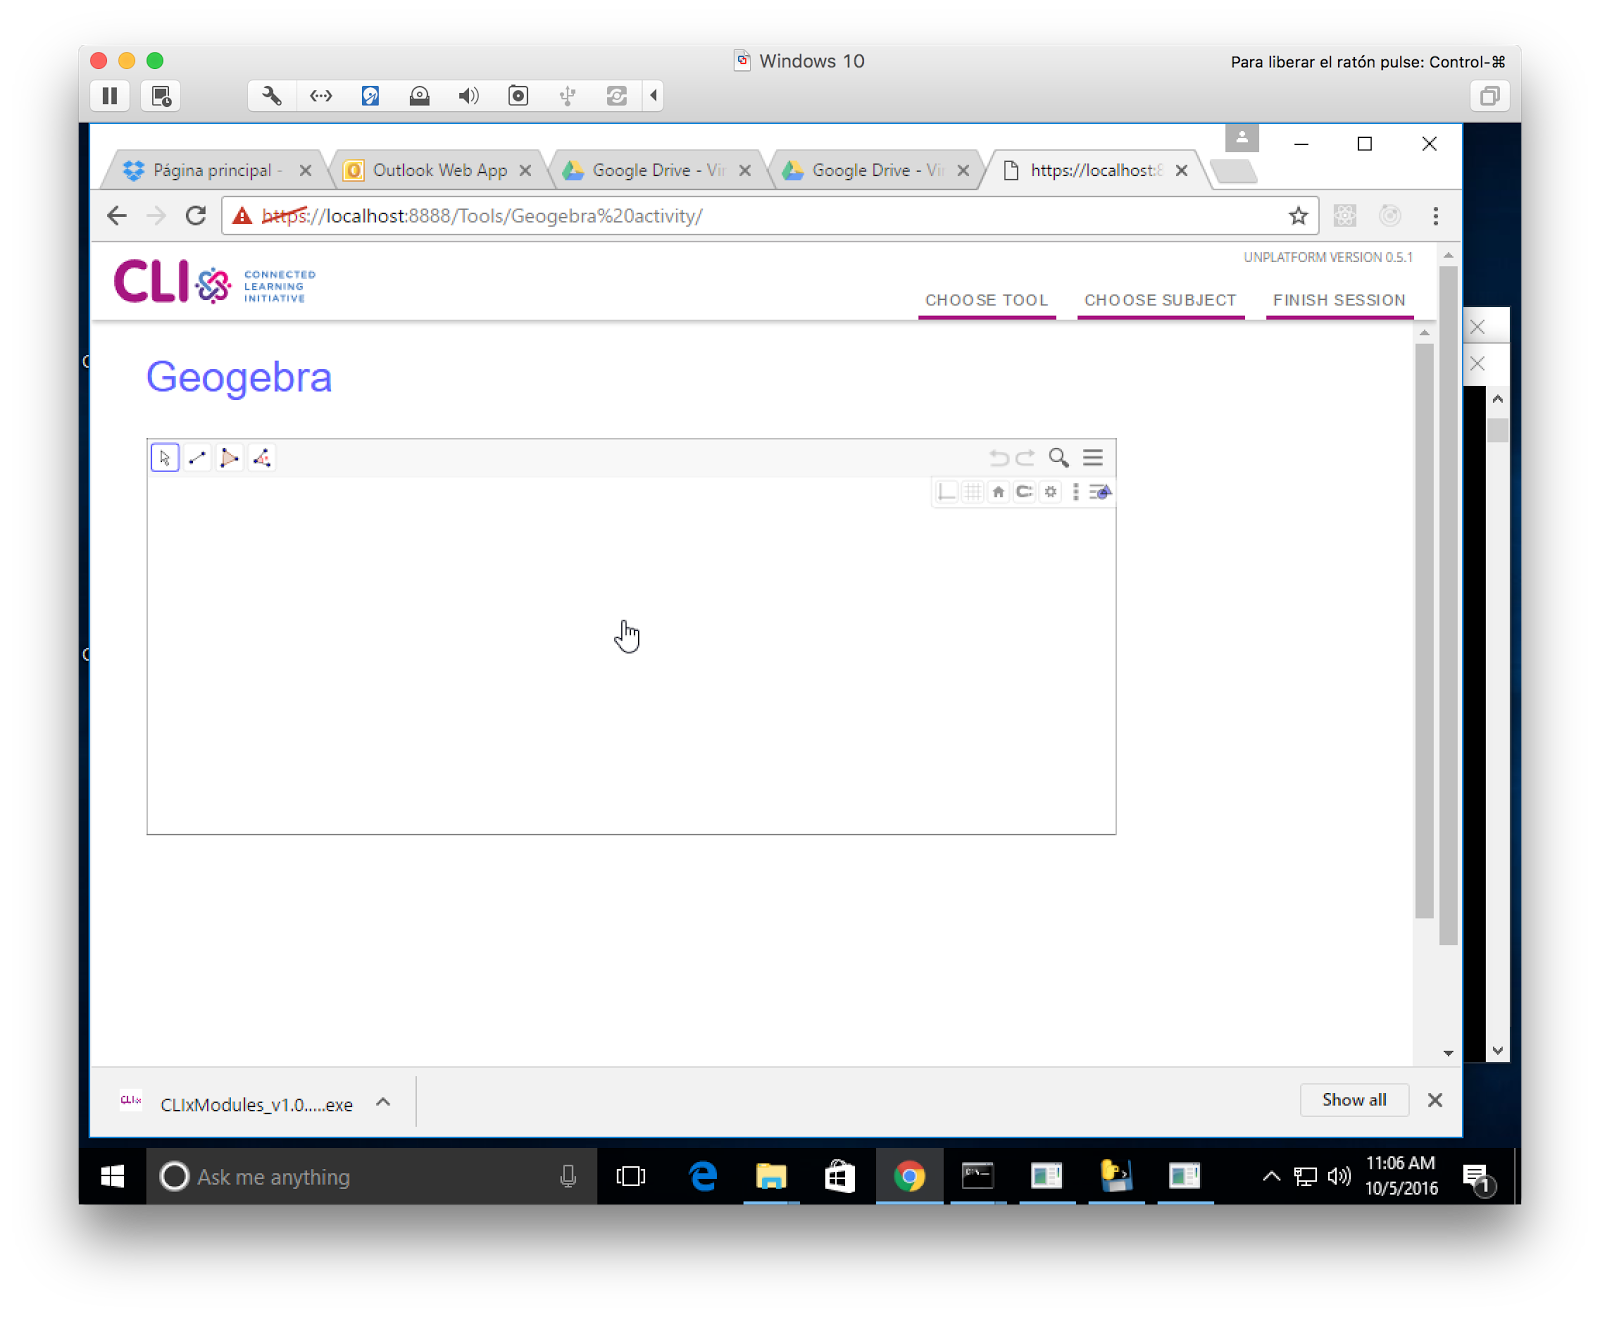
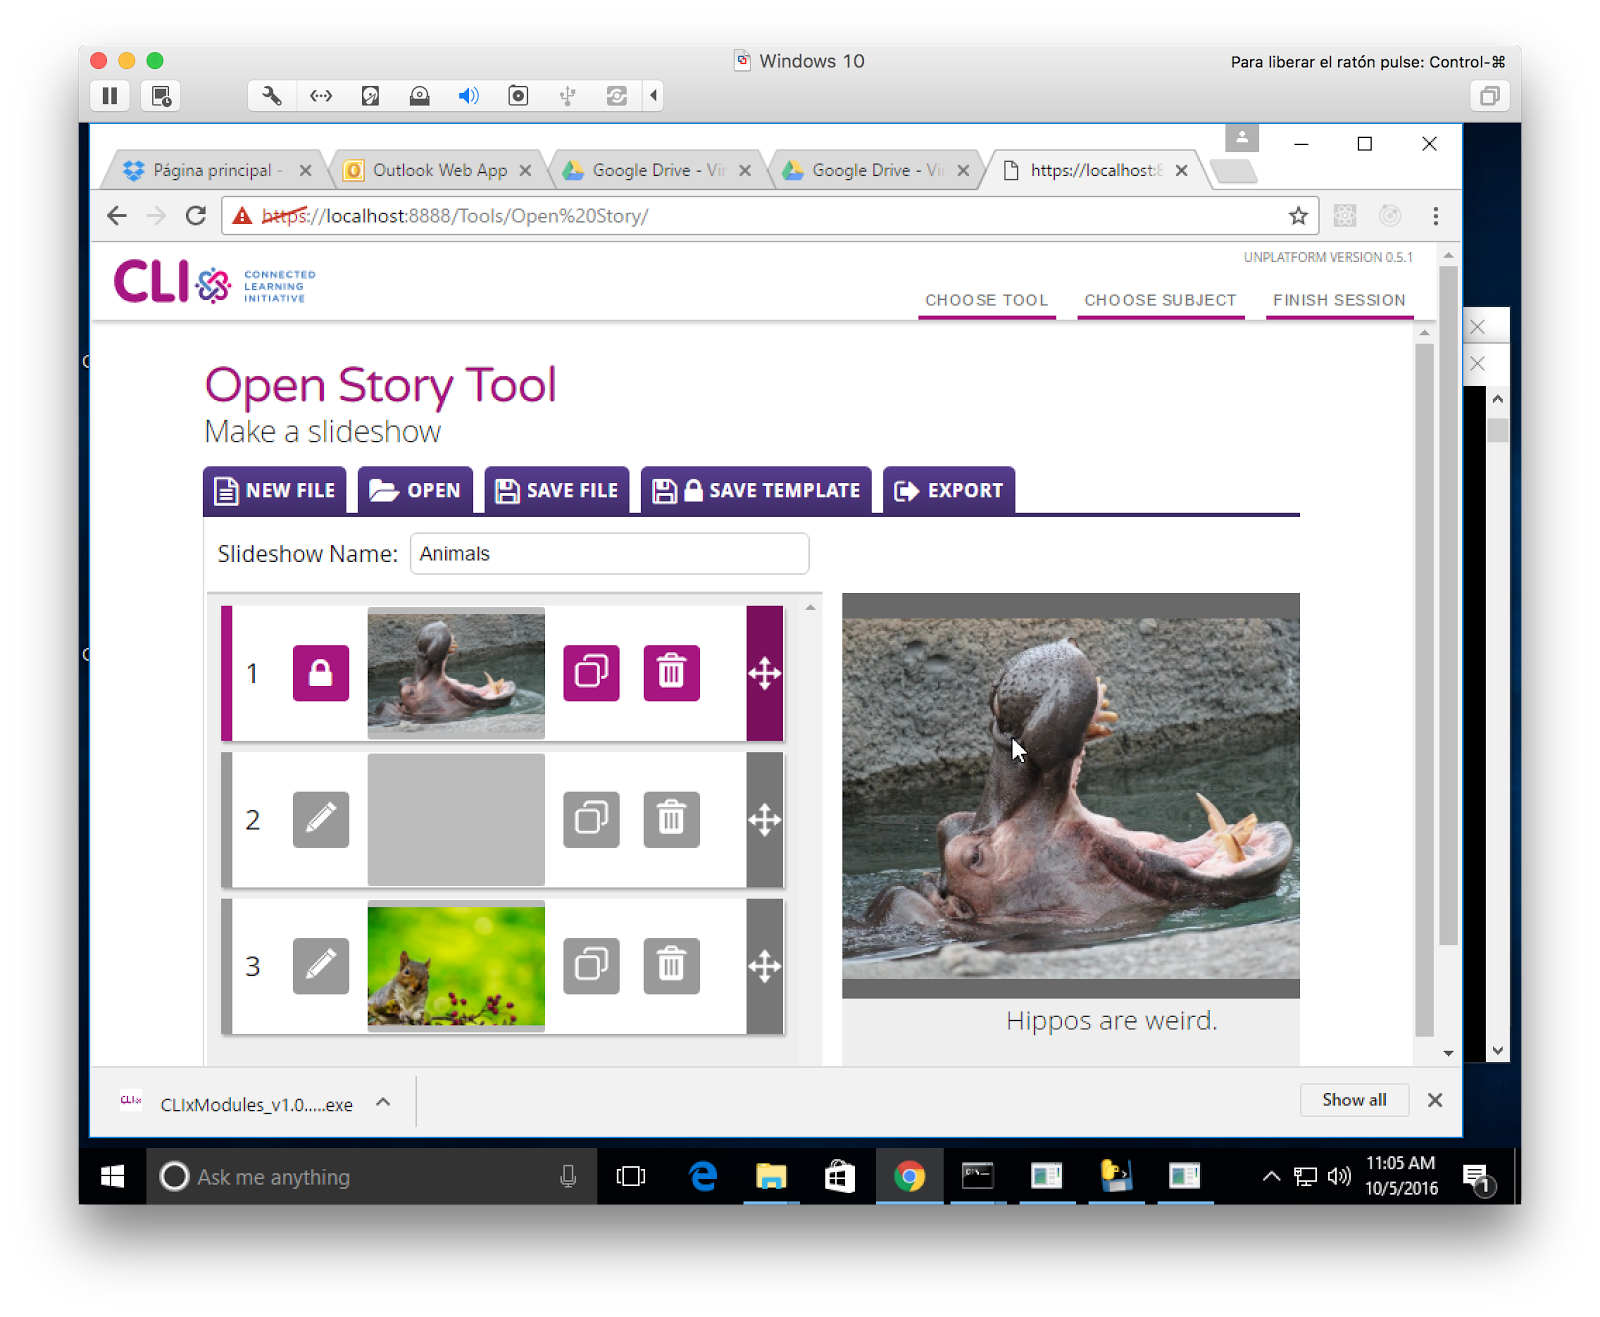
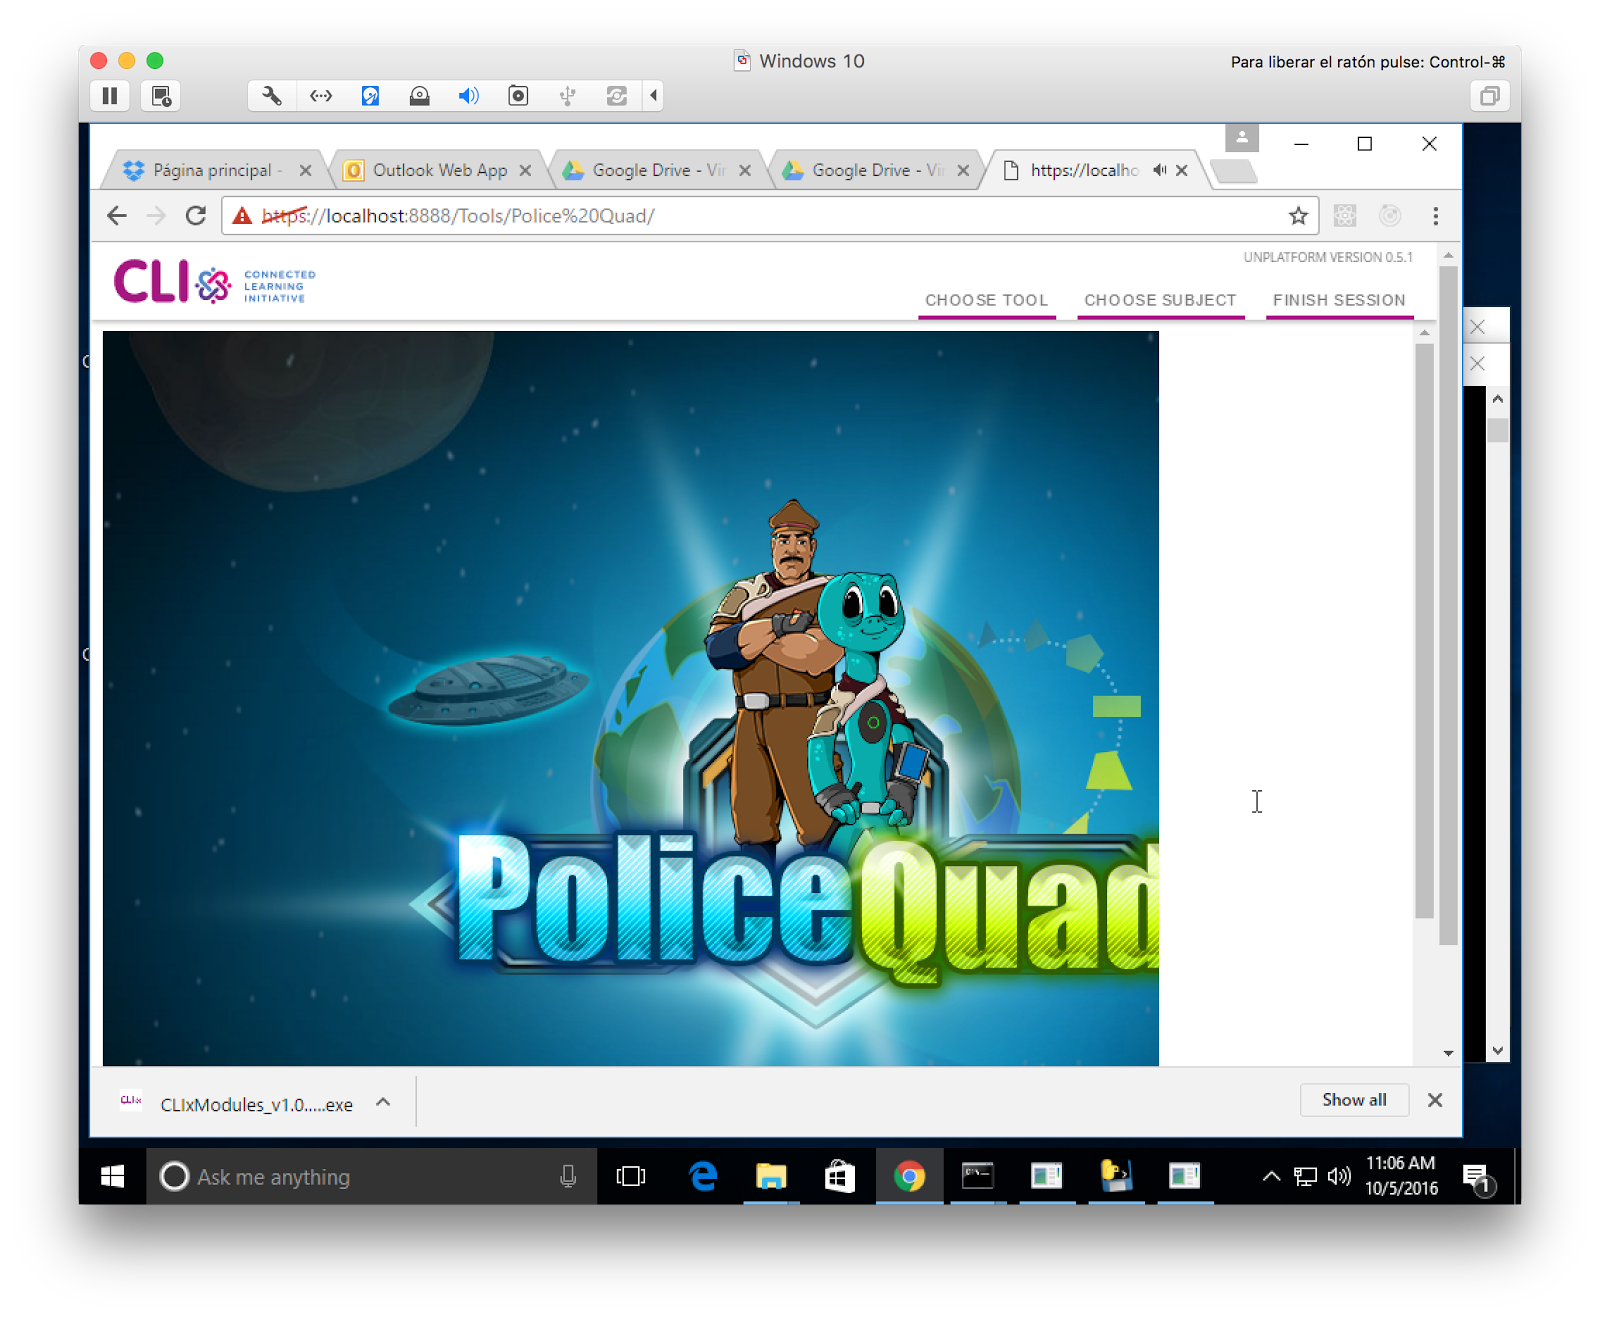
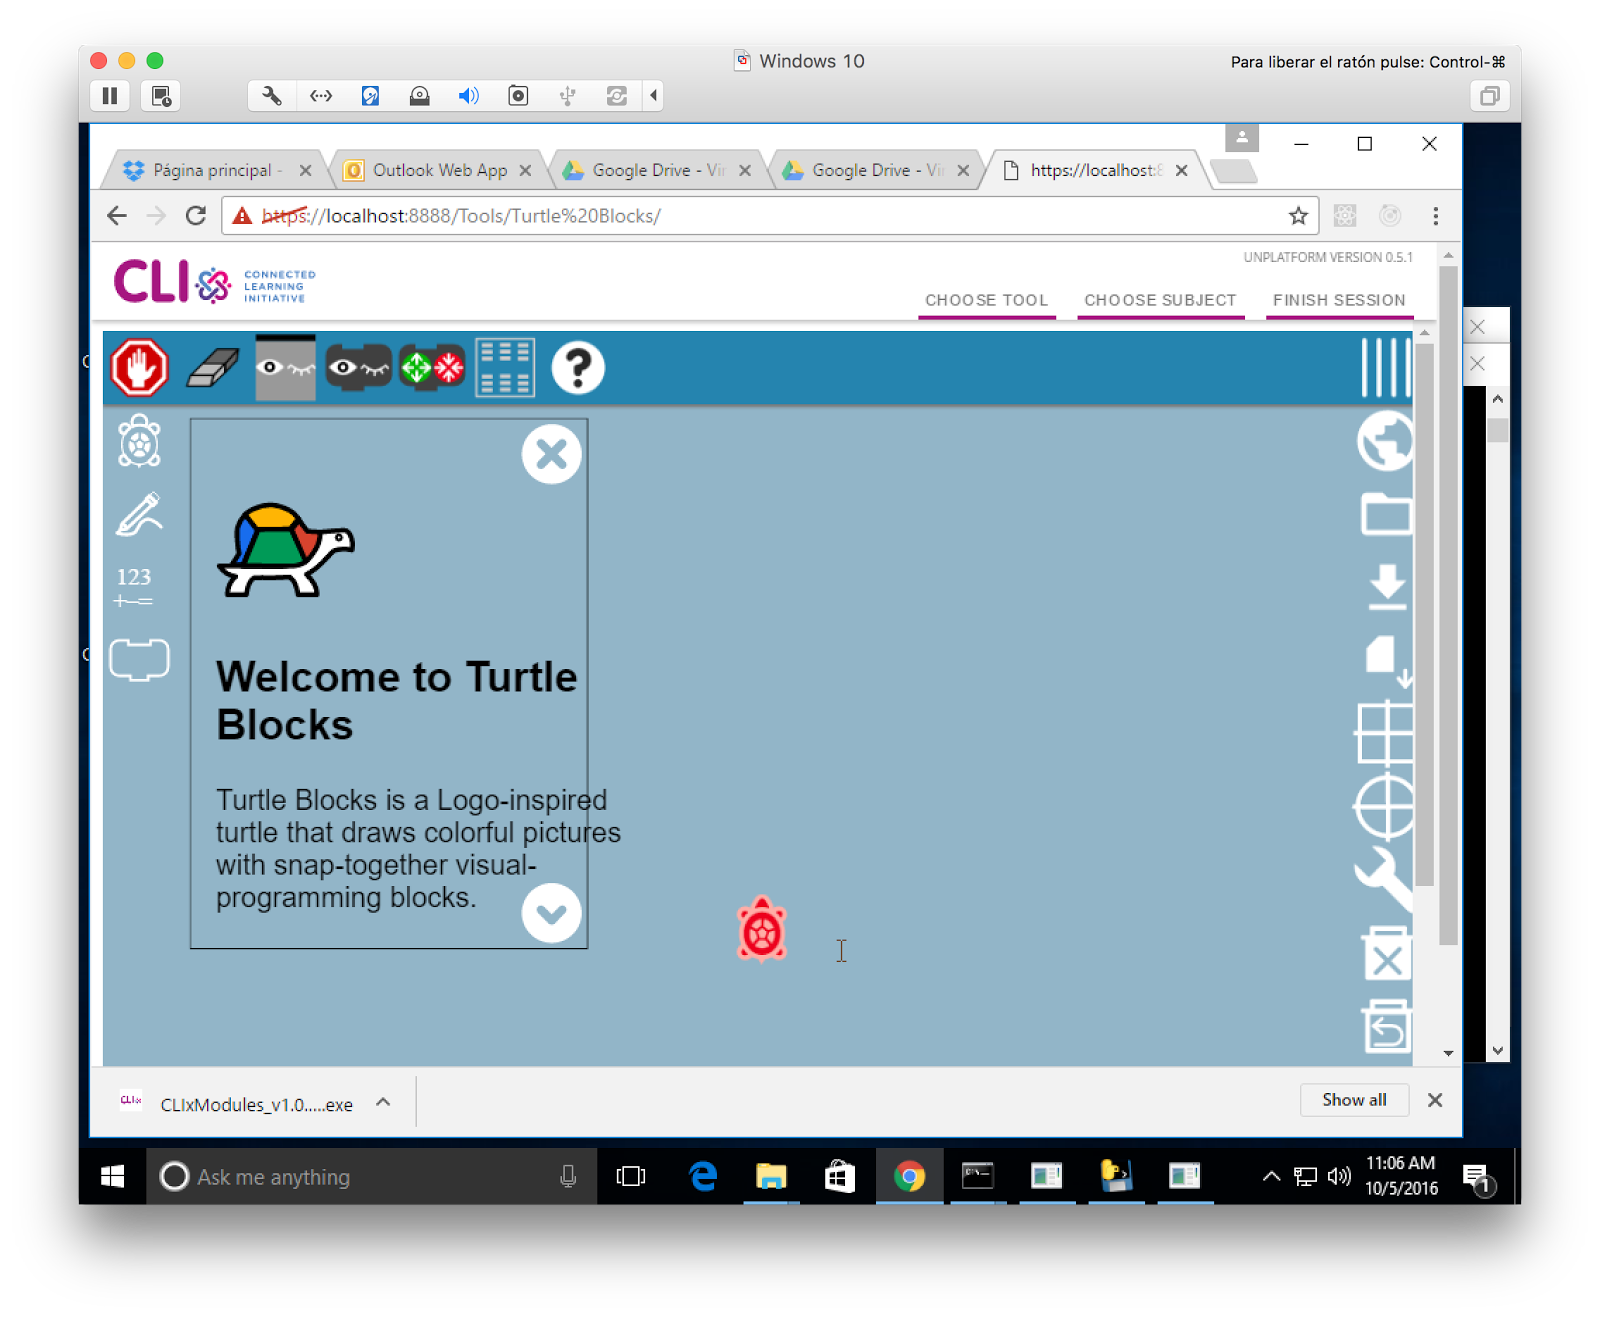
In the top-right navigation menu, select the Choose Tool link.

Click through each tool -- the tool should appear with a header navigation menu, as shown in these images.