Field installation and data files
The basic unplatform bundle generated by the build_script_all_ssl.sh script in this repository should not include ePubs nor the qbank data associated with them. Because the assessments in the ePub activities must be linked to the right qbank data bundle, it is assumed that whoever creates the final unplatform installer has access to those matching sets of data and will combine them in unplatform.
Once someone has the bundled zip file created by the build scripts, they need to add in both sets of data (modules and assessment data). Unzip the unplatform zip bundle, and then add in the modules and qbank webapps data per the instructions below.
These ePubs contain the educational content for students. The unzipped ePubs should be dropped into the modules/ directory, with subdirectories indicating the unit / lesson (NOTE that class has been removed from the directory structure). For example:
modules/
    |- English Beginner/
        |- Unit 1/
            |- Lesson 0/
                |- META-INF/
                |- OEBPS/
                |- mimetype
    |- English Elementary/
    |- Geometric Reasoning/
    |- Tools/
NOTE: the Tools/ subdirectory contains iframes that point to the actual Tool files (in static/). Do NOT overwrite the files in this subdirectory when you copy over your modules. If you do, you will break the Interactive Tools!
To make sure the assessments function properly in all of the included activities, the corresponding qbank data dump must be included with unplatform. These have to be generated in a "filesystem" format, where the data is stored as json files on filespace. An example script that exports the data from MongoDB is available in this gist. The actual media files need to be included in this bundle as well, and are located in the webapps/CLIx/datastore/repository/AssetContent/ directory (wherever qbank is installed on your server).
For example, we use a Jenkin's job that does the following:
rm -rf /home/ubuntu/data/*
rm -rf /home/ubuntu/output/*

mkdir -p /home/ubuntu/data/CLIx/datastore/repository/AssetContent
cp -r /var/www/webapps/CLIx/datastore/repository/AssetContent/* /home/ubuntu/data/CLIx/datastore/repository/AssetContent/

cd /home/ubuntu/data/CLIx/datastore
cp ~/scripts/export_to_filesystem.py .
python export_to_filesystem.py

NOW="$(date +'%Y-%m-%d_%H-%M-%p')"

rm -f /home/ubuntu/data/CLIx/datastore/export_to_filesystem.py

cd /home/ubuntu/data/
zip -r "/home/ubuntu/output/$NOW-prod-filesystem.zip" CLIx/
The contents of the zip file should look something like:
CLIx/
  |- datastore/
      |- assessment/
          |- Assessment/
          |- AssessmentOffered/
          |- Bank/
          |- Item/
      |- assessment_authoring/
      |- repository/
Once you have the zip file from the authoring tool, then you need to unpack it and put it into the webapps/ directory (create it if necessary). The final result should look like:
modules/
    |- English Beginner/
    |- Tools/
static/
    |- ui/
templates/
unplatform/
webapps/
    |- CLIx/
        |- datastore/
qbank-lite-*.exe
unplatform_win_32_ssl.exe
On the target system, you can unbundle the zip file anywhere where the user has appropriate permissions...for our testing, we typically use the desktop. As a comparison, the CLIx installer uses My Documents. Once you unzip the package, you can click on unplatform_win32_ssl.bat to start up all the required processes. Chrome should automatically open to the initial unplatform page, https://localhost:8888.
On a brand new installation, you should see the following page when Chrome opens.
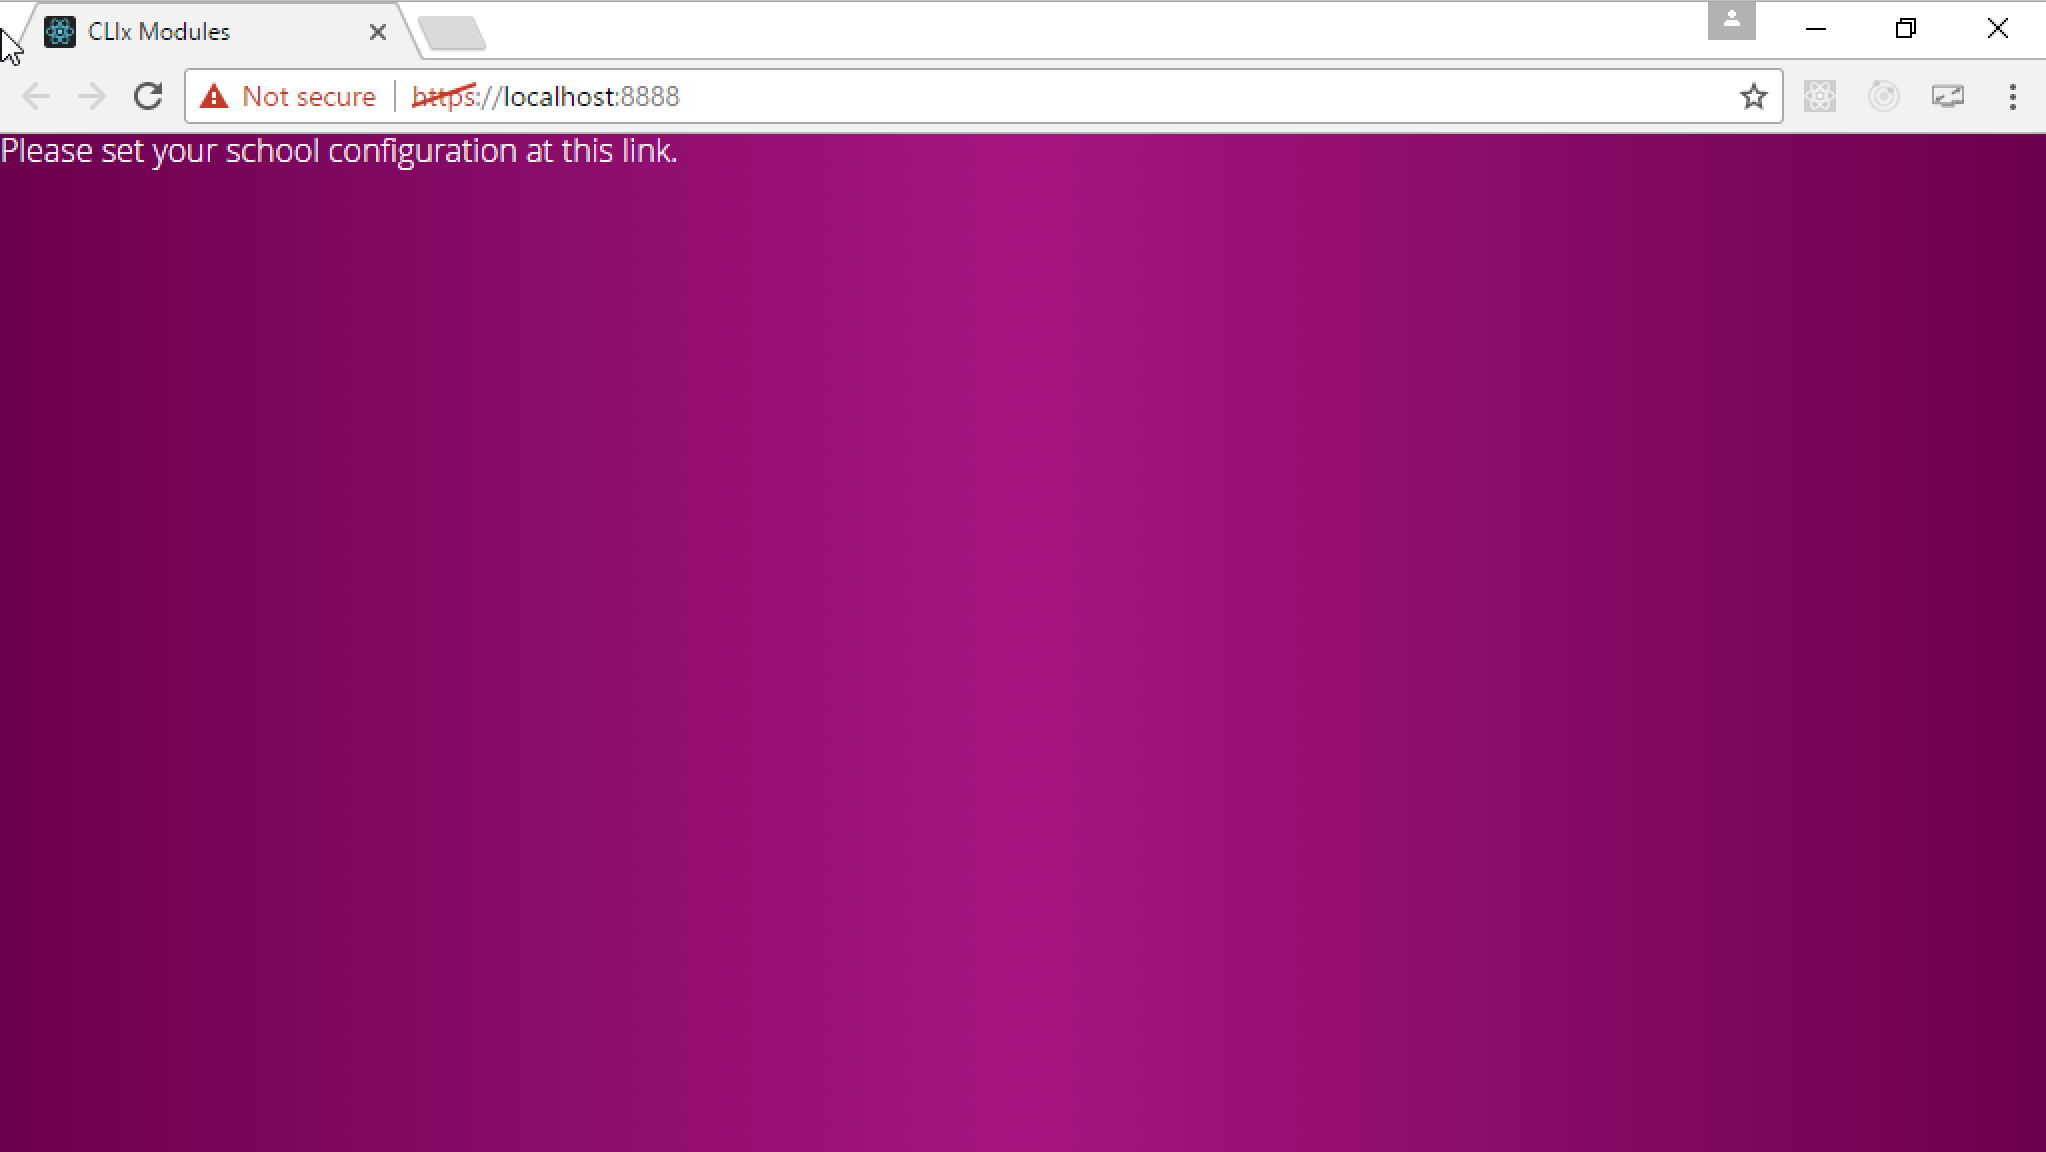
Click the word link to see the school configuration page. If you need to return to this page in the future, you can also manually navigate to https://localhost:8888/school.
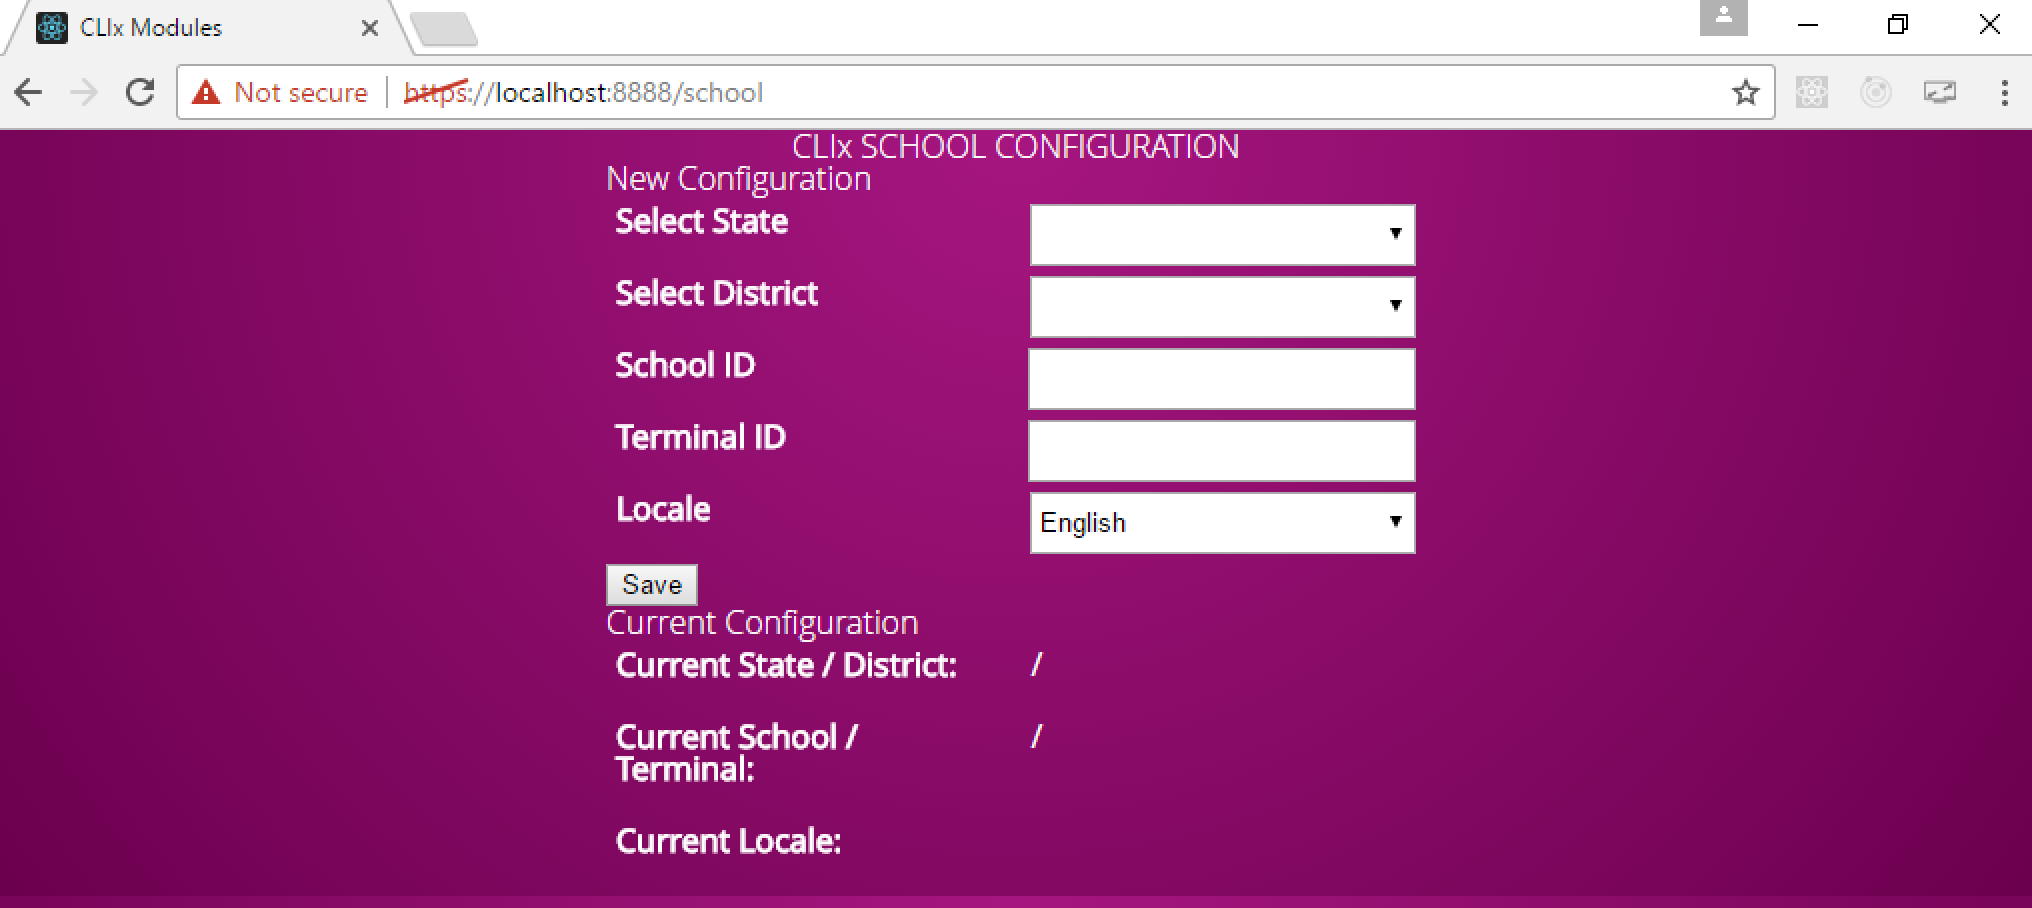
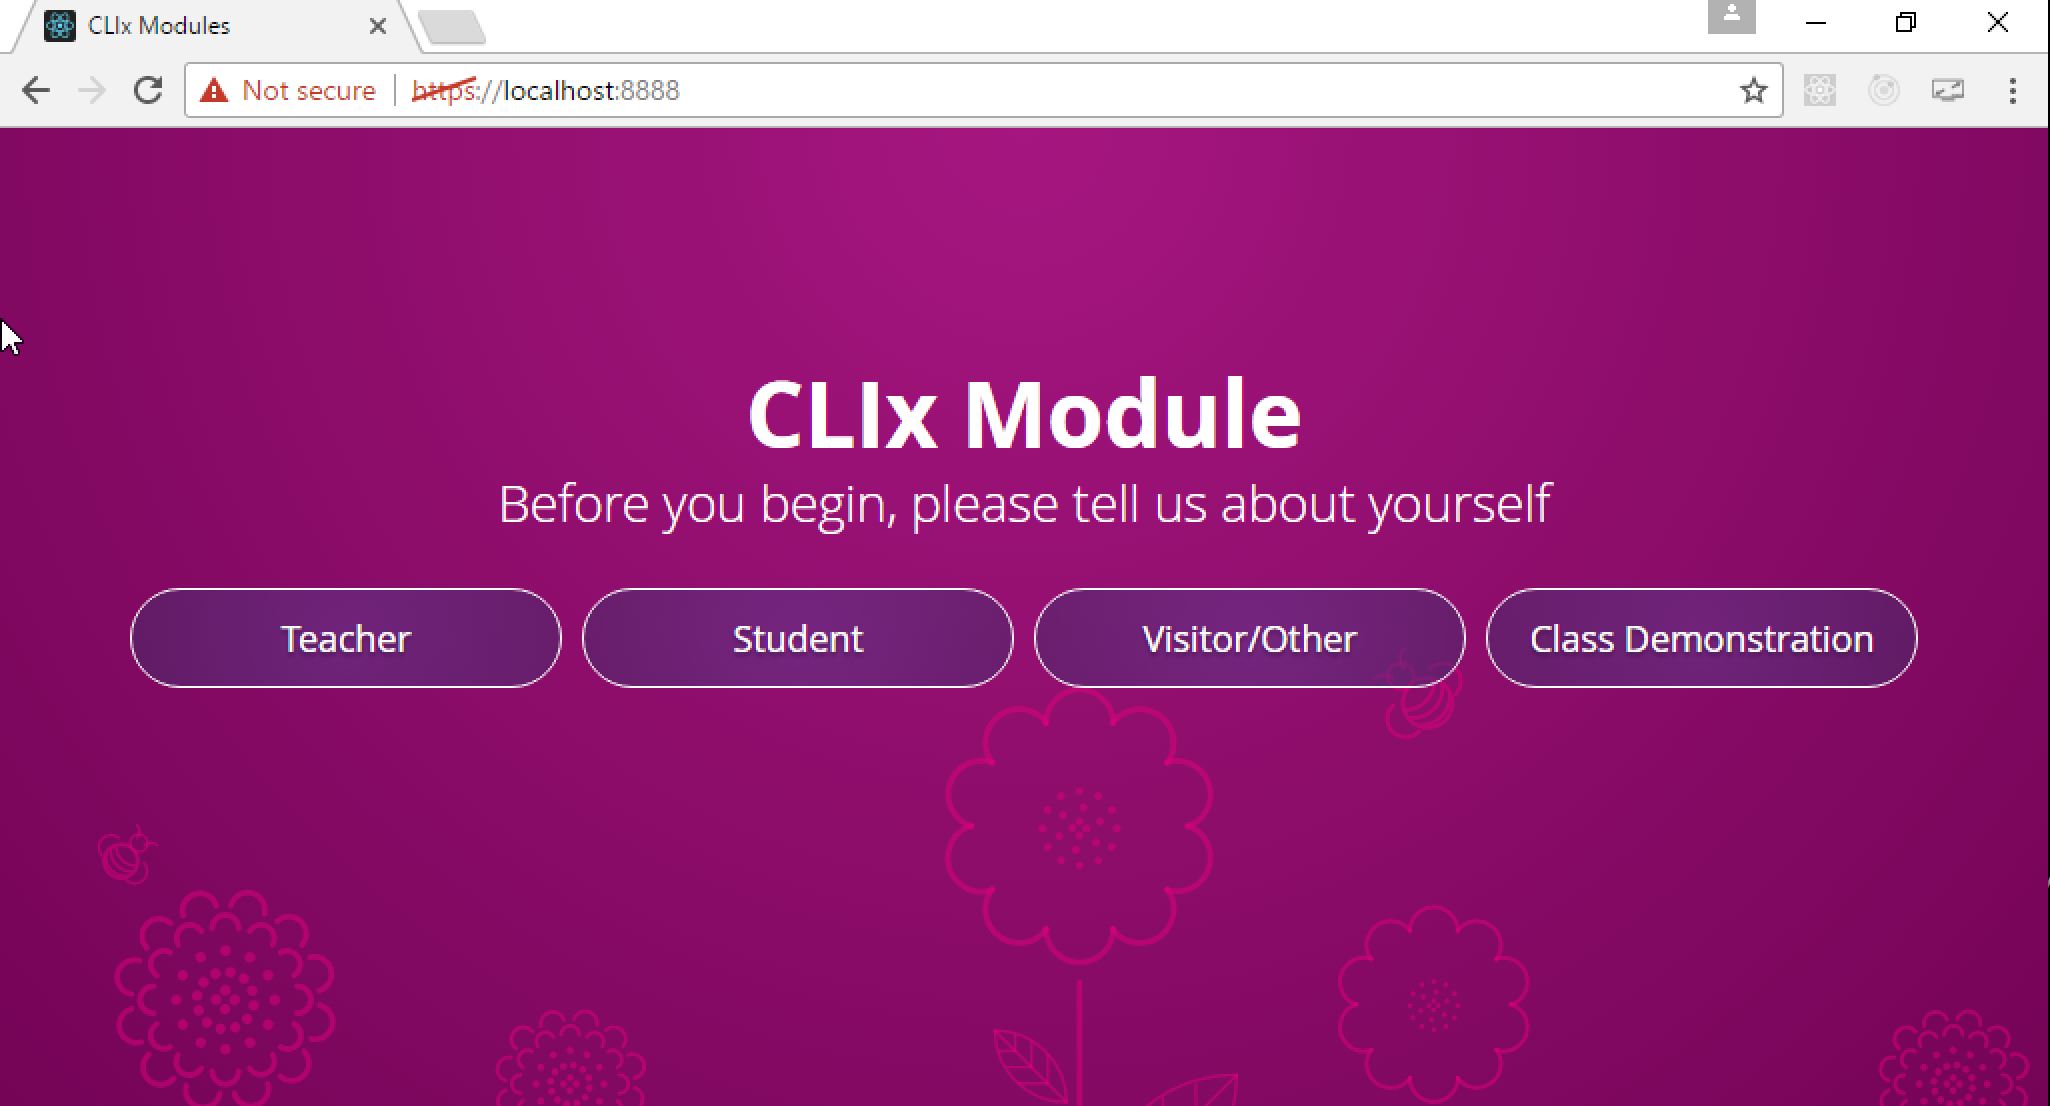
Fill out the relevant information, pick the locale (this unplatform installation will use that locale language for all the menus and buttons), and then click the Save button. You can then manually return to https://localhost:8888 and should now see the familiar unplatform navigation page.
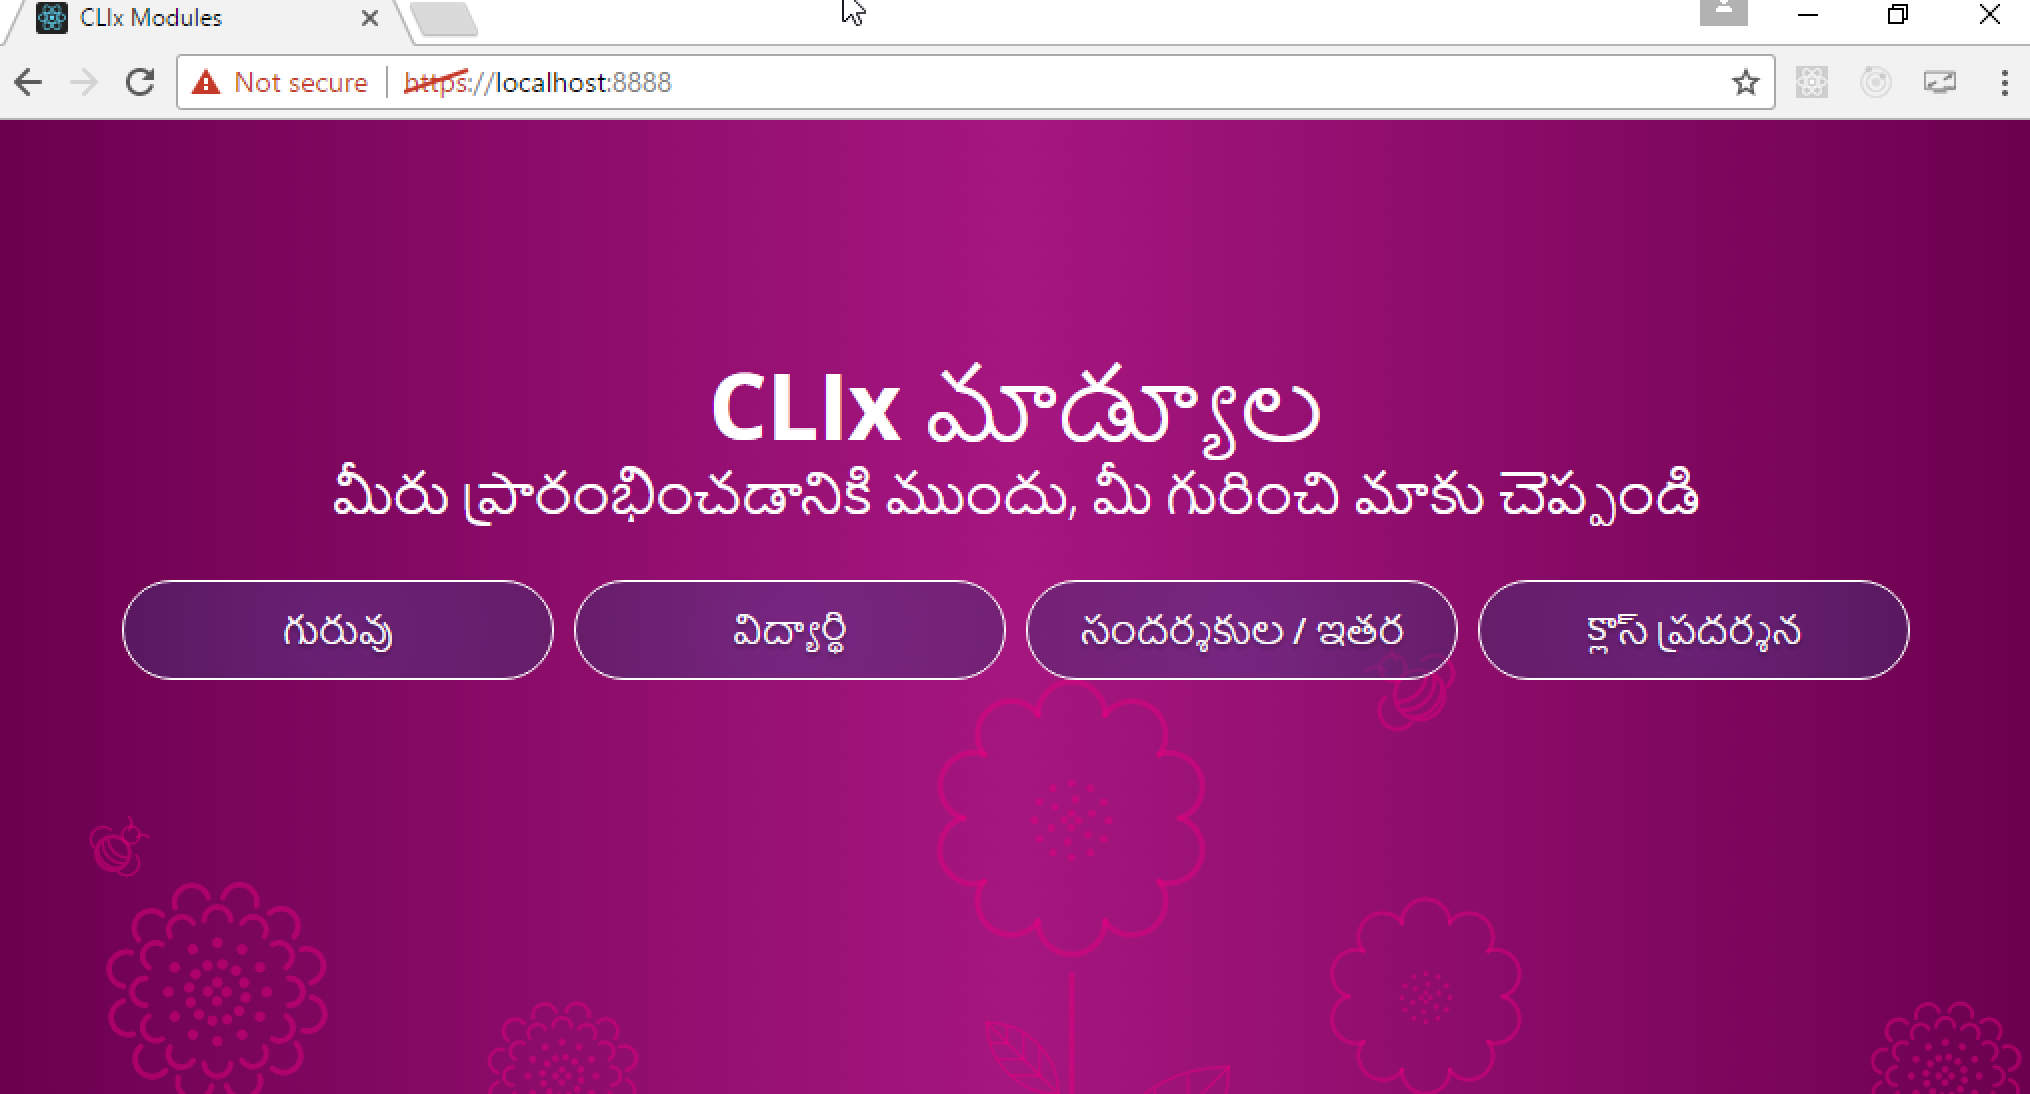
Translated UIs will look like the following: