中文 | English
- 注意:使用该模板你会获得 pdf 文件作为输出。但在毕业设计过程中可能存在需要提交 docx 等格式文件的场合,这时你可以使用一些 pdf 转 docx 工具,比如:pdf2go.pdf-to-word)。
- 你 不需要担心 “抛弃 1 系统的 docx 模板而选用本 LaTeX 模板是否会受到影响”,毕竟使用该模板的我们(2017-ganler, 2018-skyleaworlder)都没有因格式问题而被勒令重新排版论文。
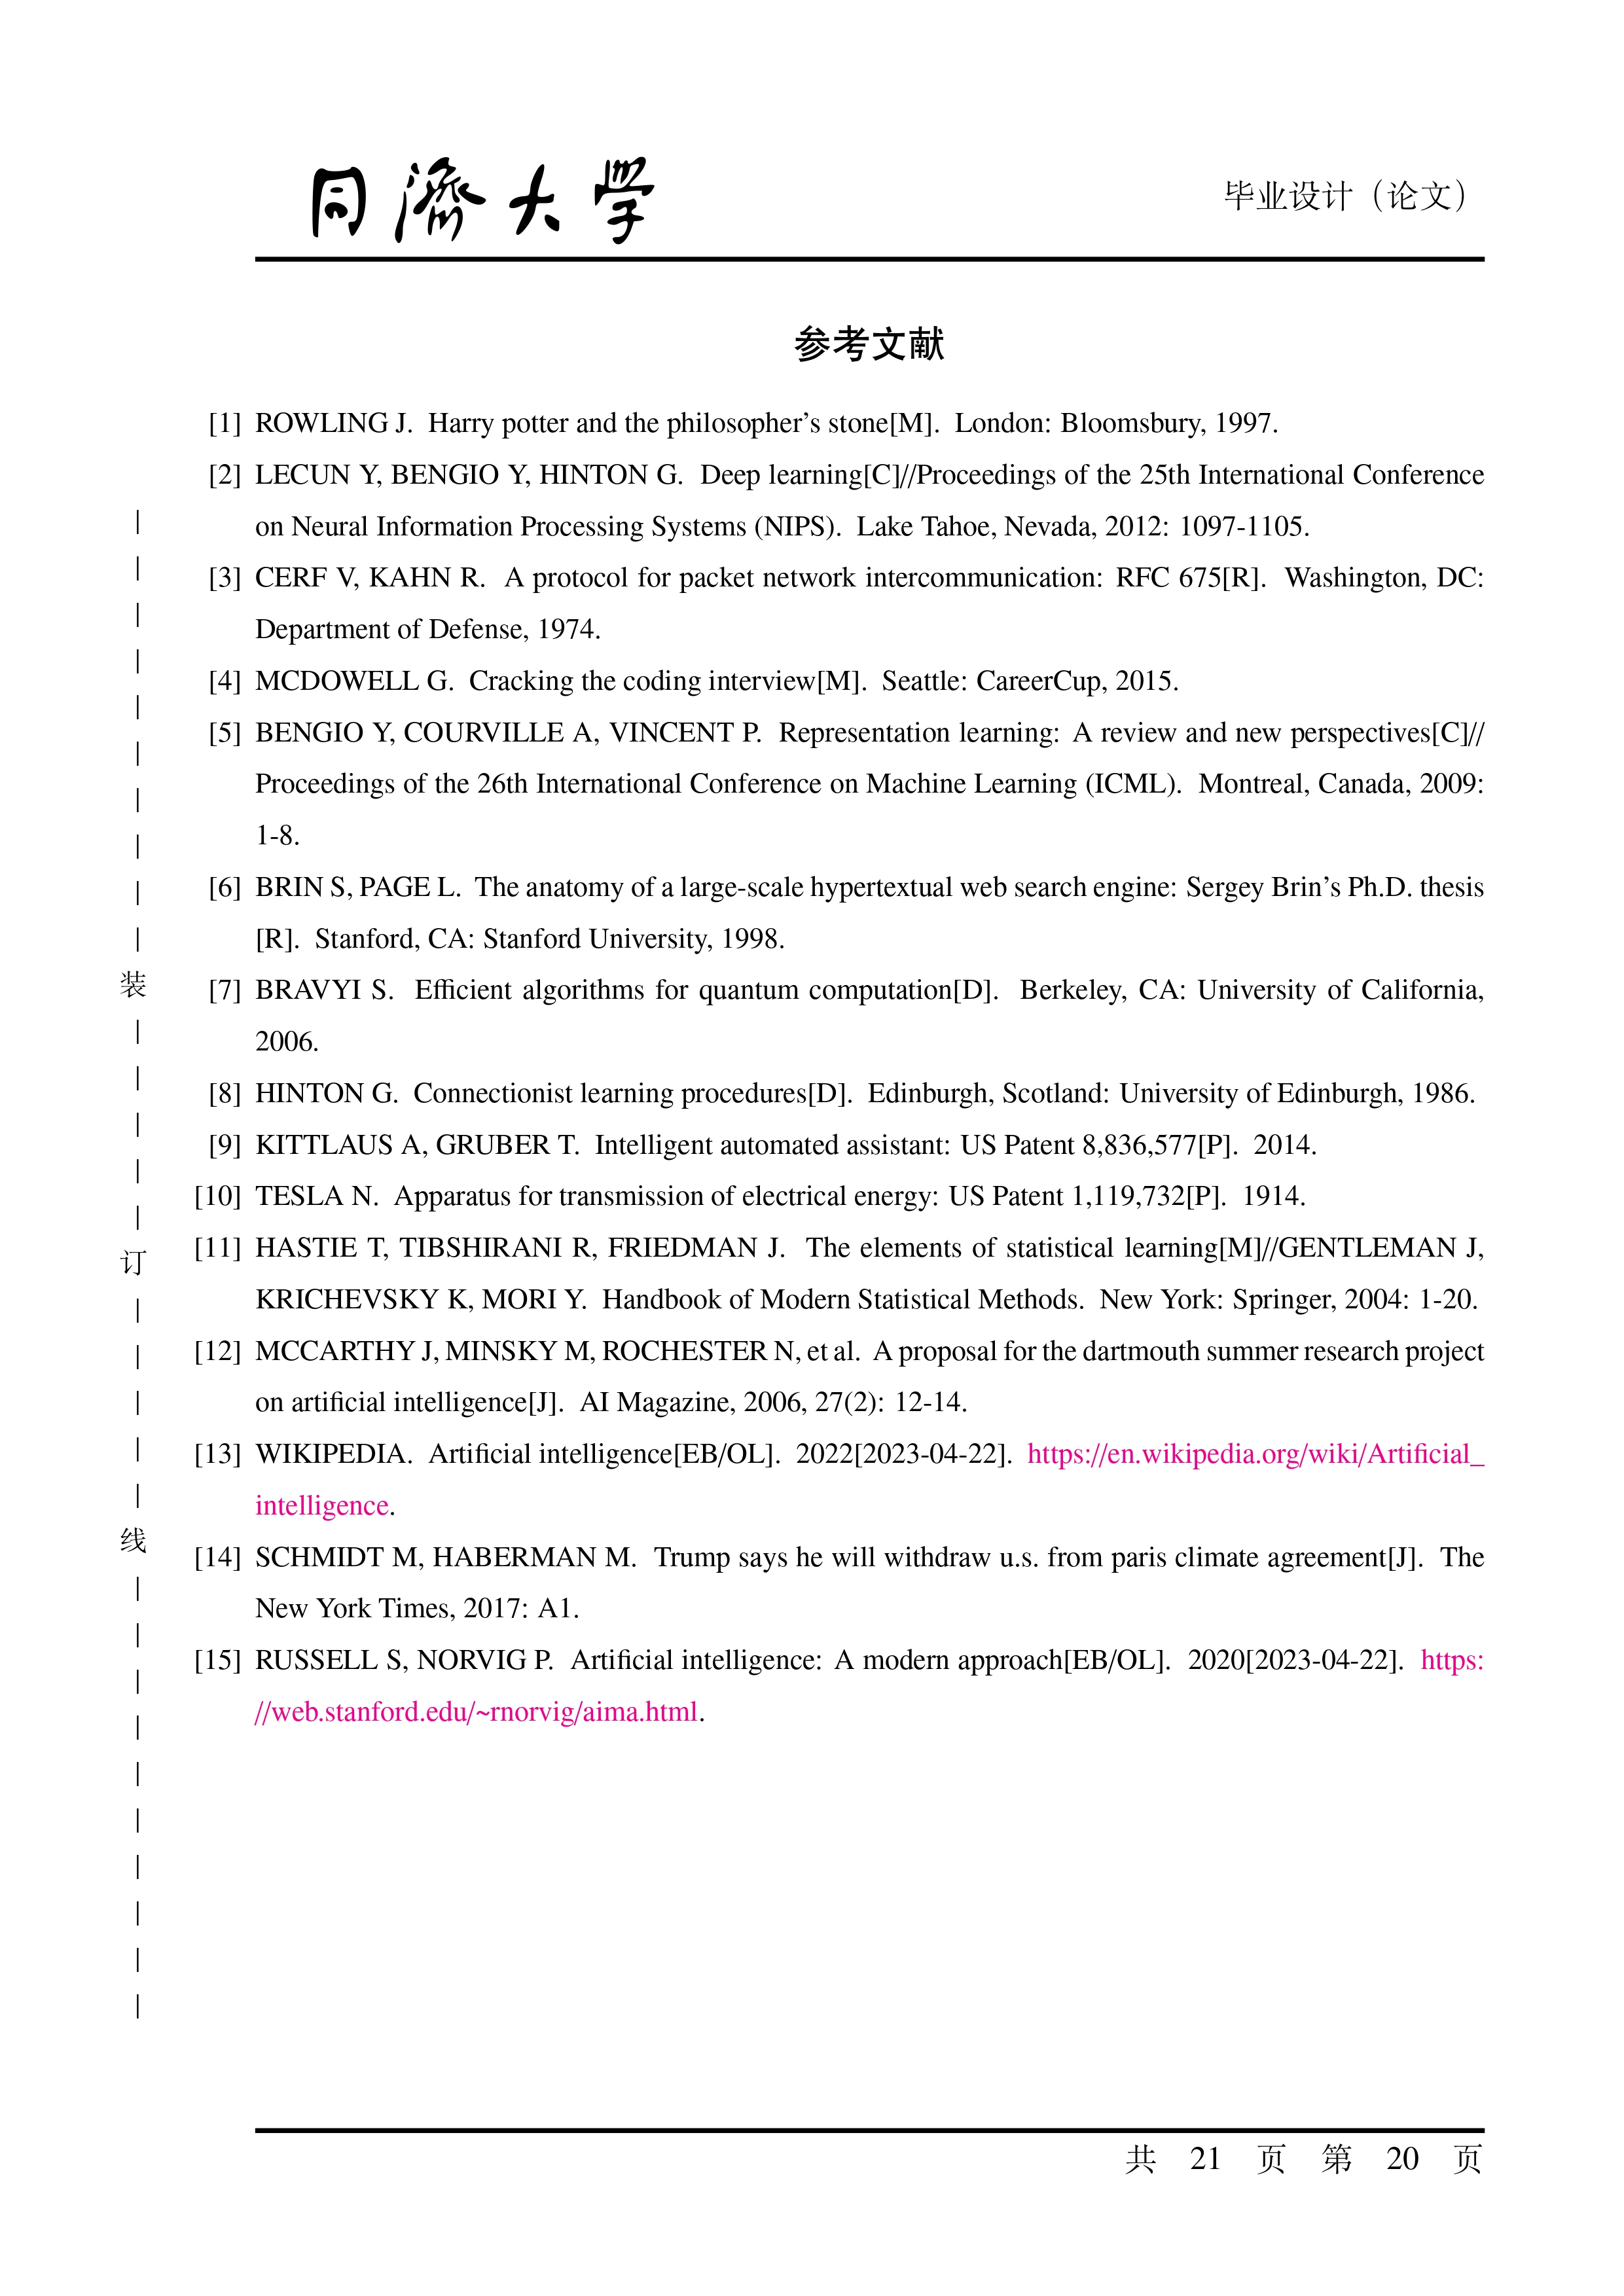
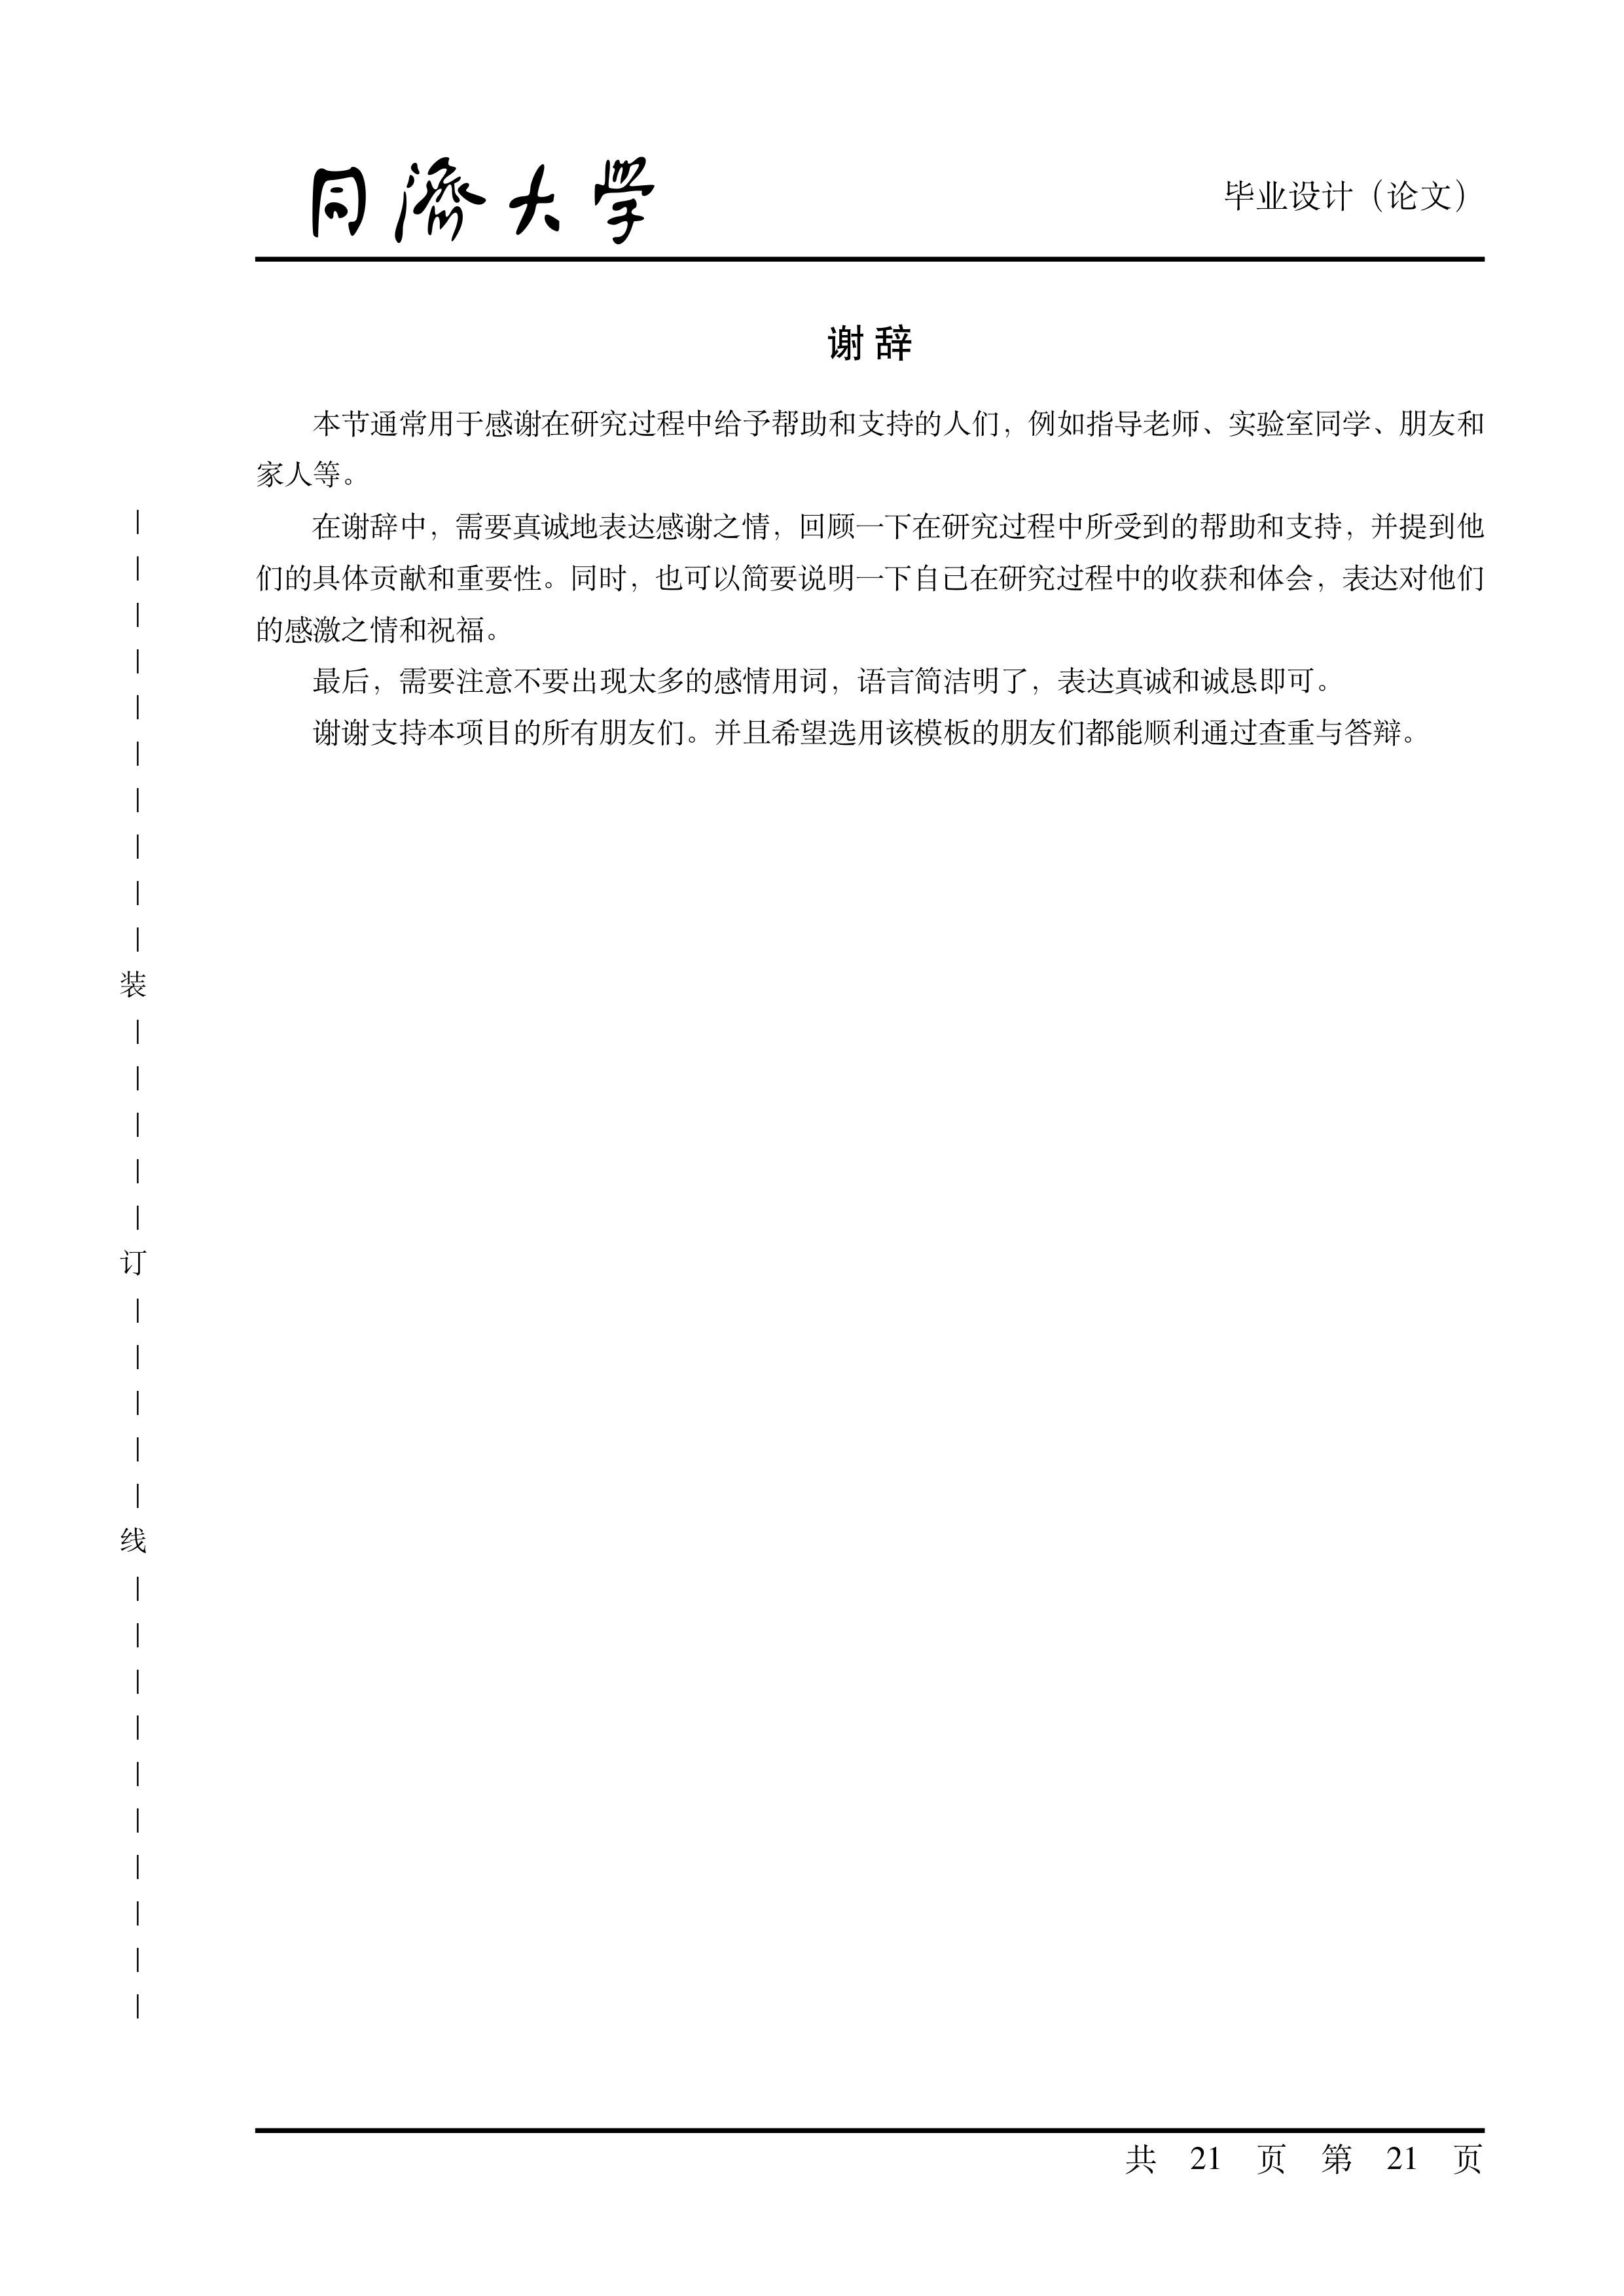
完整样例可见 模板输出样例展示(完整版)、Release 页 中 "Assets" 下的 pdf 下载链接或 Overleaf 模版 PDF。
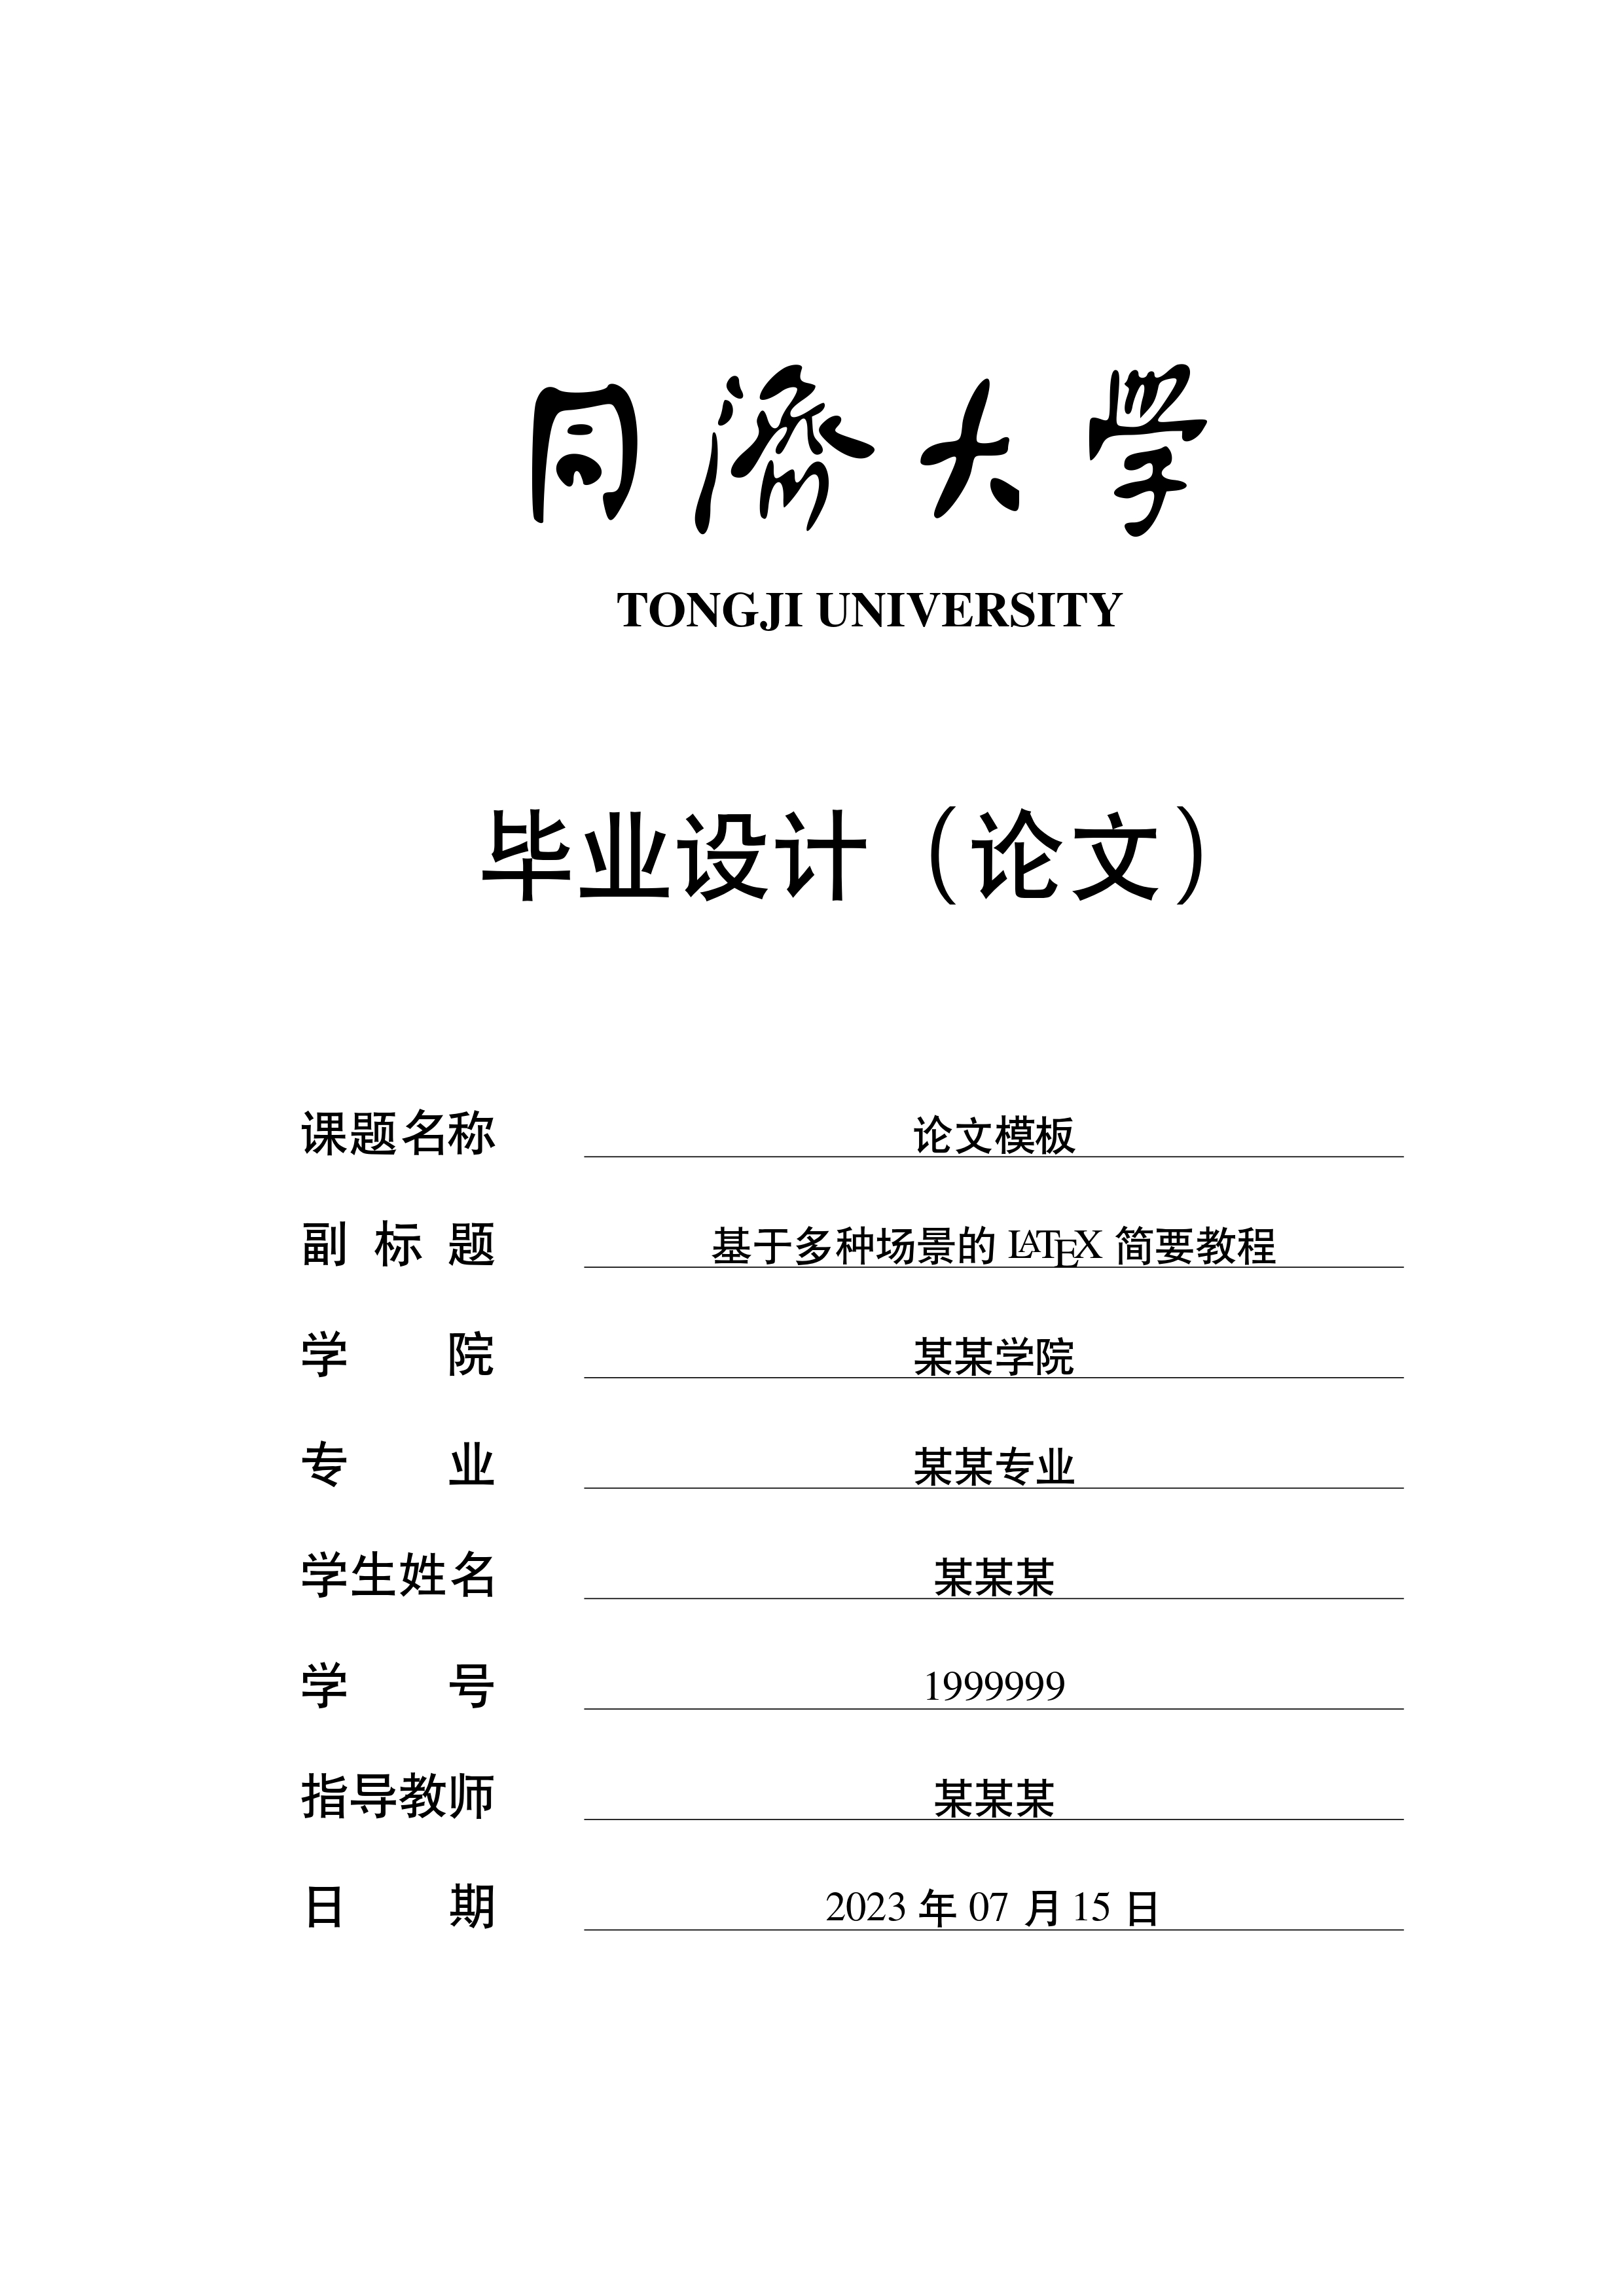
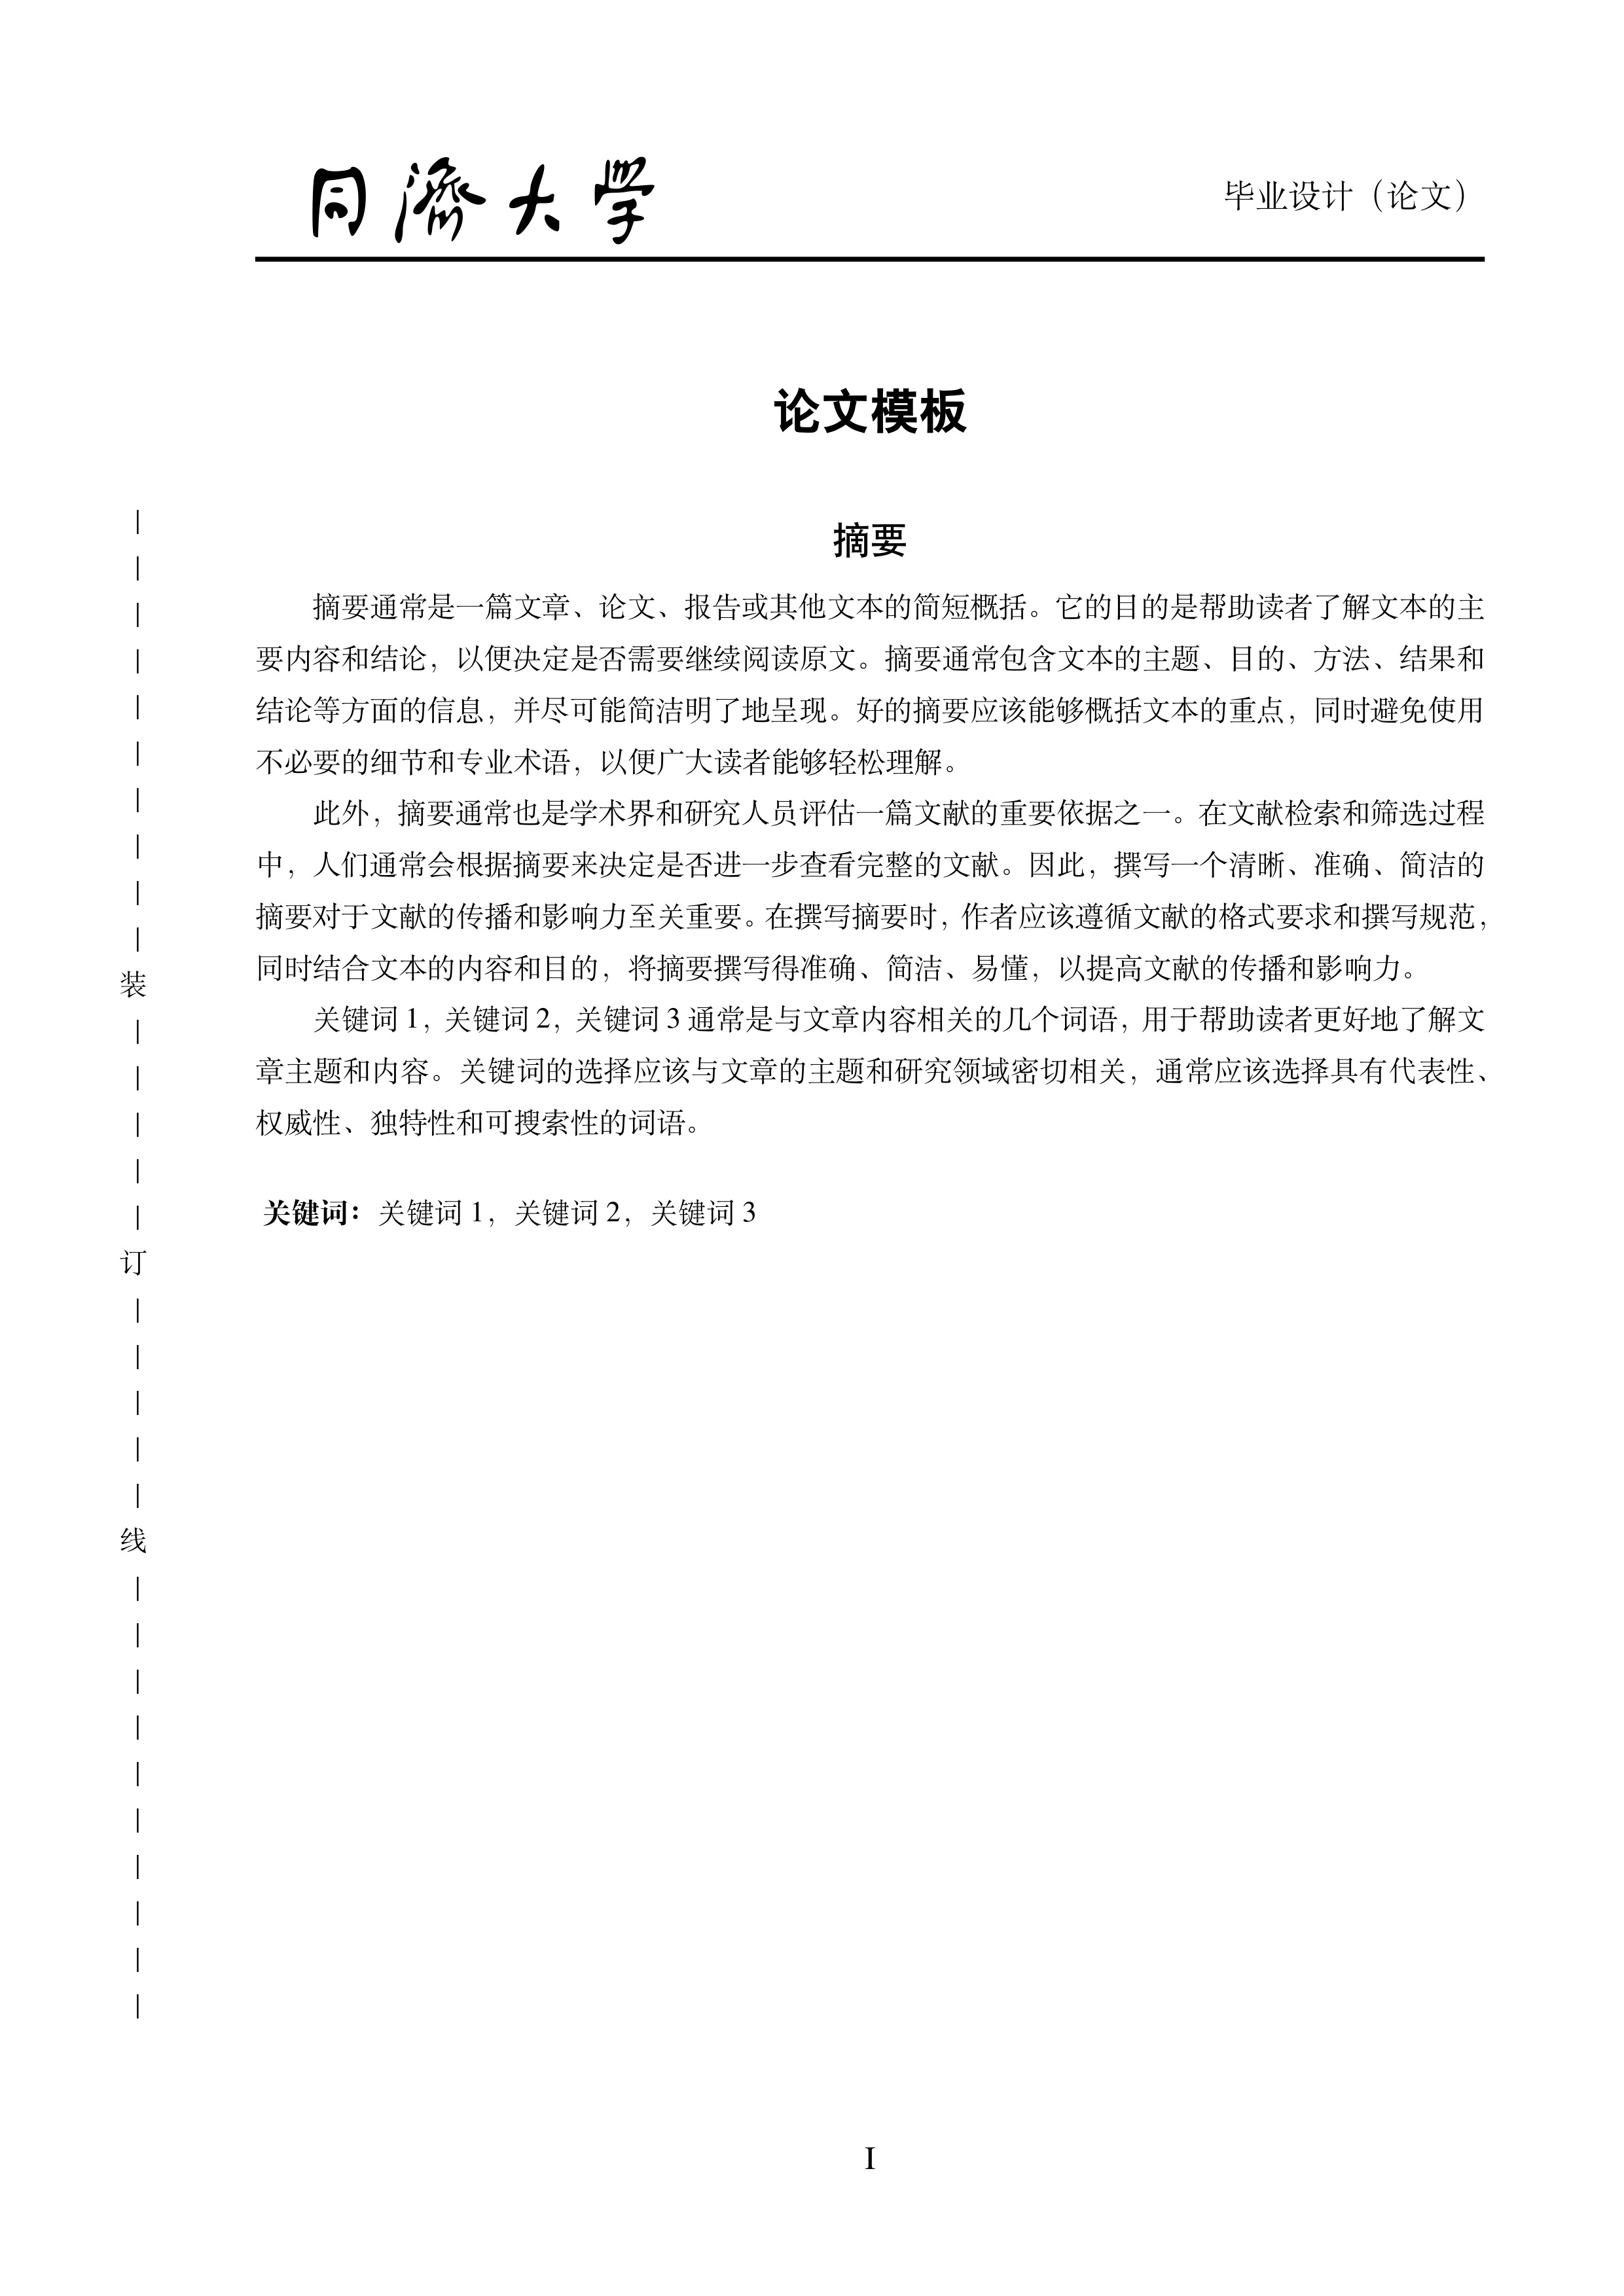
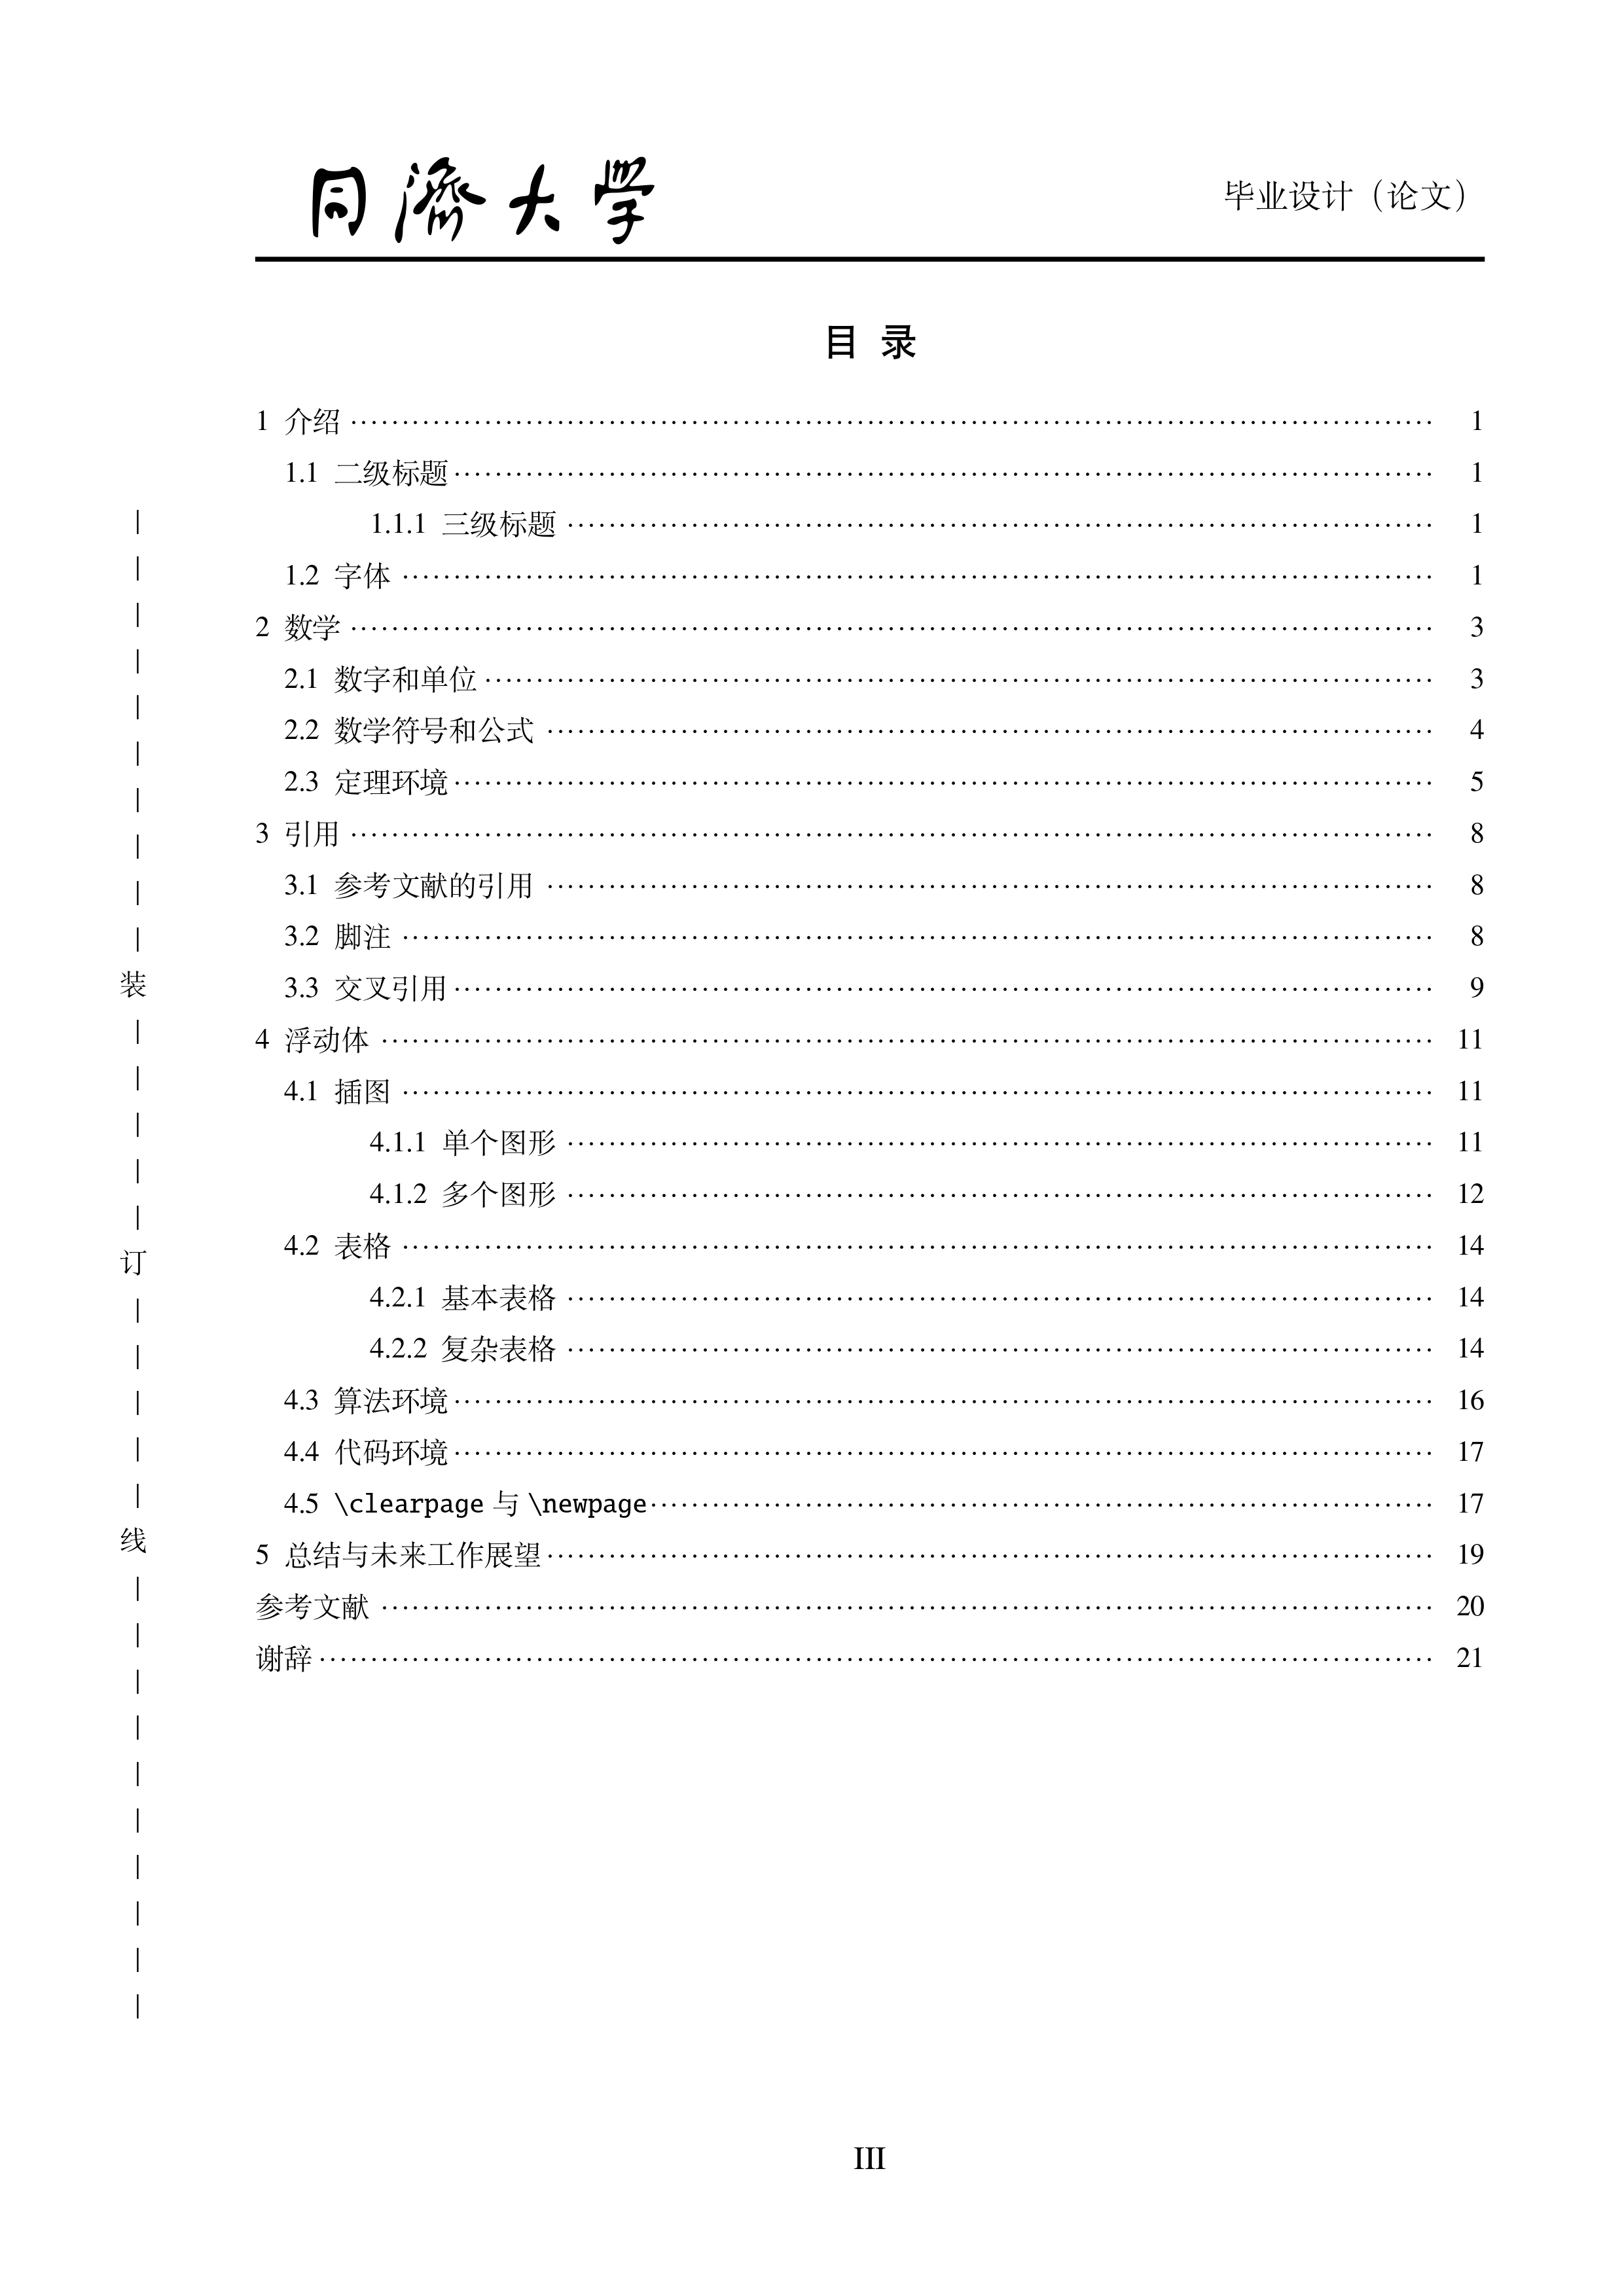
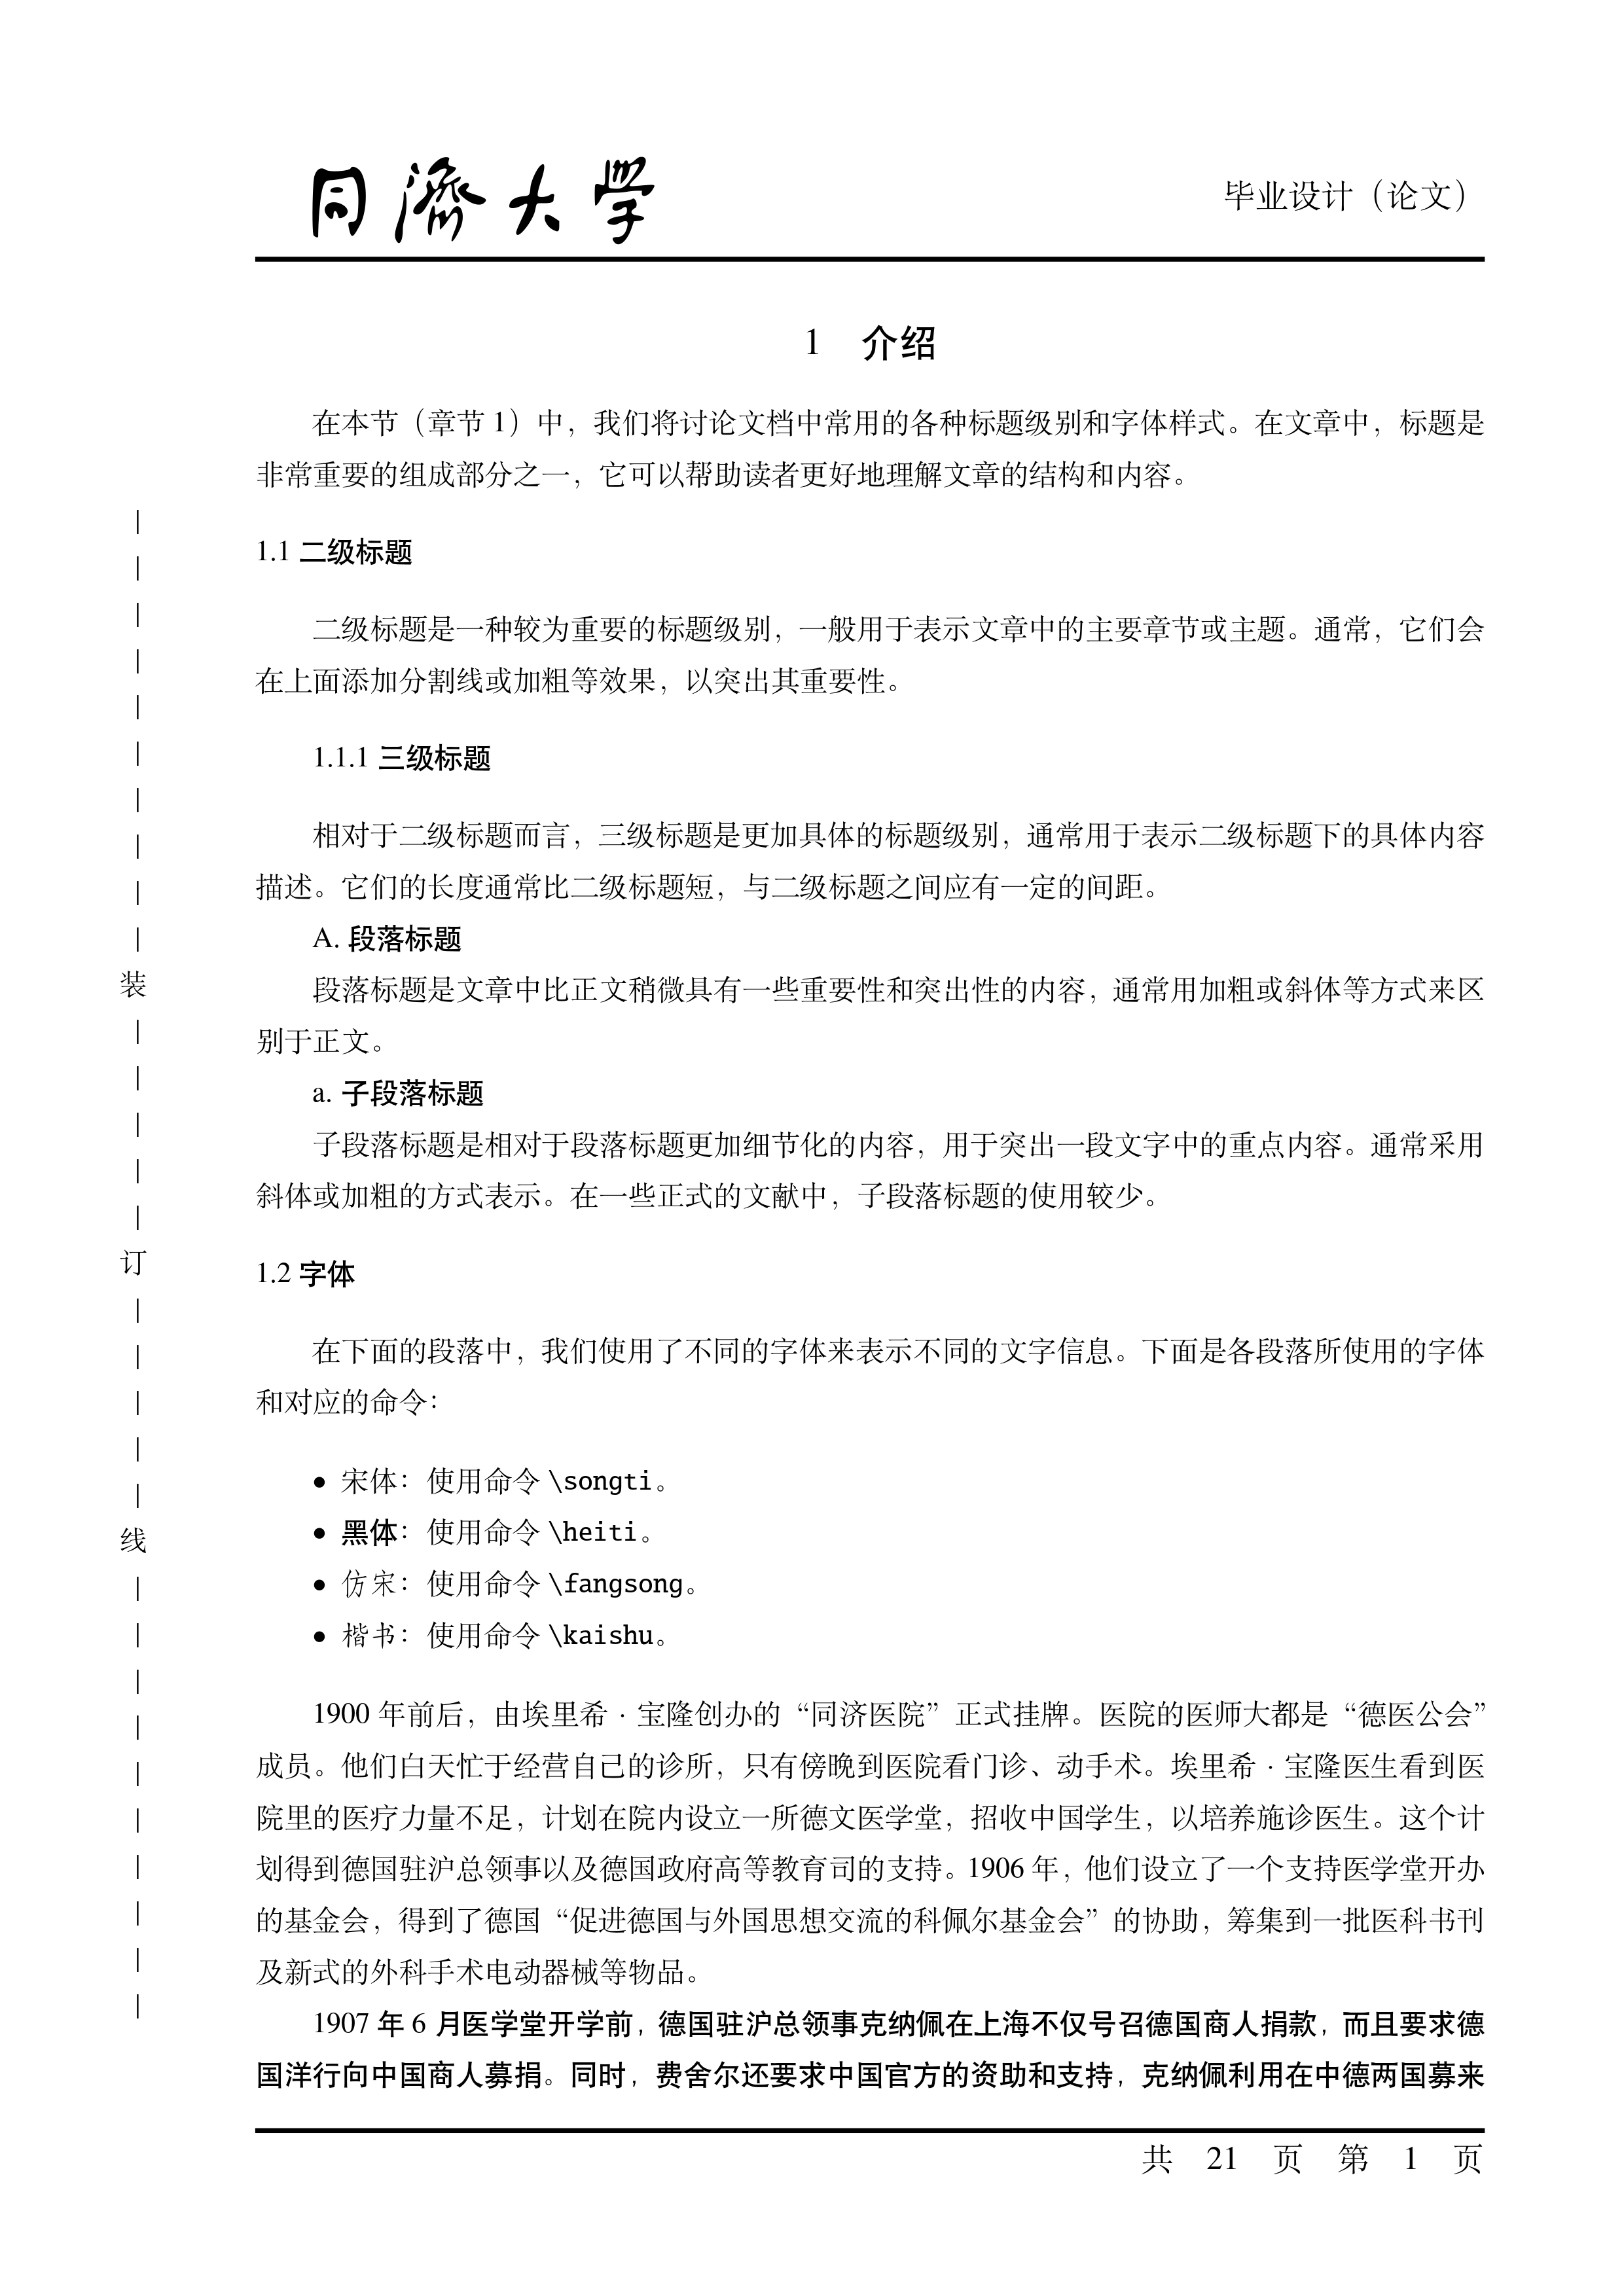
以下依次展示 “封面”、“中文摘要”、“目录”、“主要内容”、“参考文献” 与 “谢辞”。
您可以通过以下链接访问我们的 Overleaf 模板并使用:
请注意,该 Overleaf 模板已经及时更新。我们鼓励您直接使用该模板来编写您的本科毕业论文,也可以将该模板导入到自己的 Overleaf 项目中进行使用。具体操作方法请参考本文档下一节。
注意! 在使用 Overleaf 模板时,请务必检查编译器和主入口的设置:
- 将
main.tex文件设为主入口文件,而不是项目中的其他.tex文件(尤其是tongjithesis.cls或tongjithesis.sty);- 推荐使用
XeLaTeX和LuaLaTeX编译器,本模板不支持某些编译器(如pdfLaTeX)。
- 通过本仓库主页项目文件列表上方的 “Code | Download ZIP” 下载本仓库;
- 打开 Overleaf;
- 通过拖拽下载的
zip文件上传至 Overleaf。
- 对于 Mac:大多数 Mac 上已经预装了 Python。如果你还没有安装,可以从官网下载安装:https://www.python.org/downloads/mac-osx/
- 对于 Linux:在终端中输入以下命令来安装 Python:
sudo apt-get install python3当安装完 Python 后,你需要设置环境变量 PATH,将 Python 的路径添加进去。这样才能在 LaTeX 中正确调用 minted 宏包。
在终端中输入以下命令:
pip install Pygments注意:如果你在安装过程中遇到了权限问题,可以在命令提示符中使用管理员权限运行以上命令。
下载 TeXLive,并使用 tlmgr 下载宏包:
# The following commands aims at installing packages upon TeXLive without any packages.
# You can also install BasicTex: https://mirrors.chevalier.io/CTAN/systems/mac/mactex/mactex-basictex-20210325.pkg
sudo tlmgr update --self

sudo tlmgr install adjustbox algorithmicx algorithms biber biblatex biblatex-gb7714-2015 bibtex booktabs \
    caption carlisle cases catchfile chinese-jfm chngcntr cleveref collectbox ctex dvips \
    enumitem environ extarrows fancybox fancyhdr fancyvrb float framed fvextra \
    gbt7714 gsftopk helvetic hologo ifplatform lastpage latexmk lineno \
    minted multirow mwe natbib needspace newtx nth oberdiek pdftexcmds realscripts rsfs setspace siunitx subfig \
    tcolorbox texcount texliveonfly threeparttable threeparttablex times titling tocloft \
    trimspaces txfonts ucs upquote was xcolor xecjk xstring zhnumber

sudo tlmgr update --self --all感谢 SJTUThesis 项目的 Makefile 文件。
你可以通过下列指令完成对应操作:
make all                      # compile main.pdf
make ENGINE=$ENGINE all       # use $ENGINE(where $ENGINE=-xelatex or -lualatex) to compile main.pdf
make clean                    # rm intermediate files
make cleanall                 # rm all intermediate files (including .pdf)
make wordcount # wordcount-
下载 Python 安装程序:在 Python 官网 上下载 Python 的安装程序(注意:下载的版本需要与你的操作系统版本和位数相匹配)。
-
运行 Python 安装程序:双击下载的安装程序并按照提示进行安装。在安装过程中,记得勾选
Add Python 3.x to PATH选项,这样 Python 才能在命令行中使用。
在终端中输入以下命令:
pip install Pygments注意:如果你在安装过程中遇到了权限问题,可以在命令提示符中使用管理员权限运行以上命令。
注意:若您担忧将某个具体版本的 Python 加入环境变量存在潜在的环境污染隐患,希望使用 Python 环境管理应用,则步骤如下:
- 创建一个新的 Python 环境,在环境中安装
pygments模块 - 按照
main.tex中的注释,在文件中直接指定该环境路径。
通过 此处 下载 install-tl-windows.exe。
注意:安装过程中会下载8GB左右的数据,请耐心等待。
感谢 SJTUThesis 项目的 Compile.bat 文件。
你可以通过下列指令完成对应操作:
.\make.bat                      # the same to "make.bat thesis"
.\make.bat thesis               # compile main.pdf
.\make.bat thesis $ENGINE       # use $ENGINE(where $ENGINE=-xelatex or -lualatex) to compile main.pdf
.\make.bat clean                # clean all work files by latexmk -c
.\make.bat cleanall             # clean all work files and main.pdf by latexmk -C
.\make.bat wordcount            # wordcount
.\make.bat help                 # read the manual
至此,您已经可以借助LaTex撰写论文了。若相比命令行,您更倾向于在一个完整的UI环境中进行操作,请继续查阅以下内容。
在插件市场中安装 LaTeX Workshop 插件,此后下载该项目,并在该项目根目录打开。(LaTeX Workshop 只是一个插件,仍需要下载对应平台下的 TeXLive)
注意:下列配置已被项目中
.vscode/settings.json包含。正常情况下,启动 LaTeX Workshop 插件时会自动装载配置。(.vscode/settings.json中的配置会覆盖全局配置文件settings.json中对应选项,因此不必修改全局配置文件)
"latex-workshop.latex.recipe.default": "latexmk (xelatex)",
"latex-workshop.latex.tools": [
    {
        "name": "xelatexmk",
        "command": "latexmk",
        "args": [
            "-xelatex",
            "-synctex=1",
            "-quiet",
            "-interaction=nonstopmode",
            "-file-line-error",
            "-halt-on-error",
            "-shell-escape",
            "%DOC%"
        ]
    }
],
"latex-workshop.latex.recipes": [
    {
        "name": "latexmk (xelatex)",
        "tools": [
            "xelatexmk"
        ]
    }
]- 点击左侧边栏中带有 TEX 图标的 LaTeX 按钮;
- 点击
Build LaTeX project列表中的Recipe: latexmk (xelatex)编译.pdf文件。
项目以 .github/workflows/*.yaml 配置了 GitHub Actions,push 代码到 fork 仓库或 template-generated 仓库均可触发测试。可通过 commit 对应的 workflow run 中的 Summary | Artifacts 获得多平台构建产物。
(通过勾选 Settings | Actions | General | Allow all actions and reusable workflows 打开 GitHub Actions)
详细使用方法见 tongji-undergrad-thesis-env。
为了使用字库更完全的 Adobe 字体,您需要进行以下修改:
在 style/tongjithesis.cls 的第 10 行找到如下代码段:
\LoadClass[UTF8,a4paper,fontset=fandol]{ctexart}并将其修改为:
\LoadClass[UTF8,a4paper,fontset=adobe]{ctexart}这样修改后,LaTeX 将使用 Adobe 字体集来渲染文档。
字体安装的步骤如下:
- 在我们的仓库根目录中,我们已经附上了 Adobe 的四个字体文件。如果您在 Overleaf 上直接使用我们的模板,您无需进行安装,但需要注意的是编译速度可能会稍慢。因此,我们建议您在本地进行编译。
- 如果您在 Windows、macOS 或 Linux 上使用 LaTeX,您需要手动安装这四个字体文件。安装完成后,您就可以进行编译了。
请注意以下编译方式的支持情况:
- 如果您在 Overleaf 上使用,只支持使用 LuaLaTeX 进行编译。
- 如果您在 Windows、macOS 或 Linux 上进行本地编译,您可以选择使用 XeLaTeX 或 LuaLaTeX。
您可以在模板文档的 1.2.1 小节 “测试生僻字” 中查看具体效果。
通过以上步骤,您将能够使用 Adobe 字体集并正确渲染文档。
还请查看 How to pull request。
该项目使用 LPPL-1.3c 许可证。
%% tongji-undergrad-thesis
%% Copyright 2023 TJ-CSCCG
%
% This work may be distributed and/or modified under the
% conditions of the LaTeX Project Public License, either version 1.3
% of this license or (at your option) any later version.
% The latest version of this license is in
%   http://www.latex-project.org/lppl.txt
% and version 1.3 or later is part of all distributions of LaTeX
% version 2003/12/01 or later.
%
% This work has the LPPL maintenance status "maintained".
%
% This Current Maintainer of this work is R. Lin.
%
% This work consists of all the *.tex, *.cls, *.cfg, and *.sty files in
%   https://github.com/TJ-CSCCG/tongji-undergrad-thesis
- 该项目起源于 YukuanHU 的本科毕业设计论文,论文于 2019.05.24 上传;
- 2021.05.09 起,ganler 以上述项目为基础,增强其功能(项目结构与平台适配)并开始维护新项目。
- 2022.05.12 起,skyleaworlder 开始贡献本项目,并将其整合进 TJ-CSCCG,并持续对该项目进行更新和改进,目前已经成为一个完善的本科毕业论文模板。
我们非常感谢以上贡献者的付出,他们的工作为更多同学提供了方便和帮助。
在使用本模板时,如果您觉得本项目对您的毕业设计或论文有所帮助,我们希望您可以在您的致谢部分感谢并致以敬意。
我们从顶尖高校的优秀开源项目中学到了很多:
- sjtug/SJTUThesis: makefile & batchfile
- stone-zeng/fduthesis: workflows
# Python
[
    f'jiawei#@$.edu'.replace('#', '6').replace('$', 'illinois'),
    'jgli22@$.edu.cn'.replace('$', 'm.fudan'),
    'rizhonglin@!.edu.cn'.replace('!', 'tongji')
]