
This tiny controller simply turns a 3-5v pump on and off. The duration of the times is set in the Arduino code. By default the pump will turn on every hour for 1 minute. You can modify this if you need to by connecting the controller to your pc.
- Arduino Nano
- 6v Pump
- USB cable (normal and mini connector)
- PC (Windows, MAC or Linux)
- Soldering (or prototype) board
- 10k Resistor
- 10uF Condensator
- Transistor BC547 (up to 100mA)
- Block connector (to connect pump to board)
- Few wires
The easiest way to power and control the pump is with an Arduino Nano. Of course other options are plentyfull and out there but the Arduino Nano is cheap, small and easy to program.
The Arduino runs on 5v, this is enough to power a small pump and water the plants. The power comes from anything that can power a USB device, like a computer, TV or a wall plug.
Take a look at the schema below and solder the components to a board. Use a prototype board or even some card board to keep everything together. It's a good idea to put everything in a waterproof case, just in case water spills. Modpon has created a small circuit board which is easy to solder and fits nicely in a small case.

The Arduino is also very easy to program, just download the free sotware (IDE) on Arduino.org and install it.
Now let's get started
- Plug a USB cable into your PC and the Arduino.
- Start the IDE and check if it connected, go to Tools -> Serial Port and check if the device is checked. If Serial Port is greyed out nthe connection failed, try connecting the USB cable again, another USB port or another cable.
- Select the Arduino your using under Tools -> Board -> Arduino Nano w/ATmega328 (or a different one your using)
- Use one of the two controller codes and copy the code.
Basic time delay code. Use this if it's your first time using Arduino code.
Less basic without a delay in the loop. This one is a litte bit more complicated and uses Unsigned long variables instead of a time Delay.
- Back in your IDE paste the code. Make any changes you want, like pin number or timing intervals. Read the comments in the code to see what the conbtroller actually does. SAVE the sketch somewhere on your PC.
- F. Now click the Upload icon (right arrow), or go to File -> Upload and check the bottom part of the IDE should now show messages when compiling and uploading the code to the Arduino. The TX and RX LED's (on the Arduino Nano) should flicker and the IDE will notify you when the code is succesfully uploaded.
Connect the controller and pump, make sure you have plus (red) and ground (black) wires connected correctly. The USB will provide all the power.
Connect the usb to some sort of power source and the pump will start running!
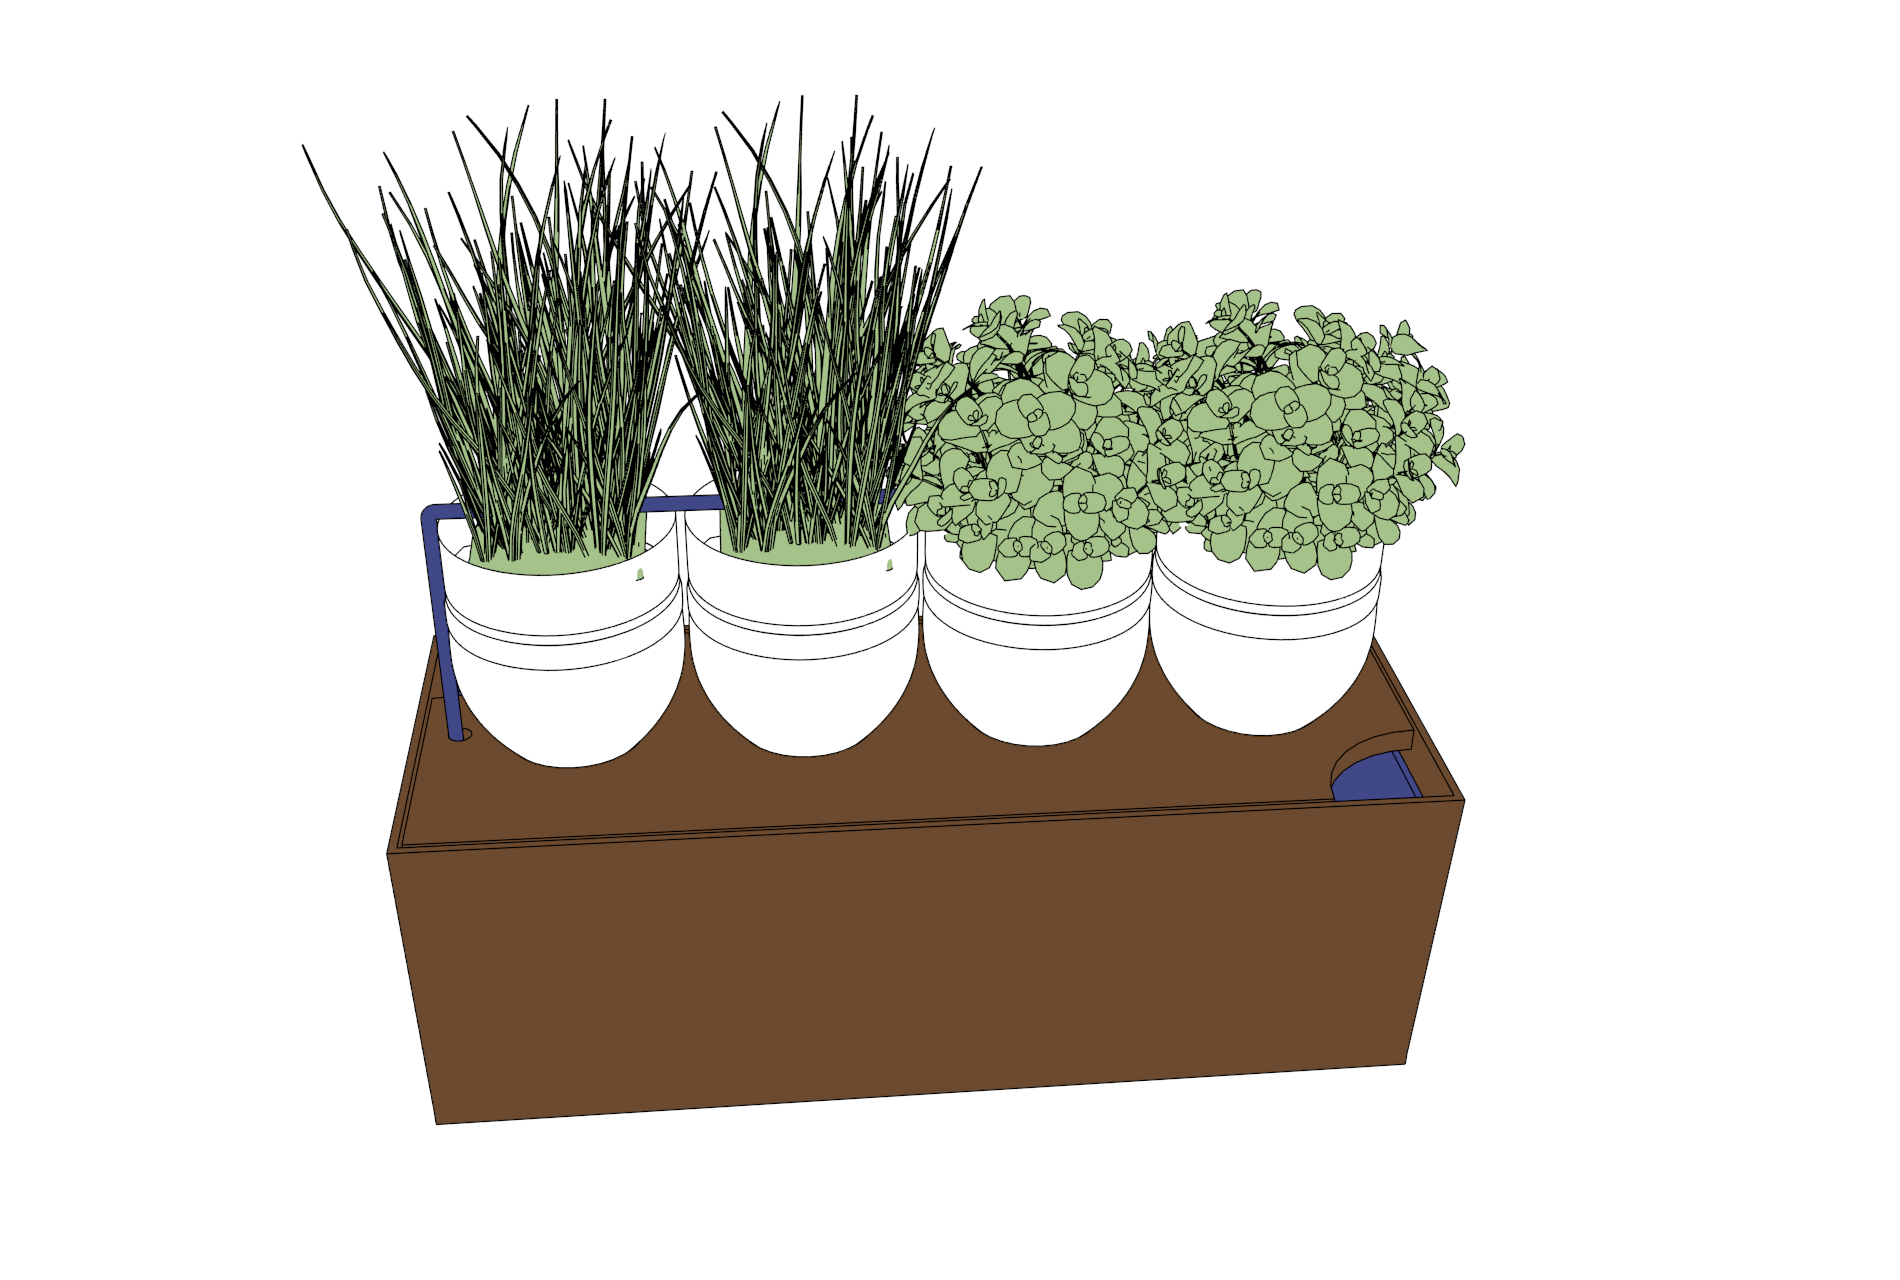
The controller you just created is perfect for small setups like the window bottle stand.
The complete build for this is coming soon.