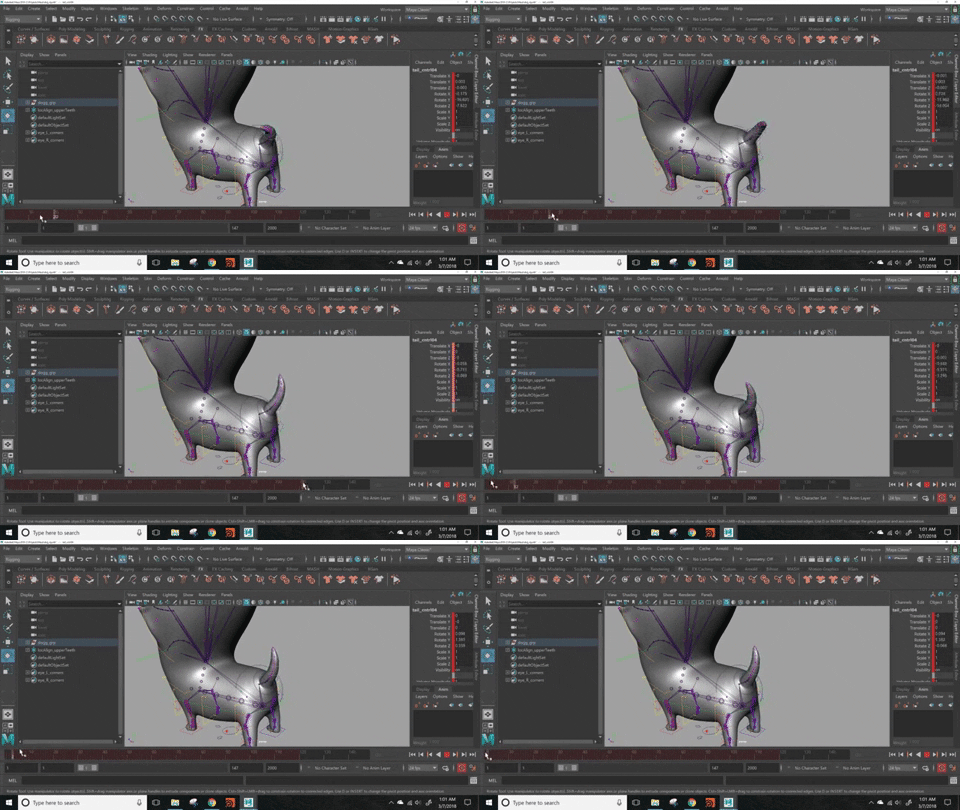
Creates a hair curve that drives selected controls in Maya. Useful for animating secondary and follow through motion.
Watch a video explaining node use, or read below.
To run:
- Place hairy.py in a maya script directory.
- Run the following in python
import hairy
hairy.HairTool()
- GUI should pop up.
- Select controls that you want to be driven by hair curve and press "Assign Controls"
- Select the parent of said controls, and press "Assign Parent".
- Press "Make Hair Curve" button
- Mess with the all of the hair system attributes until you get the result you want.
- Press "Bake Motion" to transfer the animation onto the controls.
