Maui-Gen is a template based code generator for building the scaffolding needed for a data driven .Net Maui application. Using a data schema to describe the required data fields, Maui-Gen then generates the Models, Views, View model and List, edit, detail pages, populated with form elements needed to edit and read the data from the model, as well as SqlLite Crud service for data storage and retrieval. Maui-Gen also creates supporting files and injects singleton and route data where needed.
After moving one of my Xamarin app over to Maui I found myself staring from scratch and this meant recreating Models Model Views Pages ect. I found this to be time consuming i did speed up the process a bit by creating templates but this only worked as a staring point and still had to edit to fit the requirement.
So i decided to write Maui-Gen a tool to help save time writing underlying code needed for Maui data entry forms. I found this a really useful tool so i decided to put it out there for other to use.
Its not pretty or well polished but more of a proof of concept. If there is the interest, then will look at investing the time.
You can apply changes directly to a .net Maui project but at this point i would strongly advised to only do this on a newly created project, so that it does not break your hard work or make sure your project is back up so can restore it.
Use at you own risk on existing project.
a safer option is to generate the code to a new folder and then copy the files over.
- When you need to create data entry forms in a .NET Maui application
you will need to install go 1.20 https://go.dev/doc/install
Below are the tools you will need to create and build a .NET Maui application. The MAUI App Accelerator will install the required components such as Maui Community Tool Kit, SQLlite that Maui-Gen needs.
- sqlite-net-pcl
- SQLitePCLRaw.core
- SQLitePCLRaw.bundle_green
- SQLitePCLRaw.provider.sqlite3
- SQLitePCLRaw.provider.dynamic_cdecl
- SQLiteNetExtensions
- SQLiteNetExtensions.Async
Below are the steps required to install and configure maui-gen ready for use.
1. Install maui-gen
To install Maui-gen run the command belowgo install github.com/Mrpye/maui-gen2. Copy templates to the home directory
Run the command below, this will copy the templates to your home directory so that you can add your own customization and look at some data schema examples.maui-gen init allBelow will take you thought the steps needed to be performed so that the code genrated by Maui-Gen will run.
First you will need to create a new project in Visual Studio using the MAUI App Accelerator this will install the required components and setup your project ready for Maui-gen.
1. Create a new .Net Maui project in Visual Studio
Open Visual Studio and create a new project this will start the project selection menu.
2. Create project using MAUI App Accelerator
Select the MAUI App Accelerator to start the project wizard.
3. Configure the MAUI Project
Enter the project name and solution name.- Make a note of the path where the project will be created
- Also solution Name this will be the namespace we will use later.

4. Select the version of .NET to use
Select the .NET version to use either .Net 6 or .NET 7.
5. Select MVVM Toolkit as the coding style
Select the MVVM Toolkit
6. Select Flyout Menu for Navigation Style
You can select Flyout or Tabs
7. Click next on Pages
You can just click next on the pages.
8. Configure Features
Add the following libraries:- MAUI Community Toolkit
- sqllite-net-pcl

9. click Next to create the project
MAUI App Accelerator will create the project
10. Add the route comment to the project
//<%REGISTER_ROUTE%>- You will need to add this to the file AppShell.xaml.cs

- Add the comment just below the InitializeComponent and save changes.

public partial class AppShell : Shell
{
	public AppShell()
	{
		InitializeComponent();

        //<%REGISTER_ROUTE%>
    }
}
11. Add the singleton comment
//<%REGISTER_SINGLETON%- You will need to add this to the file AppShell.xaml.cs

- Add the comment just below the builder.Services.AddSingleton<MainViewModel(); and save changes.

public static class MauiProgram {
    public static MauiApp CreateMauiApp() {
        var builder = MauiApp.CreateBuilder();
        builder
           .UseMauiApp<App()
            .UseMauiCommunityToolkit()
            .ConfigureFonts(fonts = {
                fonts.AddFont("OpenSans-Regular.ttf", "OpenSansRegular");
                fonts.AddFont("OpenSans-Semibold.ttf", "OpenSansSemibold");
            });

        builder.Services.AddSingleton<MainViewModel();

       //<%REGISTER_SINGLETON%

        builder.Services.AddSingleton<MainPage();

        return builder.Build();
    }
}1. Set the output directory
First we need to tell Maui-gen where to output the generated code to. In this case we are pointing it to the DemoMauiApp created earlier.Note! Make sure it is the directory where all the code is, see below.

Run the following command to set the output directory. This is where Maui-gen will output the code to.
Adjust the path to point to your project.
maui-gen set output "C:\projects\Net\DemoMauiApp\DemoMauiApp"2. Set the data schema to use
Under your home directory where the Maui-gen templates are saved are some example schemas. we are going to set maui-gen to use one of these schemas.maui-gen set schema "C:\Users\[user]\.maui-gen\examples\person_and_pet.yaml"3. Check the paths are correct
You can check what paths are set by using the following command this will open the config file in notepad.maui-gen set edit4. Install Nuget Packages
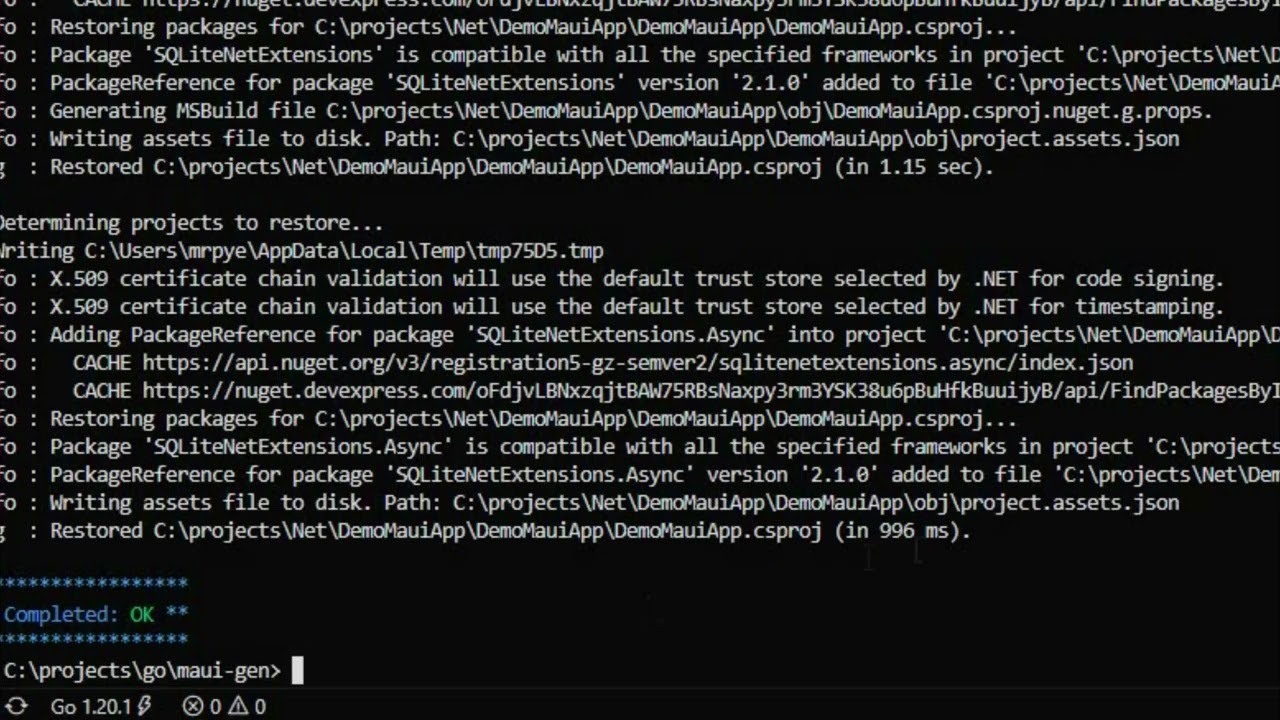
You will need to install the following packages into the project.- Use the maui-gen install tool
maui-gen nuget install --output [project_path]- Or if you set the output using the maui-gen set output then you can just use
maui-gen nuget install- Or add each package using the nuget install in Visual Studio
SQLitePCLRaw.core
SQLitePCLRaw.bundle_green
SQLitePCLRaw.provider.sqlite3
SQLitePCLRaw.provider.dynamic_cdecl
SQLiteNetExtensions
SQLiteNetExtensions.Async
- Or open command prompt and cd to the project directory then paste the following code into the command prompt.
cd C:\projects\Net\MauiGenDemoApp\MauiGenDemoApp

dotnet add C:\projects\Net\MauiGenDemoApp\MauiGenDemoApp package SQLitePCLRaw.core
dotnet add package SQLitePCLRaw.bundle_green
dotnet add package SQLitePCLRaw.provider.sqlite3
dotnet add package SQLitePCLRaw.provider.dynamic_cdecl
dotnet add package SQLiteNetExtensions
dotnet add package SQLiteNetExtensions.Async
5. Generate the code based on the data schema
Finally we are ready to generate the code you will need to pass in the project root namespace this is the ? "solution name" you entered when creating the Maui project.you can also change the name space in the Data Schema file
name_space: "DemoMauiApp"
resources:
  - App
  - Enums
  - AppShell
  - MauiProgram
maui-gen build --namespace "[solution name]"6. Run the Maui Project
Now that the code has been generated your can goto you Visual studio and you will see lots of new folders and files have been created.
You can now simple run the project and you should see.


# Run maui-get to build template documents
maui-gen gen_docs
You can find the generated documents here.
- C:\Users[User].maui-gen\documents\maui-gen.md
# Run maui-get to build template documents
maui-gen gen_template_docs
You can find the generated template documents here.
- C:\Users[User].maui-gen\template_doc/Templates.md
This is just a proof of concept to see if it draws any attention if it does then i'll put some time into it.
If you do use it I would be interested to hear what you think about it.
- First Release
- Added CLI Doc
- Embedded the template and examples (need to run maui-gen init all)
- Updated the project structure
- Fix the template path not using parameters or config
- Added nuget package install cmd
- Added template function to inject other templates
- Added Template Auto Generating documentation maui-gen gen_template_docs
Maui-gen is Apache 2.0 licensed.