Now, it's time to practice your understanding of the most common selectors in CSS. The majority of the CSS for this web page has been created by another developer. Your mission is to make some improvements requested by the customer.
- Clone the practice from the starter.
- Run
npm installto install dependencies. - Run
npm run testto run Cypress tests after completing each phase.
Once you're in VS Code, you can drag the index.html file into your browser to view the webpage, or use the File Explorer to open it in your browser. The only file you will need to edit for this practice is main.css.
Remember to save the CSS file and refresh the page in the browser whenever you make changes.
You will begin with a web page that has all of the HTML and most of the CSS completed. You only need to write CSS, not HTML, to complete each phase.
You may use the CSS selector documentation for reference as you complete these tasks.
To determine the best CSS Selector for each request, you may either look at the HTML file (index.html), or use the element inspector in your browser's Developer Tools.
Cypress tests are provided to confirm that your CSS generates the correct styling. However, the tests do not confirm that you used the most appropriate CSS selectors to accomplish the correct styling. Pay close attention to the heading in each phase to make sure you are using the appropriate selectors for that phase.
Find the title that appears between the cover image (textured paper), and the introduction page (outlined table). Make this title bold without modifying the other titles on the web page.
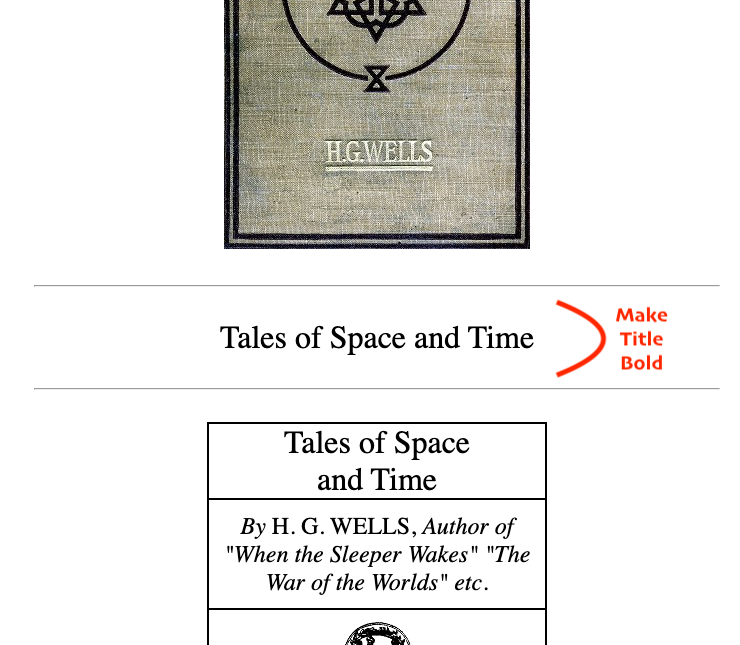
Hint: The original developer assigned an
idto the<h1>tag on that title.
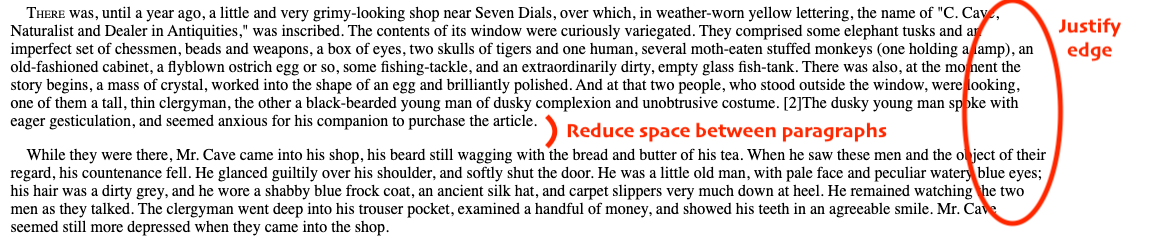
Next, find the page numbers that appear in square brackets throughout the story. These need to display on the right-hand edge of the screen.

Hint: The original developer assigned a
classto each<span>tag which displays a page number.
The designer suggests the following settings as shown in the mockup below.
    position: absolute;
    right: 10px;
    font-size: small;
Mockup of expected result

First, clean up the ragged right-hand edge on each paragraph (<p>) by
making it justified like a printed book (text-align: justify;).
Second, reduce the space between paragraphs, so it is a little less than a
single line. The designer recommends .75em for the top and bottom margins.
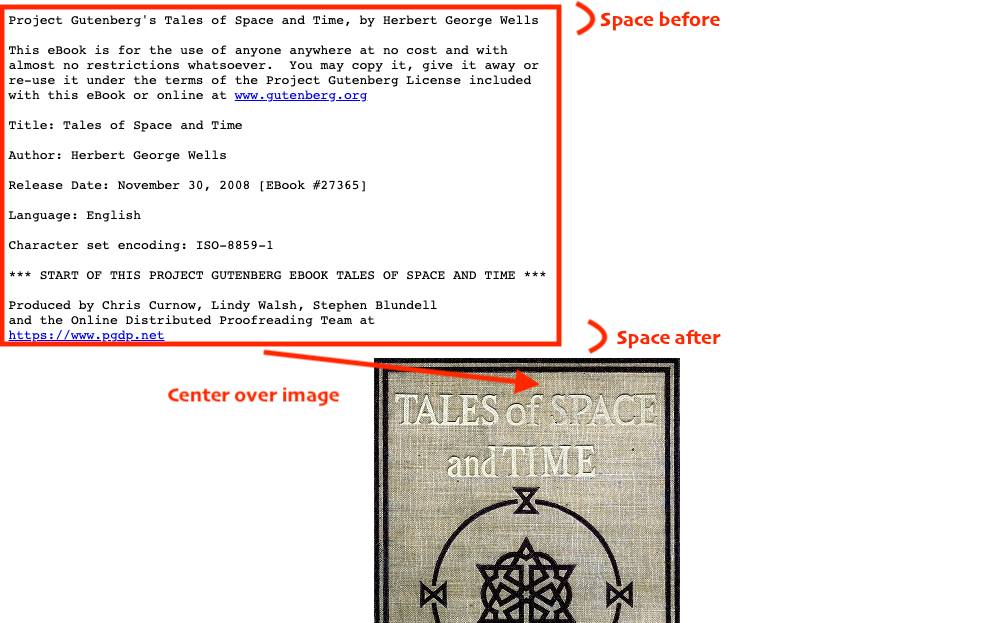
Third, horizontally center the introduction and closing sections which appear before and after the story. (Hint: One way to center content is to think about your margins.)
Fourth, please give them significant extra space before and after (100px),
so they stand apart from the story itself.
These two sections were placed within a <pre> tag by the original developer.
This means they are preformatted, so spaces and line breaks are respected by
the browser instead of being removed/hidden (like in "normal" paragraphs). The
side effect is that they can look offset to the left and give a less-polished
feel to the reader.
Hint: To use the width of the provided content as the width of an area, consider using
width: fit-content. Centering elements on a page can be done using a variation ofmargin: auto.
Please hide the underlines on the links throughout the page. If it's helpful, you can review the documentation on pseudo classes in CSS.

Note: There are no tests for this phase.
While continuing to hide the underlines on links in default or visited states, show the underline and make the link text bold when the user hovers their mouse over each link. This should apply to all links on the page (see the introduction, table of contents, and closing sections). The designer created this mockup to show the desired effect.

Finally, for the links in the introduction and closing sections (the <pre>
blocks), please make all the links show as black text in all states.


Hint: Review the child combinator selectors, if you get stuck.
You practiced multiple ways to adjust HTML elements using CSS selectors
- id
- class
- type
- state (a.k.a. pseudo-class)
- child combinators