As Asus 4G Routers tends to lose connection during heavy work due to high temperatures, I prepared my own easy to assamble cooling system.
- 4 x 40 mm 5V fans
- Raspberry Pi Zero WH + SD Card + USB Cable - to control temperature and turn on fans when needed
- Adafruit PiOLED Screen - to display temperature, fans state and connection status.
- BreakOut Pi Zero - to install all needed components
- 1 x diode
- N-MOSFET IRLZ44N
- Raspberry Pi Case (optional)
- 4 x M2.5 spacer bolts + 4 x M2.5 4-mm screws + 4 x M2.5 9-mm screws
There are addidtional two resistors which are not needed if you use raspberry Pi device. However, if you want to use other SBC, check if there is resitance on output.
If you don't want to connect any screen, keyboard etc. to your raspberry pi, you can boot it up headlessly. Following the links below you will find all information needed to configure your raspberry:
- How to install Raspberry Pi OS
- How to establish wireless networking
- How to establish SSH connection
- Configure system for OLED Screen
Now you can place tempController.py in home directory and edit rc.local file to make script run after every boot up of raspberry pi (quick guide here)
To read temperature, raspberry pi needs access to router. To do that, we need to enable SSH service:
- Go to your router site (By default it is 192.168.1.1, however you can check deafult gateway in ipconfig instruction (Windows CMD) or ifconfig (Linux terminal).
- Log into user interface (Your login credentials are located on the back of the router, typically both login and password are set to "admin").
- Go to Administration -> System -> Service and enable SSH by LAN only. You can set your own port or even use authorized key, it is up to you (EDIT: with current update (for 20.10.2021) it is advisable to stay with port 22, as dropbear service is broken and with other ports it will be impossible to recover its work). Set Idle timeout to 0. At the end it should look like this:
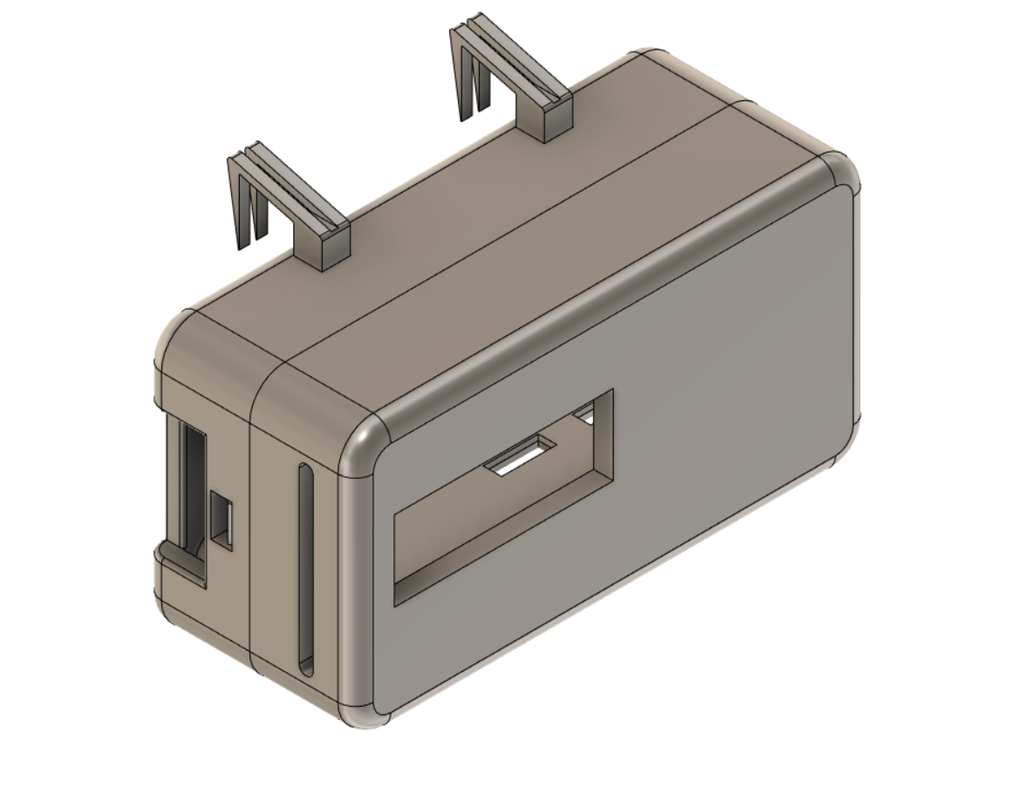
I prepare case in fusion 360. You can print it by yourself or use 3D printing service. I am not professional case designer, I took huge inspiration from this video and added holes for fans' cables and oled screen. On top there are small holes for two hooks which are printed separately. You should glue them to the case. Hooks are supposed to fit into router's top vents. If you feel that case does not keep stable you can use double-sided tape. Below you can find render of the case:


