Ok awesome! If you find a mistake or there's something small you want to add please follow these steps
It may be difficult to create new pages; This method is best suited for minor adjustments
- Find the page you want to modify (on github)
A github account is needed, it's quick to sign up though!
-
Click the little pen button (top right of the document)
-
Awesome! An editor opens up with a preview tab too. Pages edited this way will look a little different than the final product which is why it's best suited for minor edits
-
When you are done, hit the green "propose file change" and in the page that follows hit "Create pull request"
this effectivly copied the wiki into your own github account and now you are merging your copy back into the original (develop)
- Cool! Your edit is ready for review! :)
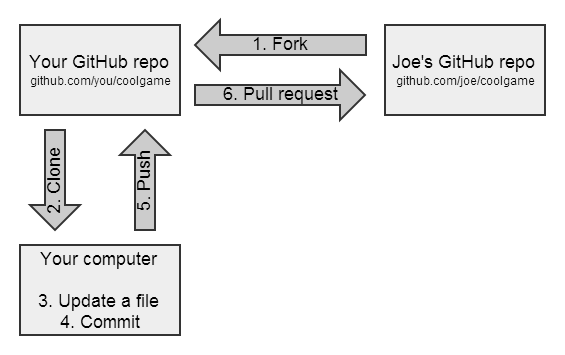
OK, this will be a little more difficult, but don't worry! You won't need to know how to code anything, but you're gonna have to dip your feet into git. In the step above we were using the top half of the image (below), now we are going to have to use the bottom half
Please install this software (they're tiny programs)
- vscode - a fancy text editor with a built in terminal and git panel
- git - the software that lets you interact with this codebase :)
- github desktop - lets you work with github without writing any code
If you need help with any of these steps, that's ok! Join the #wiki-help channel in discord and let us know what you need help with :)
That's it! To get started here's how you'd start editing on the wiki
-
Go to the github page for this wiki and click the "fork" button (this is the first step in the chart)
Nice! You just "forked" the wiki (aka. made a copy). Now we're gonna open your copy in github desktop
-
Open "github desktop" and sign in with your github account. Now click the repository button in the top left (book icon), click the "ADD" dropdown, and then "Clone repository"
Hopefully your new copy should be listed under "your repositories". Click it, and then note the file path as you might need this in a minute. Hit "clone" and you're good to go!
-
After "workshop wiki" is your selected repository, hit the "Open in Visual Studio Code" button
Alternatively, open "visual studio code" and go to
File > Open Folderand select the folder from step 2 (most likely /Documents/GitHub/workshop-wiki)
-
Now you're ready to write things! You can exit out of the welcome screen and on the left panel there is a file browser (it's the top icon, we only really need to use this one). From here you are good to go. Most of the stuff you want to change will be in the "docs" folder, README.md is the main page for any section and the folders are all the categories
When you finish, skip to the last section below
-
the wiki is wrote in markdown, if you want to have a better markdown editor you can copy and paste from this site https://pandao.github.io/editor.md/en.html
-
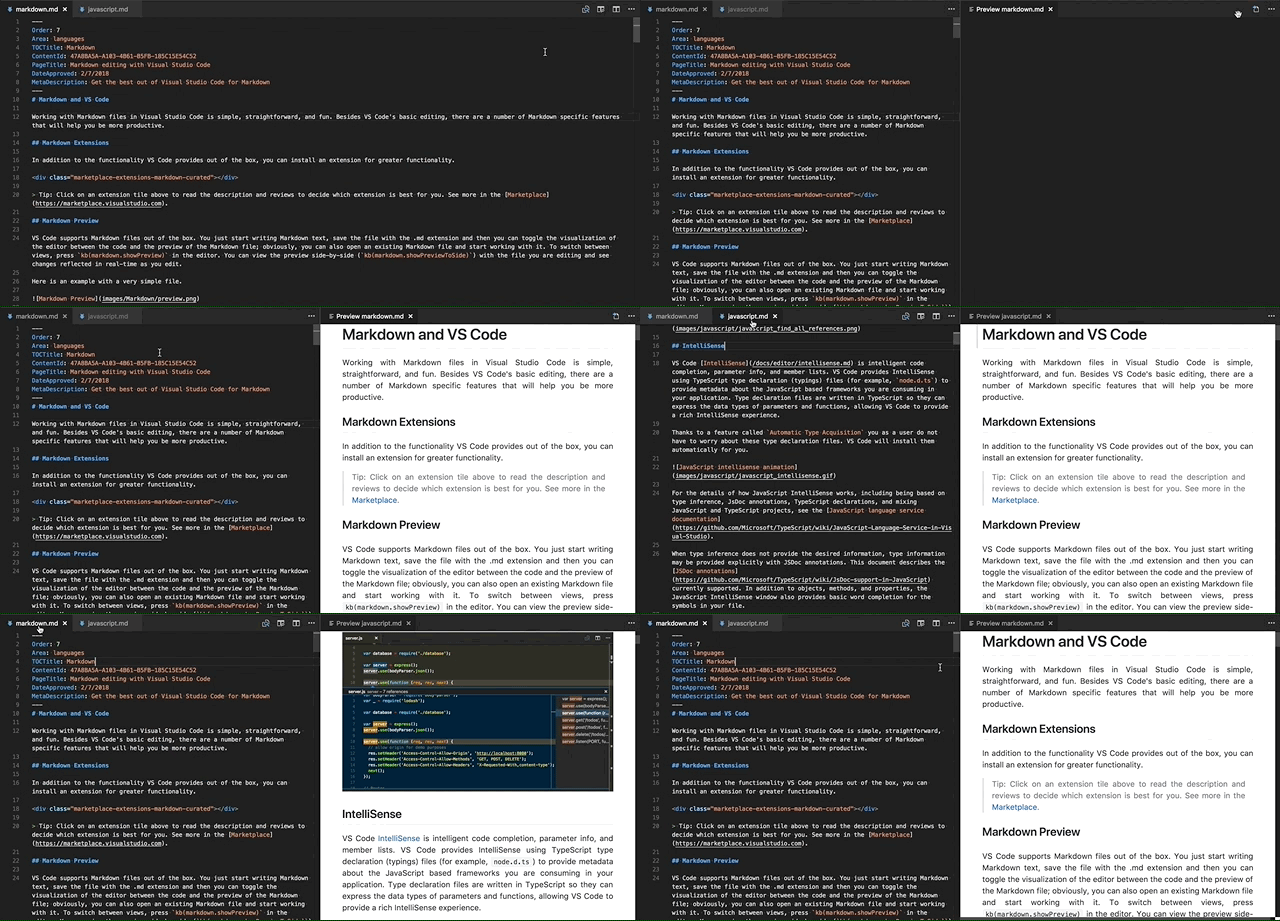
if you want a simplified live preview in vscode, hit
ctrl + shift + vand drag the new window to the right side (read more: https://code.visualstudio.com/docs/languages/markdown#_markdown-preview)
-
ctrl + spacewill let you select some markdown snippets (like inserting images and lists) -
i'd also reccomend installing this vscode plugin: https://marketplace.visualstudio.com/items?itemName=yzhang.markdown-all-in-one (you can see all the cool things it can do on that page)
If you want to see a full site preview with your changes please install nodejs
- nodejs - lets you see how the wiki looks with your changes!
Now, to see a full live preview please go to Terminal > New Terminal in vscode
- If this is the first time you have done this please type in
npm install -g vuepress
this will install the vuepress package, you only need to do this once
- to start the live server, type
npm startand hit the enter key
this will start the web page locally, after this you just need to go to http://localhost:8080/
- to cancel or restart click back into the terminal and hit
ctrl + c(or the trash icon and start over) - certain file changes will not take effect untill you restart, most will though
Awesome :)! Now you have a full preview of how the site will look with your changes
To send your changes back to the wiki, you will have to push your changes to your copy on github.com and then submit a merge request (look at the chart above!!) Don't be scared it's not that bad :p
you can do this either in github desktop or the "source control" tab in vscode (under the file browser icon). GitHub desktop will be easier for most people
-
Open Github Desktop
-
Your changed files should be visible in the panel on the left, hit "commit to develop"
GitHub lets you "push" (pushing uploads to your fork on github.com) your commits (there can be multiple commits per push)
-
Now a new blue button should appear in the main panel, hit "Push origin" (this will upload to your forked copy on github.com)
-
Finally, to send your changes to the actual wiki go to your fork ("your repositories" on github, most likely will be at
https://github.com/<your username here>/workshop-wiki) and hit the "New pull request" button (to the left above your files )AWESOME!! All you have to do on this final page is hit "create pull request" and if you want to you can write a message to the person reviewing your changes here
it's advised to keep "allow edits from maintainers" clicked so if there is a tiny error we won't have to reject your changes
THANKS SO MUCH!!!! We will take it from here, don't worry if you have any red Xs (we can fix those no problem). Another contributor will have to approve your changes before they are added to the wiki, it may take a few days for the actual site to update (hopefully only a few minutes once i automate it)


