In this project, we will dockerize a simple Python Flask application using Flask and docker compose. We will build the docker image from a Dockerfile, and push to a remote repository (Docker hub) – as part of a CI/CD pipeline.
We will use docker compose (an orchestration tool - makes spinning up multi-container distributed applications with Docker an effortless task) to manage the container and ensure the container automatically restarts if stopped.
Finally, we will deploy 2 instances of our containerized flask app on Kubernetes which helps to scale the application.
This is the process of packaging an application with all its dependencies into an isolated unit called container. This can then be deployed in any computing environment – on-premises or cloud. Docker is one of the most popular containerization tools that helps achieve this.
- VS code
- Docker Hub account
- GitHub account
- Docker
- Docker compose
- Kubernetes
- Create a remote repository on GitHub and clone to a local machine
- Python Flask Application Layout
- Build the docker image and push to Docker Hub
- Deploy the application using Docker
- Deploy the application using Docker Compose
- Push all configuration files/codes to GitHub
- Deploy the application in a Kubernetes environment
Create a new repository on GitHub and call it python-flask-docker-kubernetes

Run the command below to clone to our host machine:
git clone git@github.com:adeola2020-git/python-flask-docker-kubernetes.git
cd into the cloned dicrectory and create the following files needed to dockerize our flask application.
a). app.py
b). Dockerfile
c). requirements.txt
d). docker-compose.yaml
We should have the files in python-flask-docker-kubernetes directory once finished:
ls

Flask is a lightweight Python framework used for building web applications. We will create a Flask application that displays the message ‘Hello from Docker! This is a simple Python Flask app’ message on the browser.
The cloned repository on our local machine automatically created a folder called python-flask-docker-kubernetes, where we will store all needed files for the flask app and cd into it. Then, we will create our app.py file which will contain the Python code for the flask application.
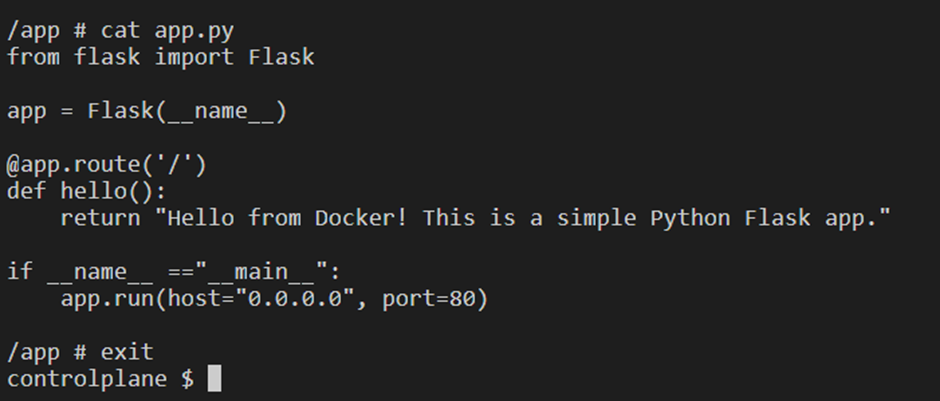
Here is the code for the simple Flask App:
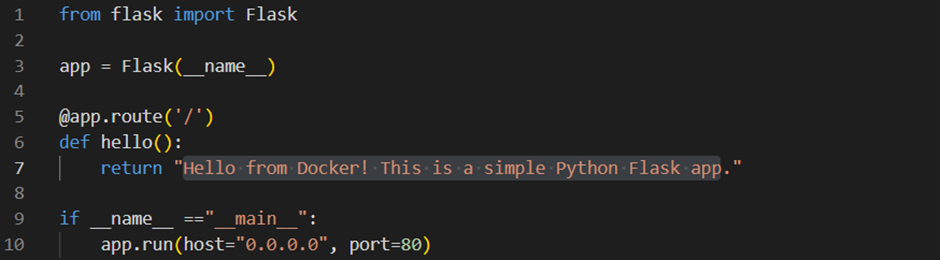
To containerize the application we use app.run(host="0.0.0.0", port=80) because the local port 127.0.0.1 cannot be captured inside a Docker container. Also, Flask uses port 5000 by default, so we change it to port 80.
A Dockerfile will be used to create an image for our Flask App. It contains instructions on how to create the Flask App.
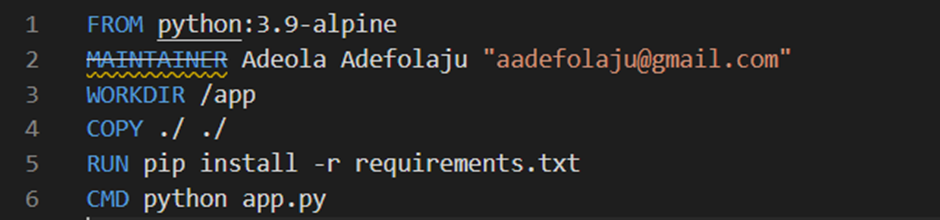
FROM python:3.9-alpine  – initializes a new build stage and sets the Base Image for subsequent instructions. Our Base Image is python:3.9-alpine

MAINTAINER Adeola Adefolaju "aadefolaju@gmail.com" – describes who created the image.

WORKDIR /app - sets the working directory for any RUN, CMD, and COPY instructions that follow it in the Dockerfile. It will set our working directory as /app. This will be the root of our container.

COPY ./ ./  -- copies the files needed to build the image on the host to the WORKDIR on the container, /app.

RUN pip install -r requirements.txt - will execute the commands set – install the dependencies stored in the requirement.txt file at /app.

CMD python app.py  – provides defaults for our executing container. So, python app.py will be executed when the container is ready.
This file contains the dependencies or packages required for our Flask App to run. The content of the file is below;

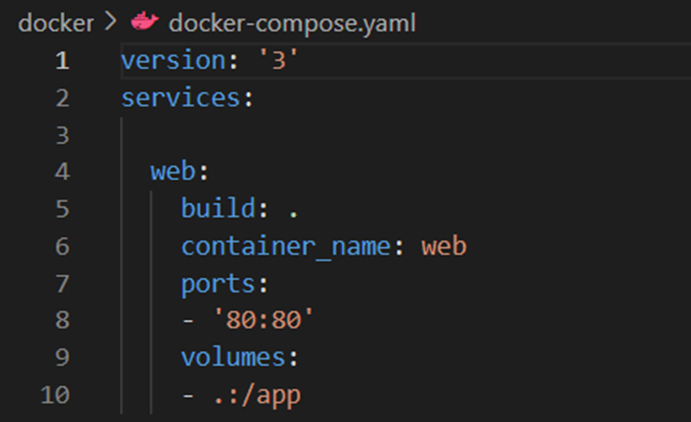
Docker Compose is a tool for defining and running multi-container Docker applications. With Compose, we will use a yaml file to configure our App’s services. The application stack can then be built by running a Docker Compose command – docker compose up.
The contents of the file is:
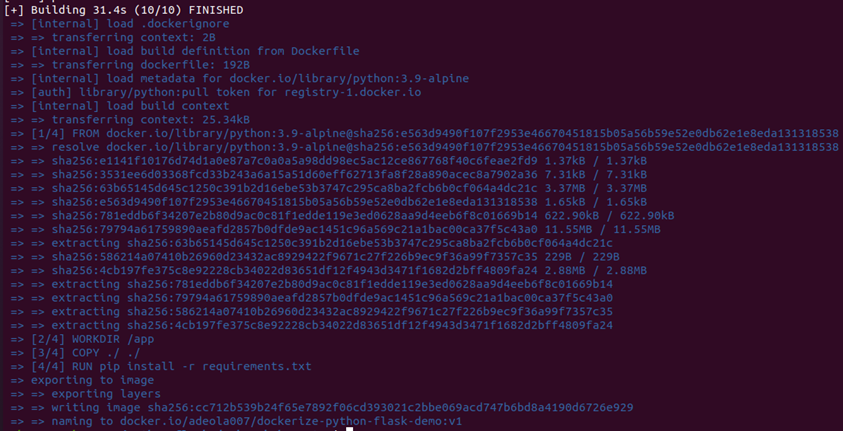
Next, we build the image from the Dockerfile and verify its created:
docker build -t adeola007/dockerize-python-flask-demo:v1 .
Then, view created image:
docker images

Next, we push the built image to Docker Hub. To do this, we need to log in to Docker Hub first. We would be asked for log in credentials to Docker Hub.
Log in
docker login
Then, push
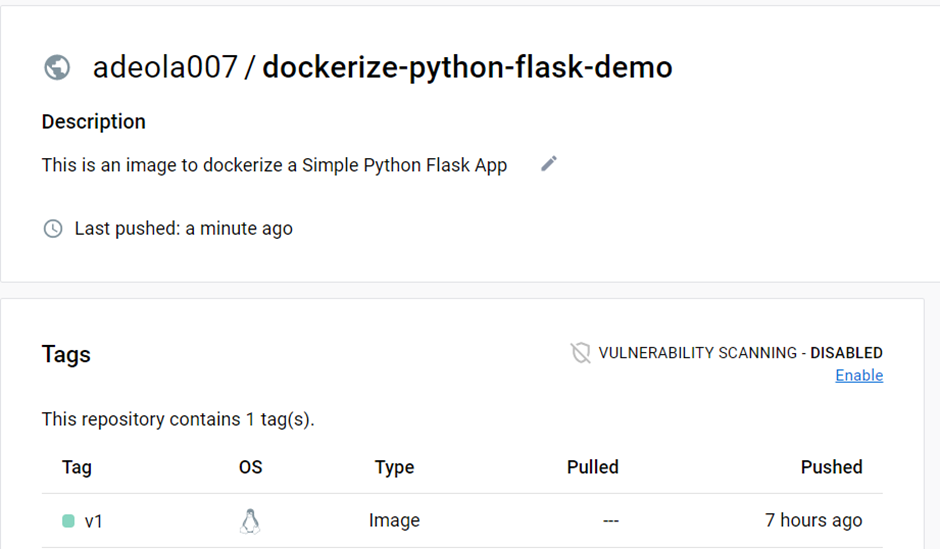
docker push adeola007/dockerize-python-flask-demo:v1

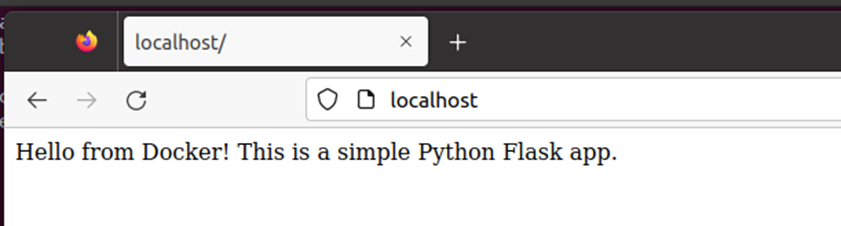
Now we will run the container image and view the running container. Once this is done, we verify our deployed python flask app by navigating to http://localhost:80/ to access our Flask web application on a browser or on the terminal with the curl command to see the contents of the webpage.
docker run -d -p 80:80 --name flask-web adeola007/dockerize-python-flask-demo:v1
Note that the -p 80:80 parameter, maps the port 80 on the docker container to port 80 on the host. This shows that we are able to access the Flask app on port 80.
Verify the running container
docker ps
View the web page
          curl localhost:80
          Hello from Docker! This is a simple Python Flask app.

Stop the running container
docker stop 87b4d4a58e7e
Verify
docker ps
To deploy the application using docker compose we run:
docker compose up
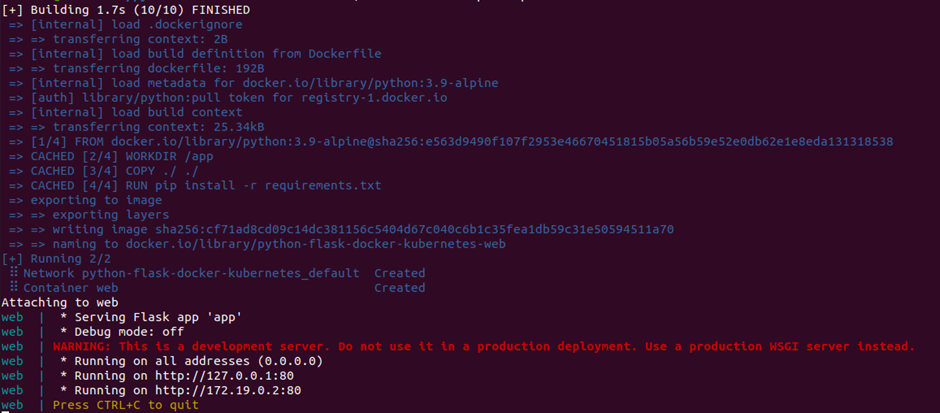
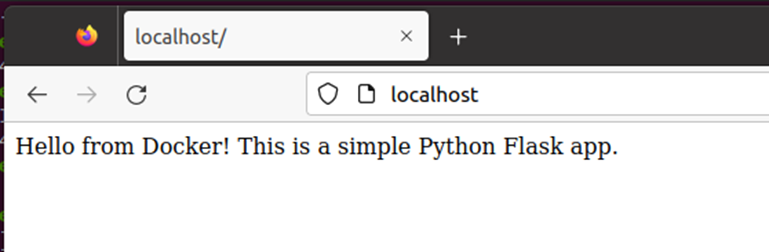
Notice that its faster to deploy since we have built the image already and the build layers have been cached. We also verify our deployed app by navigating to http://localhost:80/ to access your Flask web application on a browser. On the terminal, run use CTRL + c to stop the service.

Next, we need to push all our configuration files with codes to GitHub to enable collaboration and code re-use.
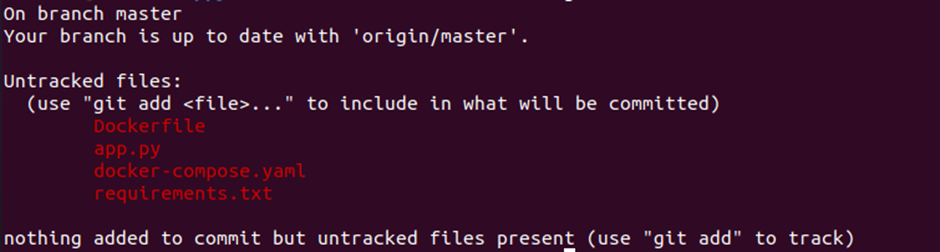
Check the status of all the files in the working directory;
git status
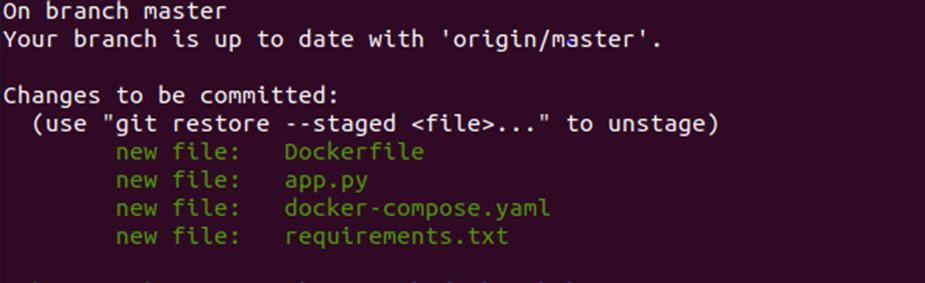
Move all files in the directory to the staging area, check the status. Then commit to local Git repo:
git add .
Check status
git status
Commit the changes
git commit -m “added configuration files”

Check status

Push to the remote repository on GitHub
git push -u origin master

Confirm by refreshing the repository page on GitHub

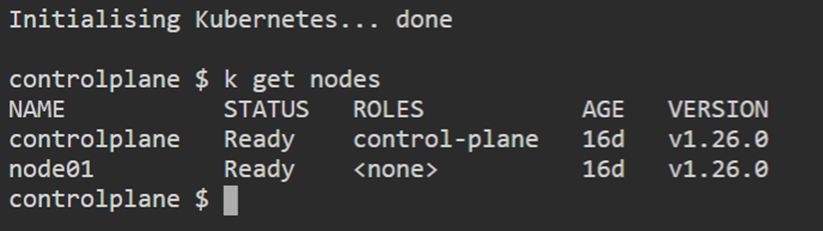
To do this, we will use a Kubernetes cluster already set up by Killercoda.
Confirm the cluster set-up and nodes ready.
Check any resources currently running in the cluster:

Create a deployment yaml file for our Python flask application:
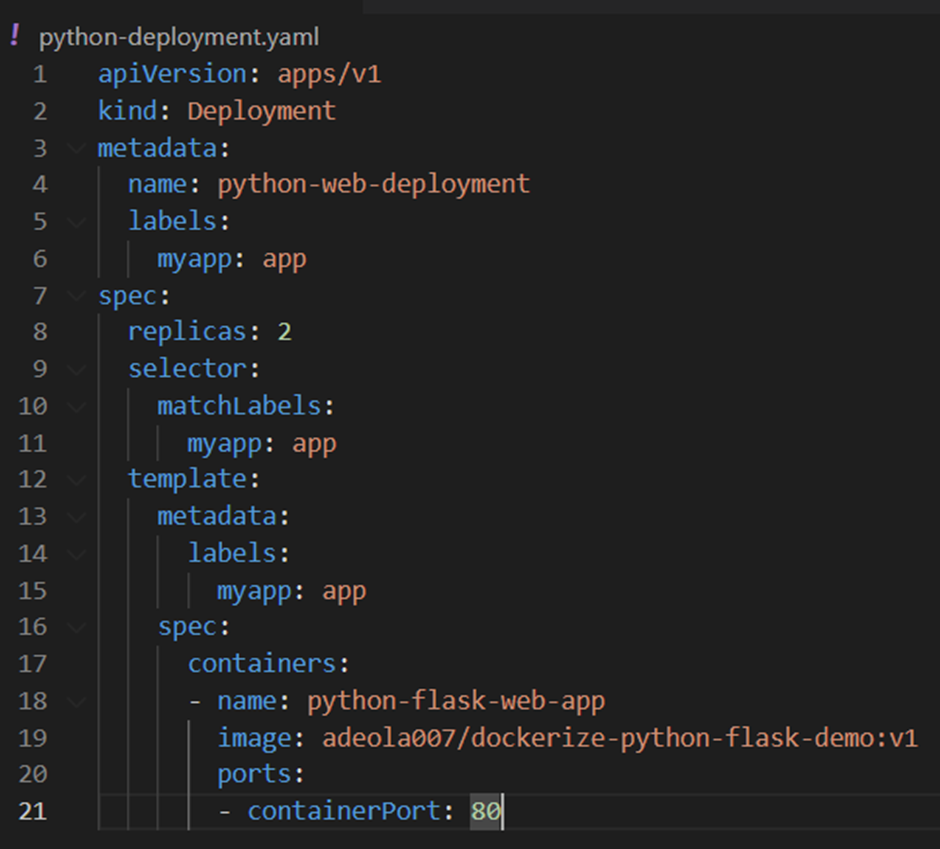
Here, we are making use of our image pushed to Docker Hub earlier, adeola007/dockerize-python-flask-demo:v1 to deploy the flask app. We are deploying 2 instances of the app to load-balance between them.
Let’s create our deployment from the yaml file and confirm. 2 pods are created.

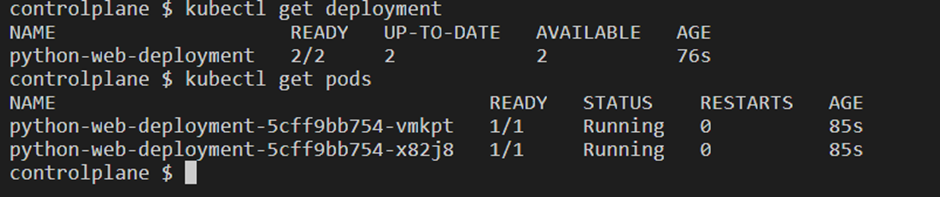
We can view the contents/files used to build our image in the container by executing commands in the container in the running Pod.
To access/view our flask application, we do a port-forward or create a service which also helps to load-balance traffic between the pods/instances of our application. Here, we see the contents of our Dockerfile used to build the container image and well as the application codes in app.py. To exit the container, run exit.

We see the content of our web page when we do a port-forward on the terminal and run the curl command on another terminal.

Note that the 80:80 parameter, maps the port 80 on the docker container to port 80 on the host. This shows that we are able to access the Flask app on port 80.

A NodePort service will allow access to our app outside the kubernetes cluster. We will create a NodePort Service so the web page can be viewed externally. To do this, we create a service yaml file and create the service.
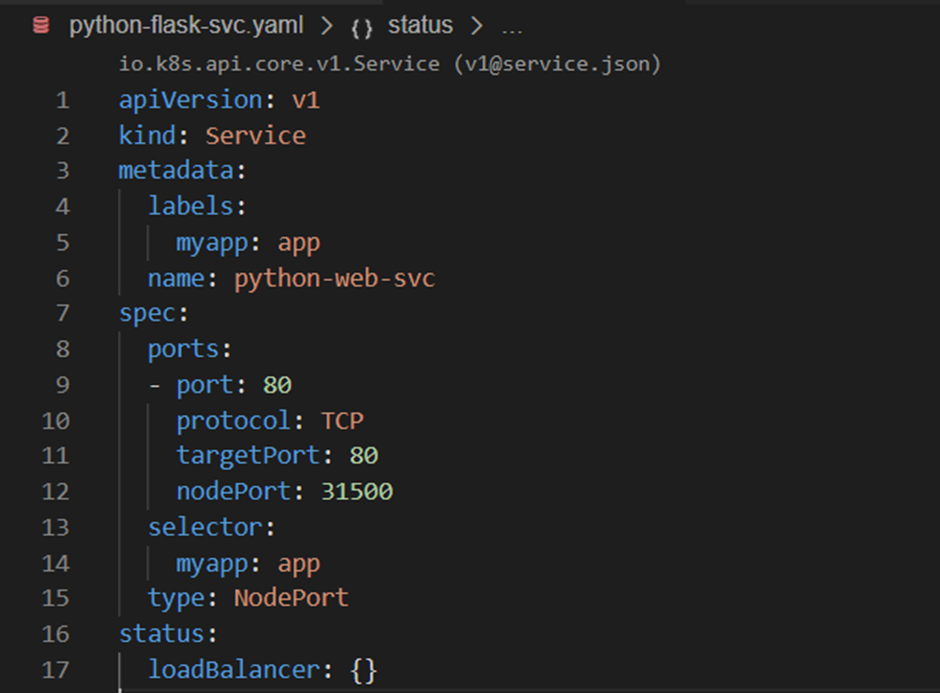
Let’s create our python-web-svc service and confirm.
Create the service

Confirm

The NodePort service also generates a cluster ip, we can check external access to the flask app by running a curl command with the generated cluster IP and append the container port to it.

We have demonstrated simple steps on how to dockerize a Simple Flask App and deploy directly on using Docker, Docker Compose and on a Kubernetes cluster.