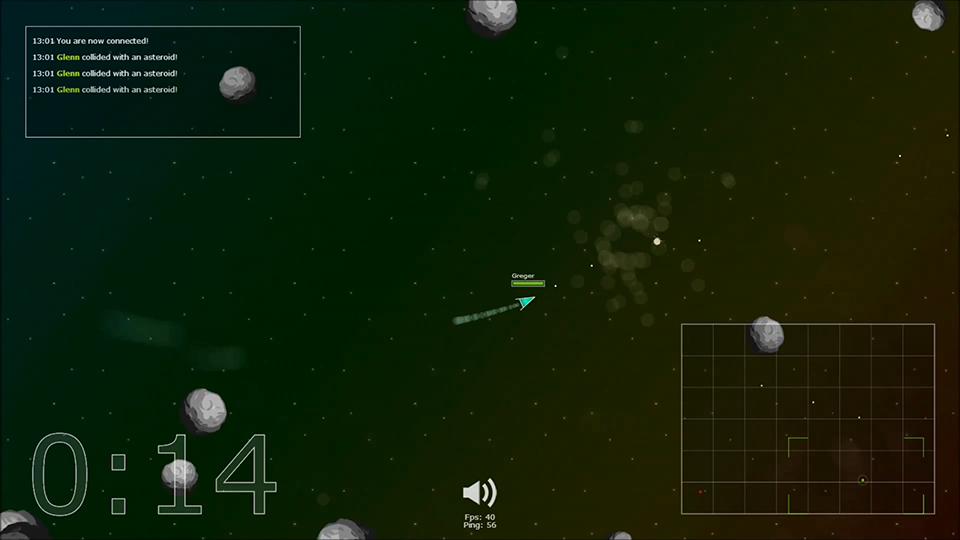
The contents of this package are under the MIT license. See license file for further information.
This instruction will guide you through installation, basic configuration and usage of the contents of this package. The contents of this package are:
- Files needed to run a Planetoids game server
- Files needed for the Planetoids client
Check out a preview of the gameplay on YouTube:
Before you will be able to start up a client and play the game you will need to host a game server.
The game server is to be run on a Node.js server. To learn about Node.js and how to install it, please visit http://www.nodejs.org (make sure NPM is included in the package you download as this will be needed later).
With Node.js installed on your machine, you will need to install an additional module called socket.io. This is the module that handles the communication between server and client over the WebSocket protocol. To install socket.io, use your Node.js command prompt and navigate into the 'server' directory of this package. Inside that directory, type the following command:
npm install socket.io@0.9.17
(I have included the version I used during development of this game, and is sure to work. Using another version is at own risk.)
This should start the download of the module, so just hold on tight until all files are finished downloading.
With socket.io installed, simply start the server by, while in the 'server' directory using your Node.js command prompt, typing in the following command:
node game.js
You should receive a message in the prompt that socket.io has started. If not, go through the previous steps once more and try again.
Your Planetoids server is now up and running. Congratulations!
All files needed to run a client are already included in this package. Make sure though that you have the latest version of a web browser that supports and have enabled:
- JavaScript
- WebSocket protocol
Step into the 'public' directory and open up 'index.html' in your editor of choice. Make sure that the host in the socket.io js file path is correct. This will by default be 'localhost'.
If you have your Node.js server running, just open 'index.html' in your web browser and you should be able to play the game on your server!
All of the code files in both server and client are well documented and all functionality is commented with abundance. If you would like to dig into the code and configure it the way you want it, there is a simple logic to how the code is structured:
- The main server and client files both called 'game.js' and are found directly under the 'server' and 'public' directories respectively.
- All objects in the game - like spaceships, asteroids, bullets - are instances of classes which source files are found in the 'classes' directory, on both server and client.
- Some of the client side functionality - like the log, statistics, sounds - are divided into modules that are found in the 'modules' directory under 'public'.
The easiest way to configure fundamental functionality of the game is to alter some of the core variables. You may for instance easily alter:
- The total game area size
- The duration of each round
- How many points an action - like a kill - is worth, etc.
These values are to be found in the very top of the source file to which module or class the variable belongs. Make sure to change the values on both the server and the client if you change values that obviously must be the same on both server and clients (the three listed above are perfect examples).
I'm sure you will find your way to make the best of it and have fun while dismantling the code and turning the game into what you feel like.
Have fun with it! Anton Lundberg
